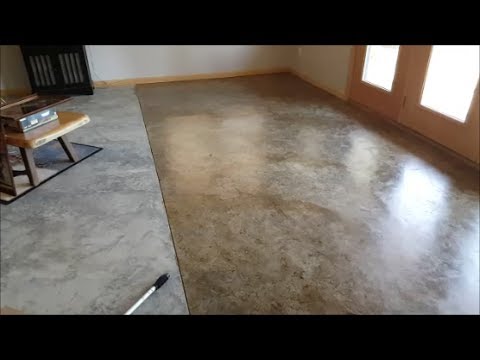
Staining a basement floor as a DIY project can transform a dull, utilitarian space into a stylish and functional area. The process of staining concrete floors is not only cost-effective but also allows for a high degree of customization in terms of color and finish. The first step in this project involves thoroughly cleaning the floor to remove any dirt, grease, or old paint. This is crucial because any residue can prevent the stain from adhering properly. Using a concrete cleaner or degreaser, along with a stiff brush or power washer, will ensure the surface is adequately prepared. After cleaning, allow the floor to dry completely, which may take several hours or even a day, depending on the humidity and ventilation in the basement.
Images about Staining Basement Floor DIY
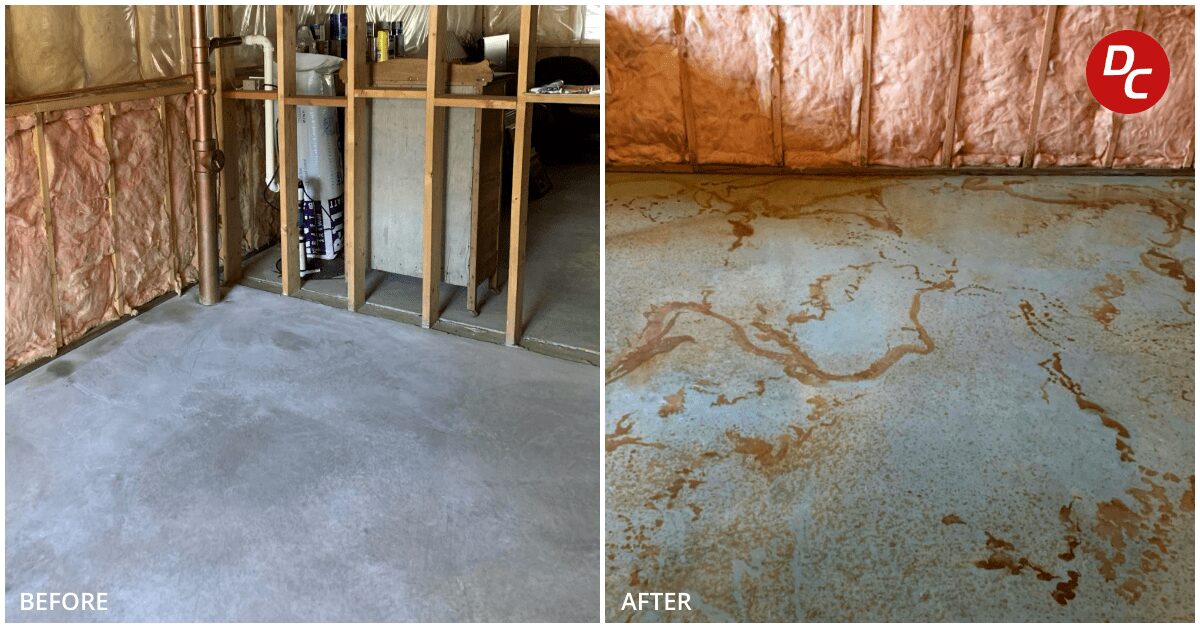
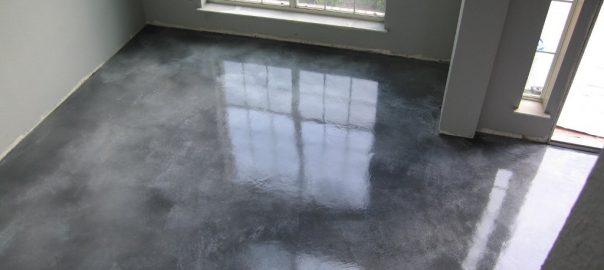
Staining Basement Floor DIY
Once the floor is clean and dry, the next step is to repair any cracks or imperfections. Small cracks can be filled with concrete filler, while larger ones may require a more robust patching compound. It’s essential to smooth out these repairs and let them cure according to the manufacturer’s instructions before proceeding. The floor should then be sanded lightly to ensure an even surface for the stain. This can be done using a pole sander or a floor buffer with a sanding pad. After sanding, vacuum the floor thoroughly to remove all dust and debris. This step is critical to achieving a uniform stain application and ensuring the final finish is smooth and professional-looking.

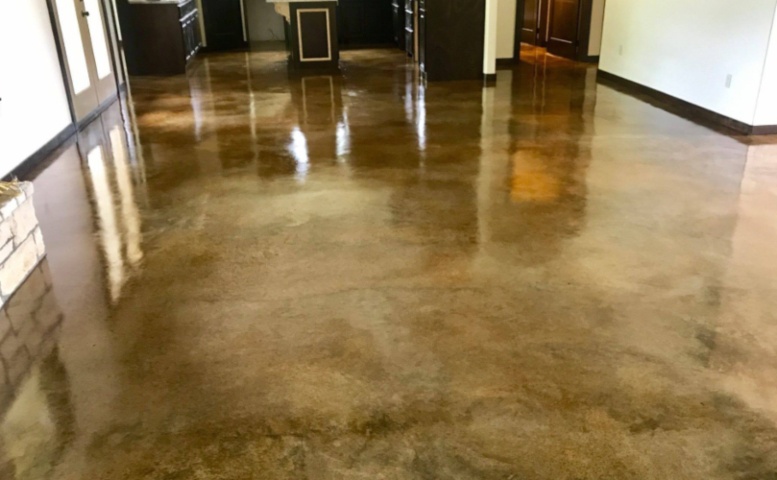
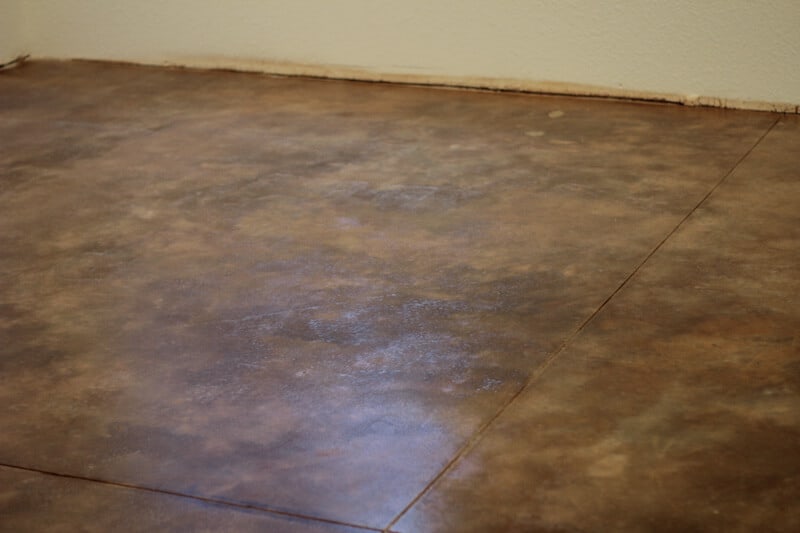
Choosing the right stain is a key part of this DIY project. There are two main types of concrete stains: acid-based and water-based. Acid-based stains react chemically with the concrete to create a permanent color change, often resulting in a more variegated, natural stone-like appearance. They are highly durable but can be more challenging to work with due to their caustic nature and the need for neutralizing agents. Water-based stains, on the other hand, are easier to apply and come in a wider variety of colors. They sit on the surface of the concrete and can be layered to achieve the desired intensity and shade. Before applying the stain, it’s advisable to test it in a small, inconspicuous area to ensure the color meets your expectations.
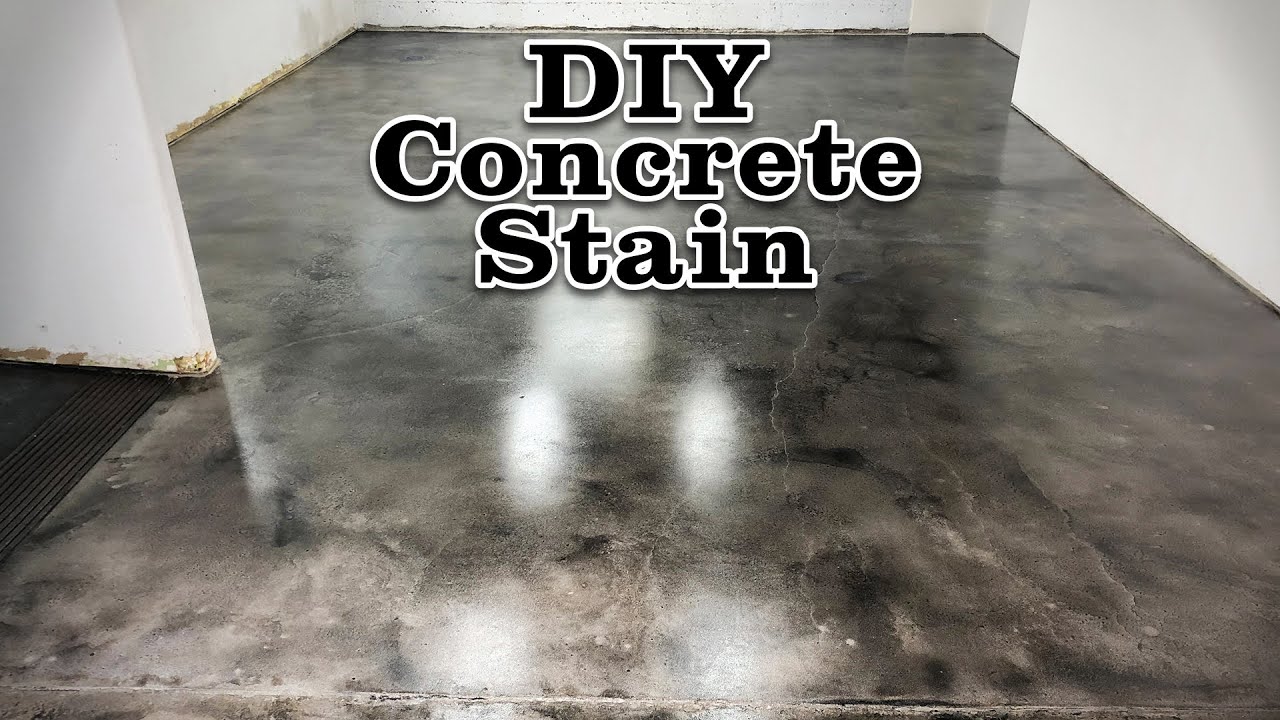
Applying the stain involves several steps, starting with masking off the walls and any areas you do not want stained. Using a sprayer, roller, or brush, apply the stain in even coats, following the manufacturer’s instructions for application techniques and drying times. It’s often recommended to apply multiple coats to achieve a richer, more consistent color. After the final coat of stain has dried, the floor should be sealed to protect the surface and enhance the color. A concrete sealer can be applied with a roller or sprayer, and it’s crucial to allow adequate drying time between coats. Sealing the floor not only protects it from moisture and wear but also makes it easier to clean and maintain. With proper preparation, careful application, and a bit of patience, staining a basement floor can be a rewarding DIY project that adds both aesthetic appeal and functionality to your home.
How to Acid Stain Concrete Floors
The Beginner’s Guide to DIY Stained Concrete

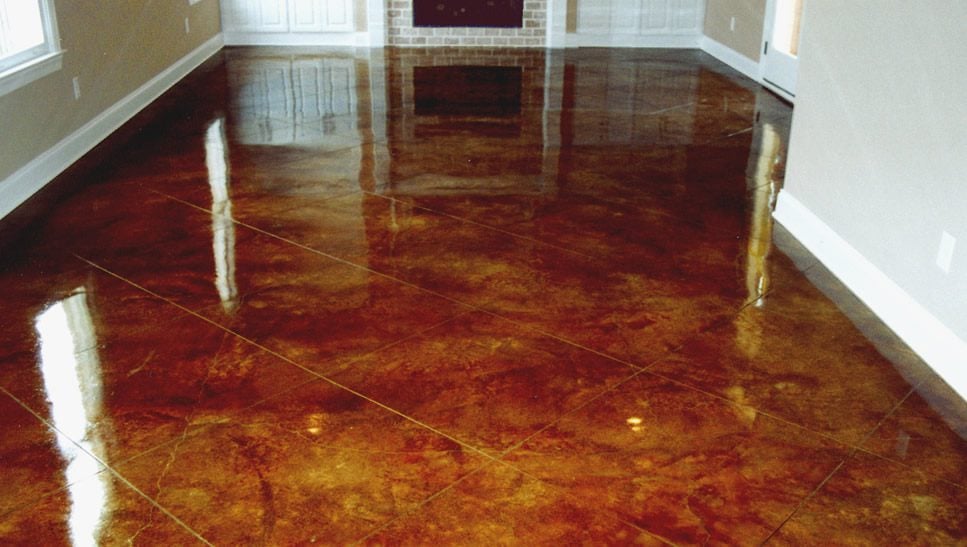
Acid Stained Hard Troweled Concrete Floor Direct Colors
The Beginner’s Guide to DIY Stained Concrete

Stained Concrete Floors: Cost, How to Stain DIY, Maintenance Tips
Amazingly cheap and stunningly beautiful floors – Easy DIY Stained Concrete

DIY Guide to Stained Concrete Floors Duraamen
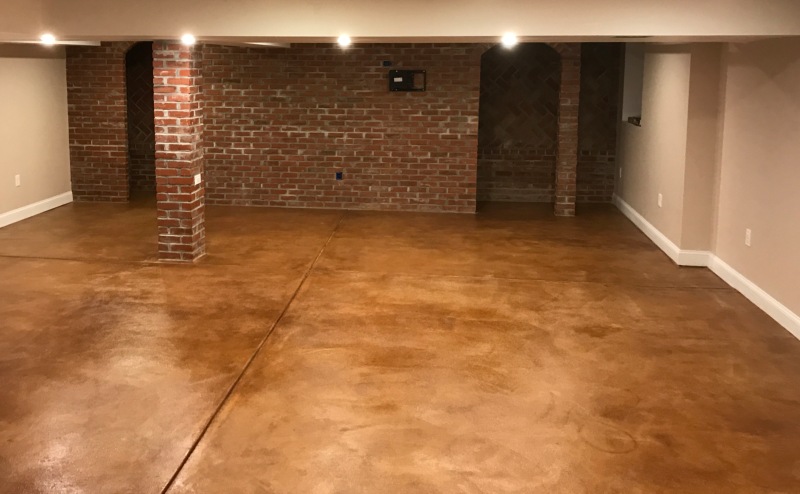
A Guide to Stained Concrete Basement Floors
How to Acid Stain a Concrete Floor – Plank and Pillow

The Ultimate Guide to Staining a Basement Floor – Semigloss Design

Related Posts:
- Vinyl Plank Flooring Basement Installation
- Basement Floor Insulation
- Tile Basement Flooring
- Concrete Basement Floor
- Cleaning Concrete Basement Floor
- Wood Basement Floor
- Basement Laminate Flooring Ideas
- Basement Floor Coating
- Luxury Basement Floor
- Epoxy Paint Basement Floor
Staining Basement Floor DIY: A Comprehensive Guide
In this comprehensive guide, you will learn how to stain your basement floor DIY-style. Staining a basement floor can be a cost-effective way to transform the look of your basement without spending a fortune. This guide will provide you with step-by-step instructions on how to properly stain your basement floor yourself.
Before You Begin: Planning and Preparation
Before you begin staining your basement floor, there are a few things you need to consider. First, you need to plan out exactly what type of stain you want to use and how much of it you will need. You should also consider the type of surface of your floor and whether it can handle the type of stain that you choose. Additionally, you should plan out the entire staining process from start to finish so that you can properly prepare your space and know what supplies you will need.
Once you have planned out the staining process, it is time to prepare your space for staining. Start by clearing out the area and removing all furniture, rugs, and other items that may be in the way. Next, use a broom or vacuum to clear out any dirt and debris that may be on the floor. Then, use a degreaser to remove any oils or grease that may have built up on the surface. Finally, make sure that the floor is completely dry before proceeding with the staining process.
Staining Process: Step-by-Step Instructions
Once your space is prepared and ready for staining, it is time to begin the actual staining process. Here are the steps that you should follow when staining your basement floor:
Step 1: Apply Primer
The first step in the staining process is to apply primer. Primer helps to ensure that the stain adheres properly to the surface and provides a better finish. When applying primer, make sure to cover the entire surface evenly and let it dry completely before proceeding with the next step.
Step 2: Apply Stain
Once the primer has dried completely, it is time to apply your chosen stain. When applying stain, make sure to read all instructions carefully and follow them closely. Start by stirring the stain thoroughly and then apply it in an even coat across the entire surface using a brush or roller. Let the stain dry completely before continuing with the next step.
Step 3: Apply Protective Finish
Once the stain has dried completely, it is time to apply a protective finish to protect it from wear and tear. There are several different types of protective finishes available, so make sure to choose one that is suitable for your specific flooring material. Apply the protective finish evenly across the entire surface using a brush or roller and let it dry completely before enjoying your newly stained basement floor!
How long will my stained basement floor last?
The longevity of your stained basement floor depends on several factors such as the type of stain used, how well it was applied, and how often it is cleaned and maintained. Generally speaking, a stained basement floor can last many years if properly cared for.
What type of primer should I use for my basement floor?
The type of primer that you use for your basement floor will depend on the type of surface that you have. For concrete surfaces, an oil-based primer is typically recommended as it provides better adhesion than water-based primers. For wood surfaces, a water-based primer is usually recommended as it is easier to apply and less likely to cause peeling or blistering of the finish.
What type of protective finish should I use?
Again, this depends on the type of surface that you have in your basement. For concrete floors, an acrylic sealer is usually recommended as it provides good protection against wear and tear while still allowing moisture vapor transmission (MVT). For wood floors, a polyurethane sealer is usually recommended as it provides excellent protection against wear and tear while also providing excellent clarity and color retention.