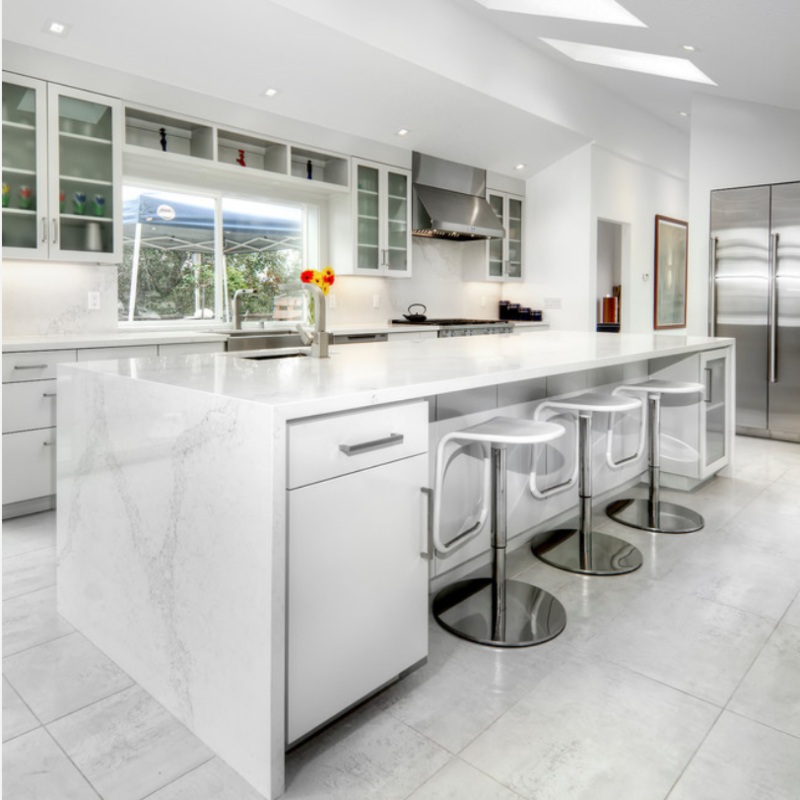
When I first stepped into my friend’s kitchen last year, I was completely mesmerized by the stunning white marble tile floors that seemed to glow under the pendant lights. The surface looked like captured clouds, with subtle gray veining that told stories of ancient geological processes. That moment sparked my kitchen renovation journey, and I knew immediately that white marble tiles would be the foundation of my dream cooking space. After months of research, installation, and daily living with these beautiful floors, I’m excited to share everything I’ve learned about choosing, installing, and maintaining white marble tile floors in kitchens.
Choosing the Perfect White Marble Tiles for My Kitchen
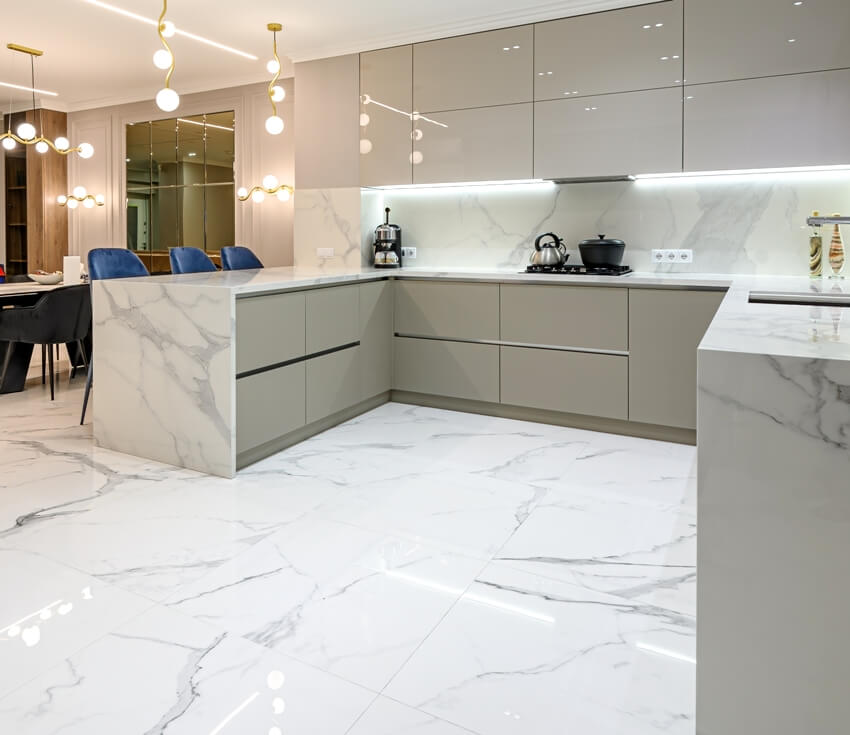
My search for the ideal white marble tiles began at local stone yards, where I discovered the incredible variety available. Carrara marble caught my attention first with its soft gray veining, but Calacatta offered bolder, more dramatic patterns that made my heart skip. I spent hours comparing samples under different lighting conditions, learning that each slab tells its own unique story through natural formations.
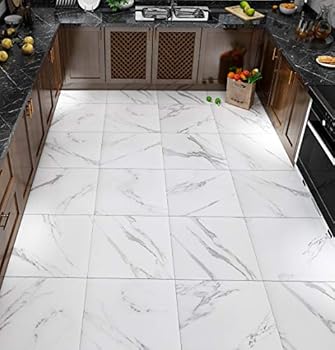
The size selection process proved more complex than expected. Large format tiles create fewer grout lines and a more seamless appearance, while smaller tiles offer better slip resistance and easier replacement if damaged. I ultimately chose 12×24 inch tiles as the perfect compromise between elegance and practicality for my medium-sized kitchen space.
Thickness became another crucial consideration during my selection process. Standard tiles measured 3/8 inch thick, but I opted for 1/2 inch thickness for added durability and a more substantial feel underfoot. The investment in thicker tiles has proven worthwhile, as they handle daily foot traffic and occasional dropped utensils without showing wear or damage after eight months of use.
Installation Challenges I Faced and Overcame
Professional installation seemed essential given marble’s reputation for being temperamental, so I hired experienced stone contractors after interviewing several candidates. The preparation phase required removing my old vinyl flooring and ensuring the subfloor was perfectly level, as marble tiles show every imperfection underneath their polished surface.
My contractors emphasized the importance of proper sealing before grouting, explaining that unsealed marble absorbs stains permanently. We applied penetrating sealer to each tile before installation, then added a second coat after grouting was complete. This double protection system has kept my floors looking pristine despite daily cooking activities and occasional spills.
Temperature control during installation proved critical, as my contractors explained that marble expands and contracts with temperature changes. We maintained consistent indoor temperatures throughout the three-day installation process, and expansion joints were carefully placed near doorways and along walls to accommodate natural movement without cracking.

Daily Maintenance Routines That Keep My Floors Pristine
My morning routine now includes a quick sweep with a microfiber dust mop to remove overnight dust and debris before cooking breakfast. This simple habit prevents scratching from tracked-in dirt and keeps the marble’s natural shine visible throughout the day. I’ve learned that prevention is far easier than restoration when it comes to maintaining marble surfaces.
Weekly deep cleaning involves mopping with pH-neutral stone cleaner mixed according to manufacturer specifications. Regular household cleaners contain acids that etch marble surfaces, so I invested in specialized products designed specifically for natural stone. The investment in proper cleaning supplies has protected my floors from permanent damage and maintained their original beauty.
Immediate spill cleanup has become second nature in my kitchen routine. Wine, citrus juices, and vinegar-based dressings can etch marble within minutes if left unattended. I keep absorbent towels strategically placed throughout the kitchen and blot spills immediately rather than wiping, which can spread acidic liquids across larger surface areas.
Long-Term Care Strategies for Lasting Beauty
Annual professional sealing has become a non-negotiable part of my home maintenance schedule. My stone care specialist tests the existing seal by dropping water droplets on various floor areas, checking absorption rates to determine when resealing is necessary. This proactive approach prevents stains from penetrating the marble’s porous surface.
I’ve established a rotation system for high-traffic areas using decorative rugs and runners during busy cooking periods. These protective barriers reduce direct wear on the marble while adding warmth and color to my kitchen design. The rugs are easily washable and can be moved or removed when entertaining guests who appreciate seeing the full marble installation.
Professional restoration every five years ensures my floors maintain their original polished appearance. Surface scratches and minor etching are inevitable with daily use, but professional diamond polishing can restore the mirror-like finish that makes marble so desirable. I budget for this service as part of my long-term home investment strategy.

Design Integration with Kitchen Elements
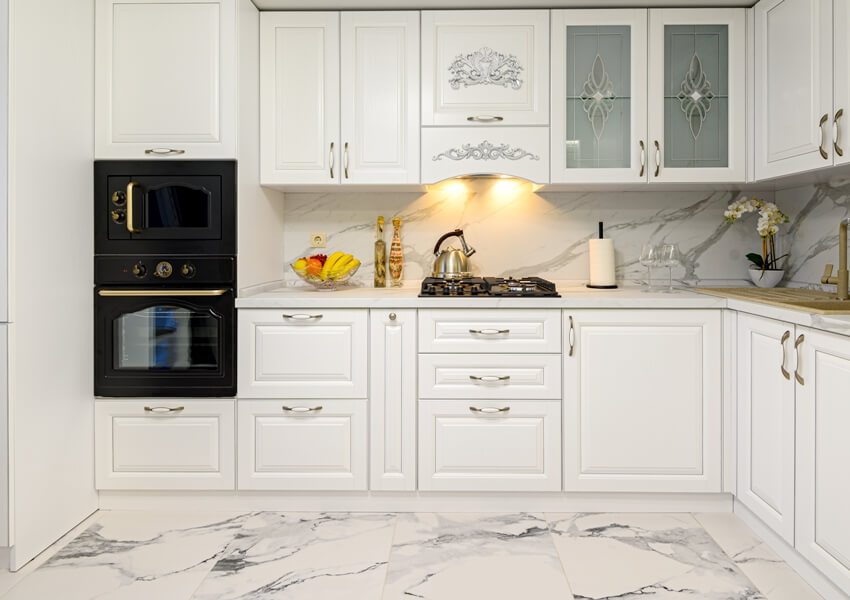
My white marble floors serve as the perfect neutral foundation that allows other kitchen elements to shine. Warm wood cabinets create a beautiful contrast against the cool marble tones, while stainless steel appliances complement the stone’s natural gray veining. The cohesive color palette makes my kitchen feel larger and more sophisticated than before the renovation.
Lighting design became crucial for showcasing the marble’s natural beauty throughout different times of day. Under-cabinet LED strips highlight the floor’s subtle patterns during evening cooking, while large windows allow natural light to bring out the stone’s inherent luminosity. Strategic pendant lights over the island create dramatic shadows that emphasize the marble’s dimensional qualities.
Cabinet hardware selection required careful consideration to complement the marble’s elegant aesthetic. Brushed brass handles warm up the cool stone tones, while matte black fixtures create a striking contemporary contrast. I avoided shiny chrome finishes that competed with the marble’s natural reflective properties and chose hardware that enhanced rather than overpowered the stone’s beauty.
Cost Analysis and Value Investment
My total investment included $8 per square foot for premium Carrara marble tiles, plus $4 per square foot for professional installation. Additional costs covered specialized adhesive, grout, sealing products, and transition strips where the marble meets other flooring materials. The initial expense was significant but justified by the dramatic transformation and increased home value.
Comparing marble costs to other premium flooring options revealed competitive pricing when considering longevity and timeless appeal. Hardwood floors require refinishing every few years, while high-end ceramic tiles lack marble’s natural variation and luxury appearance. The investment in genuine marble pays dividends through decades of beauty and performance when properly maintained.
Property value increases have exceeded my expectations based on recent comparable home sales in my neighborhood. Real estate agents consistently note that luxury stone floors are major selling points that attract serious buyers and justify higher asking prices. My marble floors have become a signature feature that distinguishes my home in a competitive market.
How often should I seal my white marble kitchen floors?
I seal my marble floors annually, but the frequency depends on usage and foot traffic levels. High-traffic kitchens may require sealing every six months, while less-used spaces can go 18 months between applications. I test the seal by dropping water droplets on the surface, if they absorb within 10 minutes, it’s time to reseal. Professional stone care specialists can assess your specific situation and recommend optimal sealing schedules based on your lifestyle and cooking habits.
Can I use regular cleaning products on my marble floors?
No, regular household cleaners contain acids that permanently etch marble surfaces, creating dull spots that require professional restoration. I exclusively use pH-neutral stone cleaners specifically designed for natural marble. Avoid vinegar, lemon juice, bleach, and generic floor cleaners. I keep specialized marble cleaning products under my sink and educate family members about proper cleaning methods to prevent accidental damage from inappropriate products.

How do I handle stains on white marble floors?
Immediate action is crucial for stain prevention on marble surfaces. I blot spills immediately with absorbent towels, never wiping which spreads the stain. For oil-based stains, I create a poultice using baking soda and water, cover with plastic wrap, and let it sit overnight. Organic stains respond to hydrogen peroxide poultices. Stubborn stains may require professional treatment, so I contact my stone care specialist for guidance on challenging situations.
Are white marble floors slippery when wet?
Polished marble can be slippery when wet, so I take precautions during cooking and cleaning activities. I immediately mop up spills and use absorbent mats near the sink and dishwasher. Honed marble finishes provide better slip resistance than polished surfaces but sacrifice some of the dramatic shine. I wear appropriate footwear in the kitchen and ensure good lighting to see potential wet spots that could cause slipping hazards.

How do marble floors affect kitchen resale value?
My research and recent neighborhood sales indicate that marble floors significantly increase home value and buyer appeal. Real estate professionals consistently rank natural stone floors among the top luxury features that justify premium pricing. Quality marble installation can recoup 70-90% of costs in increased home value, especially in upscale markets where buyers expect luxury finishes. The timeless appeal ensures the investment remains valuable for decades.
What thickness of marble tiles should I choose for kitchen floors?
I selected 1/2 inch thick tiles for superior durability and substantial feel underfoot. Standard 3/8 inch tiles work for light residential use but thicker options handle kitchen traffic better. Thicker tiles resist cracking from dropped objects and provide better sound dampening. The additional cost is justified by improved performance and longevity. Consult with your installer about subfloor requirements, as thicker tiles may need additional support in some installations.
Perfect Natural Marble and Marble-Look Porcelain Tile Pairings
.jpg)
Marble Kitchen Floor Tiles (Pros u0026 Cons) – Designing Idea
Which Kitchen Floor Tiles Are Best? Top 10 Kitchen Design Ideas

Related Posts: