When I first decided to tackle my basement floor, I was overwhelmed by the options and, honestly, a bit intimidated by the whole process. My basement had that typical concrete floor that seemed to always feel slightly damp, and I knew I needed something that could handle moisture while still looking decent. After months of research and finally taking the plunge with waterproof basement floor paint, I can honestly say it was one of the best home improvement decisions I’ve made. The transformation was incredible, and I learned so much along the way that I wish someone had shared with me from the start.
Understanding Your Moisture Situation First
Before I even started shopping for paint, I had to face the reality of my basement’s moisture issues. I spent weeks observing different areas, especially after heavy rains, and I’m so glad I did this homework first. What I discovered was that my basement had minor seepage in one corner and general humidity issues throughout.
I learned that not all waterproof paints are created equal when it comes to handling different types of moisture problems. Some are designed for minor dampness, while others can handle more serious water intrusion. I had to be honest about my basement’s specific challenges rather than hoping a coat of paint would magically solve everything.
The moisture test I did was simple but eye-opening. I taped plastic sheets to different sections of the floor and left them for 48 hours. Where I found condensation underneath, I knew I had moisture coming up through the concrete. This information became crucial when I was selecting the right type of waterproof paint for my specific situation.
Choosing Between Epoxy and Acrylic Options
The decision between epoxy and acrylic waterproof paints was probably the most confusing part of my research. I initially leaned toward epoxy because everyone seemed to rave about its durability, but I quickly learned that it’s not always the best choice for every basement situation.
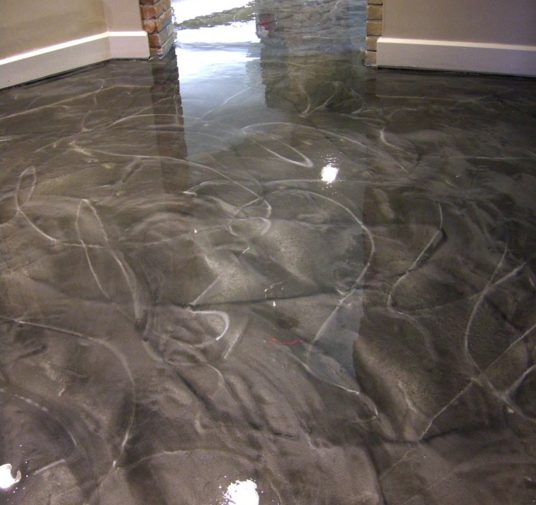
Epoxy paints create an incredibly hard, glossy surface that can handle heavy traffic and looks almost like a commercial garage floor. However, I discovered that if moisture does find its way under epoxy, it can cause the entire coating to peel off in sheets. Since my basement had those minor moisture issues, I was worried about this possibility.
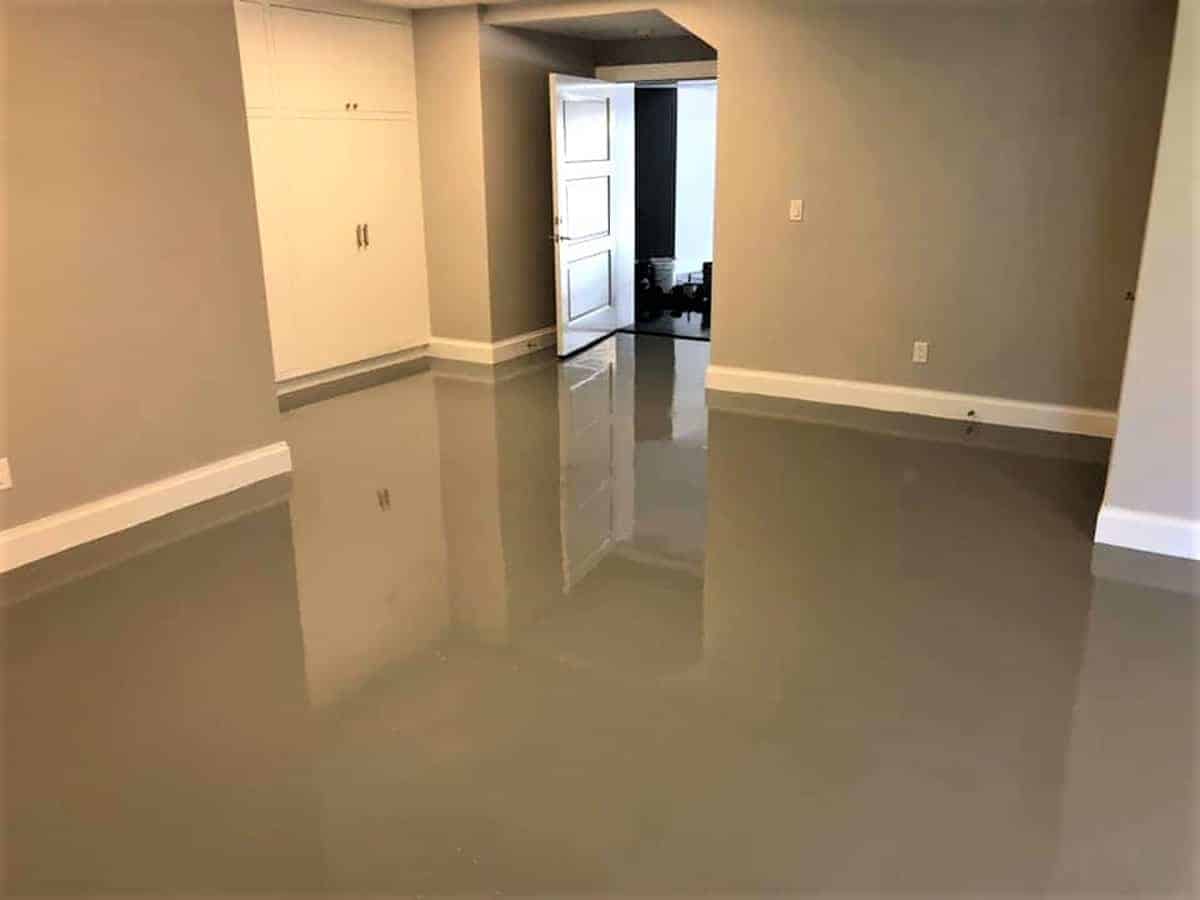
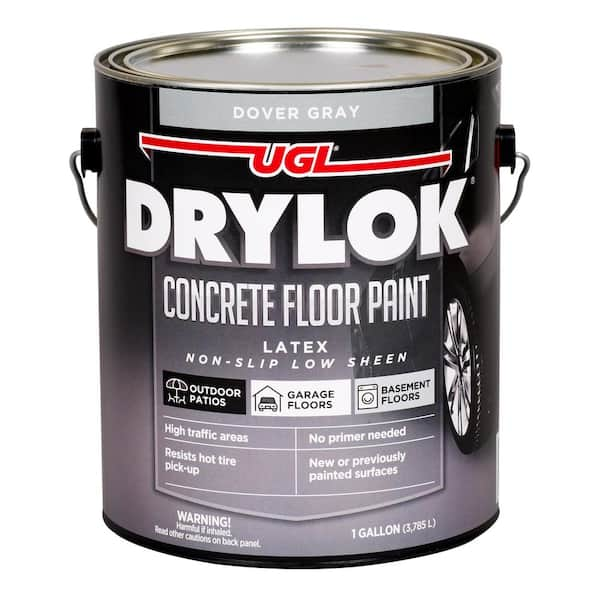
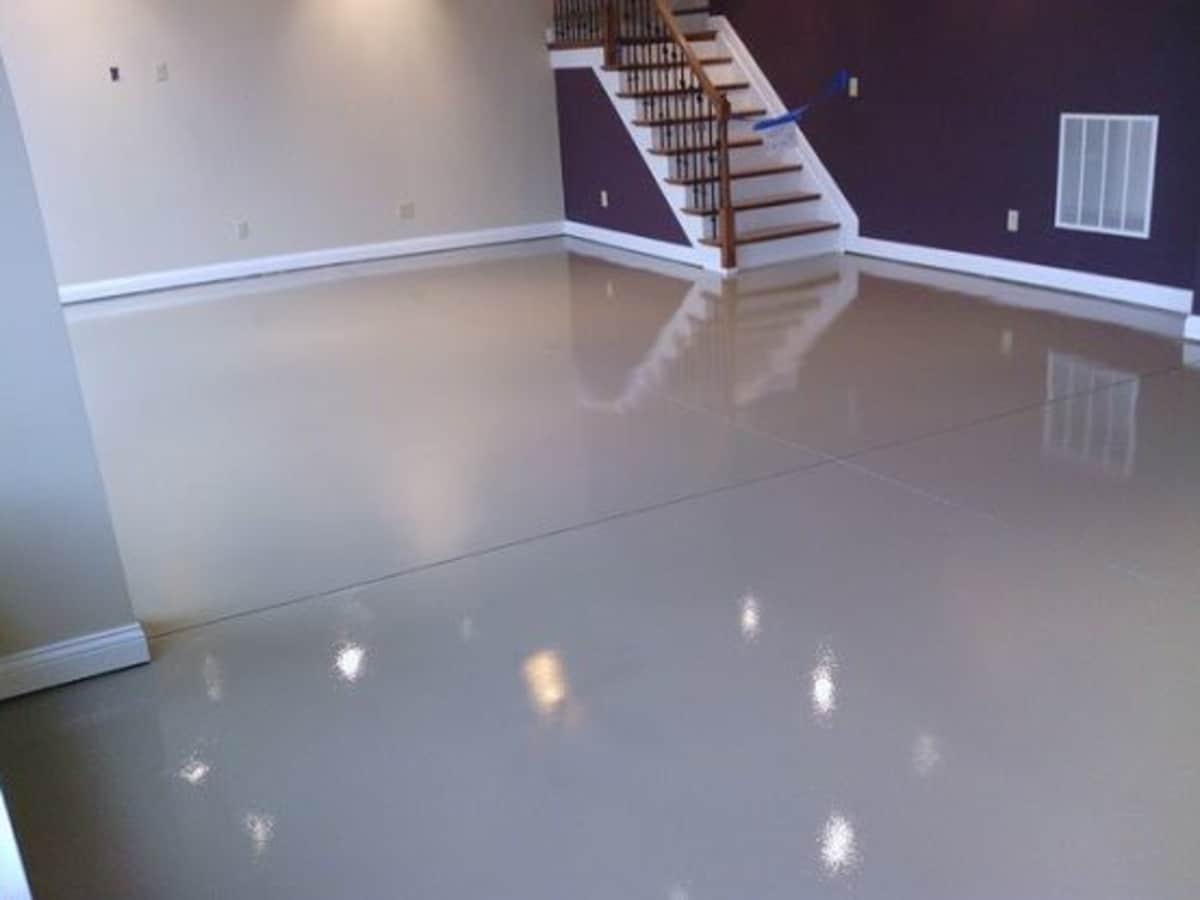
I ultimately chose a high-quality acrylic waterproof paint because it allows the concrete to breathe slightly while still providing excellent moisture protection. The finish isn’t as glossy as epoxy, but it has a nice satin look that feels more appropriate for a basement living space. Plus, if I ever need to touch up small areas, acrylic is much more forgiving than epoxy.
Surface Preparation Made All the Difference
I cannot stress enough how critical the prep work was to my success with this project. Initially, I thought I could get away with just cleaning the floor and maybe doing some light sanding. Boy, was I wrong. Proper surface preparation took me almost as long as the actual painting, but it was absolutely worth every hour.
My concrete floor had old stains, some minor cracks, and areas where previous sealers had been applied. I ended up renting a concrete grinder for the really stubborn spots and used a strong degreaser for oil stains. The cracks required special concrete crack filler, which I learned needs to cure completely before painting over it.
The final step in my prep was acid etching, which honestly made me nervous at first. However, this process opens up the pores in the concrete so the paint can really bond properly. I used a mild muriatic acid solution and was amazed at how much better the paint adhered compared to a small test area where I skipped this step.
My Application Process and Hard-Learned Lessons
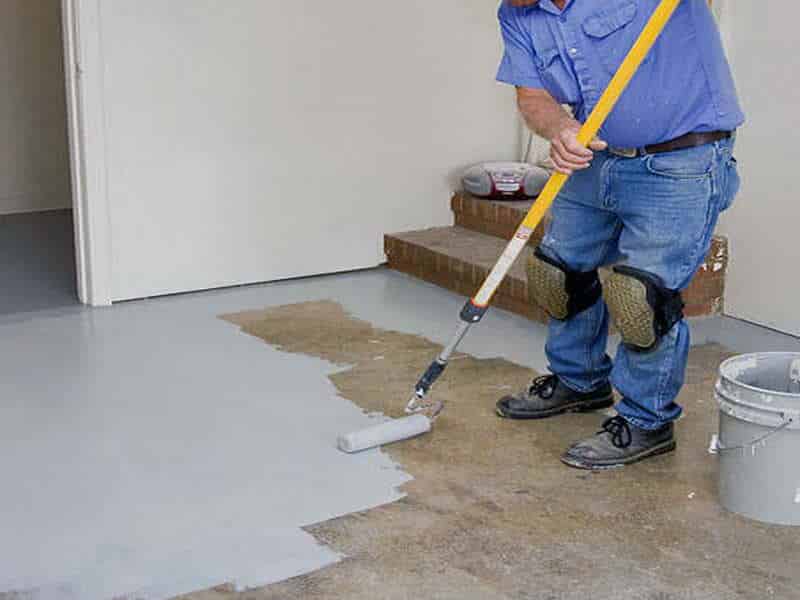
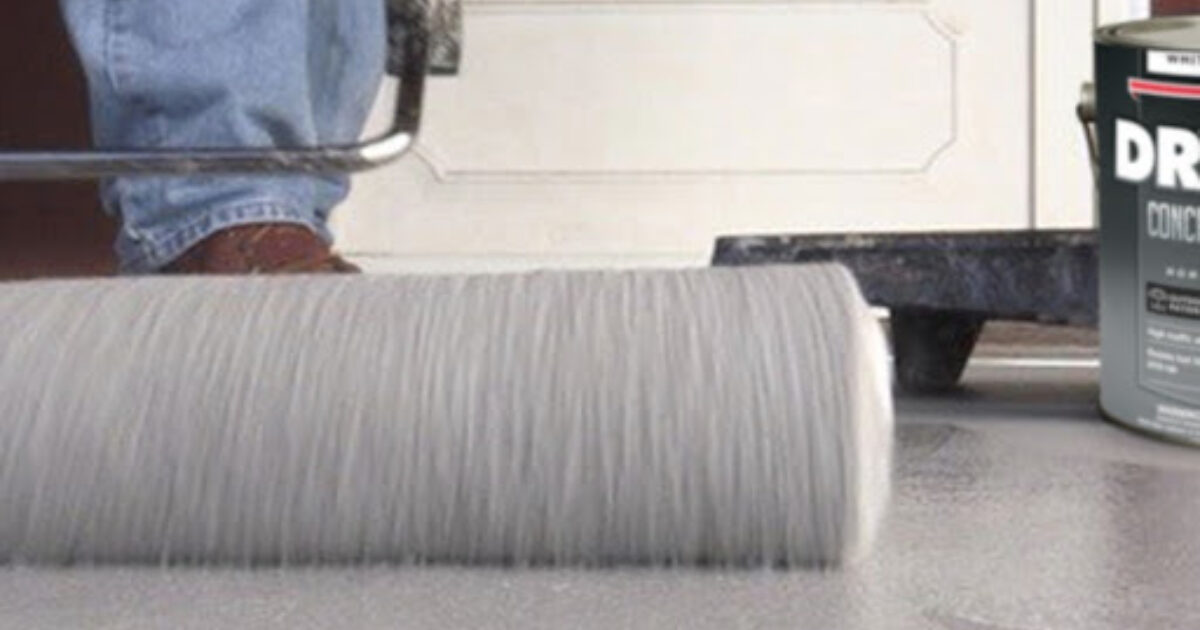
When it came time to actually apply the paint, I thought I was ready for anything after all my preparation. However, I quickly learned that painting a basement floor is very different from painting walls. The first coat went on easily enough, but I noticed some areas seemed to absorb the paint more than others.
I found that working in small sections and maintaining a wet edge was crucial for getting an even finish. My basement is about 800 square feet, and I broke it into four sections, completing each one fully before moving to the next. This approach prevented lap marks and ensured I could focus on getting good coverage in each area.
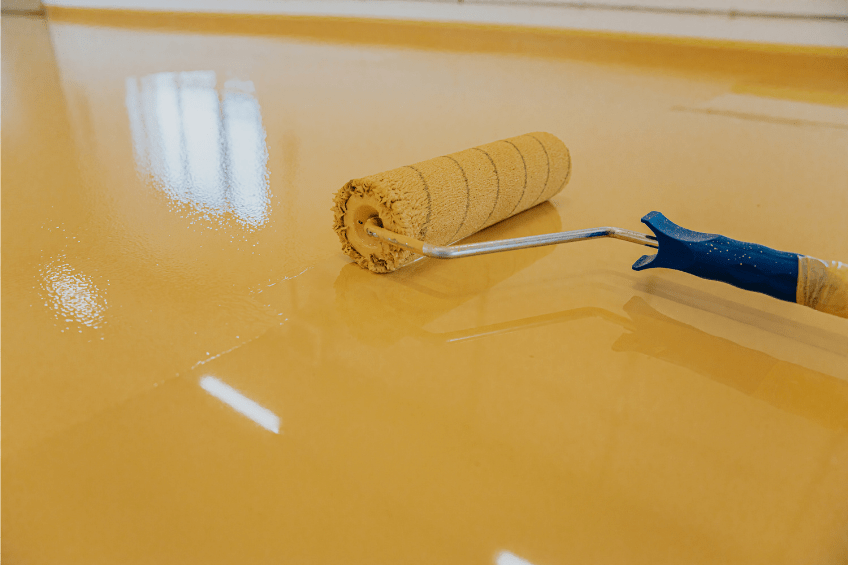
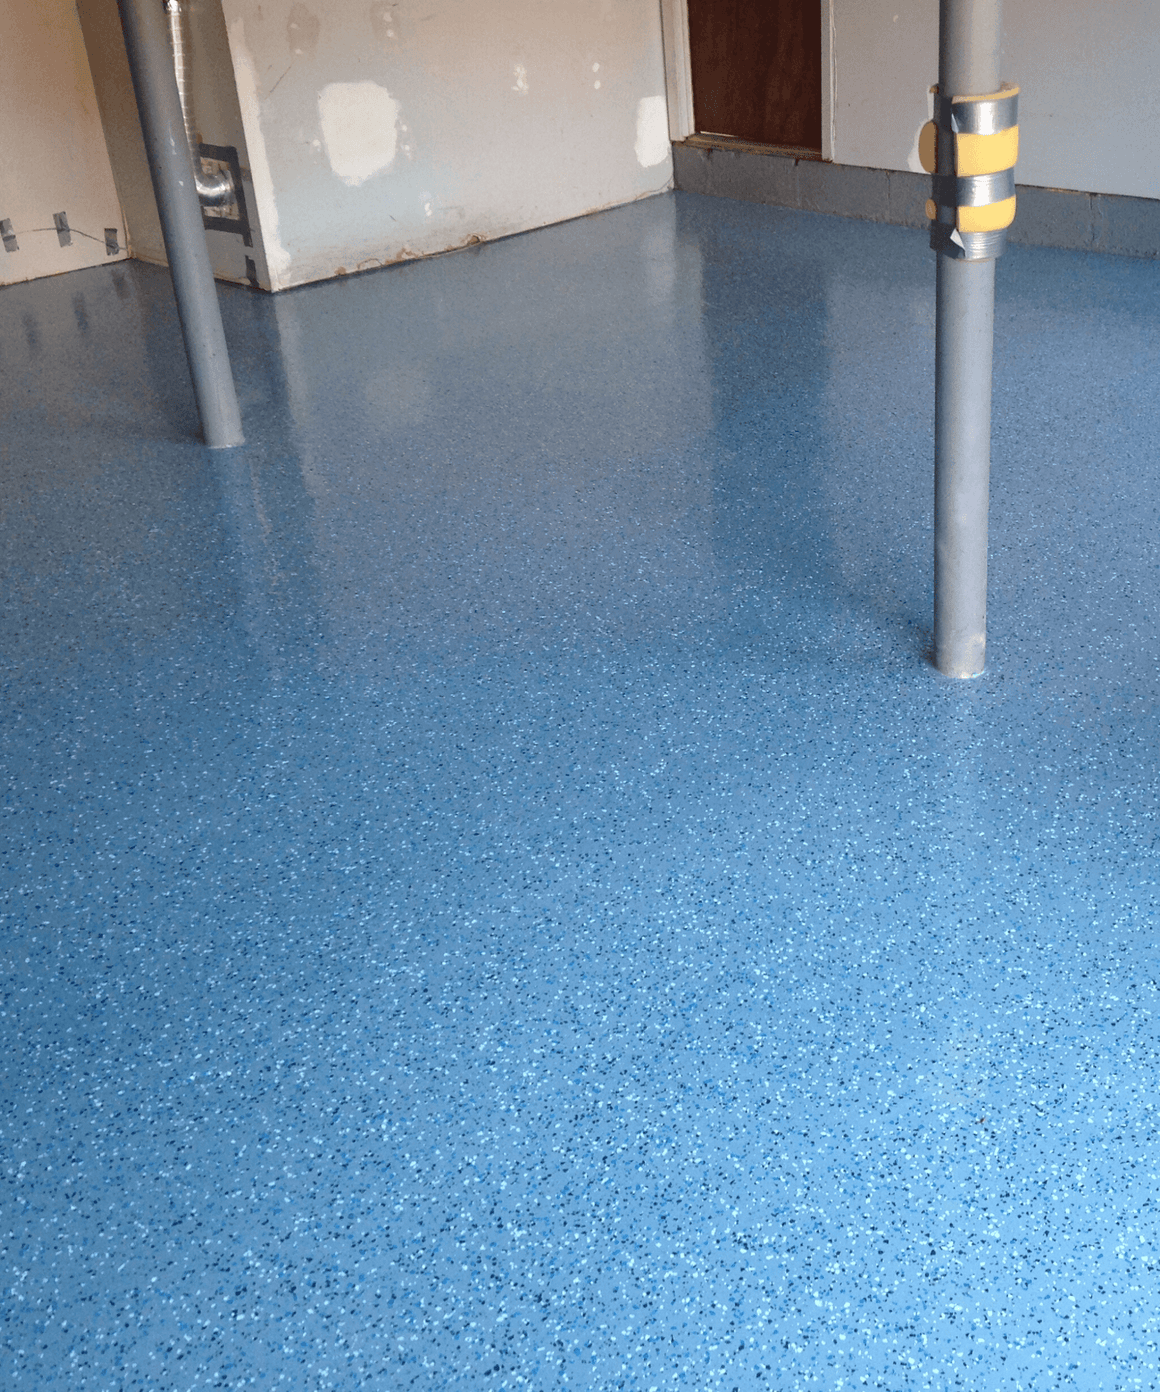
The second coat was where I really saw the magic happen. The color became rich and even, and the waterproof properties became much more apparent. I learned that rushing between coats is a mistake; even though the paint might feel dry to the touch, it needs the full cure time to develop proper adhesion and waterproofing capabilities.

Dealing with Drying Time and Ventilation Challenges
One aspect I hadn’t fully considered was how challenging proper ventilation would be in my basement. Unlike other rooms in the house, basements often have limited airflow, which significantly affects drying times. I ended up bringing in several fans and a dehumidifier to create better air circulation.
The first coat took nearly twice as long to dry as the manufacturer’s recommendations suggested, and I learned this was completely normal for basement applications. The higher humidity and lower temperatures in basements naturally slow the curing process. I had to adjust my timeline and be much more patient than I initially planned.
I also discovered that opening basement windows, when possible, made a huge difference in air quality during the painting process. The fumes from waterproof paint can be stronger than regular wall paint, and good ventilation wasn’t just about drying time; it was essential for my comfort and safety during the project.
Long-Term Results and Maintenance Reality
Now that it’s been over a year since I completed my basement floor project, I can honestly share how the waterproof paint has held up in real-world conditions. Overall, I’m extremely pleased with the results, but there have been a few surprises along the way that I think are worth sharing.
The waterproof qualities have been fantastic. During our last heavy spring rains, I had minor water seepage in that problematic corner, and the painted floor handled it beautifully. The water sat on top of the paint rather than soaking into the concrete, and cleanup was as simple as mopping it up. This alone made the entire project worthwhile.
Maintenance has been easier than I expected. Regular sweeping and occasional mopping with a mild cleaner keep the floor looking great. I did have one small chip where I dropped a heavy tool, but touching it up was straightforward. The key is addressing any damage quickly before moisture can get underneath the paint and cause larger problems.
How long does waterproof basement floor paint actually last?
Based on my experience and research, quality waterproof basement floor paint should last 5-7 years with normal use. I’m at the one-year mark and still very happy with how mine looks. The key factors are proper surface prep, good application technique, and addressing any moisture issues before painting. Higher traffic areas might need touch-ups sooner.
Can I apply waterproof paint over existing basement floor coatings?
This was a big concern for me since my basement had some old sealer. In most cases, you need to remove existing coatings completely for proper adhesion. I ended up grinding off the old sealer in some areas. If you’re not sure what’s on your floor, do a small test patch first or consult with a professional.
How much does it typically cost to paint a basement floor?
For my 800 square foot basement, I spent about $400 on high-quality acrylic waterproof paint, primer, and supplies. This didn’t include tool rental for surface prep. Budget paints might cost half as much, but I’ve learned that basement floors are not the place to cut corners. The moisture challenges make quality paint essential.
Will waterproof paint solve my basement’s moisture problems?
Paint is a barrier, not a solution to serious moisture issues. My basement had minor dampness, and the paint handles that beautifully. However, if you have standing water, significant seepage, or major humidity problems, you need to address those issues first. Paint won’t stop water from finding its way in through other means.
How slippery does waterproof basement floor paint get when wet?
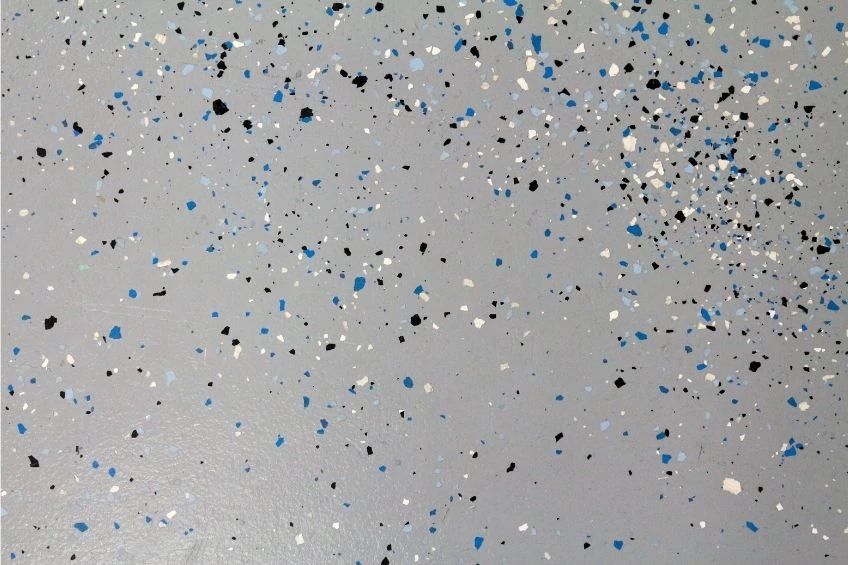
This was something I worried about, especially near my laundry area. Most waterproof paints do become somewhat slippery when wet. I added a non-slip additive to my final coat in high-risk areas, which helped significantly. You can also choose textured versions of waterproof paint for better traction throughout.
Can pets and kids safely use a basement with newly painted floors?
After the paint fully cures (usually 7-10 days), it’s completely safe for family and pets. During application and curing, I kept everyone out of the basement due to fumes and the need for undisturbed drying. Once cured, the surface is actually easier to clean than bare concrete, which is great for play areas and pet spaces.

Liquid Rubber Basement Waterproofing Liquid Rubber Basement

Tips on Choosing Basement Floor Paint
Basement Cement Floor Paints
Reasons Why You Should Epoxy Your Basement Floor

Concrete Floor Paint
How to Waterproof a Garage Floor with DRYLOK® Products?
Related Posts: