When I decided to renovate my home three years ago, bamboo flooring caught my attention as an eco-friendly alternative to traditional hardwood. Initially, I was skeptical about its durability and appearance, but after extensive research and hands-on experience, I became a complete convert. Installing bamboo flooring myself not only saved me thousands of dollars but also gave me immense satisfaction knowing I contributed to environmental sustainability. This journey taught me valuable lessons about preparation, installation techniques, and maintenance that I’m excited to share with fellow DIY enthusiasts.
Understanding Bamboo Flooring Types and Quality
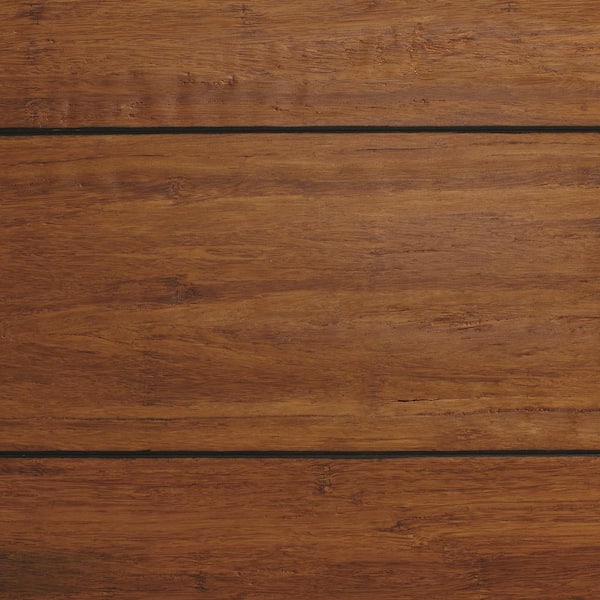
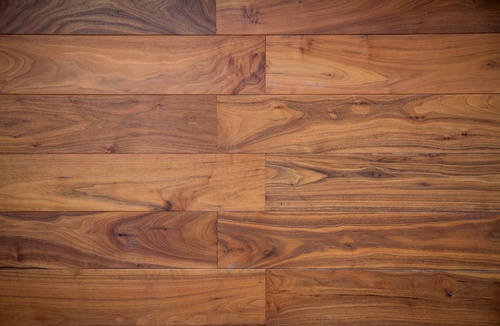
My first lesson came when I discovered that not all bamboo flooring is created equal. Strand-woven bamboo proved to be the most durable option, with density ratings often exceeding traditional oak hardwood. I learned to identify quality by examining the manufacturing process and checking for consistent coloring throughout each plank. Horizontal grain patterns offer a classic look, while vertical grain provides a more contemporary appearance.
The difference between solid and engineered bamboo became crucial in my material selection process. Solid bamboo works best in stable climates with consistent humidity levels, while engineered versions handle moisture fluctuations better. I chose engineered bamboo for my kitchen and bathrooms after experiencing humidity issues in my previous home. The three-layer construction provides stability while maintaining authentic bamboo aesthetics.
Quality indicators include smooth edges, consistent thickness, and proper moisture content between 6-12%. I invested in a moisture meter to test samples before purchase, which saved me from potential installation problems later. Higher-grade bamboo features tighter grain patterns and fewer visible joints. The investment in premium materials pays off through easier installation and better long-term performance.
Essential Tools and Materials for Success
My tool collection grew significantly during this project, but I found that basic carpentry tools handle most bamboo installation tasks effectively. A quality miter saw became indispensable for precise cuts, while a pneumatic flooring nailer sped up the installation process considerably. I rented specialized tools initially, then purchased frequently used items as my confidence grew with each completed room.
Proper underlayment selection proved more critical than I initially realized for bamboo flooring success. Foam underlayment works well over concrete subfloors, while cork provides excellent sound dampening for second-story installations. I experimented with different materials and found that moisture barriers are essential in humid climates. The right underlayment prevents squeaking and extends floor life significantly.
Measuring tools, spacers, and tapping blocks became my daily companions throughout the installation process. I learned to cut bamboo planks face-down to prevent chipping, using a fine-tooth blade for clean edges. Safety equipment, including knee pads, safety glasses, and dust mask,s protected me during long installation days. Quality tools make the difference between frustrating struggles and smooth progress.
Preparing Your Space for Installation
Subfloor preparation consumed more time than actual bamboo installation in my experience, but this foundation work determines long-term success. I spent two full days leveling my subfloor using self-leveling compound in low spots and sanding down high areas. Moisture testing revealed hidden problems in my basement that required additional vapor barriers before proceeding with installation.
Acclimation became a crucial step I nearly skipped during my first attempt at bamboo flooring installation. Bamboo planks must adjust to your home’s temperature and humidity for 48-72 hours minimum. I stacked planks with spacers between layers, allowing air circulation around all surfaces. This patience prevented gaps and buckling that plague rushed installations.
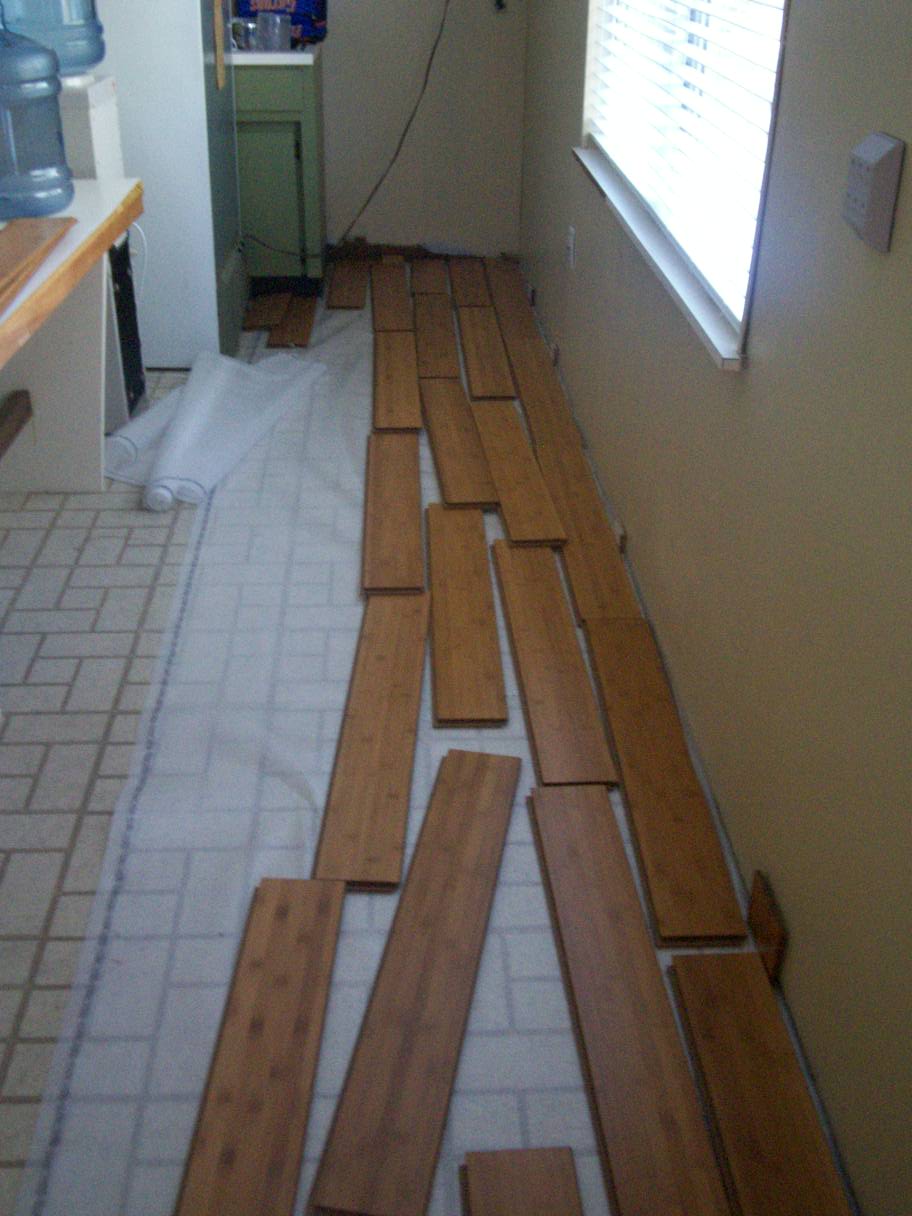
Room preparation involves removing existing flooring, cleaning thoroughly, and establishing straight reference lines for your first row. I learned to snap chalk lines parallel to the longest wall, accounting for out-of-square rooms common in older homes. Proper planning prevents installation errors that become increasingly difficult to correct as you progress across the room.

Step-by-Step Installation Process
Starting with the first row correctly sets the foundation for your entire bamboo flooring installation project. I measure carefully from my reference line, leaving expansion gaps of 1/4 inch around all room perimeters. The groove side faces the wall, with the tongue side ready for the next row connection. Getting this first row perfectly straight and properly spaced prevents compounding errors later.
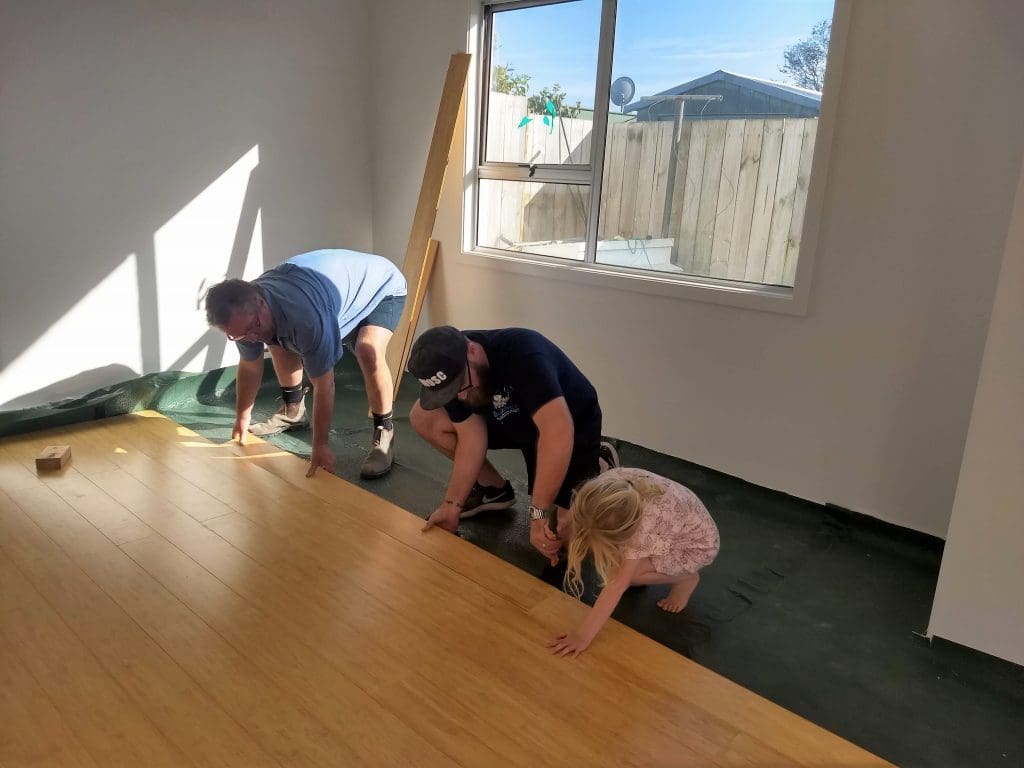
My installation rhythm developed as I progressed, with each plank fitting snugly against its neighbors using gentle tapping motions. I learned to stagger end joints by at least 6 inches between adjacent rows, creating a more natural appearance and stronger overall structure. Pre-drilling prevents splitting when nailing near plank ends, especially important with bamboo’s dense fiber structure.
Troubleshooting becomes essential when encountering obstacles like heating vents, doorways, and irregular wall angles throughout the installation process. I developed templates for complex cuts and learned to work around obstacles systematically. The final rows often require ripping planks to width, which demands careful measuring and patience for professional-looking results that complete the installation properly.
Finishing Touches and Transitions
Transition strips became my secret weapon for connecting bamboo flooring to adjacent rooms and different floor types seamlessly. I learned to match transition heights precisely, preventing tripping hazards while maintaining visual flow throughout my home. Reducer strips work perfectly where bamboo meets lower surfaces like vinyl or tile, while T-moldings handle the same-height transitions between different materials.
Baseboards and quarter-round molding hide expansion gaps while providing finished appearances that complete the bamboo flooring installation beautifully. I discovered that painting trim before installation saves time and produces cleaner results than trying to paint around installed flooring. Caulking between trim and walls eliminates dust collection areas while creating professional-looking finished edges.
Door casings often require undercutting to accommodate bamboo flooring thickness, which I accomplish using an oscillating saw for precise cuts. I learned to test-fit pieces before final installation, making adjustments as needed for perfect transitions. These finishing details separate amateur installations from professional-quality results that add value to your home investment.

Maintenance and Long-Term Care
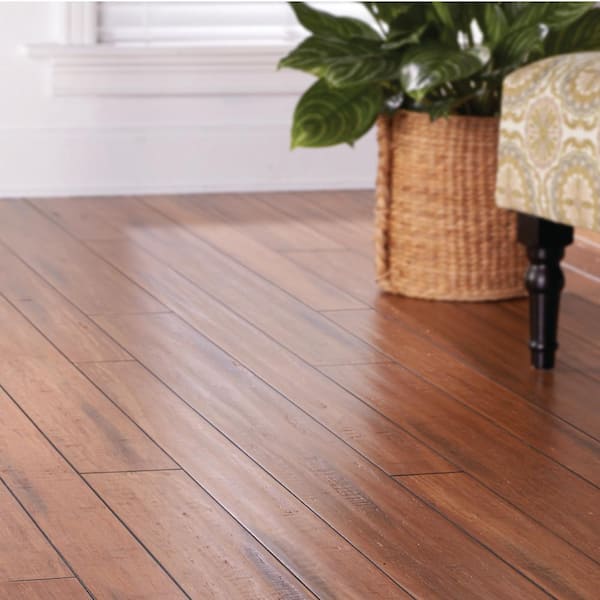
Daily maintenance of bamboo flooring requires minimal effort but consistent attention to preserve its beauty and durability over time. I sweep daily using microfiber dust mops that capture particles without scratching the surface finish. Weekly damp mopping with bamboo-specific cleaners removes deeper dirt while maintaining the protective coating that prevents moisture damage and surface wear.
Preventive care strategies protect bamboo flooring from damage that could require costly repairs or replacement down the road. I installed felt pads under furniture legs and strategically placed area rugs in high-traffic zones to minimize wear patterns. Maintaining consistent humidity levels between 30-50% prevents expansion and contraction that causes gaps and buckling in bamboo installations.
Refinishing bamboo flooring extends its lifespan significantly when performed properly every 3-5 years, depending on traffic levels and wear patterns. I learned to recognize early signs of finish wear before damage reaches the bamboo itself. Light sanding and recoating restore the protective layer and refresh appearance, making refinishing a worthwhile investment in maintaining your bamboo flooring installation.
How difficult is bamboo flooring installation compared to traditional hardwood for a beginner DIYer?
Bamboo flooring installation follows similar techniques to hardwood but offers some beginner-friendly advantages. The material is generally lighter and easier to handle, with consistent dimensions that simplify cutting and fitting. However, bamboo requires more careful moisture management and specific cutting techniques to prevent chipping. I found the learning curve manageable with patience and proper preparation.
What’s the typical cost comparison between DIY bamboo installation versus hiring professional installers?
DIY bamboo installation typically costs $3-6 per square foot for materials and supplies, while professional installation adds $3-5 per square foot in labor costs. For my 800-square-foot project, I saved approximately $2,400 by doing the work myself. However, factor in tool costs, time investment, and potential mistakes when calculating true savings for your specific situation.

How long should I expect a complete bamboo flooring DIY project to take from start to finish?
My 800-square-foot bamboo installation took six full days, including subfloor preparation, acclimation time, and finishing work. Smaller rooms might take 2-3 days, while larger spaces or complex layouts require additional time. Plan for unexpected delays and don’t rush the process. Quality installation requires patience, and rushing leads to costly mistakes that take longer to fix.
What are the most common mistakes that DIY bamboo flooring installers make during their projects?
The biggest mistakes I see include inadequate subfloor preparation, insufficient acclimation time, and improper expansion gap sizing. Many beginners also underestimate the importance of straight starting lines and consistent spacing. Rushing the installation process leads to gaps, squeaks, and premature wear. Taking time for proper preparation prevents most installation problems.
Can bamboo flooring be installed in bathrooms, kitchens, and other high-moisture areas safely?
Engineered bamboo flooring handles moisture better than solid bamboo, making it suitable for kitchens with proper installation techniques. However, I avoid bamboo in full bathrooms where standing water is common. Proper vapor barriers, adequate ventilation, and prompt cleanup of spills are essential for moisture-prone areas. Consider luxury vinyl plank for the wettest locations instead.
How do I know if my subfloor is suitable for bamboo flooring installation without a professional assessment?
Check for level surfaces within 3/16 inch over 10 feet using a straight edge, and ensure the subfloor feels solid without squeaks or soft spots. Moisture content should be below 12% for wood subfloors and properly sealed for concrete. I use a moisture meter and walk the entire area checking for problems. Address any issues before installation begins for the best results.
Bamboo Flooring – Hardwood Flooring

Non-Sandable Floor Refinishing N-Hance Orlando West

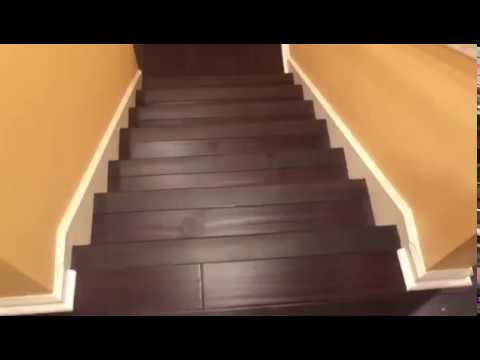
Bamboo Staircase Flooring Installation
Related Posts: