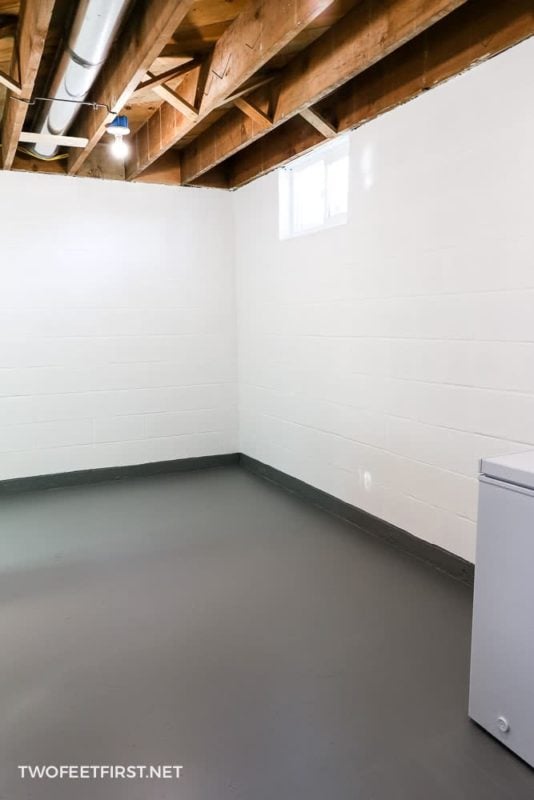
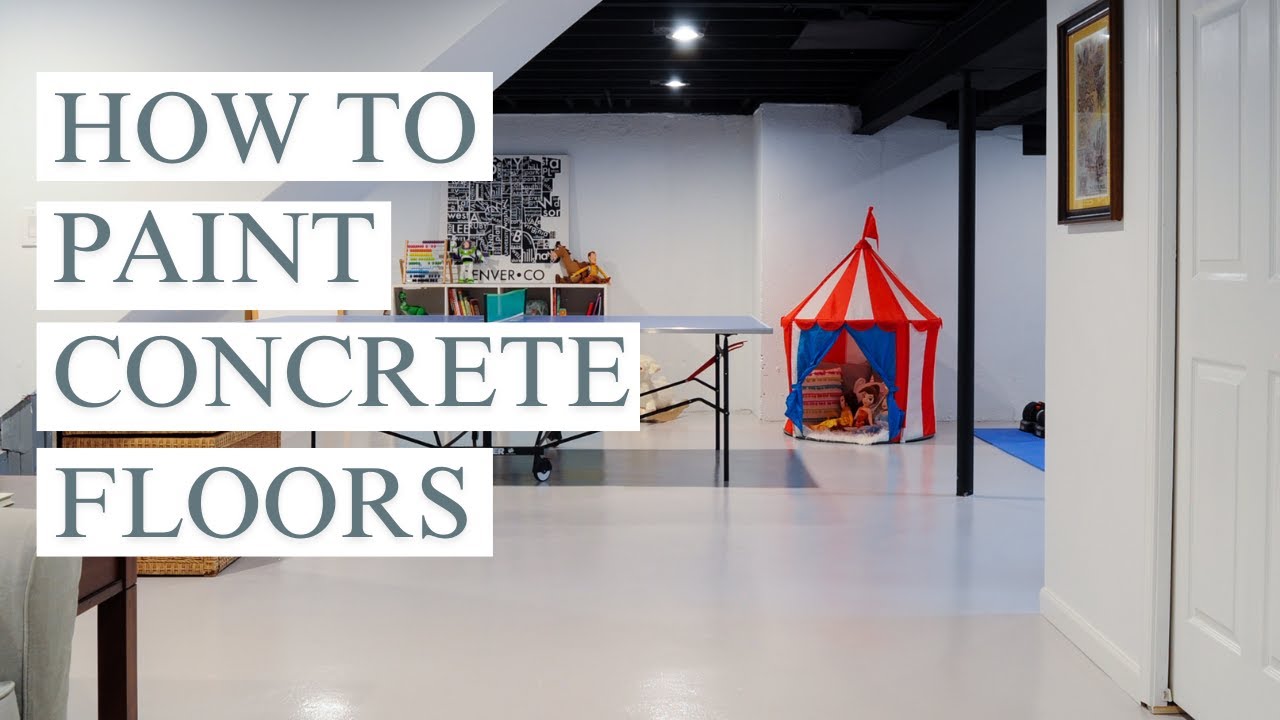
Three years ago, my basement was nothing more than a dreary storage space with ugly, stained concrete floors that made the entire area feel cold and unwelcoming. The thought of spending time down there, let alone creating a functional living space, seemed impossible. However, after discovering the transformative power of basement floor paint, I completely changed my perspective on what this space could become. Through trial and error, research, and plenty of hands-on experience, I learned that painting basement floors is one of the most cost-effective ways to create a beautiful, functional lower level that adds significant value to your home.
Choosing the Right Paint for Your Basement
My first mistake was thinking any floor paint would work for basement applications, which led to a disappointing failure within six months. Basement floors require specialized epoxy or polyurethane paints designed to handle moisture, temperature fluctuations, and heavy foot traffic. I learned that water-based epoxy paints offer easier cleanup and lower odor levels, while solvent-based options provide superior durability and chemical resistance for high-traffic areas.
Understanding moisture ratings became crucial when selecting paint products for my basement flooring project. I discovered that paints with moisture vapor transmission rates below 3 pounds work best for concrete floors prone to humidity issues. Testing revealed that my basement had moderate moisture problems, requiring a paint system specifically designed for damp environments. This knowledge prevented costly repainting projects later.
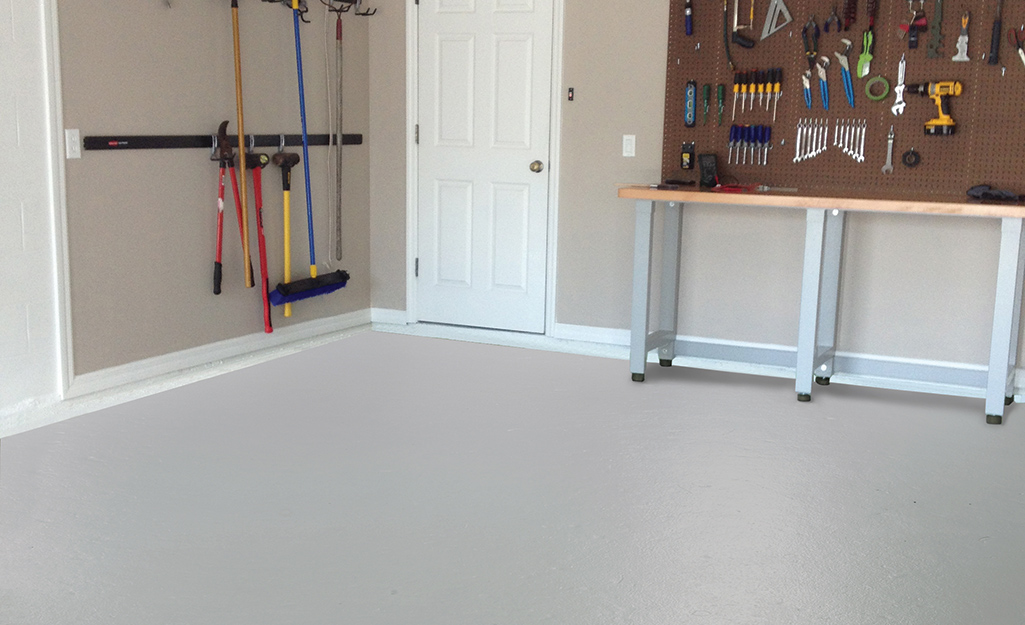
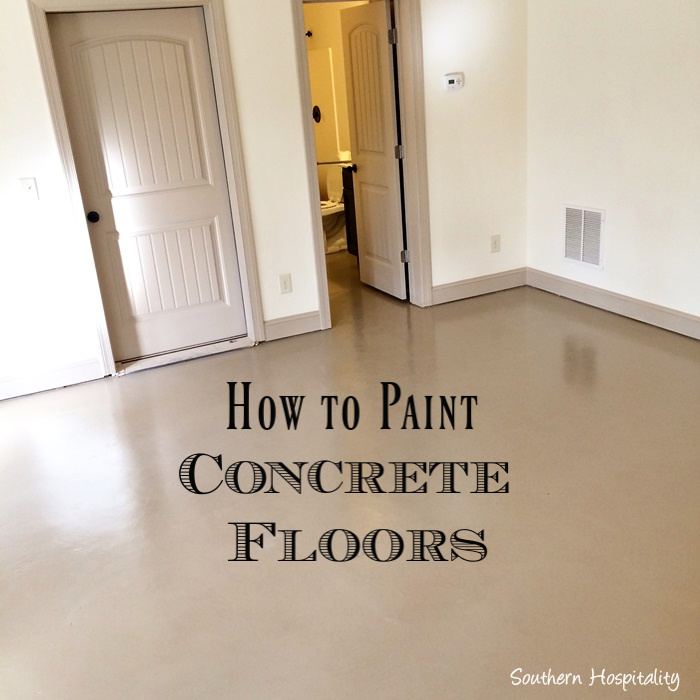
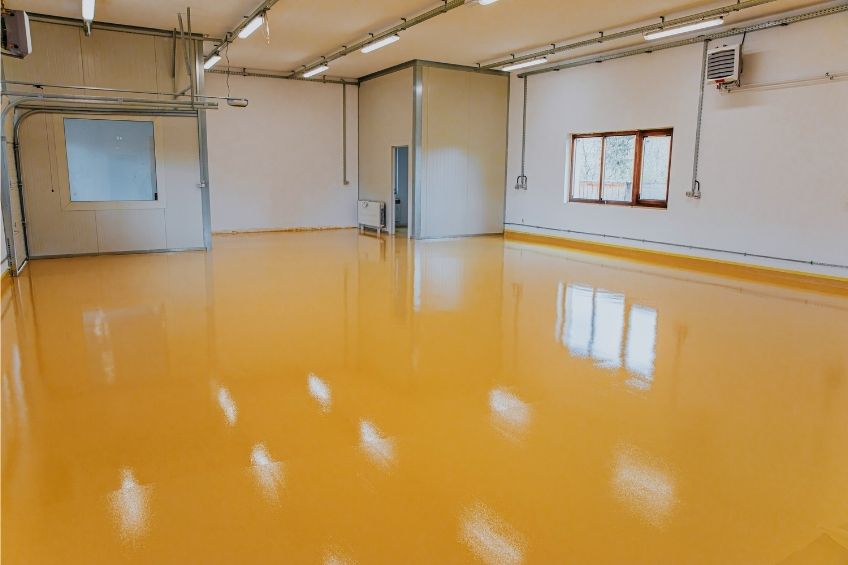
Color selection proved more important than I initially realized for creating the right atmosphere in basement spaces. Light colors like gray, beige, and off-white reflect available light and make spaces feel larger and more inviting. I chose a warm gray shade that complemented my planned furniture and lighting scheme. Darker colors hide dirt better but can make basements feel smaller and more cave-like than desired.
Preparing Your Concrete for Success
Surface preparation consumed more time than actual painting in my basement flooring project, but this foundation work determines long-term paint adhesion and durability. I started by thoroughly cleaning the concrete with degreasing agents to remove oil stains, dirt, and any previous coatings that might interfere with new paint bonding. Power washing, followed by complete drying, eliminated stubborn stains and surface contaminants.
Etching the concrete surface creates the mechanical bond necessary for paint adhesion that prevents peeling and chipping over time. I used muriatic acid solution carefully, following all safety precautions, including proper ventilation and protective equipment. The etching process opens concrete pores, allowing paint to penetrate deeply rather than simply sitting on the surface. This step cannot be skipped for lasting results.
Crack repair and leveling became essential before painting could begin on my basement floor. I filled hairline cracks with concrete crack filler and used self-leveling compound for larger imperfections and low spots. Moisture testing with plastic sheeting revealed areas needing additional drying time before paint application. Patience during preparation prevents paint failure and ensures professional-looking results that last for years.
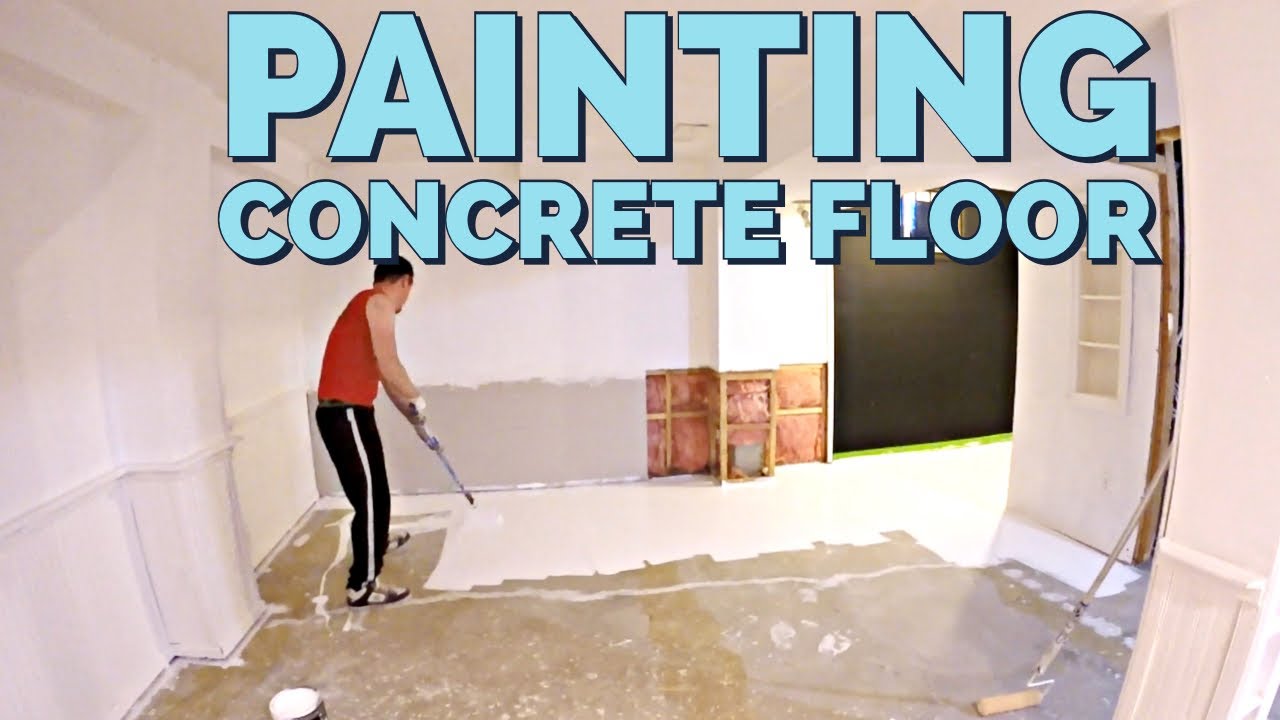
Step-by-Step Painting Process
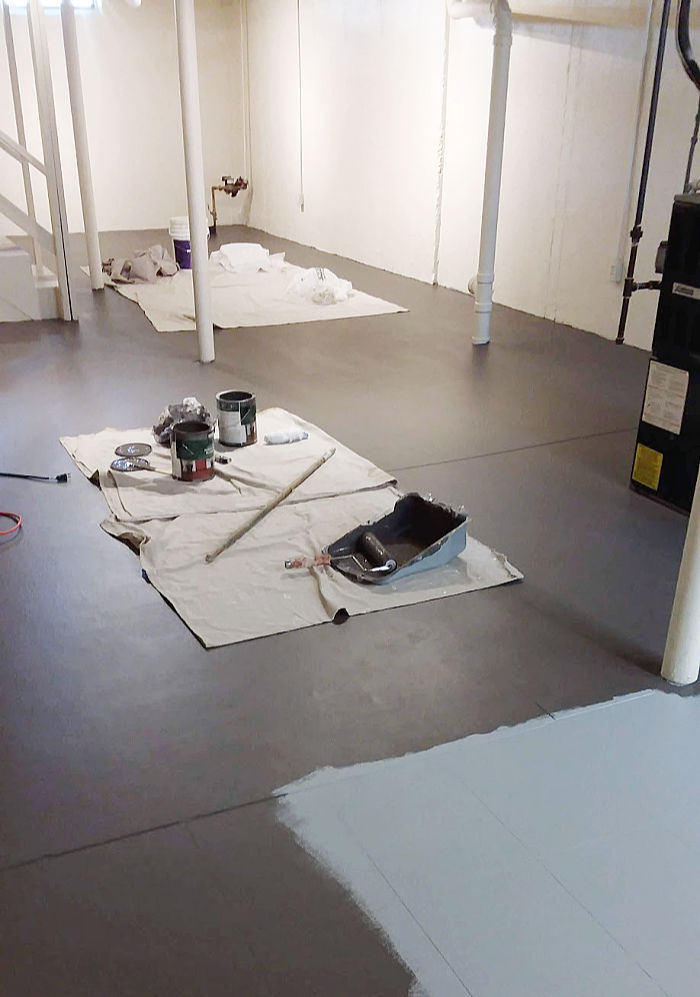
My painting strategy involved working in manageable sections to maintain wet edges and ensure uniform coverage across the entire basement floor. I started with primer application using a high-quality roller designed for concrete surfaces, working from the furthest corner toward the exit. Back-rolling ensures complete coverage and eliminates bubbles that can compromise the finish quality and durability of the painted surface.
Temperature and humidity control during painting became critical factors that I learned to monitor carefully throughout the application process. I maintained a basement temperature between 50-90 degrees Fahrenheit with humidity below 85% for optimal paint curing conditions. Using fans for air circulation helped speed drying times while preventing dust from settling on wet paint surfaces during the curing period.
Multiple thin coats produced better results than attempting to achieve full coverage with single thick applications on my basement floor. I allowed proper drying time between coats, typically 4-6 hours, depending on temperature and humidity conditions. The second coat filled any missed spots and provided the uniform appearance I wanted. Patience during this process prevents runs, sags, and other application defects.
Adding Decorative Elements and Patterns
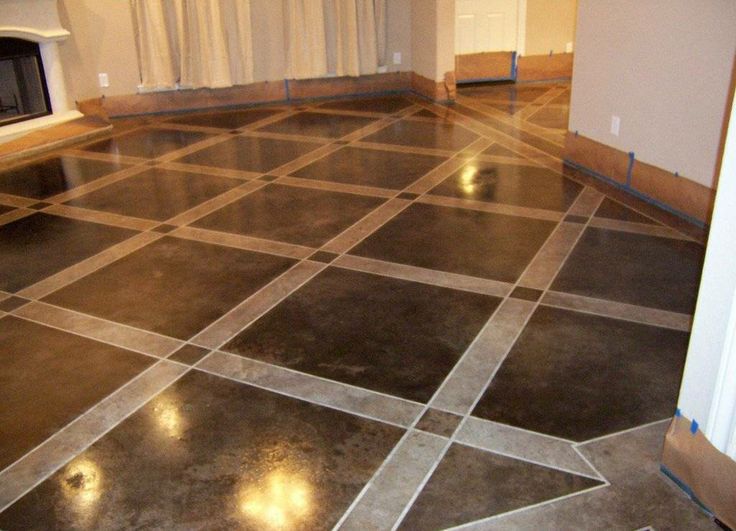
Stenciling transformed my plain painted basement floor into something that looked professionally designed rather than simply functional. I created a geometric pattern using painter’s tape and contrasting colors that added visual interest without overwhelming the space. The key was planning the pattern carefully and ensuring tape adhesion to prevent paint bleeding under the edges during application.
Faux finishing techniques allowed me to mimic expensive materials like marble or granite at a fraction of the cost. I experimented with sponging, ragging, and color washing methods on test areas before committing to the final design. These techniques hide imperfections in concrete while creating sophisticated appearances that complement basement lighting and décor choices perfectly.
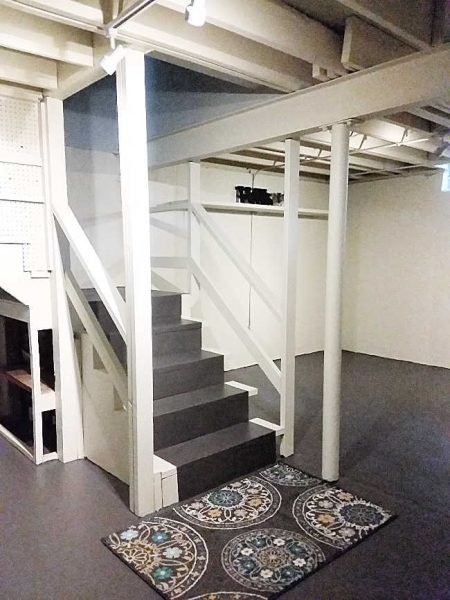
Border designs around room perimeters provided definition and polish to my painted basement floor project. I used contrasting colors and geometric shapes to create visual boundaries that separate different functional areas within the larger space. These design elements cost very little in additional materials but dramatically improved the overall aesthetic appeal and perceived value of the finished basement.

Protecting Your Investment
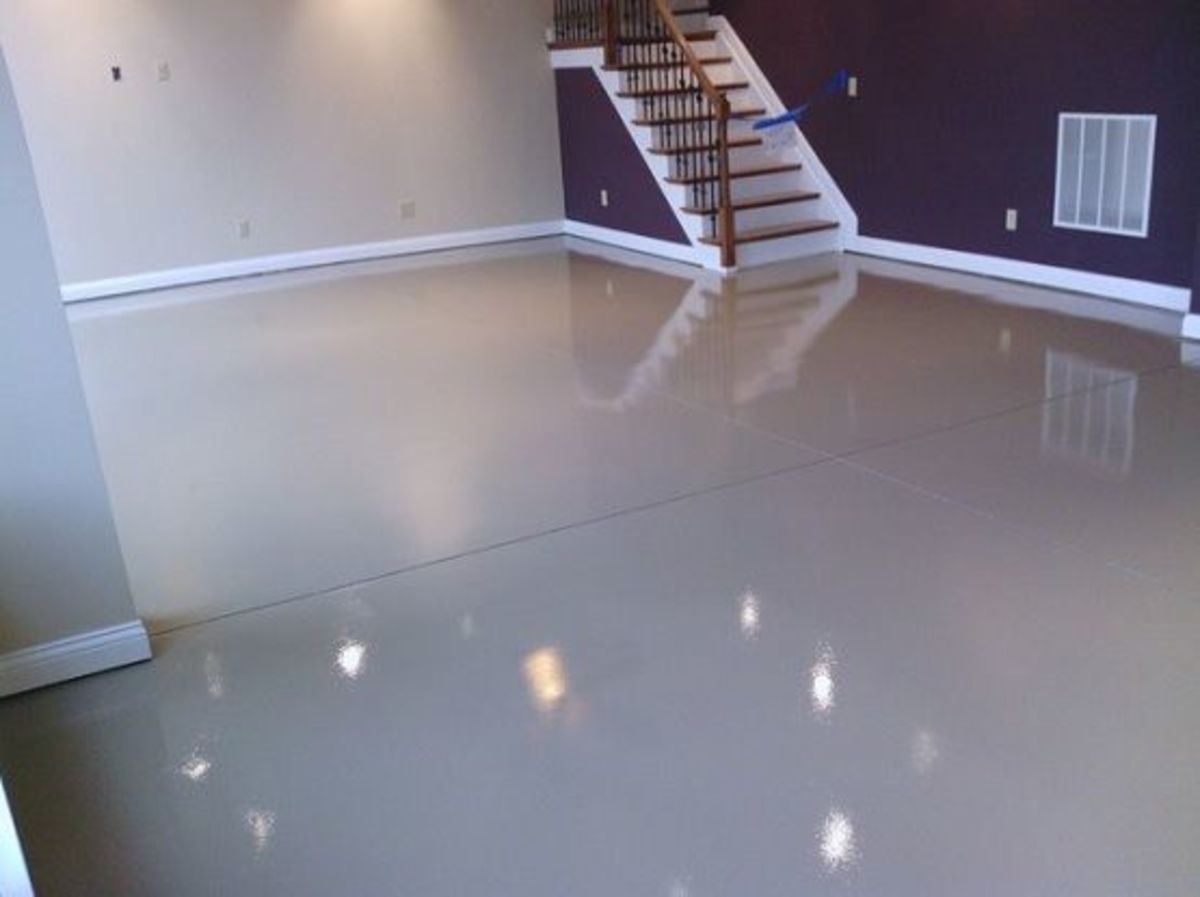
Clear protective topcoats became essential for maintaining the beauty and durability of my painted basement floor over time. I applied two coats of clear polyurethane sealer designed specifically for painted concrete surfaces. This protective layer resists scuffs, stains, and wear while making routine cleaning much easier. The investment in quality topcoat pays dividends through extended paint life.
Furniture protection strategies prevent damage to newly painted basement floors from heavy items and daily use. I installed felt pads under all furniture legs and used area rugs in high-traffic zones to minimize wear patterns. Rolling casters require protective mats to prevent indentations and scratches. These simple precautions preserve the painted surface and maintain its appearance for years.
Regular maintenance keeps painted basement floors looking fresh and extends their lifespan significantly beyond initial expectations. I sweep daily and mop weekly with pH-neutral cleaners that won’t damage the paint or protective coating. Addressing spills immediately prevents staining, while annual inspection identifies areas needing touch-up before problems become major repairs requiring complete repainting.
Troubleshooting Common Problems
Paint adhesion failures taught me valuable lessons about proper surface preparation and environmental conditions during application. Peeling usually indicates inadequate cleaning, insufficient etching, or moisture problems that weren’t addressed before painting. I learned to identify and fix these issues early rather than waiting for complete failure. Prevention through proper preparation costs less than repairs later.
Moisture problems can destroy painted basement floors if not addressed properly during the preparation and selection phases. I installed better ventilation and used moisture-resistant paint systems after experiencing bubbling in my first attempt. Vapor barriers and proper drainage prevent moisture from undermining paint adhesion. These solutions protect your investment and prevent recurring problems.
Color matching became important when touching up damaged areas or expanding painted surfaces to adjacent rooms in my basement. I kept detailed records of paint brands, colors, and batch numbers for future reference. Test patches in inconspicuous areas ensure color matches before committing to larger repairs. Proper documentation saves time and frustration during maintenance projects years later.
How long does painted basement floor last before needing to be redone, and what factors affect its lifespan?
My painted basement floors have lasted three years with minimal wear, but lifespan depends on traffic levels, moisture conditions, and paint quality. High-quality epoxy systems can last 5-10 years with proper maintenance, while basic latex paints may need refreshing every 2-3 years. Proper surface preparation, moisture control, and protective topcoats significantly extend paint life and maintain appearance.
Can I paint over existing painted basement floors, or do I need to remove the old paint first?
You can paint over existing paint if it’s well-adhered and properly prepared through cleaning and light sanding for adhesion. I tested small areas first to ensure compatibility between old and new paint systems. However, peeling or failing paint must be completely removed before repainting. Proper preparation prevents adhesion problems and ensures professional results that last.

What’s the total cost for painting a typical basement floor, including all materials and supplies needed?
My 800-square-foot basement cost approximately $300-400 for high-quality epoxy paint, primer, cleaning supplies, and application tools. Basic latex systems cost $150-250, while premium epoxy systems can reach $500-600. Consider long-term value when selecting materials, as higher-quality paints require less frequent reapplication and provide better durability for high-traffic areas.
How do I deal with moisture issues before painting my basement floor to prevent paint failure?
Address moisture sources before painting through improved drainage, ventilation, and waterproofing as needed for your specific situation. I used plastic sheeting tests to identify problem areas requiring additional drying time or moisture barriers. Dehumidifiers help control ambient humidity during and after painting. Never paint over wet or damp concrete, as this guarantees adhesion failure.
What tools and equipment do I need for a successful basement floor painting project from start to finish?
Essential tools include concrete cleaner, etching solution, rollers, brushes, paint trays, and safety equipment for proper application. I rented a pressure washer for initial cleaning and used high-quality synthetic rollers designed for concrete surfaces. Invest in good brushes for detail work around edges and obstacles. Proper tools make the difference between amateur and professional-looking results.
How long must I wait before walking on or placing furniture on newly painted basement floors?
Wait at least 24-48 hours before light foot traffic and 72 hours before placing furniture on newly painted basement floors. Full cure time varies by paint type but typically takes 7-14 days for maximum durability and chemical resistance. I waited one week before moving furniture back and used protective pads immediately. Patience during curing prevents damage and ensures optimal performance.
Tips on Choosing Basement Floor Paint
Concrete Floor Paint Colors – Indoor Concrete kitchen floor

Is Painting a Basement Floor a Good Idea?

Practical Tiips for a Painted Vinyl Basement Floor
Best Basement Cement Floor Paints – Our Complete Guide
Painted Concrete Floors, Concrete Floor Paint; Tutorial u0026 Videos
Related Posts: