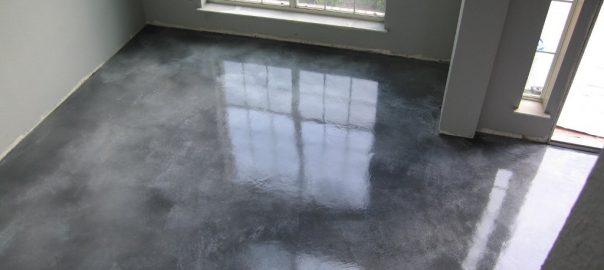
Concrete floors, while known for their durability and low maintenance, can sometimes lose their luster over time. Stains, efflorescence, and general wear and tear can leave them looking dull and uninviting. One effective method to restore their appearance and prepare them for coatings or sealants is acid washing. This process involves applying a diluted acid solution to the concrete surface to etch it slightly, removing surface contaminants, and creating a porous profile for better adhesion. It’s a task that requires careful execution and adherence to safety precautions, but the results can be quite rewarding, bringing back the clean and refreshed look of your concrete.
Understanding the Purpose of Acid Washing
From my experience, acid washing isn’t just about cleaning; it’s more about preparing the concrete for its next phase, whether that’s a fresh coat of paint, a protective sealant, or even just to have a cleaner, more uniform surface. The mild etching action of the acid opens up the pores in the concrete. Think of it like slightly roughening a smooth surface before applying glue – it gives the subsequent coating something to grip onto. This improved adhesion is crucial for the longevity and performance of any applied finish. Without proper preparation, you might find your coatings peeling or failing prematurely, which is something I’d want to avoid.
Beyond adhesion, acid washing does a fantastic job of removing stubborn surface contaminants that regular cleaning methods often leave behind. Things like mineral deposits, light grease stains, and that white powdery substance called efflorescence can be quite persistent. The acidic solution reacts with these impurities, breaking them down and making them easier to rinse away. It’s like a deep cleanse for your concrete, getting rid of the things that detract from its appearance and can even interfere with the performance of sealants or coatings. Seeing those old stains disappear and the concrete regain its natural color is always satisfying.
However, it’s important to remember that acid washing isn’t a cure-all for all concrete problems. It’s primarily a surface preparation technique. Deep-seated stains or significant damage like cracks and pitting will require different approaches. Also, the type and concentration of acid used, as well as the application time, are critical factors. Using too strong a solution or leaving it on for too long can damage the concrete surface. This is why understanding the specific needs of your concrete and proceeding with caution is so important. It’s about achieving that ideal balance of clean and properly etched, without going overboard.
Essential Safety Precautions
Let me tell you, safety should be your absolute top priority when working with acid. I always make sure I’m fully protected before even thinking about mixing the solution. This means wearing chemical-resistant gloves, safety goggles to shield my eyes from any splashes, and appropriate clothing to cover my skin. Long sleeves and pants are a must. You might even consider a chemical-resistant apron for extra protection. It’s just not worth risking a chemical burn or irritation.
Proper ventilation is another non-negotiable aspect. Acid fumes can be quite strong and irritating to your respiratory system. If you’re working indoors or in an enclosed space, make sure you have plenty of fresh air circulating. Open windows and doors, and consider using a fan to help move the air. If the fumes are still strong, a respirator designed for acid vapors might be necessary. Trust me, you don’t want to mess with your lungs.
Finally, having a plan for neutralizing the acid and disposing of the waste safely is crucial. You’ll need a neutralizer like baking soda or trisodium phosphate on hand to stop the acid’s reaction once it has done its job. And when it comes to disposing of the used acid solution, never pour it down the drain or into the environment. Check your local regulations for proper disposal methods. It’s all about being responsible and minimizing any potential harm to yourself and the surroundings.
Preparing the Concrete Surface
Before I even think about bringing out the acid, I make sure the concrete surface is as clean as possible. This involves sweeping away any loose debris, dirt, and dust. You might even need to scrub the floor with a mild detergent and water to remove any surface grime or oil. The goal here is to get rid of anything that might prevent the acid from making proper contact with the concrete itself. Think of it as creating a clean canvas for the acid to work its magic.
Once the initial cleaning is done, it’s important to protect any adjacent areas that you don’t want to be exposed to the acid. This could include walls, metal fixtures, or painted surfaces. Plastic sheeting and painter’s tape are your best friends here. Carefully cover these areas to prevent any accidental splashes or damage. It’s a little extra effort, but it can save you a lot of headaches later on.
Also, before applying the acid to the entire floor, I always recommend testing it in a small, inconspicuous area first. This allows you to see how the acid reacts with your specific concrete and determine the appropriate dilution and dwell time. You’re looking for a slight etching without any significant discoloration or damage. This test spot is your chance to fine-tune your approach and avoid any unwanted surprises on the main floor. It’s a step I never skip.
The Acid Washing Process
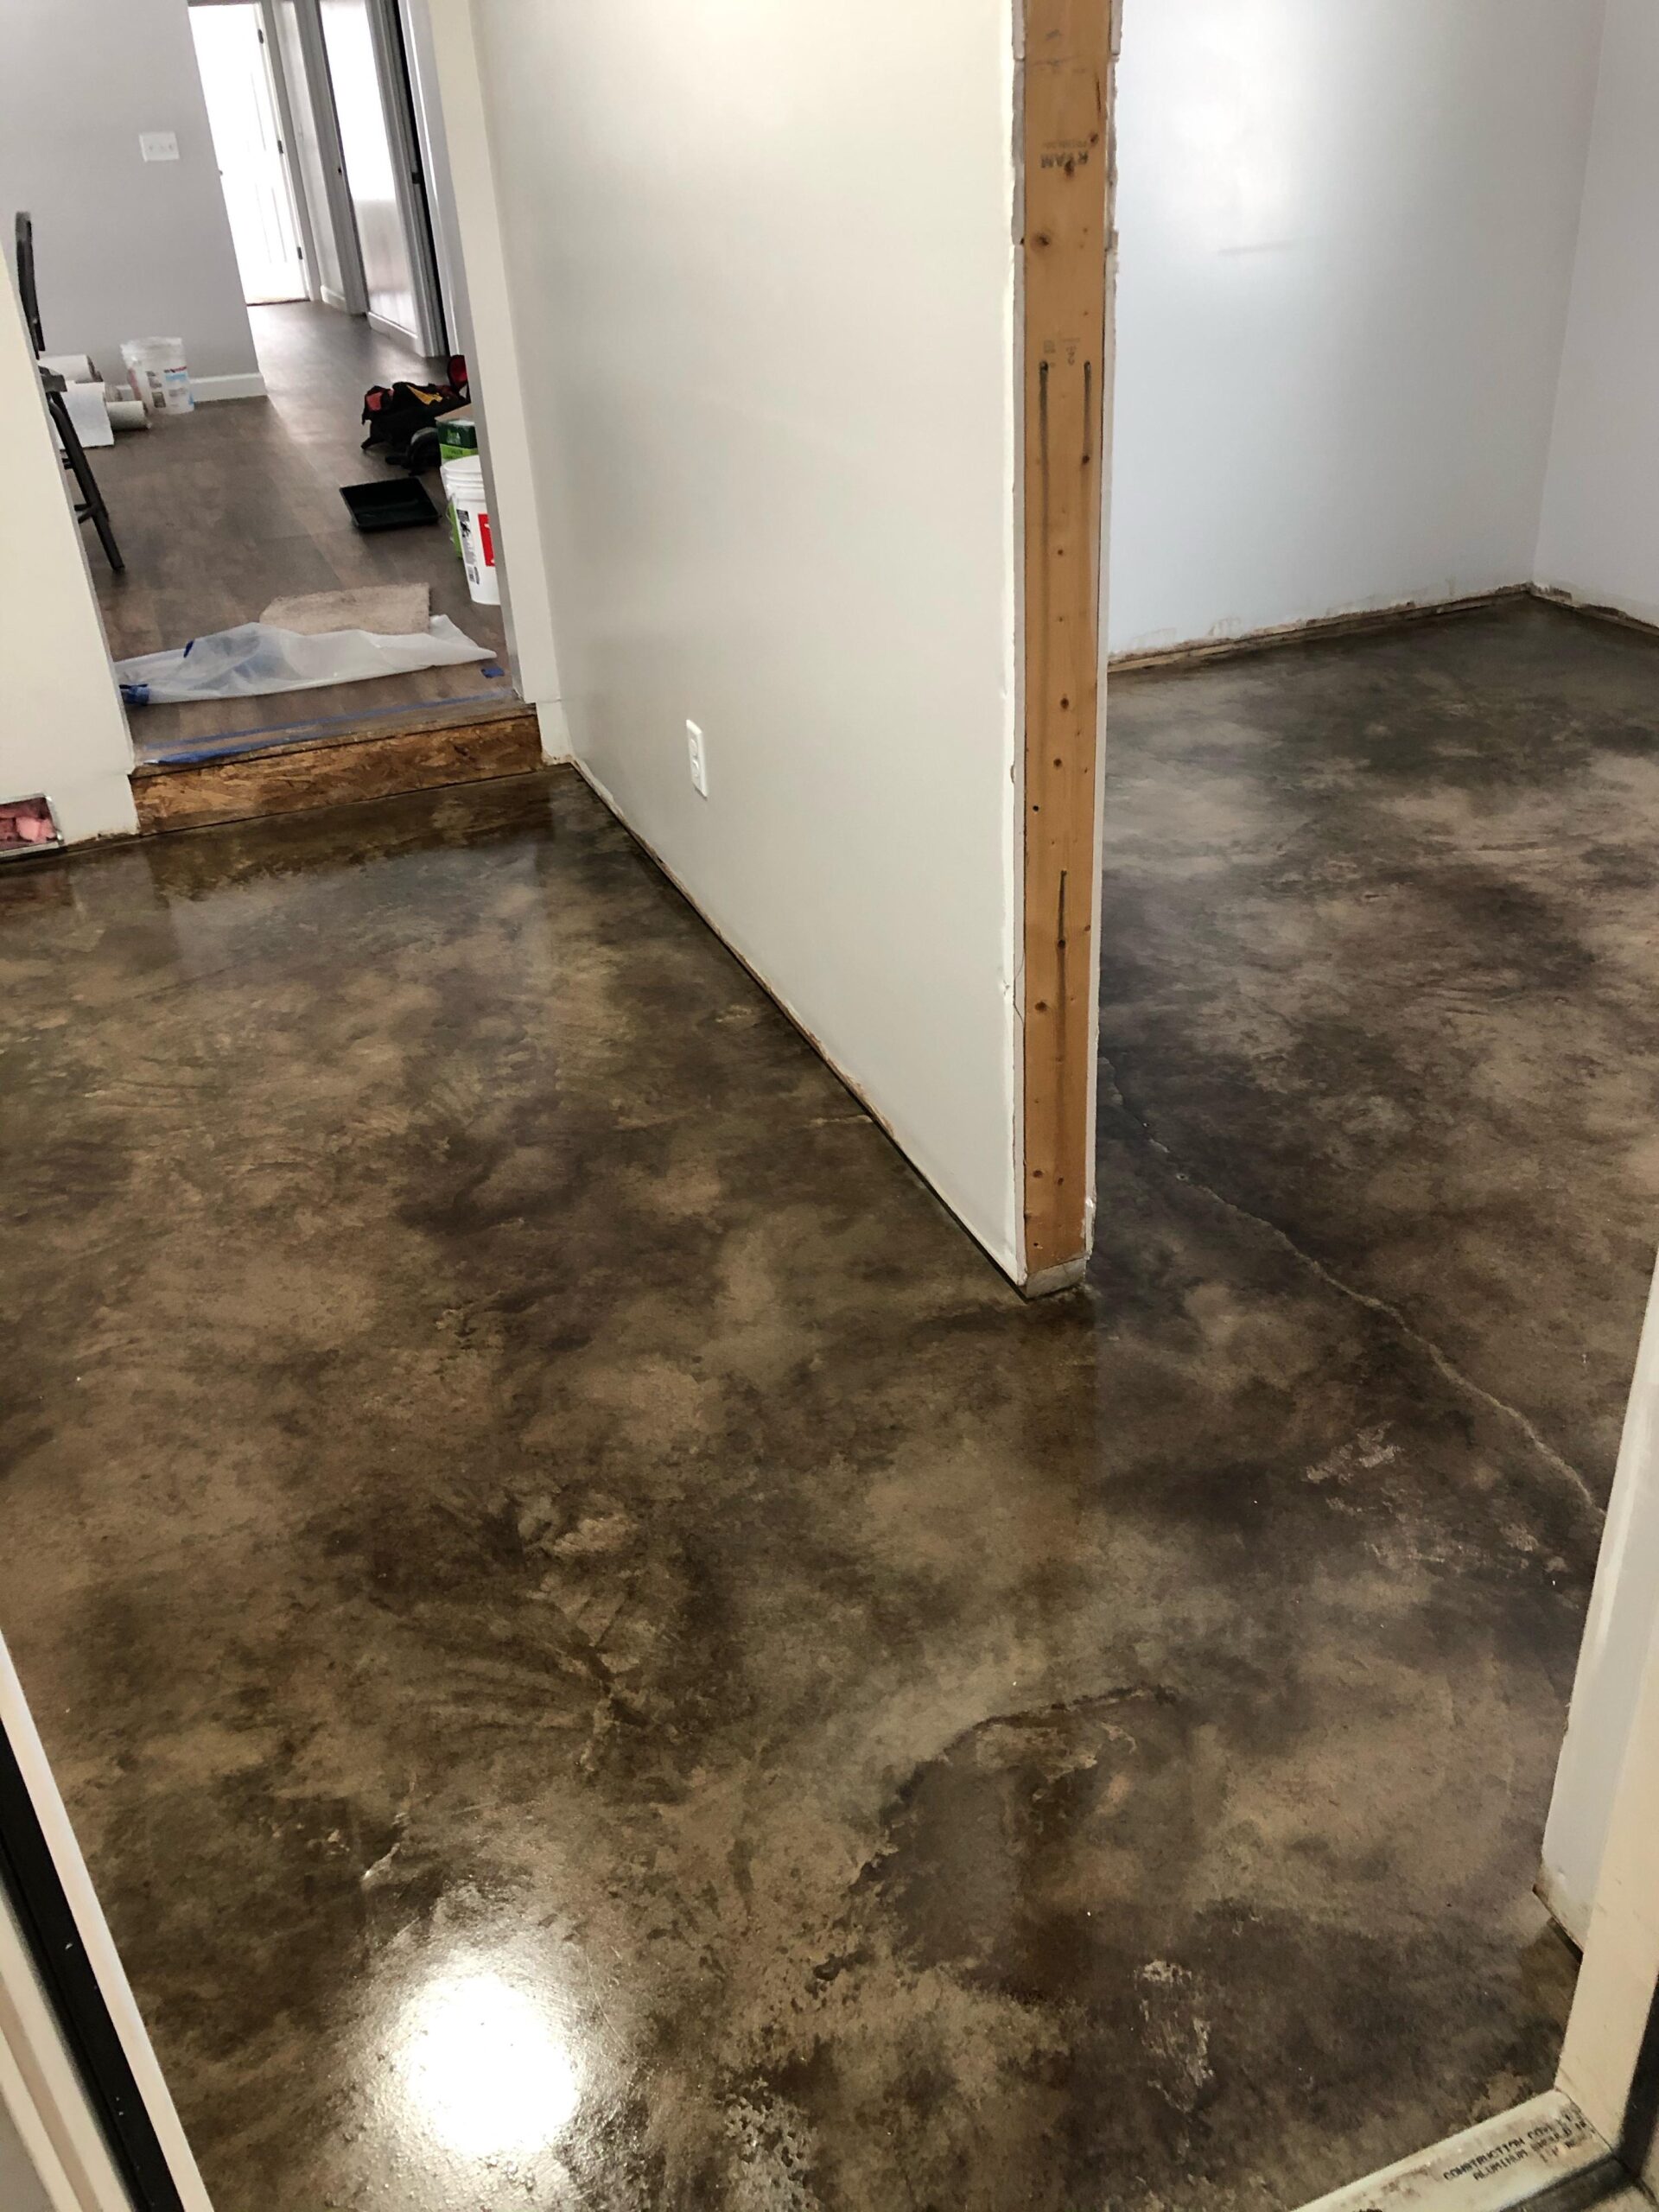
When it comes to applying the acid solution, I find it best to work in manageable sections. This prevents the acid from drying out before it has had a chance to work properly. I usually use a plastic watering can or a low-pressure sprayer to apply the diluted acid evenly over a section of the floor. The key is to get good coverage without puddling. You’ll likely see some bubbling or fizzing as the acid reacts with the concrete and any surface contaminants.
After applying the acid, you need to let it dwell for a specific amount of time. This dwell time will depend on the strength of the acid solution and the condition of your concrete. Generally, it’s somewhere between 5 to 15 minutes, but always refer to the manufacturer’s instructions for the specific product you’re using. Keep an eye on the reaction. You want enough time for the acid to etch the surface and loosen contaminants, but not so long that it starts to damage the concrete.
Once the dwell time is up, it’s crucial to neutralize the acid. This is where your baking soda or trisodium phosphate comes in. Mix it with water according to the instructions and apply it generously to the treated area. You’ll likely see more fizzing as the neutralization process occurs. After a few minutes, rinse the entire area thoroughly with clean water to remove all traces of the acid and the neutralizing solution. Multiple rinses might be necessary to ensure everything is completely washed away.
Neutralization and Rinsing
As I mentioned, neutralizing the acid is a step you absolutely cannot skip. The acid will continue to react with the concrete if you don’t stop it. I usually prepare a solution of baking soda and water – it’s a mild and effective neutralizer. You’ll want to apply this solution generously over the entire area that was treated with the acid. You should see some bubbling as the neutralization process takes place, which is a good sign that it’s working.
Let the neutralizing solution sit on the surface for a few minutes to ensure complete neutralization. Then, the next crucial step is rinsing. And when I say rinse, I mean rinse. You need to flush the concrete thoroughly with clean water to remove all traces of the acid and the neutralizing agent. Any residual acid can interfere with the adhesion of coatings or sealants, and leftover neutralizer can also cause problems.
I often go over the rinsed area multiple times with fresh water, using a hose and a squeegee to ensure everything is washed away. Pay particular attention to any low spots or cracks where residue might accumulate. The goal is to have a completely clean and neutral concrete surface ready for the next step. It might seem like a lot of rinsing, but it’s a critical part of the process for a successful outcome.
Post-Wash Inspection and Next Steps
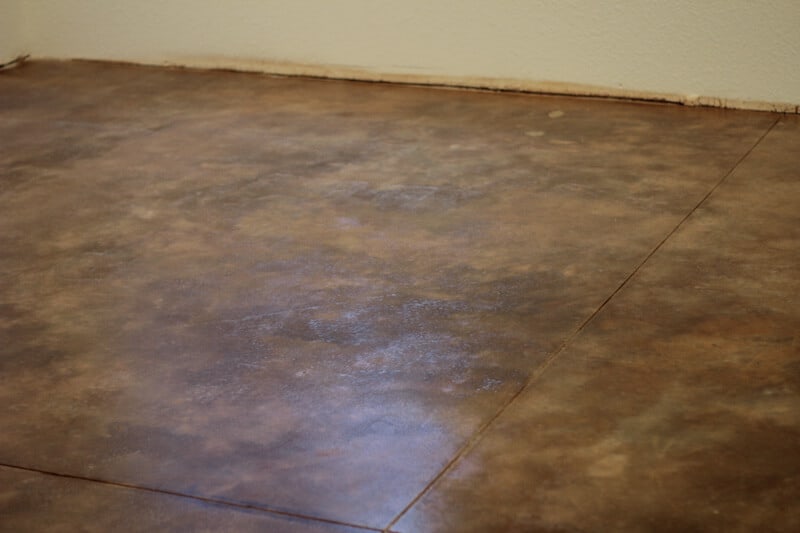
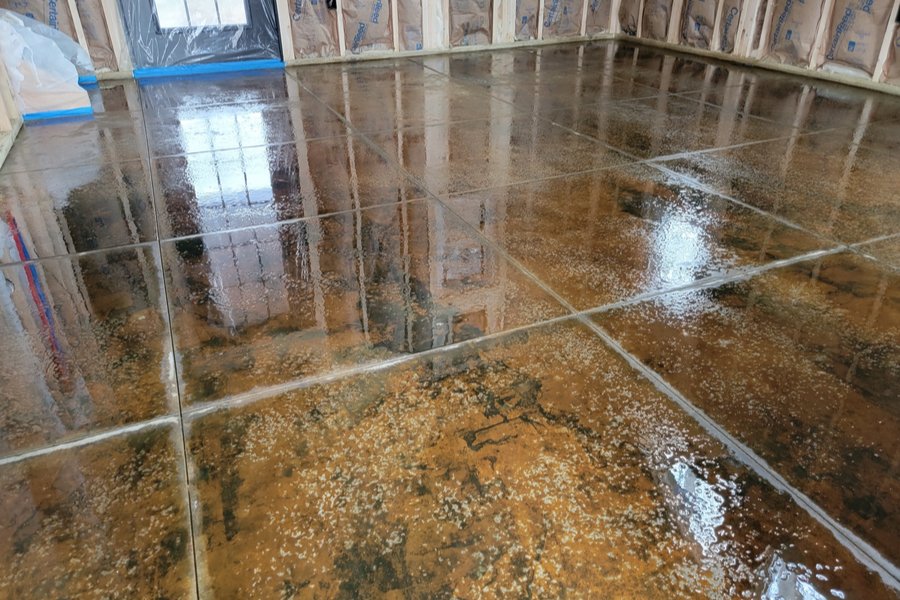
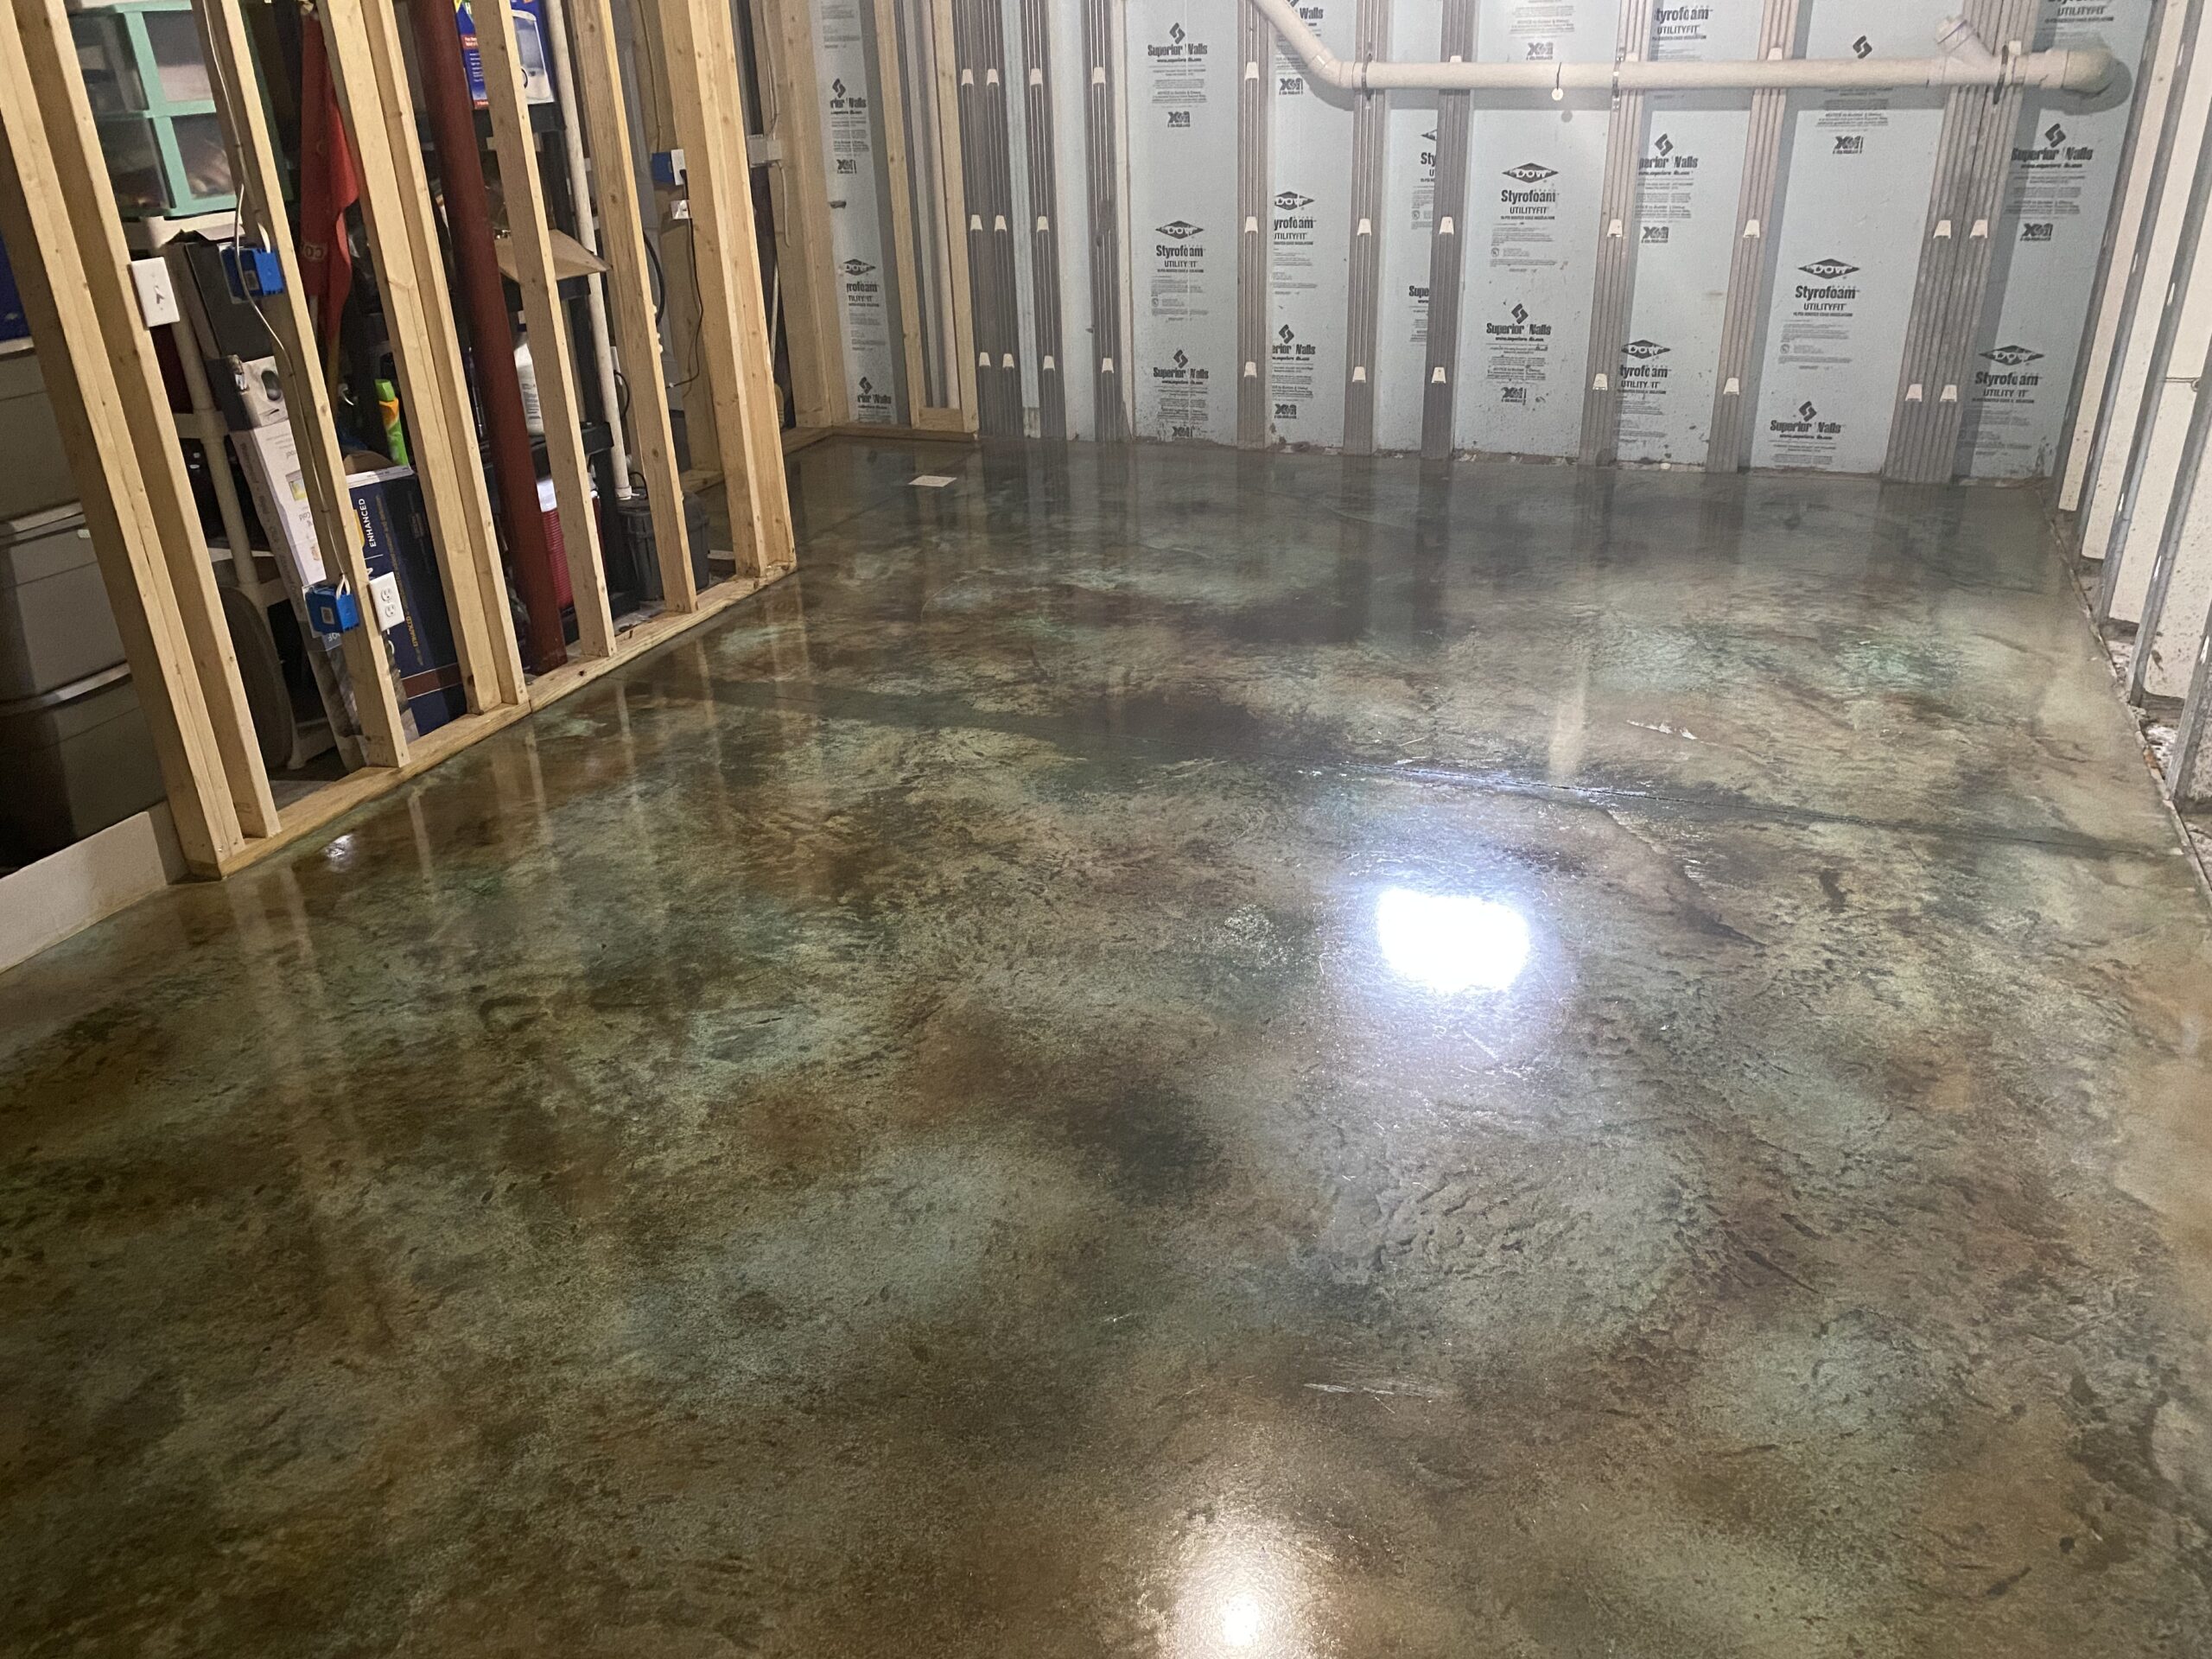
After all the rinsing is done, take some time to inspect the concrete surface. I usually let it dry completely first, as it’s easier to see any issues once the concrete is dry. Look for a uniform, slightly etched surface. You should notice that any surface contaminants you were targeting are gone, and the concrete should have a cleaner, brighter appearance.
If you notice any areas that still have stains or don’t seem properly etched, you might need to repeat the acid washing process on those specific spots. However, be cautious about over-etching, as this can also cause problems. It’s always better to do multiple lighter washes than one aggressive one.
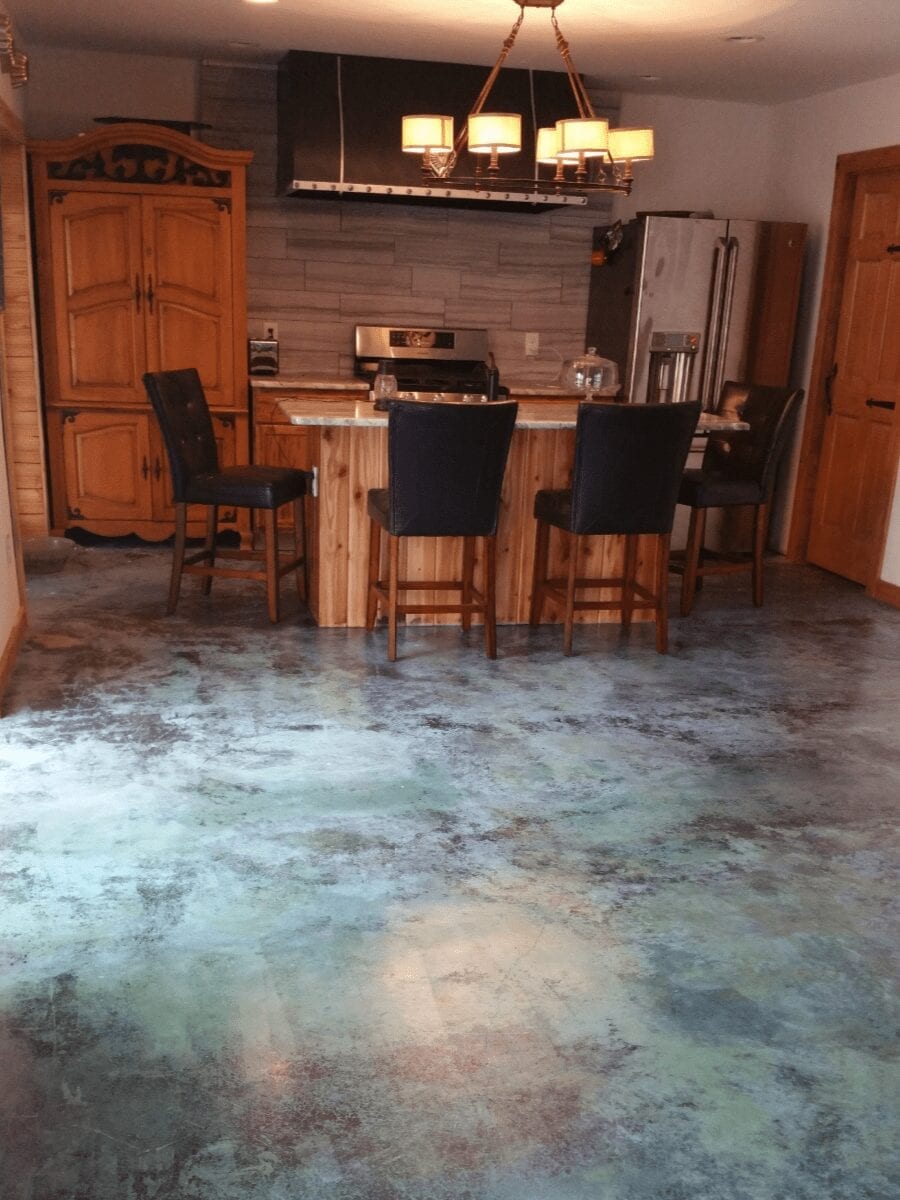
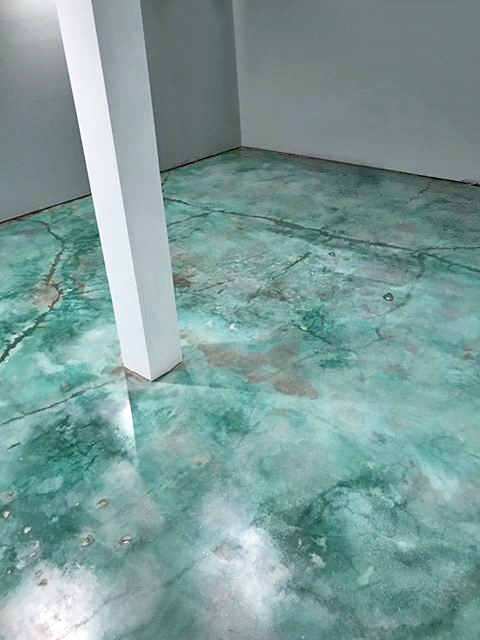
Once you’re satisfied with the results of the acid wash, you can proceed with your next steps, whether that’s applying a concrete sealer, paint, or another type of coating. The acid washing has prepared the surface beautifully, ensuring good adhesion and a long-lasting finish. It’s always rewarding to see the transformation and know that the preparation was done right.

Is acid washing the same as muriatic acid cleaning?
Not exactly. Muriatic acid is a type of hydrochloric acid, and it’s often used for acid washing concrete. However, the term “acid washing” refers to the process of using a diluted acid solution (which could be muriatic acid or another type of concrete etcher) to clean and etch concrete. The key is the dilution and the controlled application for surface preparation, not just aggressive cleaning.
Can I use a pressure washer instead of rinsing with a hose?
Yes, a pressure washer can be very effective for rinsing the concrete after acid washing. It can help to remove the acid and neutralize the solution more thoroughly. However, you still need to ensure you’re using a wide enough fan tip and not applying too much pressure in one spot, which could potentially damage the newly etched surface. Multiple passes with the pressure washer are usually a good idea.
How do I know if I’ve neutralized the acid properly?
One way to check is to pour a small amount of clean water onto the treated area after neutralizing and rinsing. If you see any bubbling or fizzing, it could indicate that there’s still some active acid present, and you might need to rinse again more thoroughly. You can also use pH test strips to check the pH of the rinse water; it should be close to neutral (around 7).
What if I accidentally get acid on my skin or eyes?
If you get acid on your skin, immediately flush the affected area with copious amounts of cool water for at least 15-20 minutes. Remove any contaminated clothing. If you get acid in your eyes, flush them immediately with cool water for at least 20 minutes, holding your eyelids open. In both cases, seek medical attention immediately. Time is critical when dealing with chemical burns.

Can I acid wash colored or stamped concrete?
It’s generally not recommended to acid wash colored or stamped concrete without extreme caution and testing in an inconspicuous area. The acid can potentially alter the color or damage the intricate patterns of stamped concrete. If you need to clean these types of surfaces, milder cleaning methods specifically designed for decorative concrete are usually a safer option.
How often should I acid wash my concrete floor?
Acid washing is typically done as a preparation step before applying a coating or sealant, or when there’s a significant buildup of stubborn stains or efflorescence. It’s not something you should do regularly, as the etching process does remove a small layer of the concrete surface each time. If you maintain your concrete floor with regular cleaning, you should only need to acid wash it infrequently, perhaps every few years or as needed before resealing.
Acid Stained and Washed Concrete Flooring

Reasons Why All Concrete Needs To Be Acid-Stained
ACID STAINED FLOORS –
Acid Stained Concrete

Stained Concrete Floors: Cost, How to Stain DIY, Maintenance Tips
Acid Stained Concrete Floor – Photos & Ideas
Related Posts: