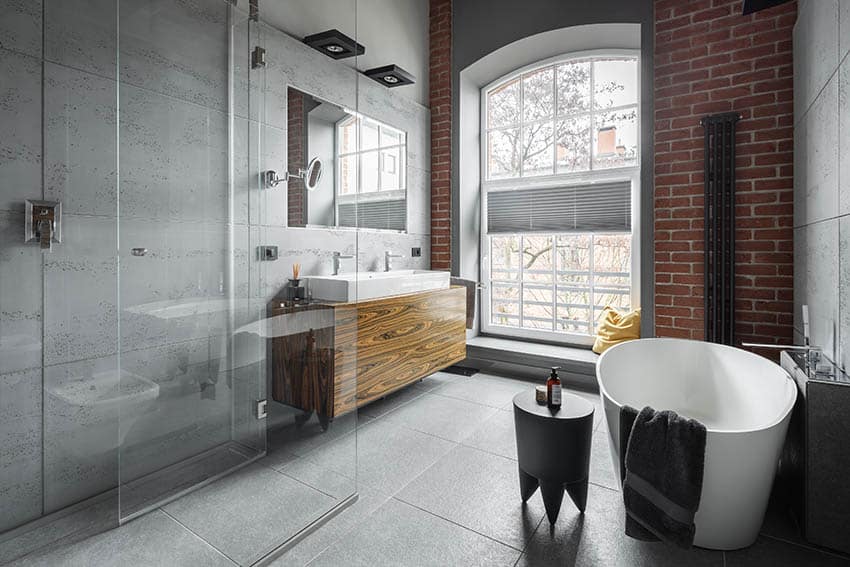
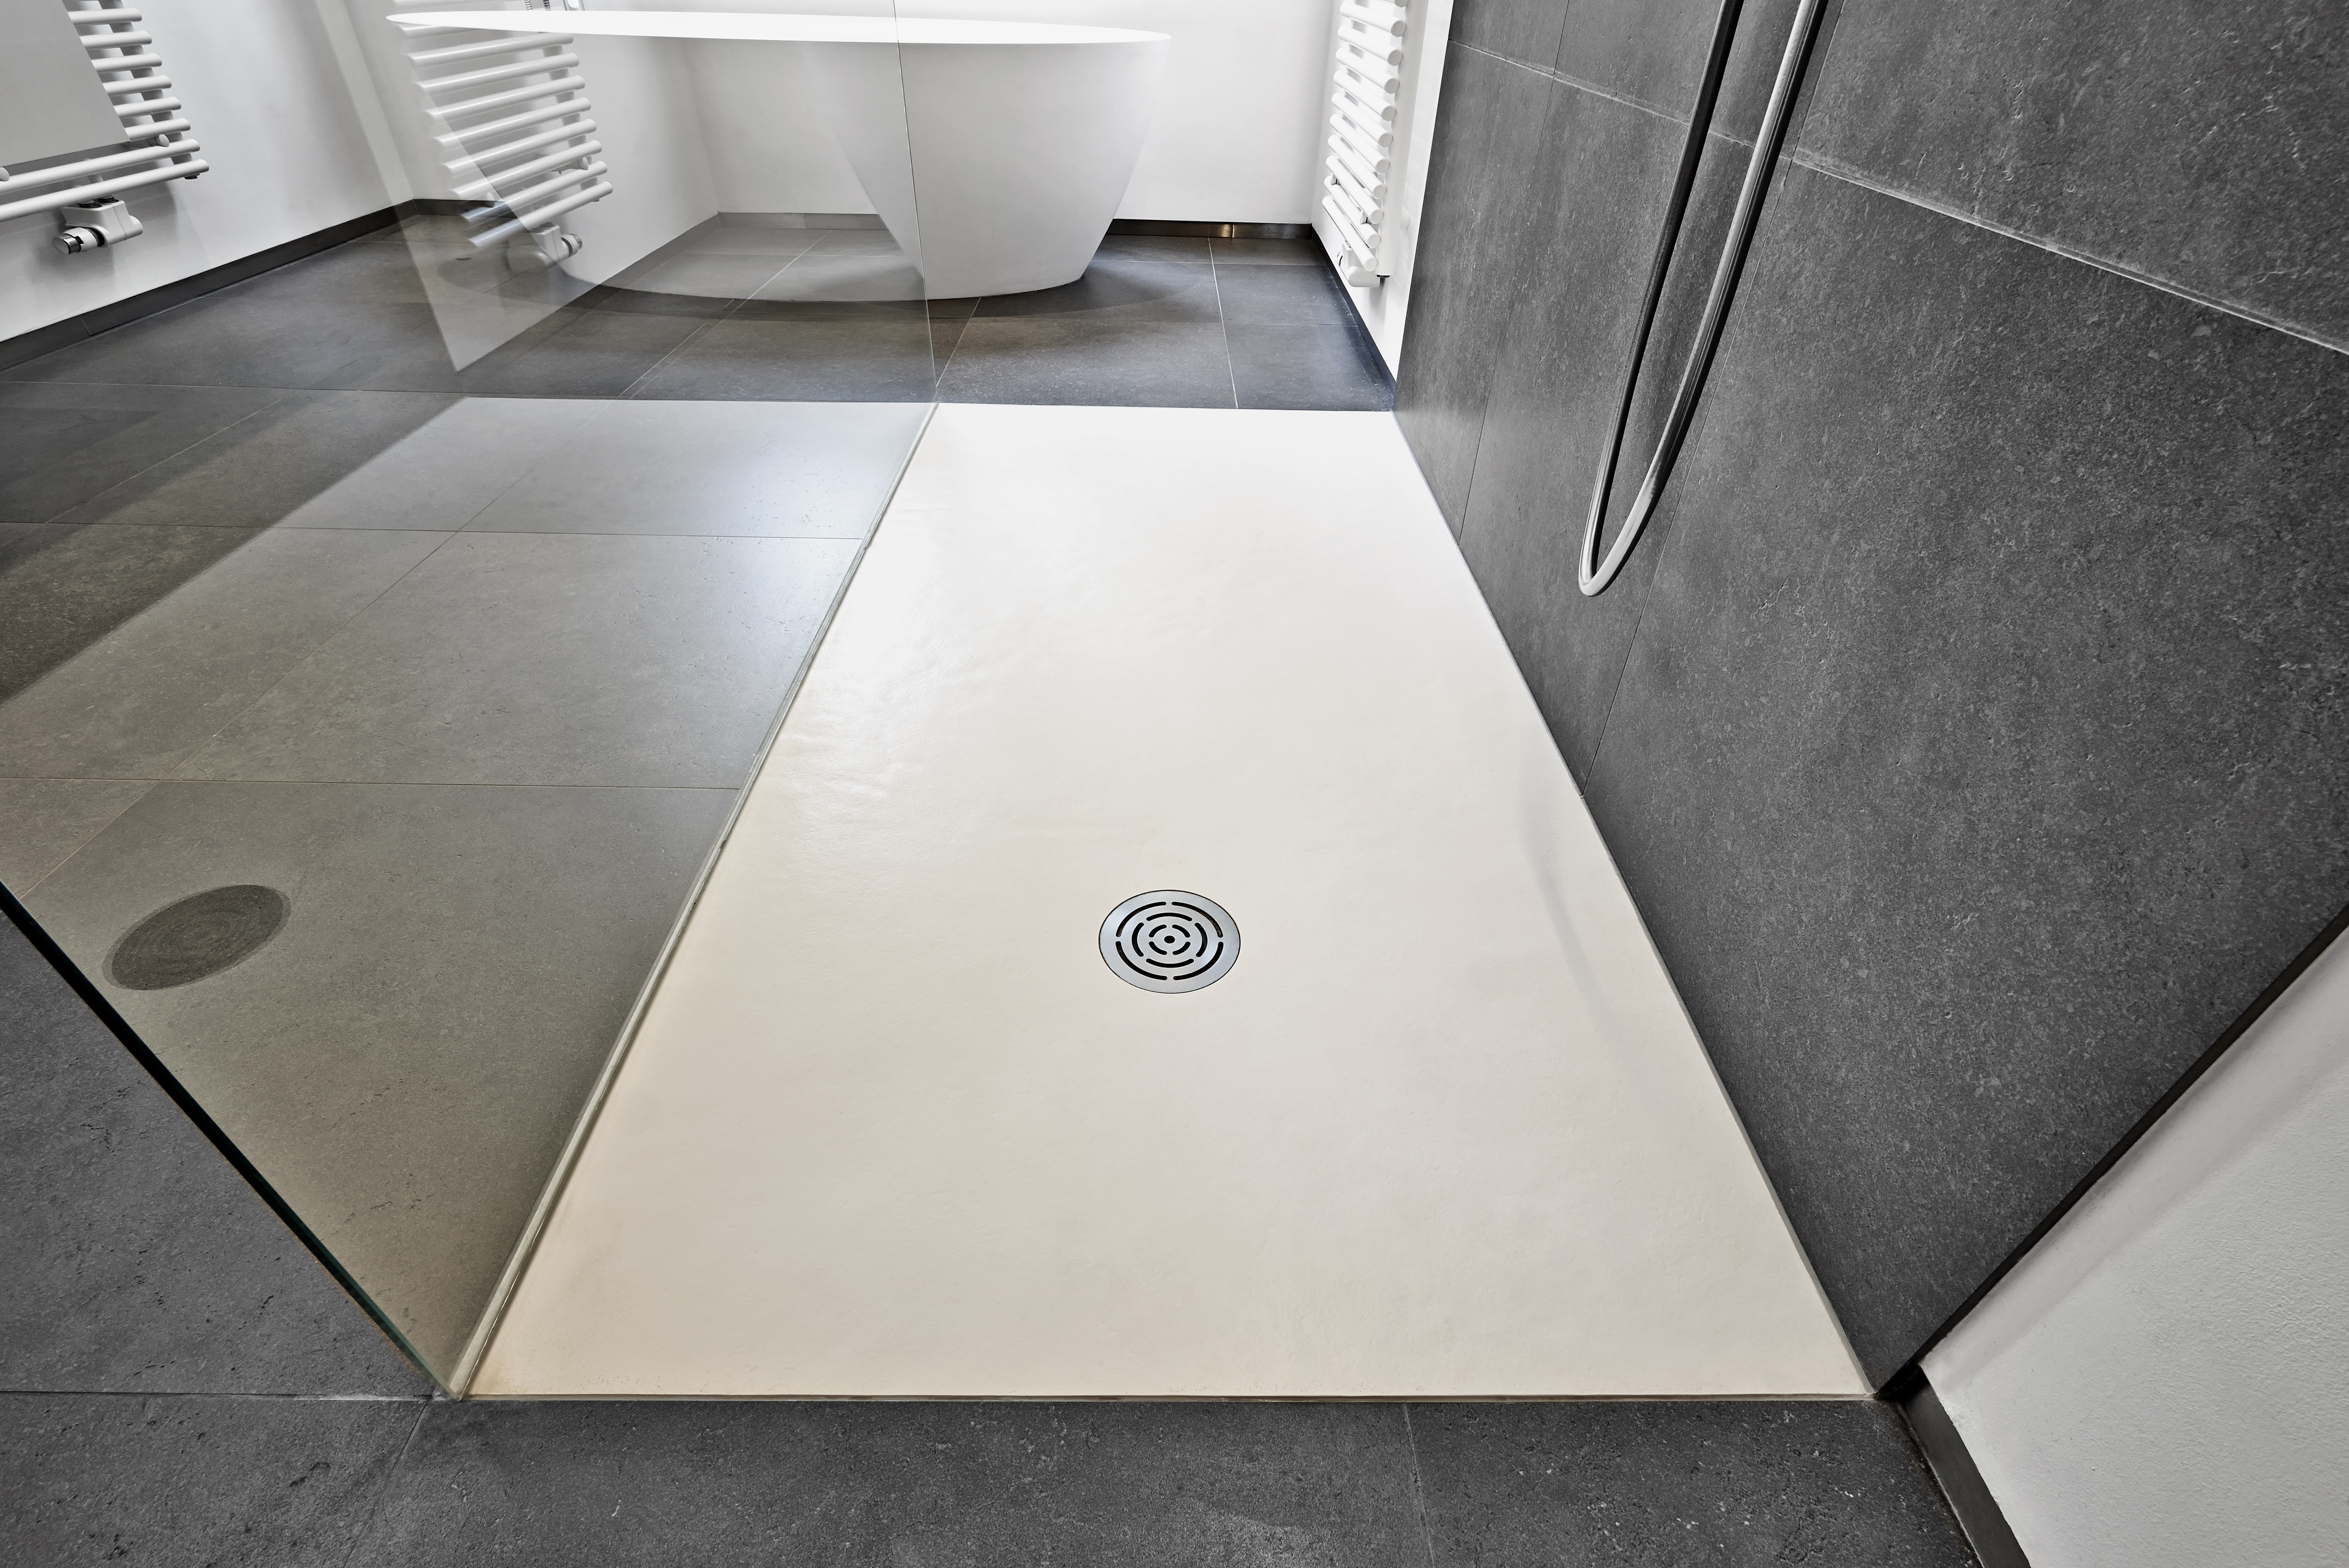
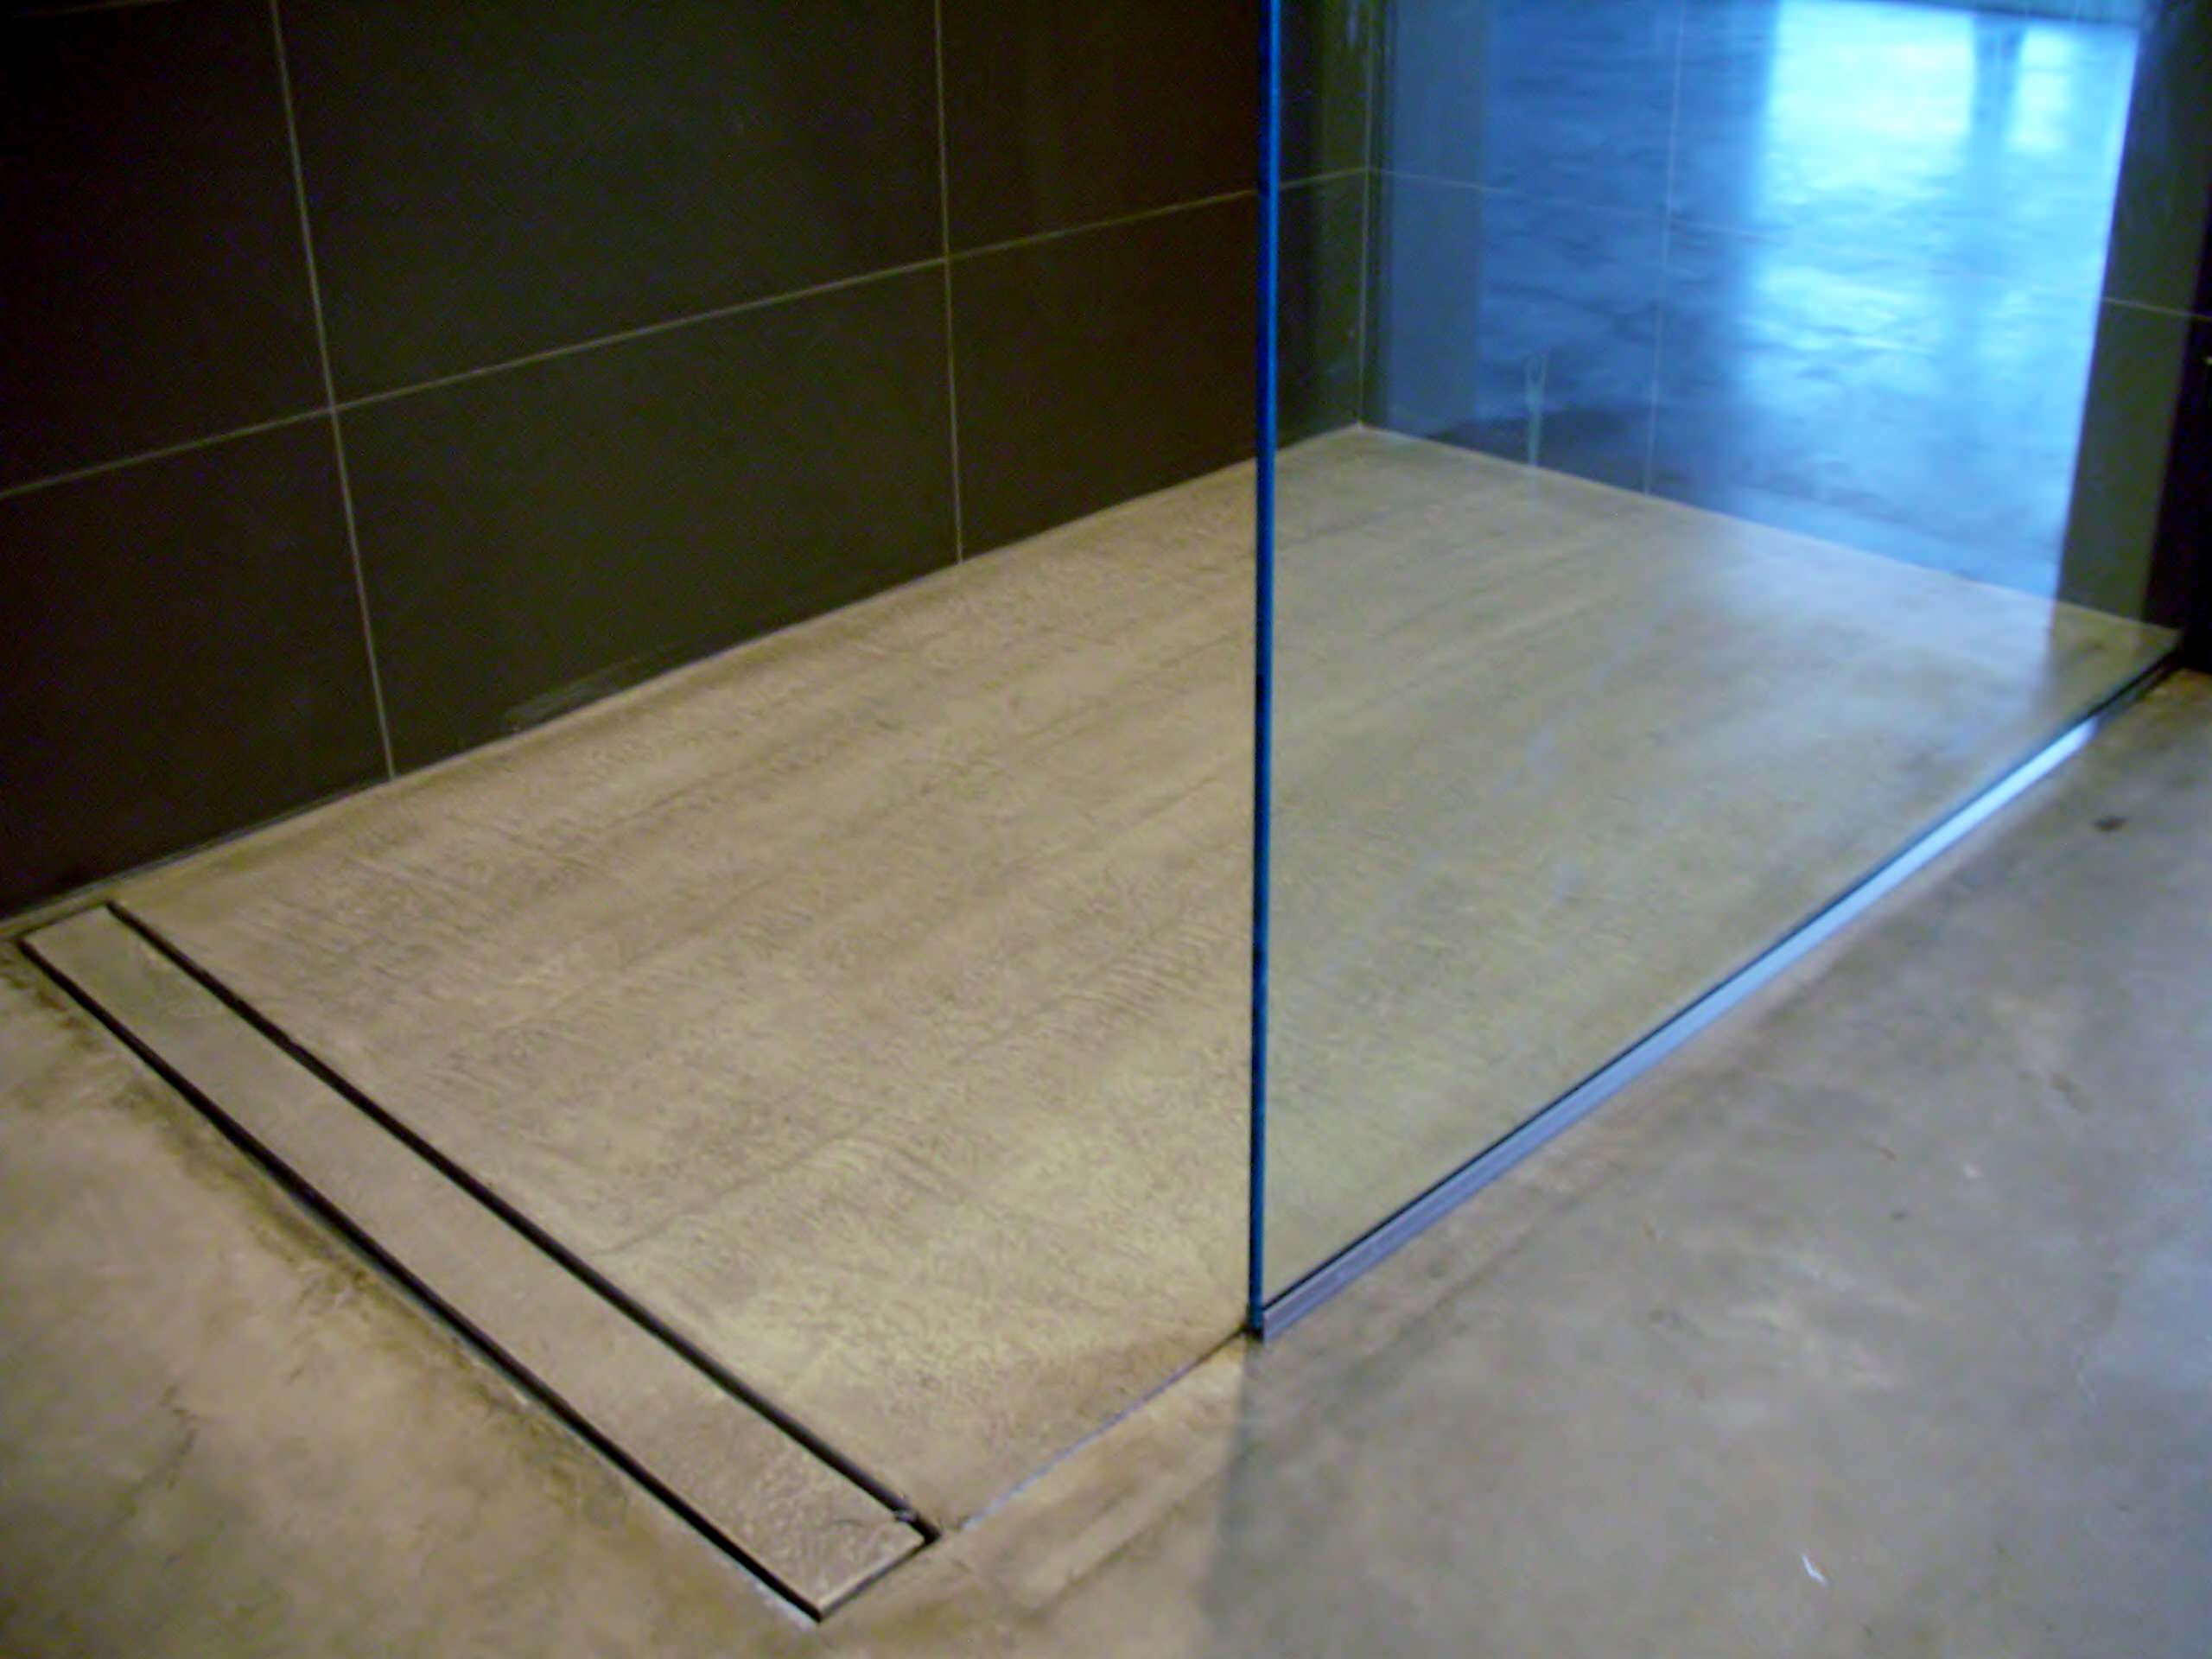
Pros and Cons of Installing a Concrete Floor in the Shower
Just like anything in this world, concrete floor in shower has its pros and cons. Let’s discuss it here so you can decide whether you want to install this floor or not.
Pros of Installing a Concrete Floor in the Shower:
- Durability: Concrete floors are known for their strength and durability. When properly installed and sealed, a concrete floor in the shower can withstand heavy foot traffic, water exposure, and daily wear and tear without showing signs of damage.
- Customization: Concrete floors offer a wide range of customization options. They can be stained, stamped, or polished to create a unique and visually appealing look in the shower. Additionally, concrete can be molded into various shapes and sizes, allowing for creative designs and patterns.
- Low maintenance: Concrete floors are relatively easy to maintain. Unlike other flooring materials, such as tiles or grout, concrete does not require regular sealing or special cleaning products. Simply sweeping and mopping the floor regularly is usually sufficient to keep it clean and in good condition.
- Water resistance: When properly sealed, concrete floors have excellent water resistance properties. This makes them a suitable choice for shower areas where water exposure is high. With a properly installed concrete floor, you can prevent water from seeping into the subfloor and causing damage over time.
Cons of Installing a Concrete Floor in the Shower:
- Coldness: Concrete floors tend to be cold, especially in colder climates or during cooler seasons. Stepping onto a cold concrete floor in the shower can be uncomfortable, especially if you prefer a warm and cozy bathing experience.
- Slippery when wet: Concrete floors can become slippery when wet, increasing the risk of slips and falls in the shower. While there are anti-slip coatings available for concrete surfaces, it is important to ensure proper traction and grip to prevent accidents.
- Installation complexity: Installing a concrete floor in the shower can be a complex process that requires professional expertise. It involves careful preparation of the subfloor, proper placement of reinforcement, and precise pouring and leveling of the concrete. Improper installation can lead to issues such as cracking, uneven surfaces, or water leaks.
- Cost: Compared to other flooring options, installing a concrete floor in the shower can be more expensive. The cost includes not only the materials but also the labor involved in proper installation. Additionally, customization options such as staining or stamping can further add to the overall cost.

Steps to Prepare and Install a Concrete Floor in Your Shower
When it comes to renovating your shower, installing a concrete floor can provide a durable and stylish solution. Here are the steps to prepare and install a concrete floor in your shower:
- Plan and measure: Start by planning the layout of your shower. Measure the dimensions of the shower area accurately to determine the amount of concrete needed for the floor.
- Remove existing flooring: If you have an existing floor in your shower, remove it completely. This may involve removing tiles, vinyl, or any other type of flooring material. Make sure to clean the area thoroughly to ensure a clean surface for the concrete.
- Prepare the subfloor: Before pouring the concrete, it is crucial to prepare the subfloor properly. Ensure that the subfloor is level and free from any debris or loose materials. If necessary, use a leveling compound to even out any uneven areas.
- Apply a waterproofing membrane: To protect the concrete floor from water damage, it is essential to apply a waterproofing membrane. This membrane will prevent water from seeping through the concrete and causing structural issues. Follow the manufacturer’s instructions for applying the membrane and allow it to dry completely.
- Mix and pour the concrete: Prepare the concrete mixture according to the manufacturer’s instructions. It is advisable to use a concrete mix specifically designed for shower floors. Pour the concrete into the shower area, ensuring an even distribution. Use a trowel to smooth out the surface and remove any air bubbles.
- Cure the concrete: After pouring the concrete, it is crucial to allow it to cure properly. Follow the recommended curing time provided by the manufacturer. During this time, keep the area protected and avoid any foot traffic to ensure the concrete sets properly.
- Seal and finish: Once the concrete has cured, it is important to seal and finish the surface. Apply a concrete sealer to protect the floor from stains and moisture. Additionally, you can add a decorative finish to enhance the appearance of the shower floor.
- Allow for drying time: After sealing and finishing, allow the concrete to dry completely before using the shower. This will ensure that the floor is fully cured and ready for regular use.

Maintaining and Cleaning a Concrete Floor in the Shower: Dos and Don’ts
Concrete floors in showers can add a modern and sleek look to any bathroom. However, like any other type of flooring, they require regular maintenance and cleaning to ensure their longevity and appearance. Here are some dos and don’ts to keep in mind when maintaining and cleaning a concrete floor in the shower:
Dos:
1. Regularly sweep or vacuum the concrete floor to remove any loose dirt, debris, or hair. This will prevent it from scratching the surface when wet.
2. Use a pH-neutral cleaner specifically designed for concrete floors to clean the surface. These cleaners are gentle enough to avoid damaging the concrete while effectively removing dirt and grime.
3. Wipe up any spills or water puddles promptly to prevent water damage and staining. Concrete is porous, and prolonged exposure to water can cause it to become discolored or develop cracks.
4. Consider applying a sealer to the concrete floor to protect it from water penetration and stains. Sealers form a protective barrier that helps repel water and prevent damage.
5. Use a soft-bristle brush or non-abrasive sponge to scrub the concrete gently. Avoid using harsh scrub brushes or abrasive cleaning tools that can scratch or damage the surface.
Don’ts:
1. Avoid using acidic or abrasive cleaners on the concrete floor. Acidic cleaners can etch and damage the surface, while abrasive cleaners can scratch and dull the finish.
2. Do not use bleach or ammonia-based cleaning products on the concrete floor. These chemicals can cause discoloration and damage the concrete.
3. Never use a pressure washer to clean the concrete floor in the shower. The high-pressure water can erode the surface and cause it to deteriorate over time.
4. Avoid using excessive water when cleaning the concrete floor. While it is important to keep the floor clean, excessive water can seep into the concrete and cause damage.
5. Do not use sharp or abrasive tools to remove stubborn stains from the concrete floor. Instead, try using a non-abrasive cleaner or a poultice specifically designed for concrete stains.

Alternative Options to Consider Instead of a Concrete Floor in the Shower
When it comes to choosing the flooring for a shower, concrete may not be the only option. There are several alternative options that can provide a unique and stylish look while still maintaining durability and functionality. Here are a few alternatives to consider instead of a concrete floor in the shower:
Tile Flooring: Tile is a popular choice for shower floors due to its water-resistant properties. It comes in a variety of colors, sizes, and patterns, allowing for endless design possibilities. Additionally, tile is easy to clean and maintain, making it a practical choice for a shower floor.
Stone Flooring: Natural stone, such as marble or granite, can add a touch of luxury to your shower. Stone flooring is not only durable but also offers a unique and elegant aesthetic. It is important to note that sealing the stone regularly is necessary to prevent water damage and ensure longevity.
Vinyl Flooring: Vinyl is a cost-effective and versatile option for shower floors. It is available in various styles and patterns, including ones that mimic the look of natural materials like wood or stone. Vinyl is also water-resistant and easy to clean, making it a practical choice for a shower floor.
Wood Flooring: While wood may not be the first material that comes to mind for a shower floor, it can create a warm and inviting atmosphere. Teak and cedar are commonly used due to their natural resistance to water and decay. However, proper sealing and regular maintenance are crucial to prevent warping and rotting.
Pebble or River Rock Flooring: For a unique and spa-like experience, consider using pebble or river rock flooring in your shower. The smooth stones create a textured surface that massages the feet and offers an aesthetically pleasing appearance. It is important to ensure proper drainage and sealing to prevent mold and mildew growth.
Epoxy Flooring: Epoxy is a durable and waterproof flooring option that can be customized with various colors and designs. It provides a seamless and easy-to-clean surface, making it suitable for showers. Epoxy flooring is also resistant to stains, chemicals, and abrasions, ensuring long-lasting performance.

Concrete Shower Floor – Pros and Cons – Design Guide
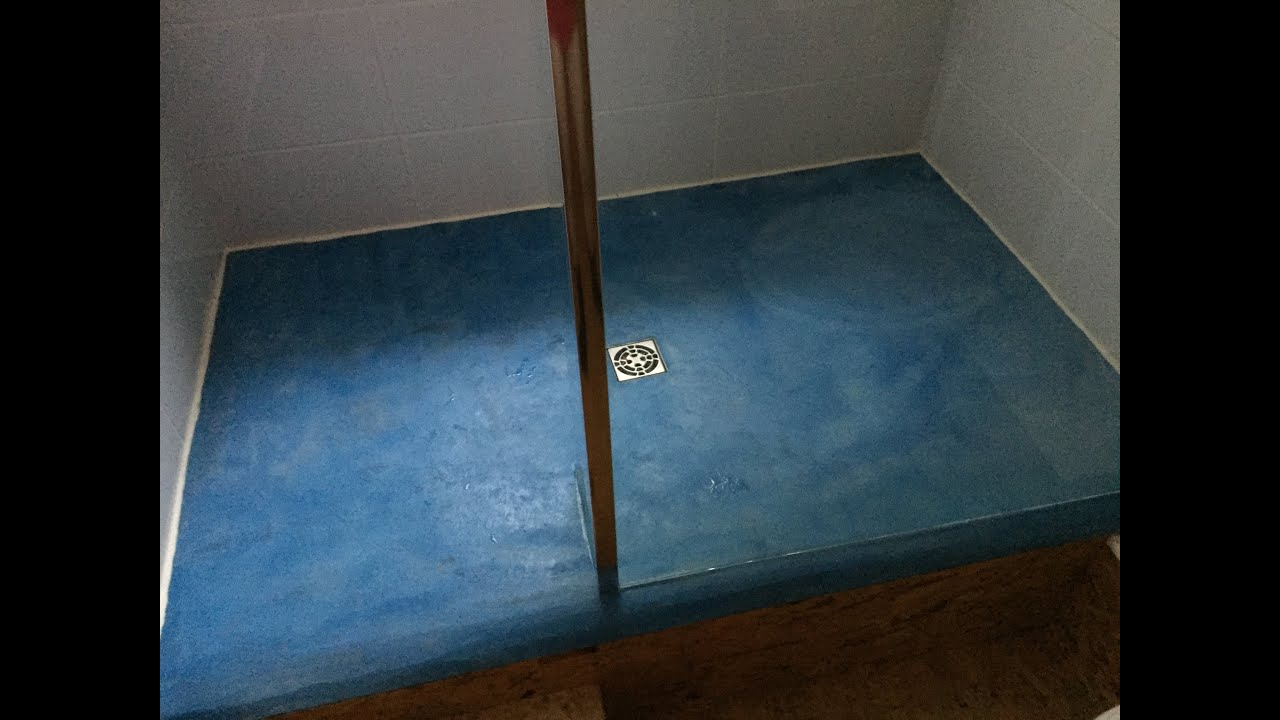
DIY blue concrete shower floor update
How to Create a Shower Floor

How to Waterproof Concrete Showers and Tubs
Bathroom Concrete Floors Design Photos and Ideas – Dwell

White Wall Bathroom Interior With A Concrete Floor, A Shower Stall

How to Replace a Shower Drain in a Concrete Slab Hunker
Modern Concrete Floors – Photos u0026 Ideas Houzz
 Related Posts: