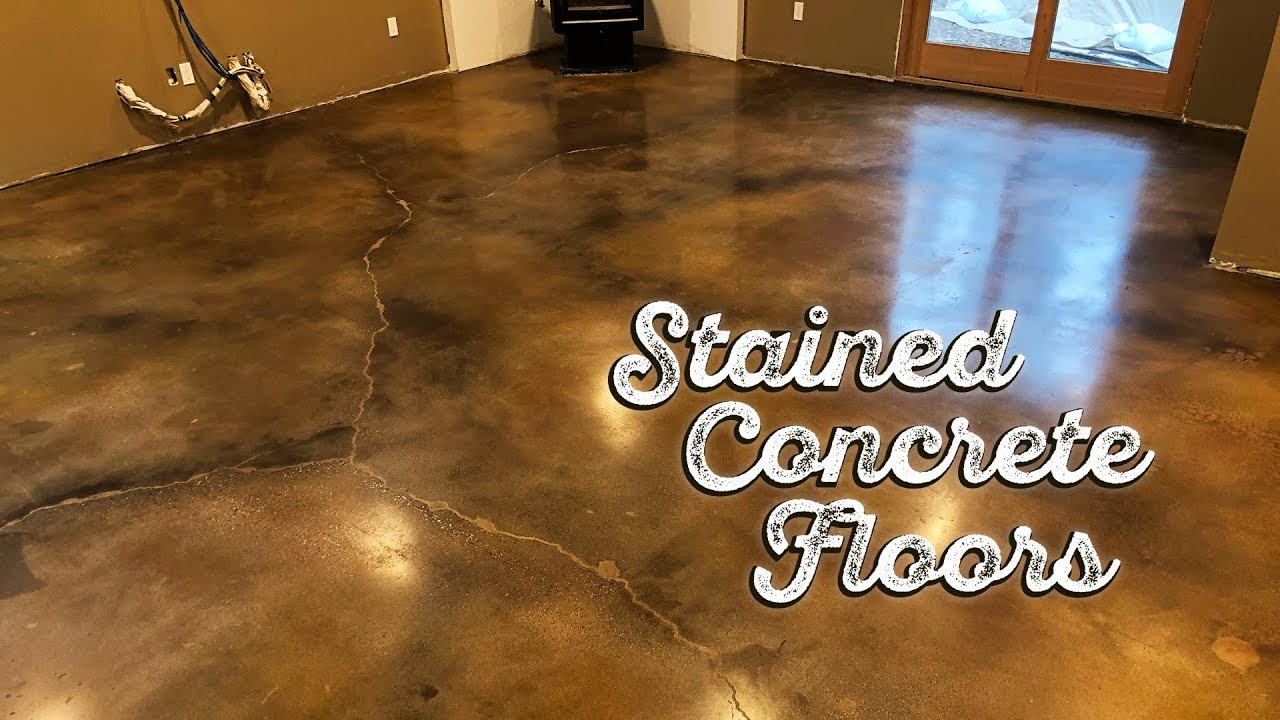
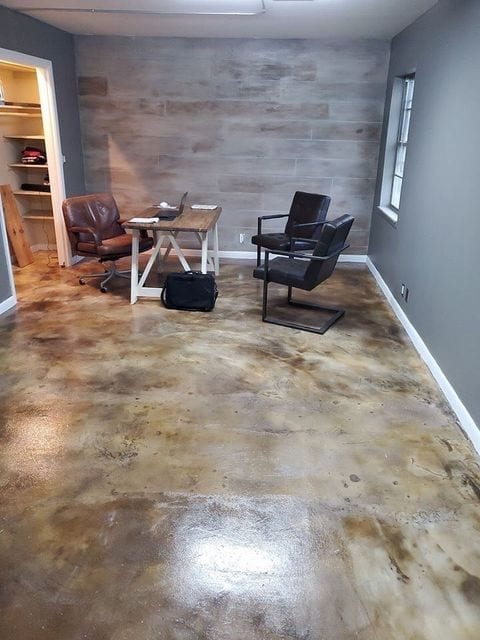
When I first looked at the bare concrete floor in my garage-turned-workshop, I never imagined it could become the stunning focal point it is today. What started as a practical decision to improve a utilitarian space evolved into a fascinating exploration of concrete staining techniques and their transformative power. After months of research, experimentation, and hands-on application, I discovered that concrete staining offers an incredible combination of durability, beauty, and affordability that traditional flooring materials can’t match. The process taught me patience, precision, and opened my eyes to the artistic possibilities hidden beneath ordinary concrete surfaces.
Choosing the Right Stain: Chemistry Meets Aesthetics
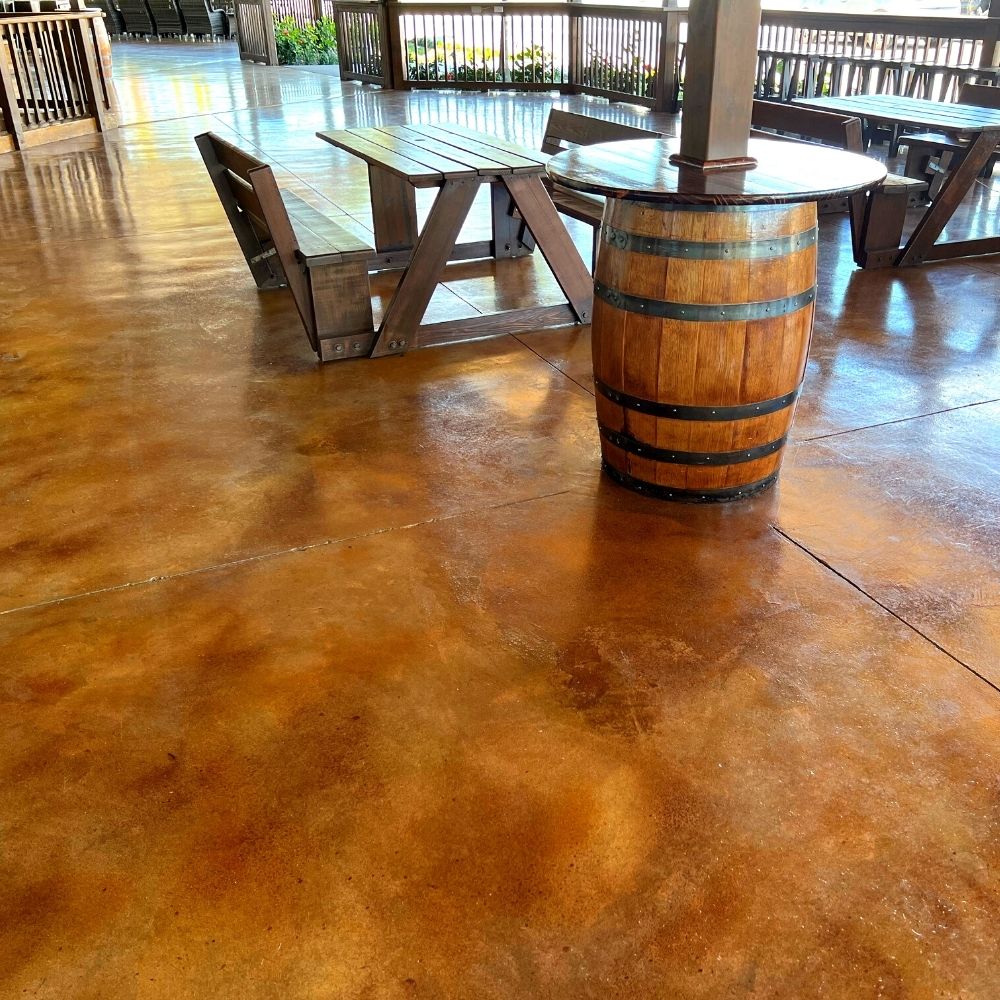
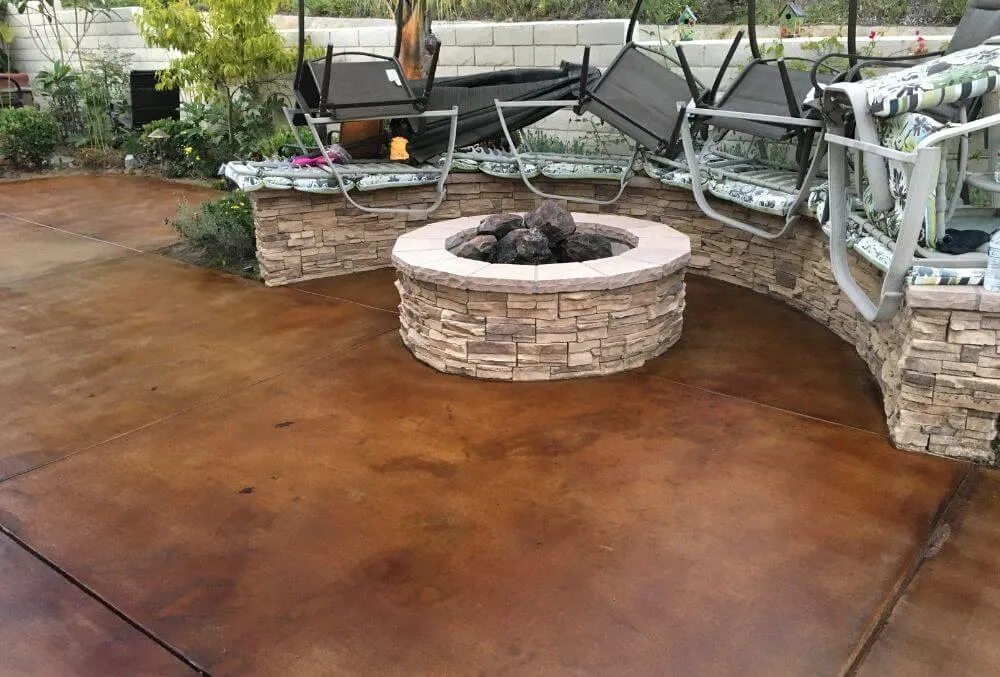
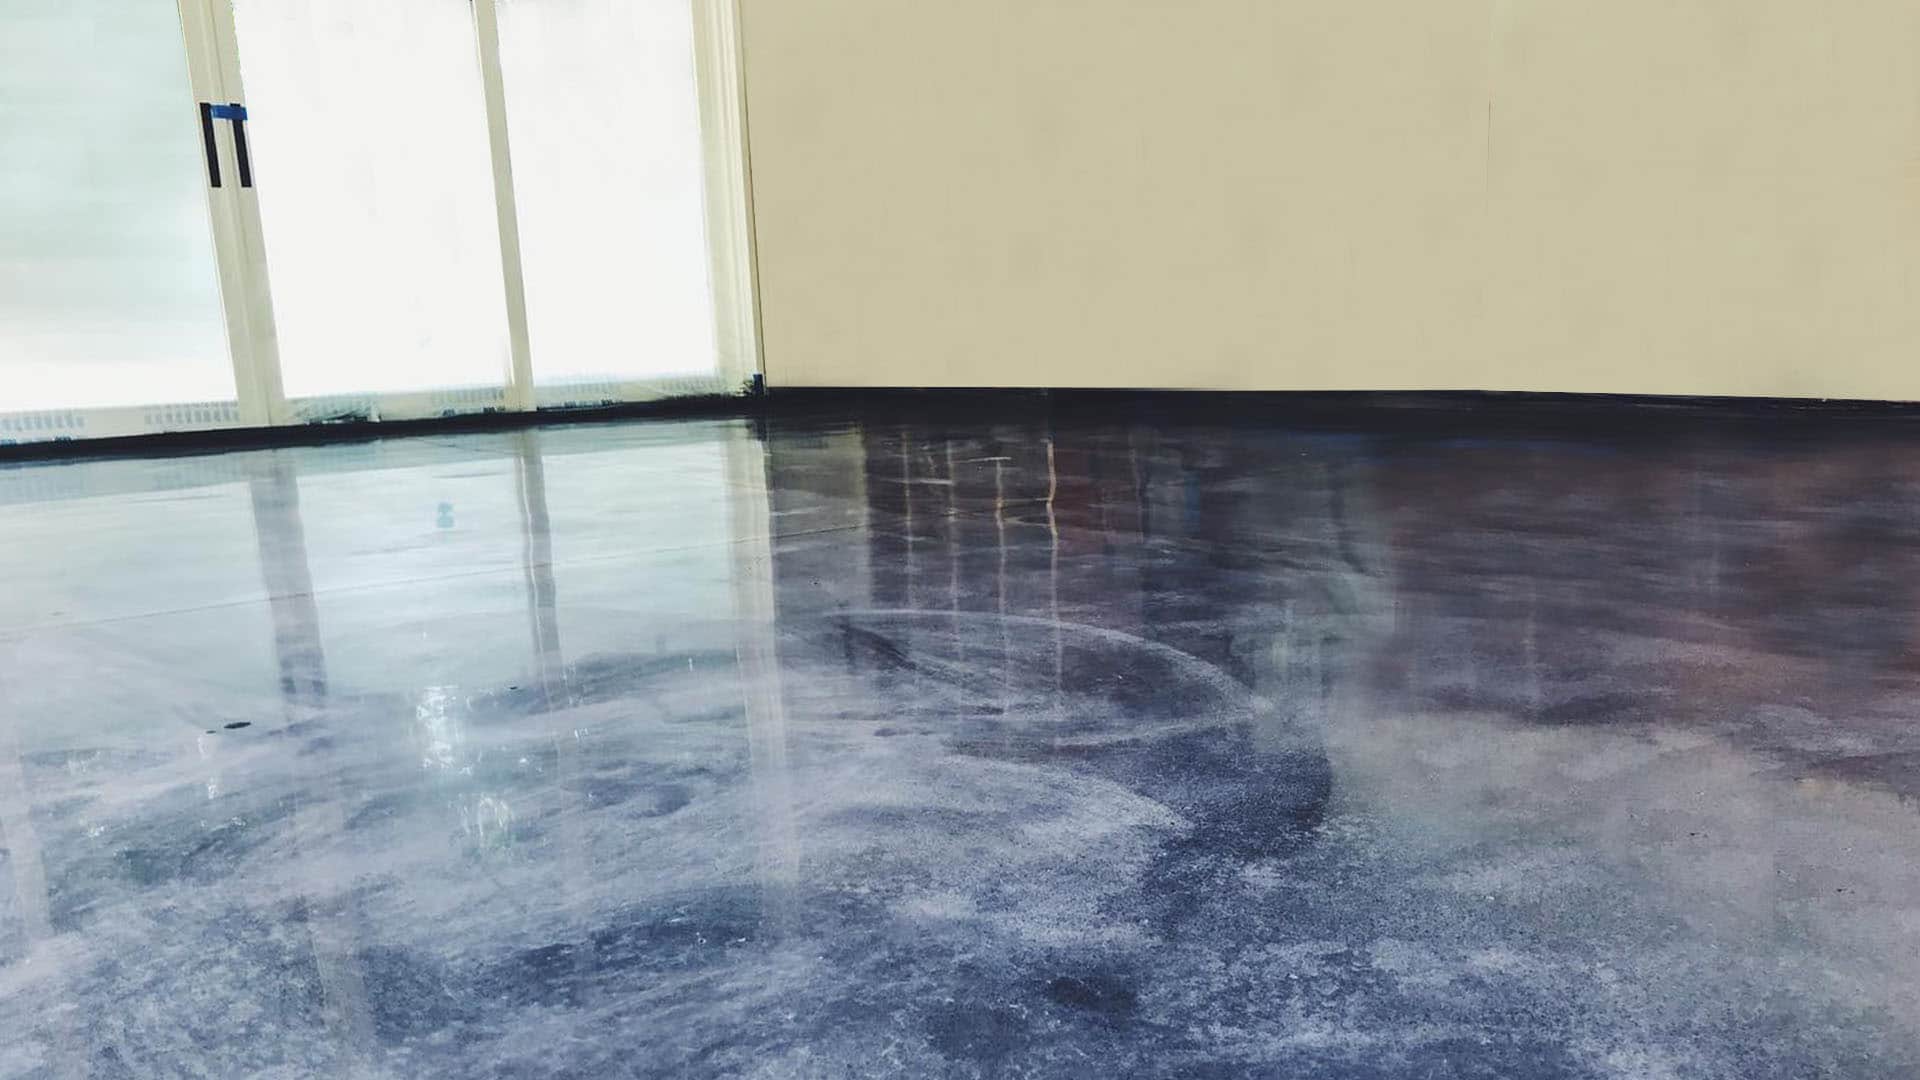
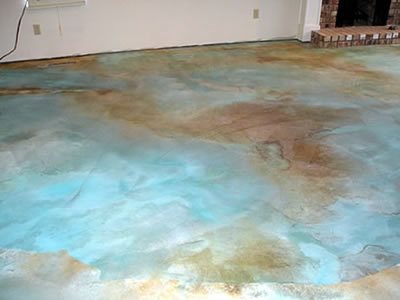
My journey began with understanding the fundamental difference between acid-based and water-based concrete stains. Acid stains create unique, organic patterns through chemical reactions with the concrete’s minerals, producing colors that can’t be replicated artificially. I chose an acid-based copper sulfate stain that promised rich green and blue tones with natural variation. The unpredictability initially worried me, but I learned to embrace the organic beauty that emerges from this chemical dance between stain and concrete.
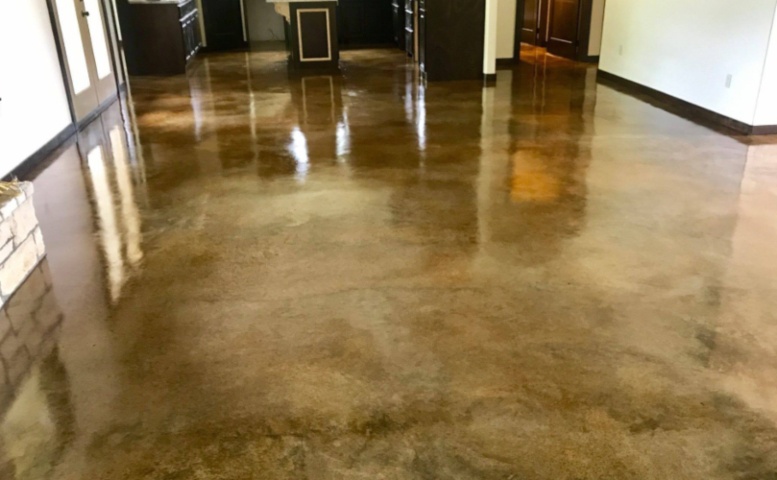
Water-based stains initially appealed to my cautious nature due to their more predictable color control. However, after testing both types on small sections, the depth and complexity of acid-stained results won me over completely. The way light plays across the variegated surface creates visual interest that changes throughout the day. Each viewing angle reveals new patterns and color variations that make the floor a living, breathing element of my space rather than a static surface.
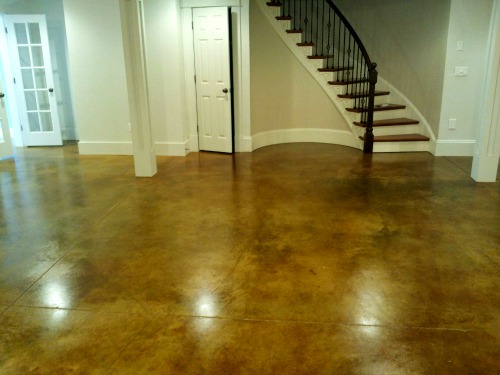
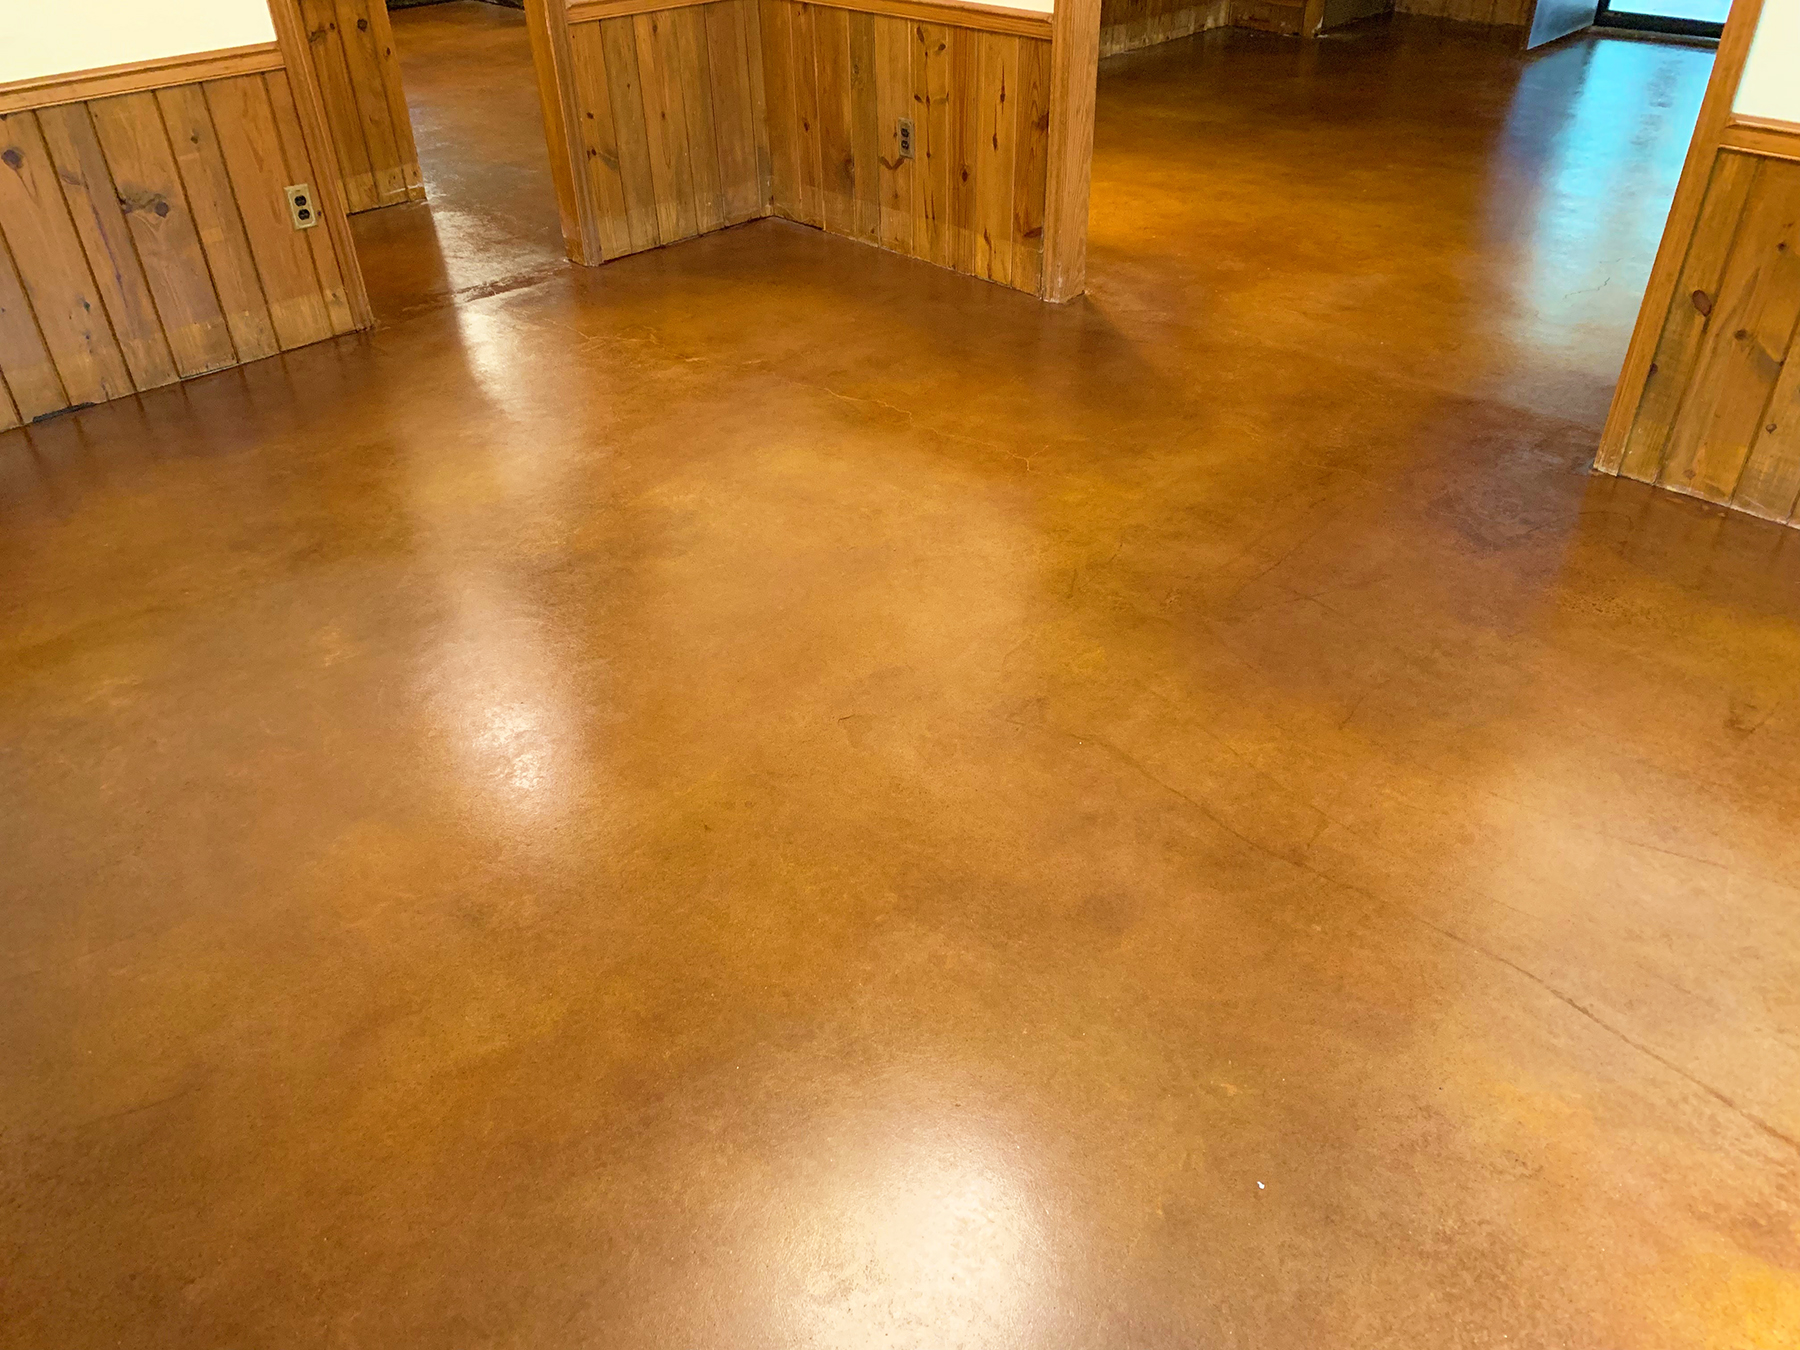
Color selection required careful consideration of my space’s lighting and intended use. I tested multiple stain colors on hidden areas, allowing each to fully develop over several days before making my final decision. The copper-based stain I selected creates stunning turquoise highlights that complement my workshop’s industrial aesthetic while adding unexpected elegance. This color choice has proven versatile enough to work with changing decor and seasonal lighting variations.
Surface Preparation: The Foundation of Success
Proper concrete preparation became the most critical aspect of my staining project, though I initially underestimated its importance. I discovered that any contaminants, sealers, or surface imperfections would prevent proper stain penetration and create uneven results. My concrete had oil stains and tire marks that required aggressive cleaning with specialized degreasers and mechanical scrubbing. This preparation phase took longer than the actual staining process, but proved essential for achieving professional results.
Concrete porosity testing revealed that different areas of my floor had varying absorption rates, which would affect stain penetration and color intensity. I used a simple water drop test to identify these variations and adjusted my application technique accordingly. Areas with poor porosity required mechanical abrading to open the surface, while overly porous sections needed pre-treatment to prevent excessive stain absorption. Understanding these surface characteristics allowed me to achieve consistent color coverage across the entire floor.
The final preparation step involved thorough cleaning and pH testing to ensure optimal stain reaction conditions. I used muriatic acid to open the concrete’s pores and neutralize any alkaline residues that could interfere with stain penetration. This step required careful safety precautions but dramatically improved the final results. The clean, properly prepared surface allowed the stain to penetrate evenly and react predictably, creating the beautiful finish I had envisioned.
Application Techniques: Art Meets Science
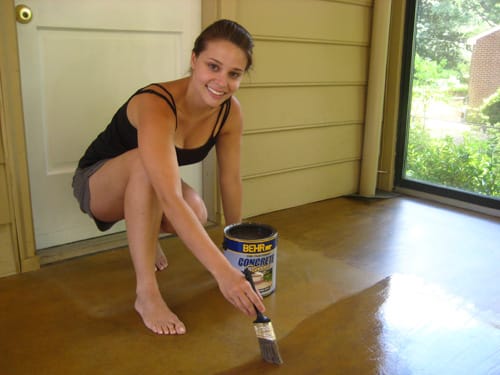
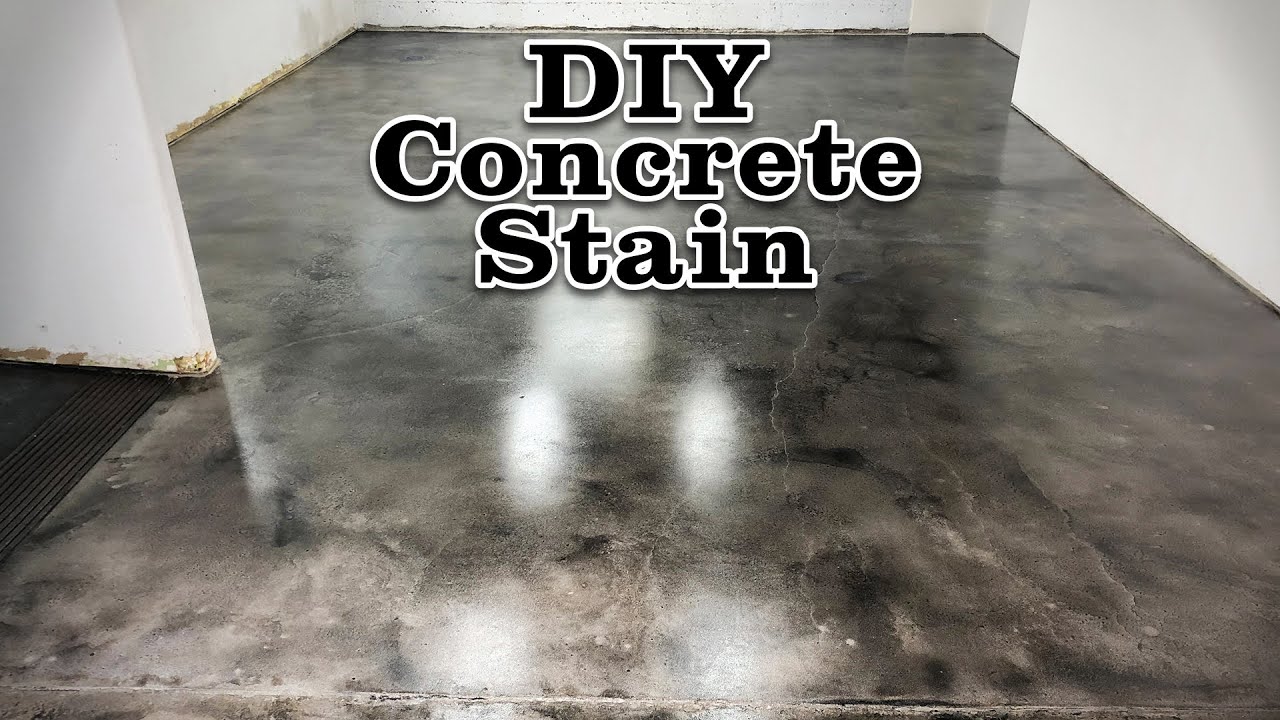
Applying concrete stain taught me that technique matters as much as material quality. I started with a small test area to perfect my spray application method before tackling the main floor. The key was maintaining consistent coverage while allowing the natural variation that makes acid staining so appealing. I used a garden sprayer with adjustable nozzle settings, which gave me control over coverage density and pattern creation. Multiple light coats produced better results than attempting full coverage in a single application.
Working in manageable sections prevented lap marks and allowed proper attention to detail in each area. I learned to work quickly but methodically, as the stain begins reacting immediately upon contact with the concrete. Back-rolling with a paint roller helped distribute the stain evenly and push it deeper into the concrete’s pores. This technique eliminated spray pattern irregularities and created the smooth, consistent appearance I wanted while preserving the natural color variation.
Temperature and humidity significantly affected my staining results, requiring adjustments to application timing and technique. Cool, dry conditions provided the best working environment and allowed proper stain development. I avoided staining during hot, humid periods when rapid drying could prevent adequate penetration. Learning to read environmental conditions and adjust accordingly improved my results dramatically and gave me confidence to tackle larger areas successfully.
Color Development and Patience
Watching concrete stain develop taught me valuable lessons about patience and trusting the process. The initial application looked patchy and concerning, nothing like the smooth, rich finish I expected. However, as the chemical reaction progressed over several hours, colors deepened and blended naturally. The transformation from initial application to final result amazed me and reinforced the importance of allowing adequate development time before making any judgments about the outcome.
The neutralization process required careful timing to stop the stain reaction at the optimal color development point. I used a baking soda solution to neutralize the acid and halt further color development. This step demanded attention and quick action, as over-development could muddy the colors while under-development left them pale and uneven. Finding the perfect timing took practice and close observation of color changes throughout the development period.
Final color evaluation had to wait until the surface was completely dry and properly cleaned. Wet surfaces always appear darker and more vibrant than they do once dry. I learned to make final assessments only after thorough cleaning and complete drying, typically 24 hours after neutralization. This patience prevented disappointment and allowed me to appreciate the true beauty of the finished surface once the process was complete.
Sealing and Protection: Preserving the Investment
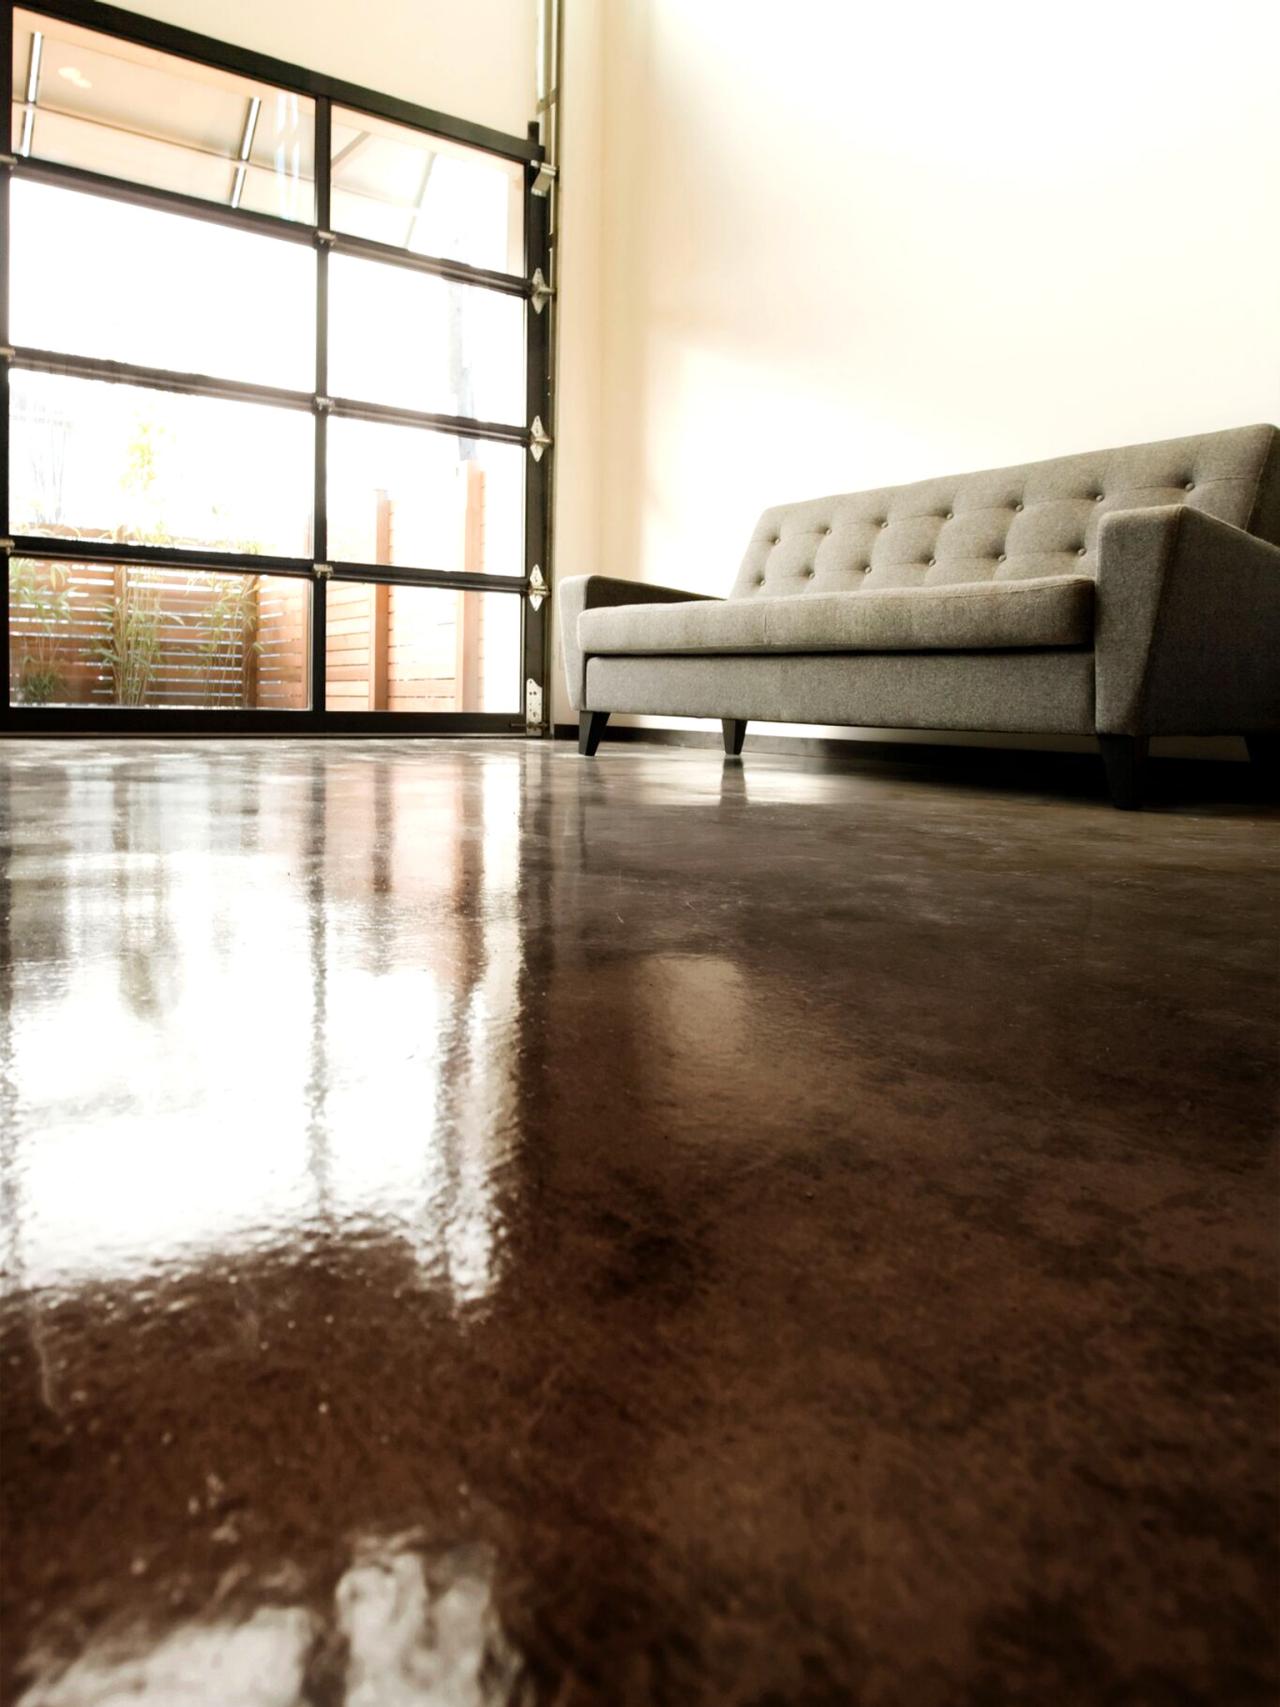
Selecting the right sealer became crucial for protecting my beautiful stained concrete floor. I researched various sealer types, from penetrating silicates to topical acrylics and epoxies. For my workshop environment, I chose a penetrating silicate sealer that wouldn’t create a surface film that could wear or peel. This sealer type allows the concrete to breathe while providing excellent stain and water resistance. The natural appearance it maintains perfectly showcases the stain’s beauty without artificial gloss.
Application of the sealer required the same attention to detail as the staining process. I applied multiple thin coats rather than attempting full coverage in one application. This approach prevented puddling and ensured even penetration throughout the surface. Each coat had to dry completely before applying the next, testing my patience once again. However, the final result justified the careful application process with excellent durability and stain protection.
Long-term maintenance planning became important for preserving my investment in the stained concrete floor. The penetrating sealer provides years of protection but will eventually need reapplication. I established a maintenance schedule including regular cleaning and periodic sealer renewal. This proactive approach ensures my beautiful stained floor continues looking its best while protecting against wear and contamination that could require expensive restoration work.
Living with Stained Concrete: Daily Performance
Daily use of my stained concrete floor has exceeded all expectations for durability and practicality. The surface handles heavy tool drops, chemical spills, and constant foot traffic without showing wear or damage. Unlike painted floors that chip and scratch, the stained concrete improves with age as the colors mature and develop character. Cleaning requires only basic mopping with mild detergent, making maintenance simpler than any other flooring material I’ve used.
The temperature performance of stained concrete surprised me with its comfort and stability. During summer months, the thermal mass keeps the space cooler than expected, while winter conditions don’t make it uncomfortably cold as I feared. The surface never feels sticky or slippery like some coated floors can become. This consistent performance makes the workspace more enjoyable and functional throughout all seasons and weather conditions.
Aesthetic satisfaction continues growing as I spend time in the space. The interplay of colors and patterns never becomes boring, always revealing new details depending on lighting conditions and viewing angles. Visitors consistently compliment the floor, often expressing surprise that it’s concrete rather than expensive decorative material. This daily reminder of successful DIY craftsmanship provides ongoing satisfaction that far exceeds the initial investment of time and materials.

How long does the concrete staining process take from start to finish?
The complete concrete staining process typically takes 3-5 days from preparation through final sealing. Surface preparation usually requires 1-2 days, depending on contamination and condition issues. Stain application and development take 6-12 hours, followed by neutralization and cleaning. The final sealer application adds another day with proper drying time between coats. Weather conditions can extend these timeframes significantly. I recommend planning for a full week to account for optimal conditions and proper curing time. Rushing any step compromises final results and long-term durability.
What safety precautions should I take when applying acid-based concrete stains?
Acid-based stains require serious safety precautions due to their corrosive nature and toxic fumes. Always wear acid-resistant gloves, safety glasses, and respirator masks rated for acid vapors. Ensure excellent ventilation and never work in enclosed spaces without proper air circulation. Keep neutralizing agents like baking soda readily available for spills or skin contact. Wear protective clothing and rubber boots to prevent skin exposure. I learned these precautions are non-negotiable after experiencing minor chemical burns from inadequate protection. Always have water available for emergency rinsing, and never work alone.
Can concrete stain be applied over previously sealed or painted concrete floors?
Previously sealed or painted concrete presents significant challenges for stain application. Most sealers and paints prevent proper stain penetration, resulting in poor adhesion and uneven coverage. Surface preparation must remove all existing coatings through mechanical grinding or chemical strippers. I attempted staining over a lightly sealed area and achieved poor results compared to properly prepared sections. Complete coating removal is labor-intensive but necessary for professional results. Water-based stains may adhere better to some existing coatings, but acid stains require direct concrete contact for proper chemical reaction.
How do I fix uneven staining or areas where the color didn’t develop properly?
Uneven staining can often be corrected with additional stain applications or spot treatments. Light areas may need another stain coat, while dark spots might require careful dilution or removal. For significant color variations, I’ve successfully used decorative techniques like antiquing or color washes to blend inconsistencies into attractive patterns. Severe problems may require mechanical removal and complete re-staining. Prevention through proper surface preparation and consistent application technique is always preferable to correction. Test areas help identify potential problems before committing to a full application.
What are the long-term maintenance requirements for stained concrete floors?
Stained concrete floors require minimal long-term maintenance compared to other flooring options. Regular cleaning with mild detergent and water keeps them looking fresh. Penetrating sealers typically need renewal every 2-3 years, depending on traffic and exposure. I inspect my floor annually for wear patterns or sealer degradation. Topical sealers may require more frequent reapplication but offer easier repair options. Avoiding harsh chemicals and using protective mats in high-traffic areas extends sealer life significantly. Overall maintenance costs are lower than most flooring materials while providing decades of service life.
Is concrete staining a good DIY project, or should I hire professionals?
Concrete staining can be completed as a DIY project with proper preparation and realistic expectations. Basic staining techniques are learnable, but achieving professional-quality results requires practice and attention to detail. I recommend starting with small, less visible areas to develop skills before tackling the main spaces. Professional application ensures optimal results but costs significantly more than DIY approaches. The decision depends on your skill level, available time, and quality expectations. DIY projects provide great satisfaction and cost savings, while professionals guarantee consistent, high-quality results with warranties and insurance protection.
Concrete Stain
How Much Does it Cost to Stain Concrete Floors Yourself?
Stained Concrete Atlanta – Concrete Staining u2014 Grindkings Flooring
Stained Concrete Floors – Benefits, Colors u0026 FAQs – Concrete Network
How to Apply an Acid-Stain Look to Concrete Flooring
Related Posts: