According to cork flooring feedback, it is ideal to research a variety of cork panels to ensure that you are able to select the right appearance for the decor of yours. The oak obligingly sheds its bark of the personal accord of its, after which is harvested. So long as cork flooring is appropriately sealed, it is able to withstand exposure and spills virtually all to moisture with no damage.
Images about Cork Floor Removal
Cork Floor Removal
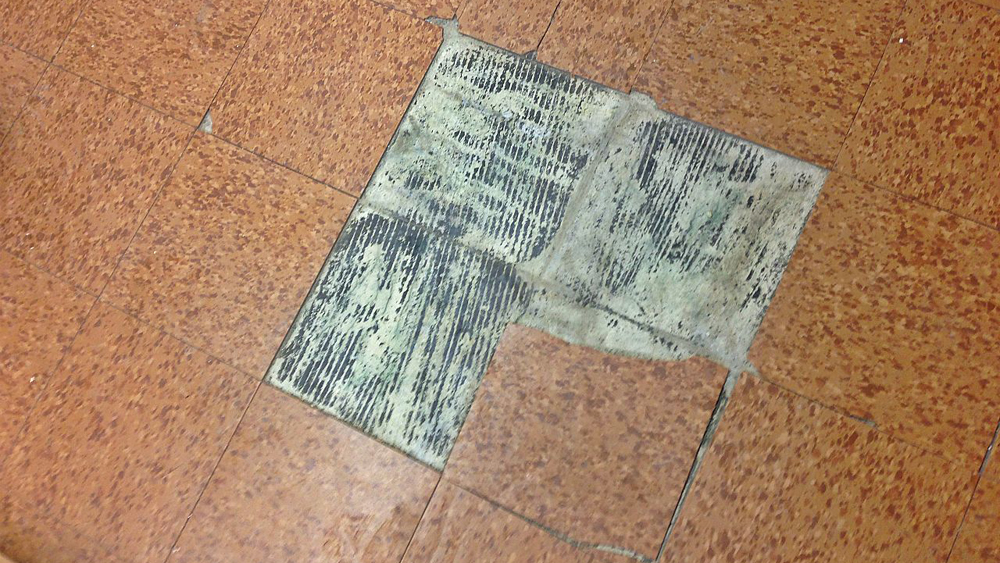
You can easily know that cork as a floor item is a completely eco-friendly, sustainable an all natural renewable resource. A great advantage to using cork as being a flooring item is the reality it is a natural renewable resource, making it green. Hence, you can easily know that not really a sole tree is actually harmed or even killed in the method of commercially manufacturing cork floors.
How to Remove Cork Floor Tiles DoItYourself.com
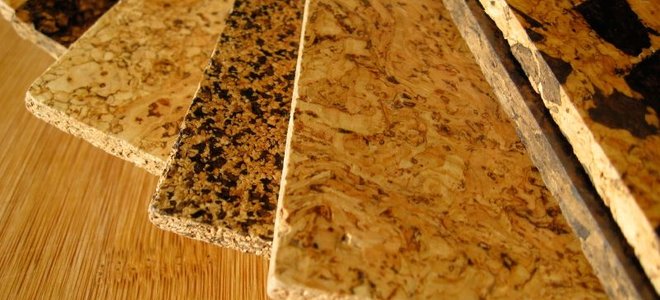
It is able to normally repel mold and mildew also. Cork flooring is such a popular choice among homeowners, architects and interior designers for both residential and commercial use. Precisely the same will occur with furniture remaining on your cork grounded floors. The cork is baked in temperature ovens which are high while it is being created, and manufacturers have discovered that the longer they maintain the cork slabs in the oven, the darker it gets.
Removing Cork Tiles from Floors and Walls DIY Doctor

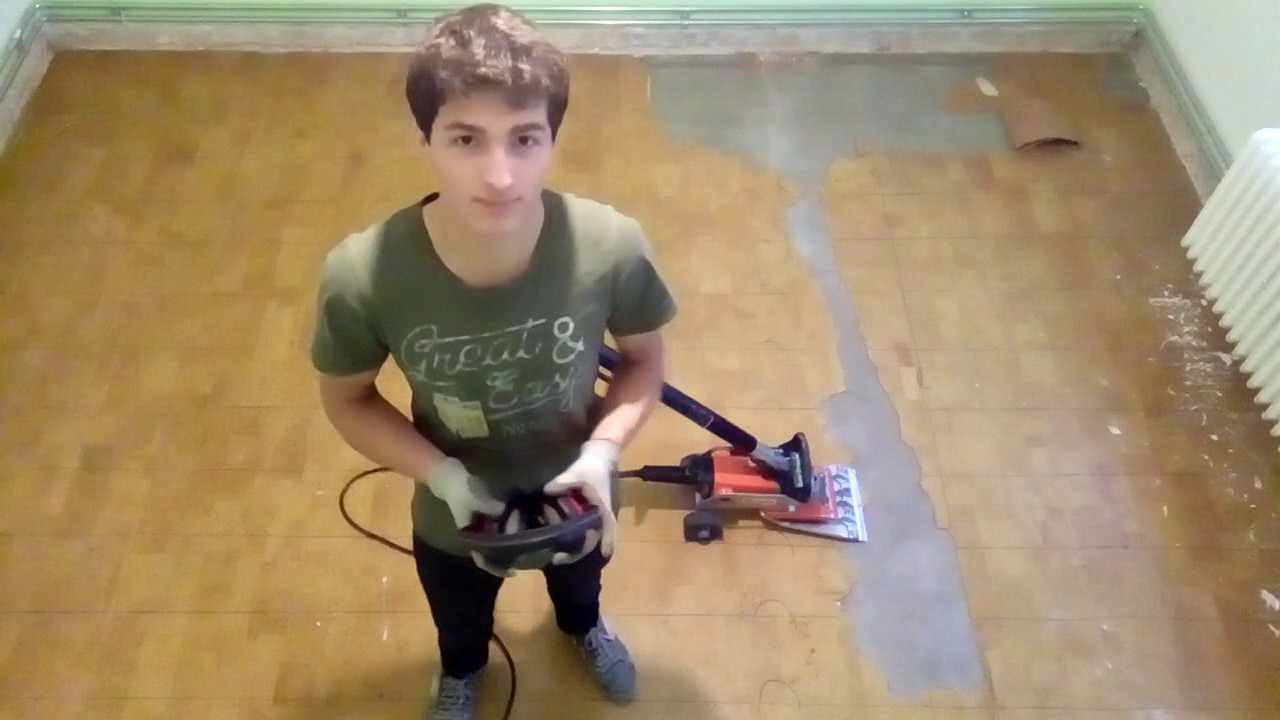
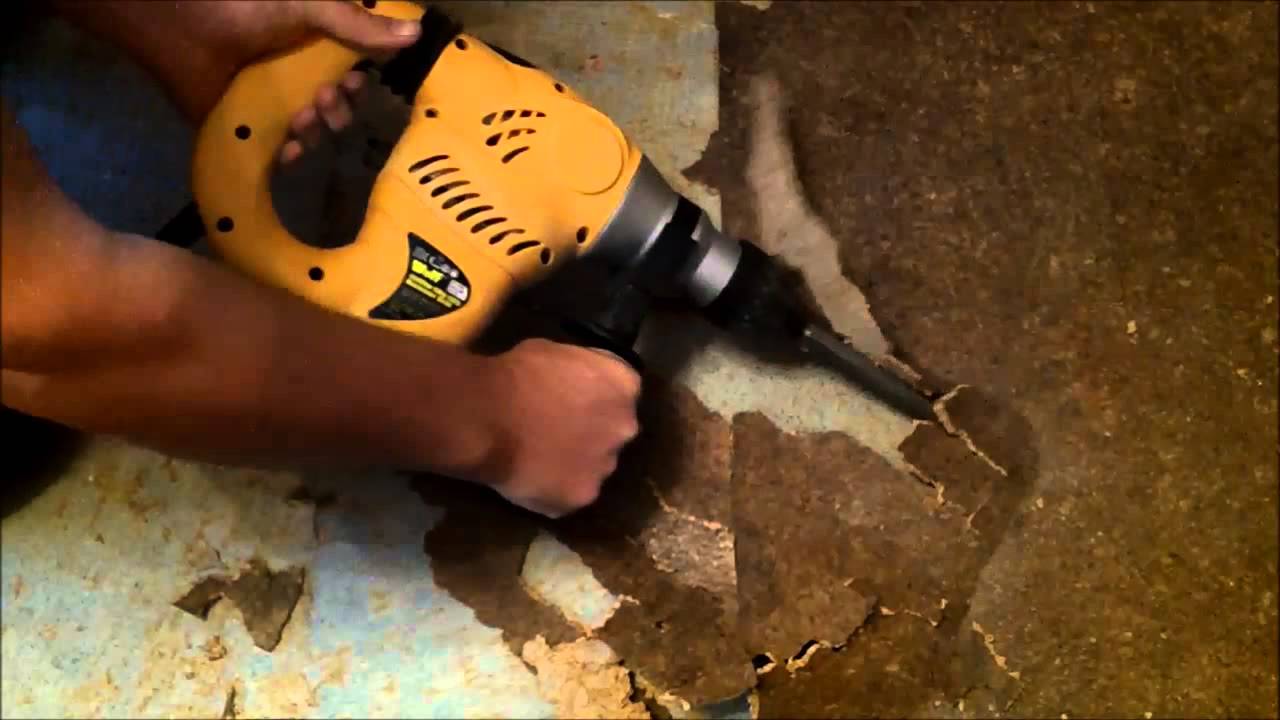
Cork Floor Demolition – YouTube
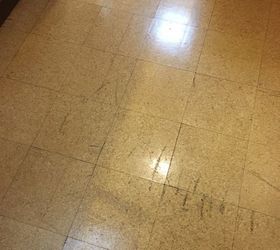
How do I repair an old cork floor or remove it? Hometalk
Wolf Craft 1500w SDS impact drill removing bonded cork tiles
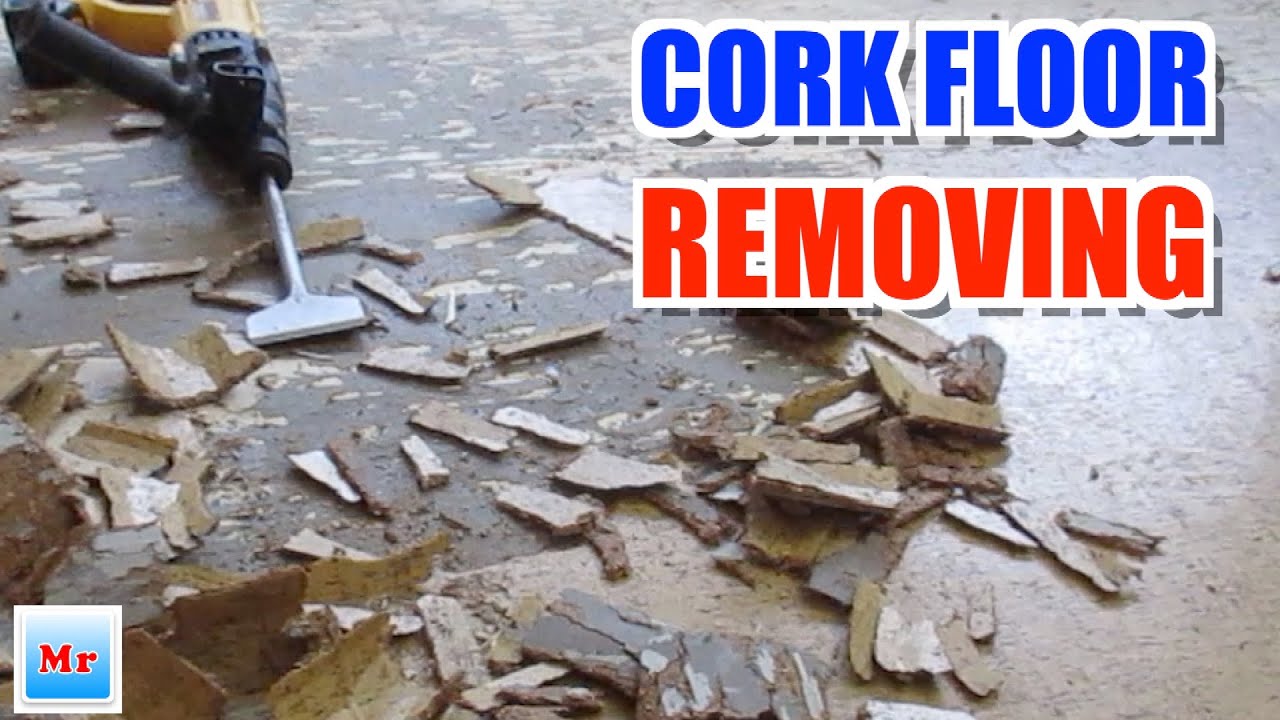
How To Remove Old Cork Floor MrYoucandoityourself – YouTube
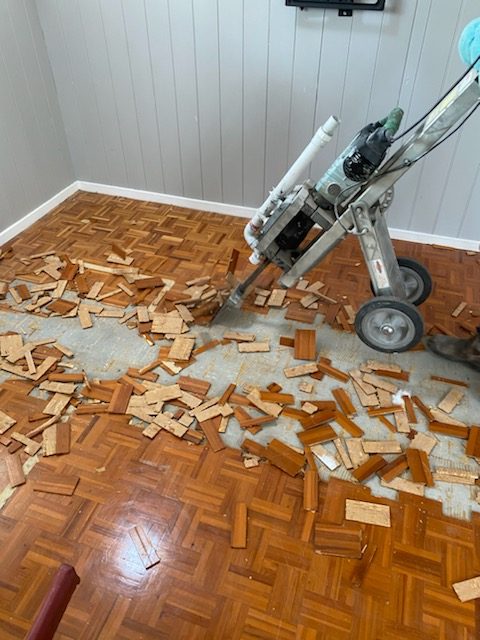
Ceramic Tile and Floor Removal Griggs Floors Toowoomba
Removing Cork Tiles from Floors and Walls DIY Doctor

Cork Flooring 101: Cost, Types, u0026 Installation – This Old House
:no_upscale()/cdn.vox-cdn.com/uploads/chorus_asset/file/23088021/0421_NB_All_About_Cork_Floors_Cork_flooring_iStock_950010876.jpg)
Removing Cork Tiles from Floors and Walls DIY Doctor

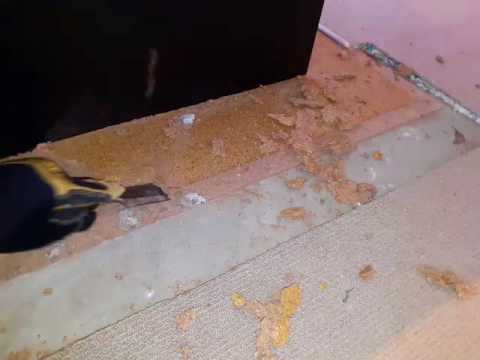
taking off cork tiles – YouTube
Tips For Replacing Flooring

Cork flooring removal mimbles Flickr

Related Posts:
- Cork Flooring Colors
- Cork Flooring Dining Room
- Light Cork Flooring
- Engineered Cork Flooring
- Cork Flooring In Kitchen
- Cork Flooring Modern
- Cork Flooring White
- Herringbone Cork Flooring
- Outdoor Cork Flooring
- Cork Flooring Bathroom
Cork Floor Removal: Everything You Need to Know
Removing cork flooring can be a difficult and time-consuming task. It requires patience and the right tools to ensure that the job is done correctly and safely. In this article, we’ll discuss the steps involved in cork floor removal, as well as some common issues that can arise during the process. We’ll also provide answers to some of the most frequently asked questions about cork floor removal.
Preparation for Cork Floor Removal
Before you begin the process of removing your cork flooring, you should prepare the space by removing any furniture and objects that could obstruct your work. Once this has been done, you should check for any loose nails or screws that may be present in the flooring. It is important to remove these before beginning the removal process as they can cause serious damage to your tools or even injure you if left behind.
Tools Needed for Cork Floor Removal
The next step in the cork floor removal process is to gather all of the necessary tools. Depending on the type of flooring you have, you may need a variety of items including a pry bar, hammer, chisel, reciprocating saw, and screwdrivers. Additionally, you may need other items such as protective eyewear, gloves, and dust masks to ensure your safety during the project.
Process of Removing Cork Flooring
Once all of the necessary tools are gathered, it’s time to begin removing your cork flooring. The first step is to score the perimeter of each plank using a utility knife. This will help to loosen up the adhesive that holds each plank in place. Once this is done, you can use a pry bar or chisel to carefully pry up each plank from its position. As you do this, it is important to be aware of any nails or screws that may be present so that you can remove them before continuing with your work. If needed, use a hammer or reciprocating saw to cut through any stubborn nails or screws.
Once all of the planks have been removed from their positions, it is time to begin removing any adhesive residue that may be left behind. For this step, you will need a putty knife and some mineral spirits or paint thinner. Simply apply some of the mineral spirits or paint thinner on the adhesive and scrape off with a putty knife. Be sure to wear protective gloves when doing this as it can be very dangerous if not done properly.
Finally, once all of the adhesive has been removed, you should clean up any debris that may be present in order to ensure that your new flooring will be installed smoothly and without any problems.
FAQs About Cork Floor Removal
Below are some commonly asked questions about cork floor removal:
Q: How long does it take to remove cork flooring?
A: The amount of time it takes to remove cork flooring depends on several factors such as the size of the room and how many planks need to be removed. Generally speaking, it can take anywhere from a few hours to a few days to completely remove cork flooring from a room.
Q: Is it difficult to remove cork flooring?
A: Removing cork flooring can be a difficult task if you don’t have the right tools or experience with the process. However, if you have all of the necessary tools and know what steps need to be taken, then it can be relatively straightforward.
Q: What kind of tools do I need for cork floor removal?
A: The tools needed for cork floor removal depend on what type of flooring you have installed. Generally speaking, you will need items such as a pry bar, hammer, chisel, reciprocating saw and screwdrivers for this task. Additionally, it is important to wear protective eyewear, gloves and a dust mask while performing this task in order to ensure your safety at all times.