Two years ago, I decided to transform my boring basement into a stylish living space. After researching countless flooring options, I discovered decorative concrete floors and fell in love with their versatility and cost-effectiveness. What started as a budget-friendly solution became an artistic expression that completely changed how I view concrete as a design material. Through trial and error, I’ve learned valuable techniques that I’m excited to share with you.
Choosing the Right Decorative Concrete Style
My first challenge was selecting from the overwhelming variety of decorative concrete options available today. Stamped concrete caught my attention initially because it mimics expensive materials like slate, brick, and stone at a fraction of the cost. I spent weeks examining samples and visiting showrooms to understand texture differences. The realistic patterns and colors available impressed me beyond my expectations.
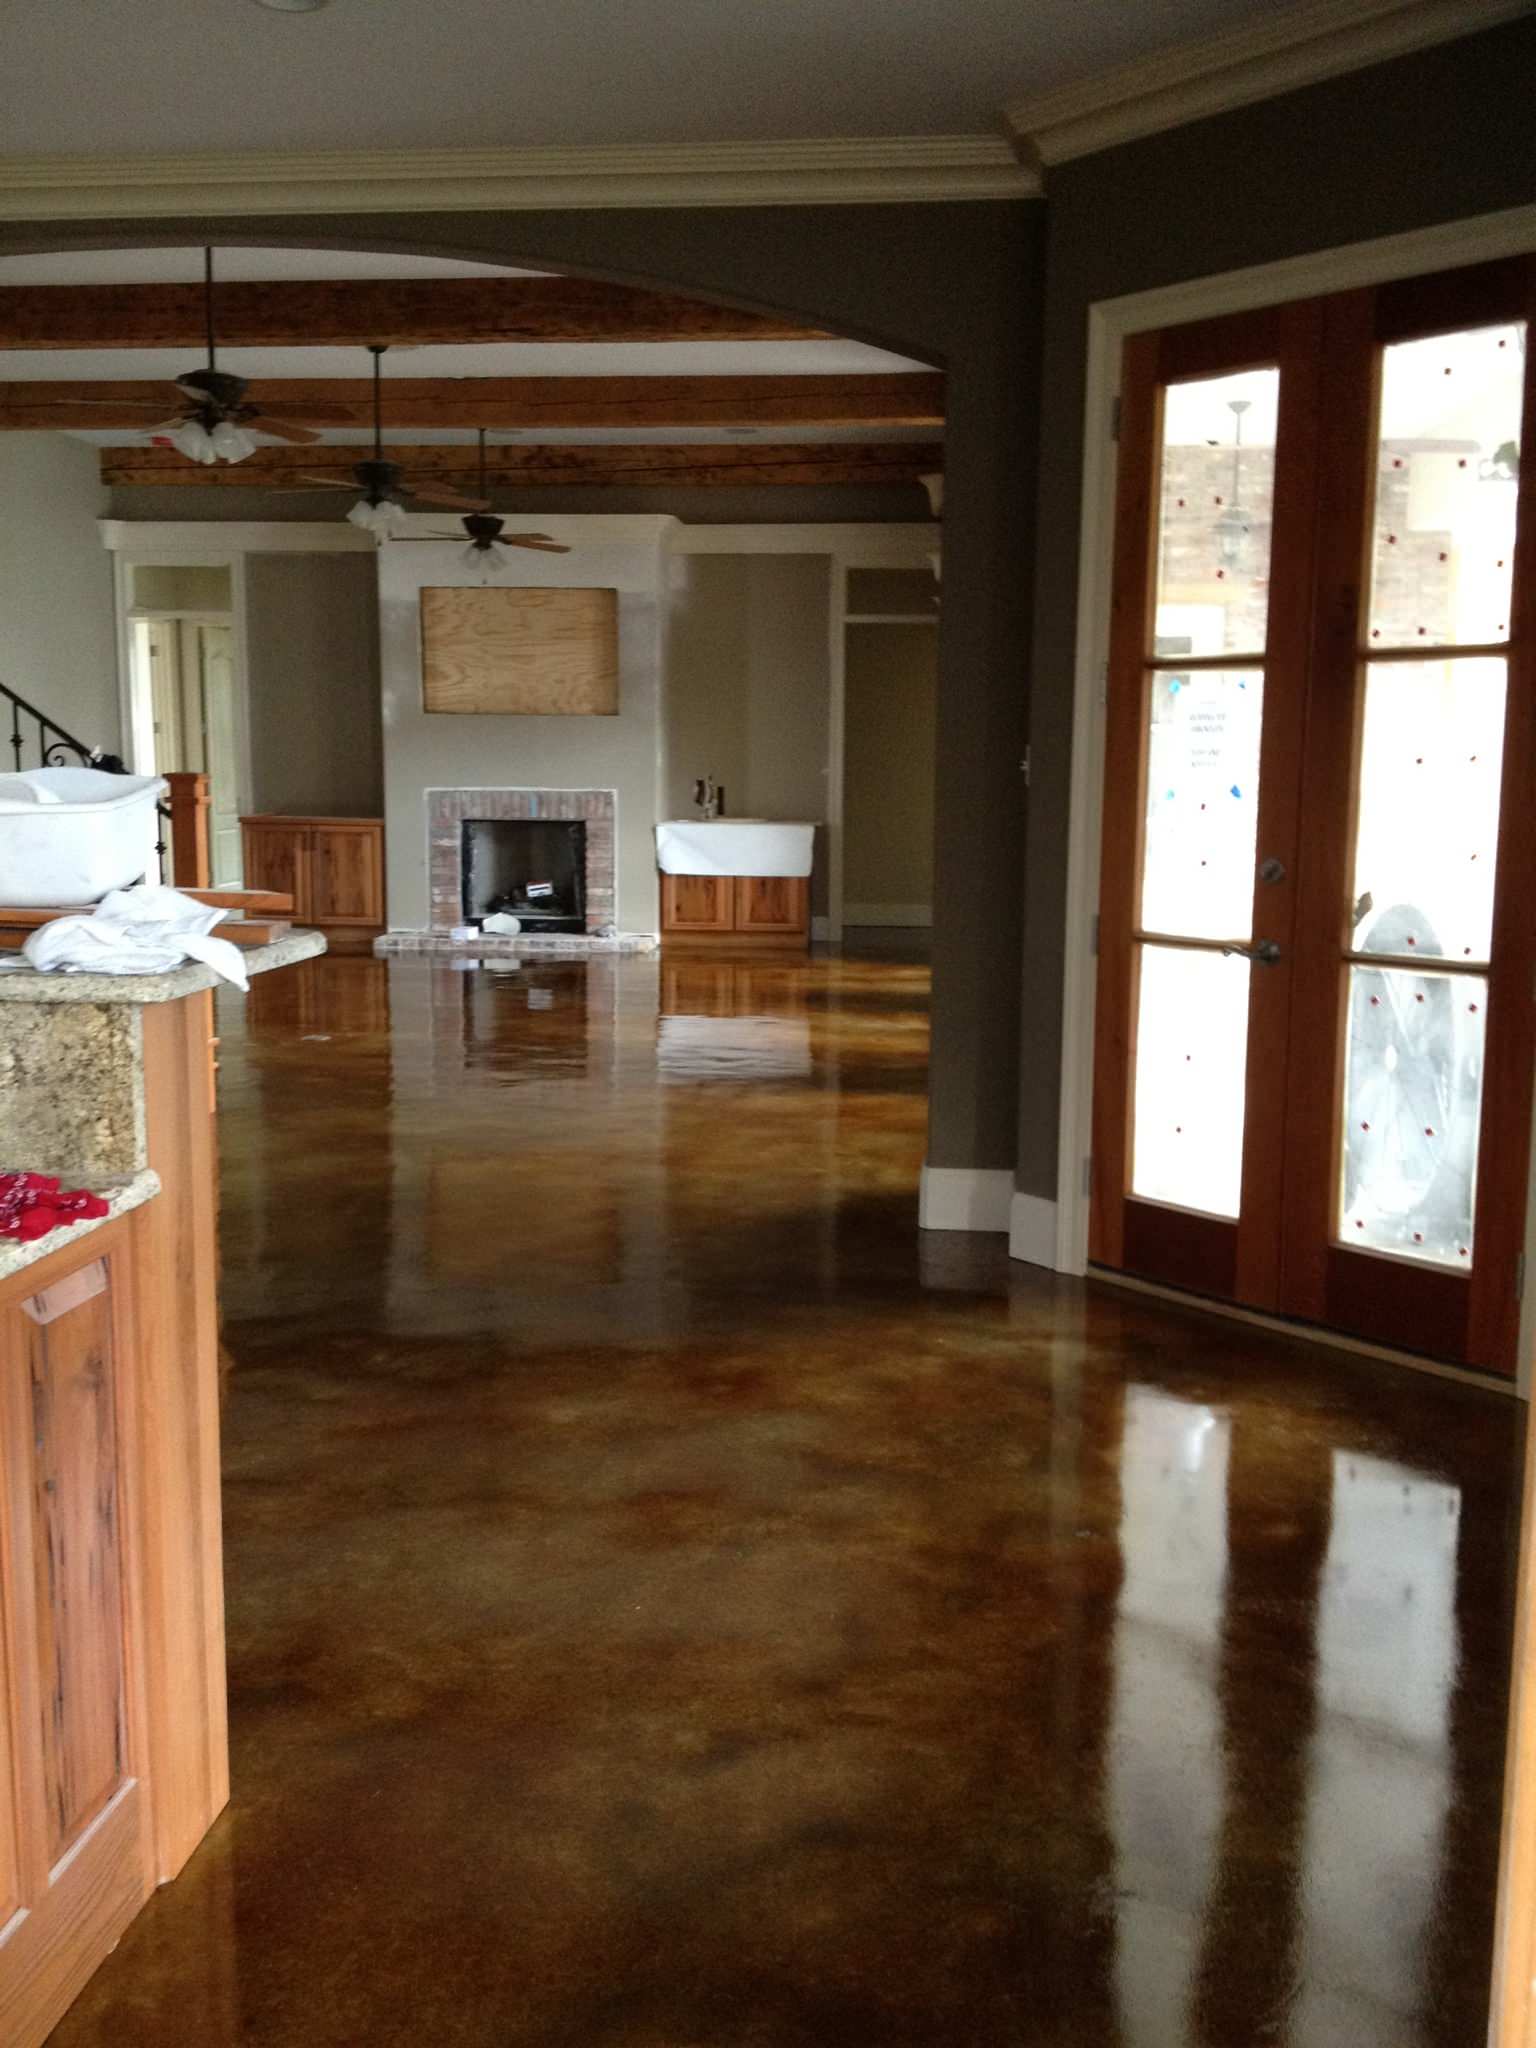
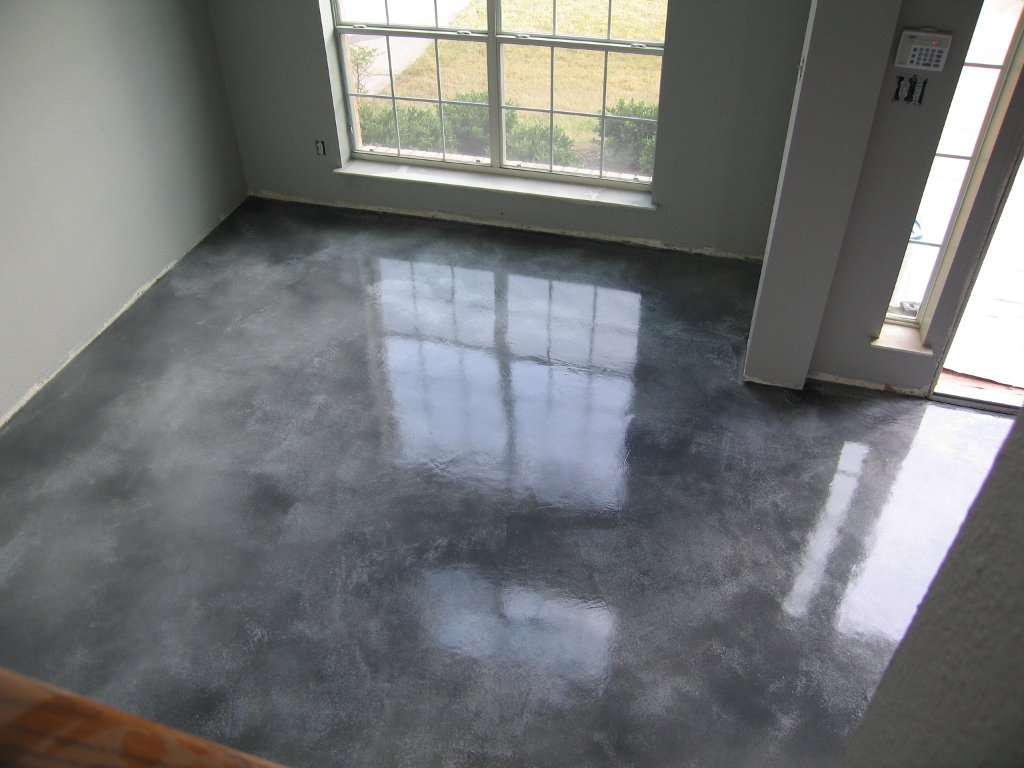
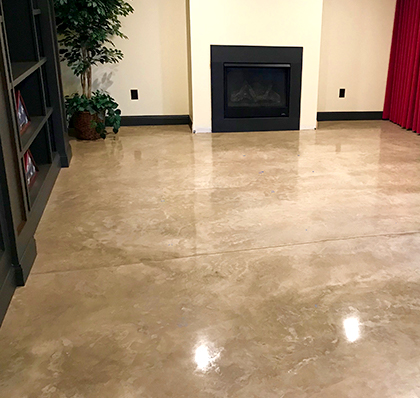
Stained concrete offered another fascinating option that creates unique, organic patterns impossible to replicate artificially. I experimented with acid stains on sample boards and discovered how they react differently with concrete compositions. Water-based stains provided more predictable color results while acid stains created beautiful mottled effects. Each application method produces distinct characteristics that make every floor unique.
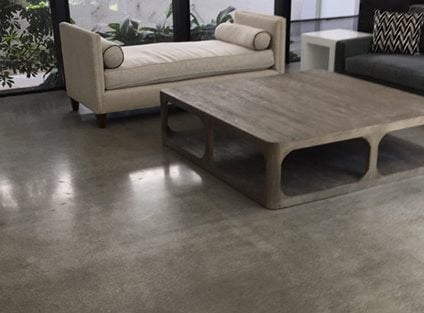
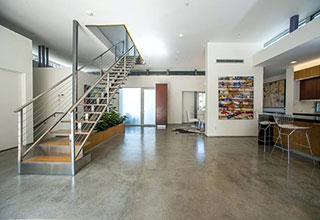
Polished concrete became my final consideration after seeing its mirror-like finish in commercial spaces. The grinding and polishing process transforms ordinary concrete into a sophisticated surface that reflects light beautifully. I learned that different aggregate exposures create various aesthetic effects. Combining multiple techniques opens endless design possibilities that traditional flooring materials cannot match.
Preparing Your Concrete Foundation Properly
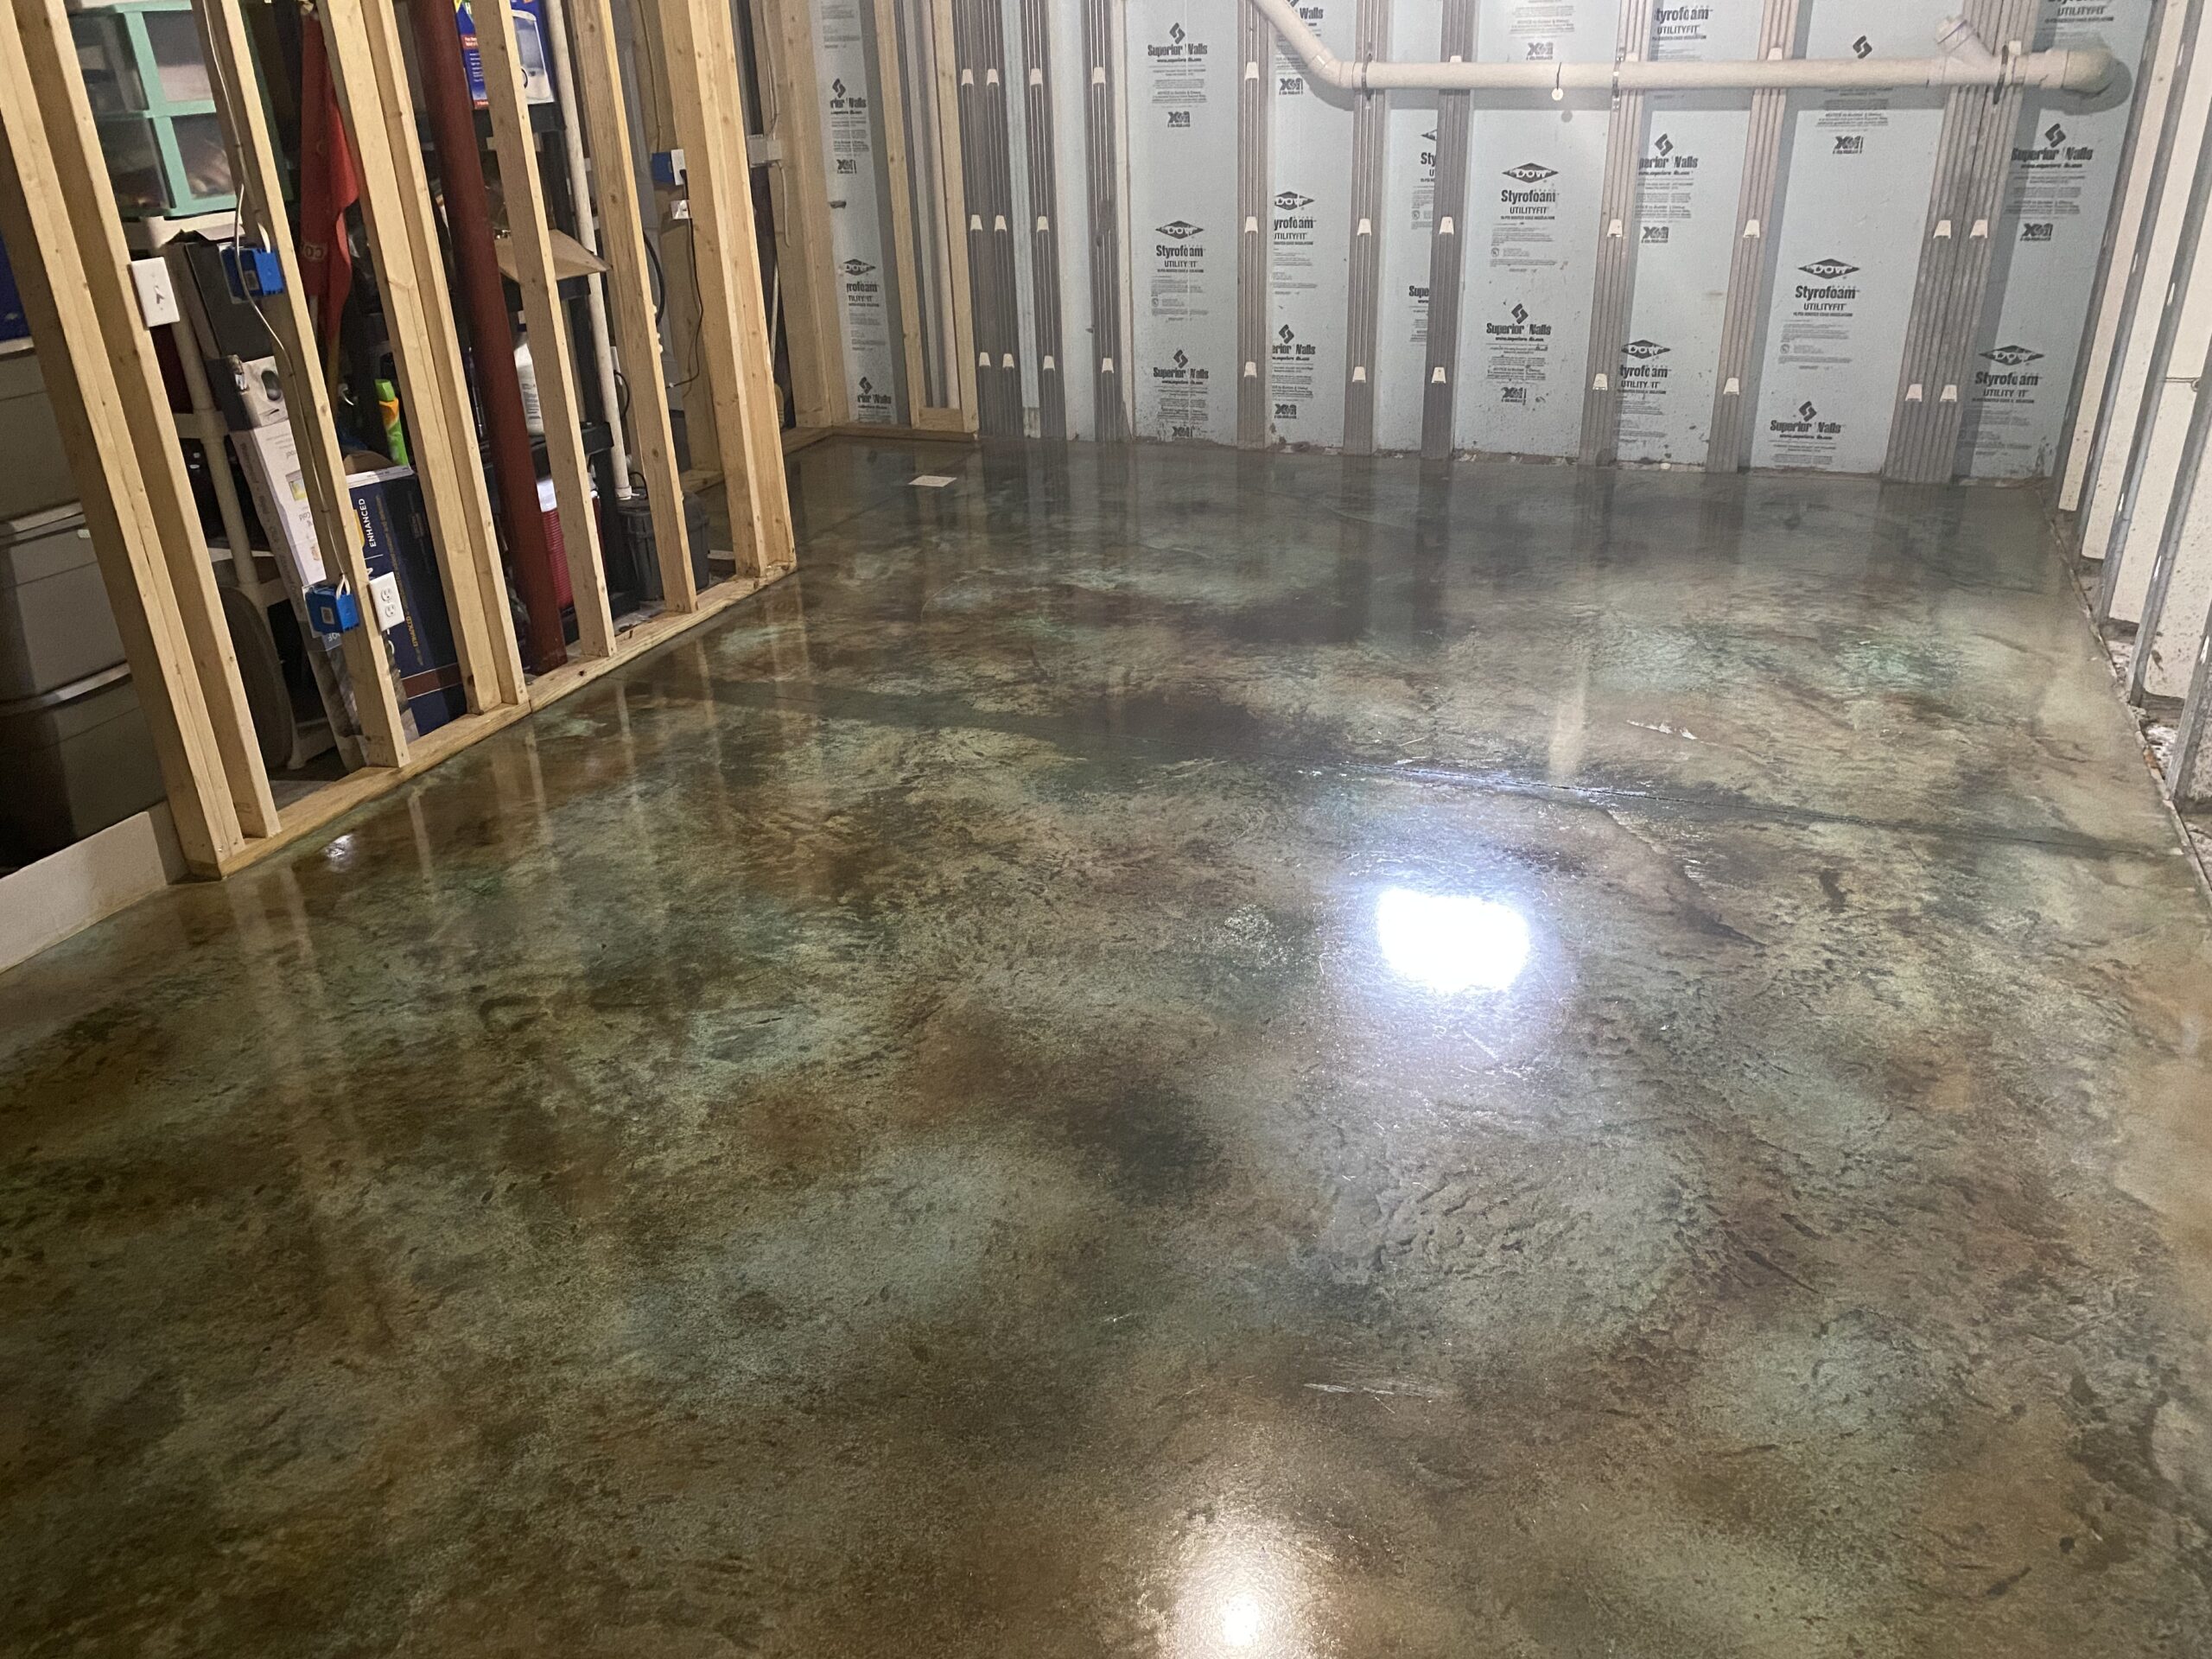
Foundation preparation proved more critical than I initially anticipated for achieving professional-looking decorative concrete results. My existing basement floor required extensive cleaning and patching before any decorative treatments could begin. I discovered that oil stains, paint splatters, and previous coatings must be completely removed through grinding or chemical stripping methods.
Surface profiling became essential for ensuring proper adhesion of decorative materials to the concrete substrate. I used diamond grinding equipment to create the proper texture for stain penetration and coating adhesion. Cracks wider than hairline required repair with appropriate concrete patching compounds. Temperature and humidity conditions during preparation significantly affect final results.
Moisture testing revealed hidden problems that could ruin decorative treatments if ignored during the preparation phase. I used calcium chloride tests to measure moisture vapor transmission rates from the concrete slab. High moisture levels require specialized primers and moisture mitigation systems before applying decorative finishes. Proper preparation prevents costly failures and ensures long-lasting beautiful results.
Application Techniques That Actually Work
Learning proper application techniques required patience and practice that paid off through professional-looking results in my basement transformation. Staining concrete demands consistent mixing and application methods to avoid streaking and color variations. I developed a systematic approach using pump sprayers for even coverage and natural sea sponges for texture blending.
Stamping concrete successfully depends on timing, temperature, and technique coordination that took several attempts to master effectively. The concrete must reach the proper consistency before stamping begins, usually when it supports foot pressure without deep impressions. Release agents prevent stamp adhesion while adding subtle color variation. Working quickly in sections prevents overlapping marks and maintains pattern consistency.
Polishing concrete requires progressive grit sequences and proper equipment operation that produces mirror-like finishes when done correctly. I started with coarse diamonds to remove imperfections and gradually worked through finer grits for the desired sheen level. Densifier applications between grinding steps strengthen the surface and reduce dusting. Each step builds upon the previous work to achieve spectacular results.
Design Ideas That Transform Ordinary Spaces
Decorative concrete opened creative possibilities I never imagined possible with traditional flooring materials in my home renovation project. Color combinations using multiple stain applications created depth and visual interest throughout my basement living area. I learned to blend colors while wet for seamless transitions between different zones. Metallic pigments added glamorous highlights that catch light beautifully.
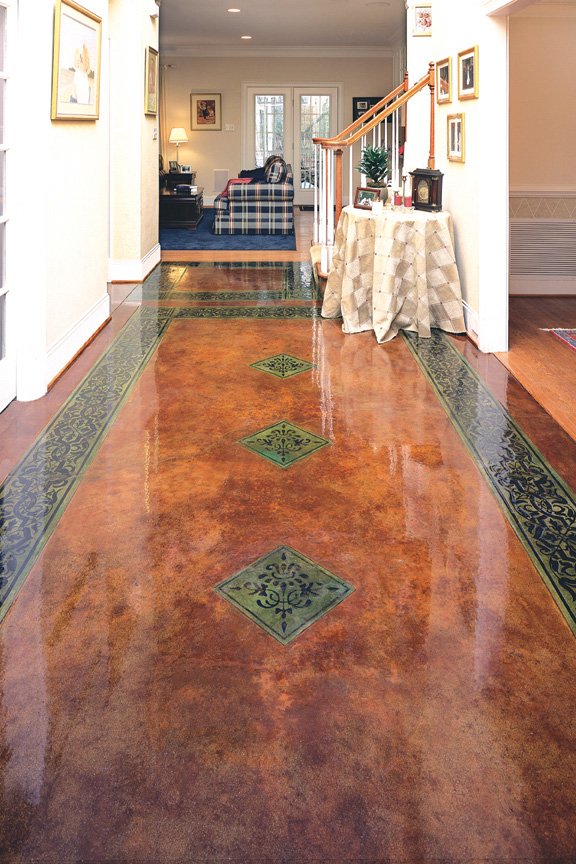
Pattern integration using stamps, stencils, and hand-carved designs allowed me to create custom artistic elements that reflect my personal style. Combining geometric patterns with organic textures produced sophisticated designs that appear expensive but cost relatively little. Border treatments using contrasting colors or patterns define spaces and add professional finishing touches.
Texture variations through different finishing techniques created visual zones within my open basement layout that serve different functional purposes. Smooth polished areas work perfectly for dining spaces while textured sections provide slip resistance near wet areas. Incorporating logos, graphics, or personal artwork makes the floor truly unique and reflects individual personality and creativity.
Maintenance and Longevity Strategies
Maintaining decorative concrete floors requires specific techniques that preserve their beauty and extend their lifespan significantly when followed consistently. Daily sweeping prevents abrasive particles from scratching polished surfaces and maintains the lustrous appearance I worked hard to achieve. Damp mopping with pH-neutral cleaners removes dirt without damaging protective sealers or affecting stain colors.
Sealer maintenance became my most important ongoing responsibility for protecting my decorative concrete investment from damage and staining. I reseal high-traffic areas annually and less-used spaces every two to three years depending on wear patterns. Quality sealers enhance colors while providing protection against moisture, stains, and surface abrasion. Testing small areas first prevents sealer compatibility problems.
Addressing damage promptly prevents small problems from becoming major restoration projects that cost significantly more than preventive maintenance. I keep touch-up stains and sealers readily available for quick repairs to chips or scratches. Professional refinishing every five to ten years restores the original appearance and protective qualities. Proper care maintains the investment value while preserving aesthetic appeal.

Cost Analysis and Return on Investment
Understanding the true cost of decorative concrete flooring requires considering materials, labor, and long-term value compared to alternative flooring options. My basement project cost approximately sixty percent less than comparable natural stone or high-end tile installations. Material costs vary significantly based on complexity, colors, and finishing techniques selected for the specific application.
Labor costs depend heavily on project complexity, surface preparation requirements, and local market conditions that affect contractor availability and pricing. I chose to do most preparation work myself to reduce costs while hiring professionals for specialized techniques like polishing. Learning basic application techniques saved thousands in labor costs while providing valuable hands-on experience.
Long-term value analysis shows decorative concrete floors provide excellent return on investment through durability, low maintenance costs, and timeless appeal. My floors have maintained their appearance for two years without showing wear patterns common in other materials. Increased home value from attractive, unique flooring often exceeds installation costs. Energy efficiency benefits from concrete’s thermal mass properties reduce heating and cooling expenses over time.
How long does decorative concrete flooring installation typically take from start to finish?
My basement decorative concrete project took approximately one week from preparation to final sealing, though drying times extend the process significantly. Surface preparation consumed two days including cleaning, patching, and moisture testing. Staining and stamping required one day with proper weather conditions. Sealing applications need 24-48 hours between coats. Complex designs or large areas may require additional time. Professional installation often reduces timeline through experience and proper equipment.
Can decorative concrete be installed over existing flooring materials like tile or hardwood?
Installing decorative concrete over existing materials is possible but requires careful evaluation of substrate conditions and height considerations in most applications. I removed my old vinyl flooring to ensure proper adhesion and eliminate potential problems. Tile can sometimes be ground down and used as substrate if properly prepared. Height increases from overlay systems may affect door clearances and transitions. Professional assessment determines feasibility for specific situations and existing conditions.
What are the best color options for decorative concrete in residential applications?
Earth tones like browns, tans, and grays provide timeless appeal that complements most interior design styles in residential applications effectively. I chose warm gray with brown accents that coordinate with my existing furnishings perfectly. Bold colors make striking statements but may limit future decorating options. Multiple color combinations create depth and visual interest. Metallic pigments add luxury touches. Color samples on actual concrete help visualize final results before committing to specific choices.
How does decorative concrete perform in high-moisture areas like basements or bathrooms?
Properly sealed decorative concrete performs excellently in high-moisture environments when installed with appropriate moisture barriers and ventilation systems. My basement installation included moisture mitigation measures that prevented problems for two years. Quality penetrating sealers provide excellent water resistance while maintaining breathability. Bathroom applications require slip-resistant textures and frequent sealer maintenance. Professional installation ensures proper moisture management for challenging environments and prevents costly failures.
What tools and equipment do I need for DIY decorative concrete installation?
Basic DIY decorative concrete projects require concrete grinders, pressure washers, spray equipment, stamps or stencils, and protective gear for safe application. I invested in quality diamond grinding discs and pump sprayers that produced professional results. Polishing requires specialized equipment typically rented rather than purchased for single projects. Safety equipment including respirators, gloves, and eye protection prevents injuries during application. Tool rental reduces costs while providing access to professional-grade equipment for better results.
How do decorative concrete floors compare to other flooring options in terms of comfort and warmth?
Concrete floors feel cold and hard underfoot compared to carpet or wood, but radiant heating systems can address temperature concerns effectively. I installed area rugs in seating areas to add warmth and comfort for daily use. Thermal mass properties help regulate indoor temperatures naturally throughout seasonal changes. Cushioned mats in work areas reduce fatigue from standing. The durability and low maintenance benefits often outweigh comfort considerations for many homeowners seeking practical flooring solutions.
Concrete flooring: a guide to polished concrete floors, costs and
Polished Concrete in St. Louis, MO
Concrete Polishing Services ⋆ All About Polished Concrete
Acid Stained Concrete Floors – Stained Concrete Outdoors or Indoors
Related Posts: