My garage floor transformation quest began three years ago, when I chose to tackle epoxy flooring on my own. The drab, stained concrete had irritated me for years, but professional quotations in the $3,000 range prompted me to seek a DIY solution. What began as a cost-cutting option turned into an eye-opening experience that showed me that gorgeous, long-lasting epoxy floors are affordable for budget-conscious homes. I’ve already completed four epoxy jobs, refining my technique each time, and I’m eager to share what I’ve learned about cost management without sacrificing quality.
Understanding Epoxy Flooring Basics
Epoxy flooring is made up of a resin and a hardener that chemically join to form a strong plastic layer. I realized that not all epoxy systems are the same, with possibilities ranging from simple one-coat water-based materials to complicated multilayer systems. Basic water-based kits cost about $30-50 per 250 square feet, whereas professional-grade 100% solid epoxy systems cost $150-200 for the same area. The more expensive solutions provided greater durability and chemical resistance, which are significant concerns in areas like my workshop where equipment routinely drop and chemicals occasionally leak.
When labor charges are compared, the true cost advantage of DIY epoxy emerges. Professional installation often adds $3-5 per square foot in labor costs, which account for roughly 60% of the bids I received. By completing the application myself, I immediately saved more than $1,000 on my two-car garage. However, this savings comes with responsibilities, as good floor preparation has a big impact on the final product. I learnt this lesson the hard way on my first project, when sloppy prep work resulted in early peeling in high-traffic areas.
The majority of DIY epoxy failures are due to inadequate surface preparation rather than the quality of the epoxy. I now set aside approximately 70% of my project time for preparation, which includes cleaning, degreasing, etching, and crack repair. My first garage project used a $120 budget kit, but I spent an extra $75 on prep items like concrete cleanser, etching solution, patch compound, and application equipment. These preparatory expenditures are usually consistent regardless of epoxy grade, making them a bigger portion of the budget for smaller jobs.
Material Cost Breakdown
My cost research identified different levels of epoxy resins with matching pricing points. Entry-level water-based epoxy paint kits from home improvement stores cost between $0.15 and $0.25 per square foot, but they normally need to be reapplied every 1-3 years. Mid-range epoxy systems with higher solid content cost $0.50-1.00 per square foot and can last 3-5 years with regular maintenance. For my most recent project, I purchased a premium 100% solids epoxy system for $1.50-2.00 per square foot, which the company claims can last 10 years or more. Despite their higher initial costs, premium choices are more cost effective in the long run due to their enhanced longevity.
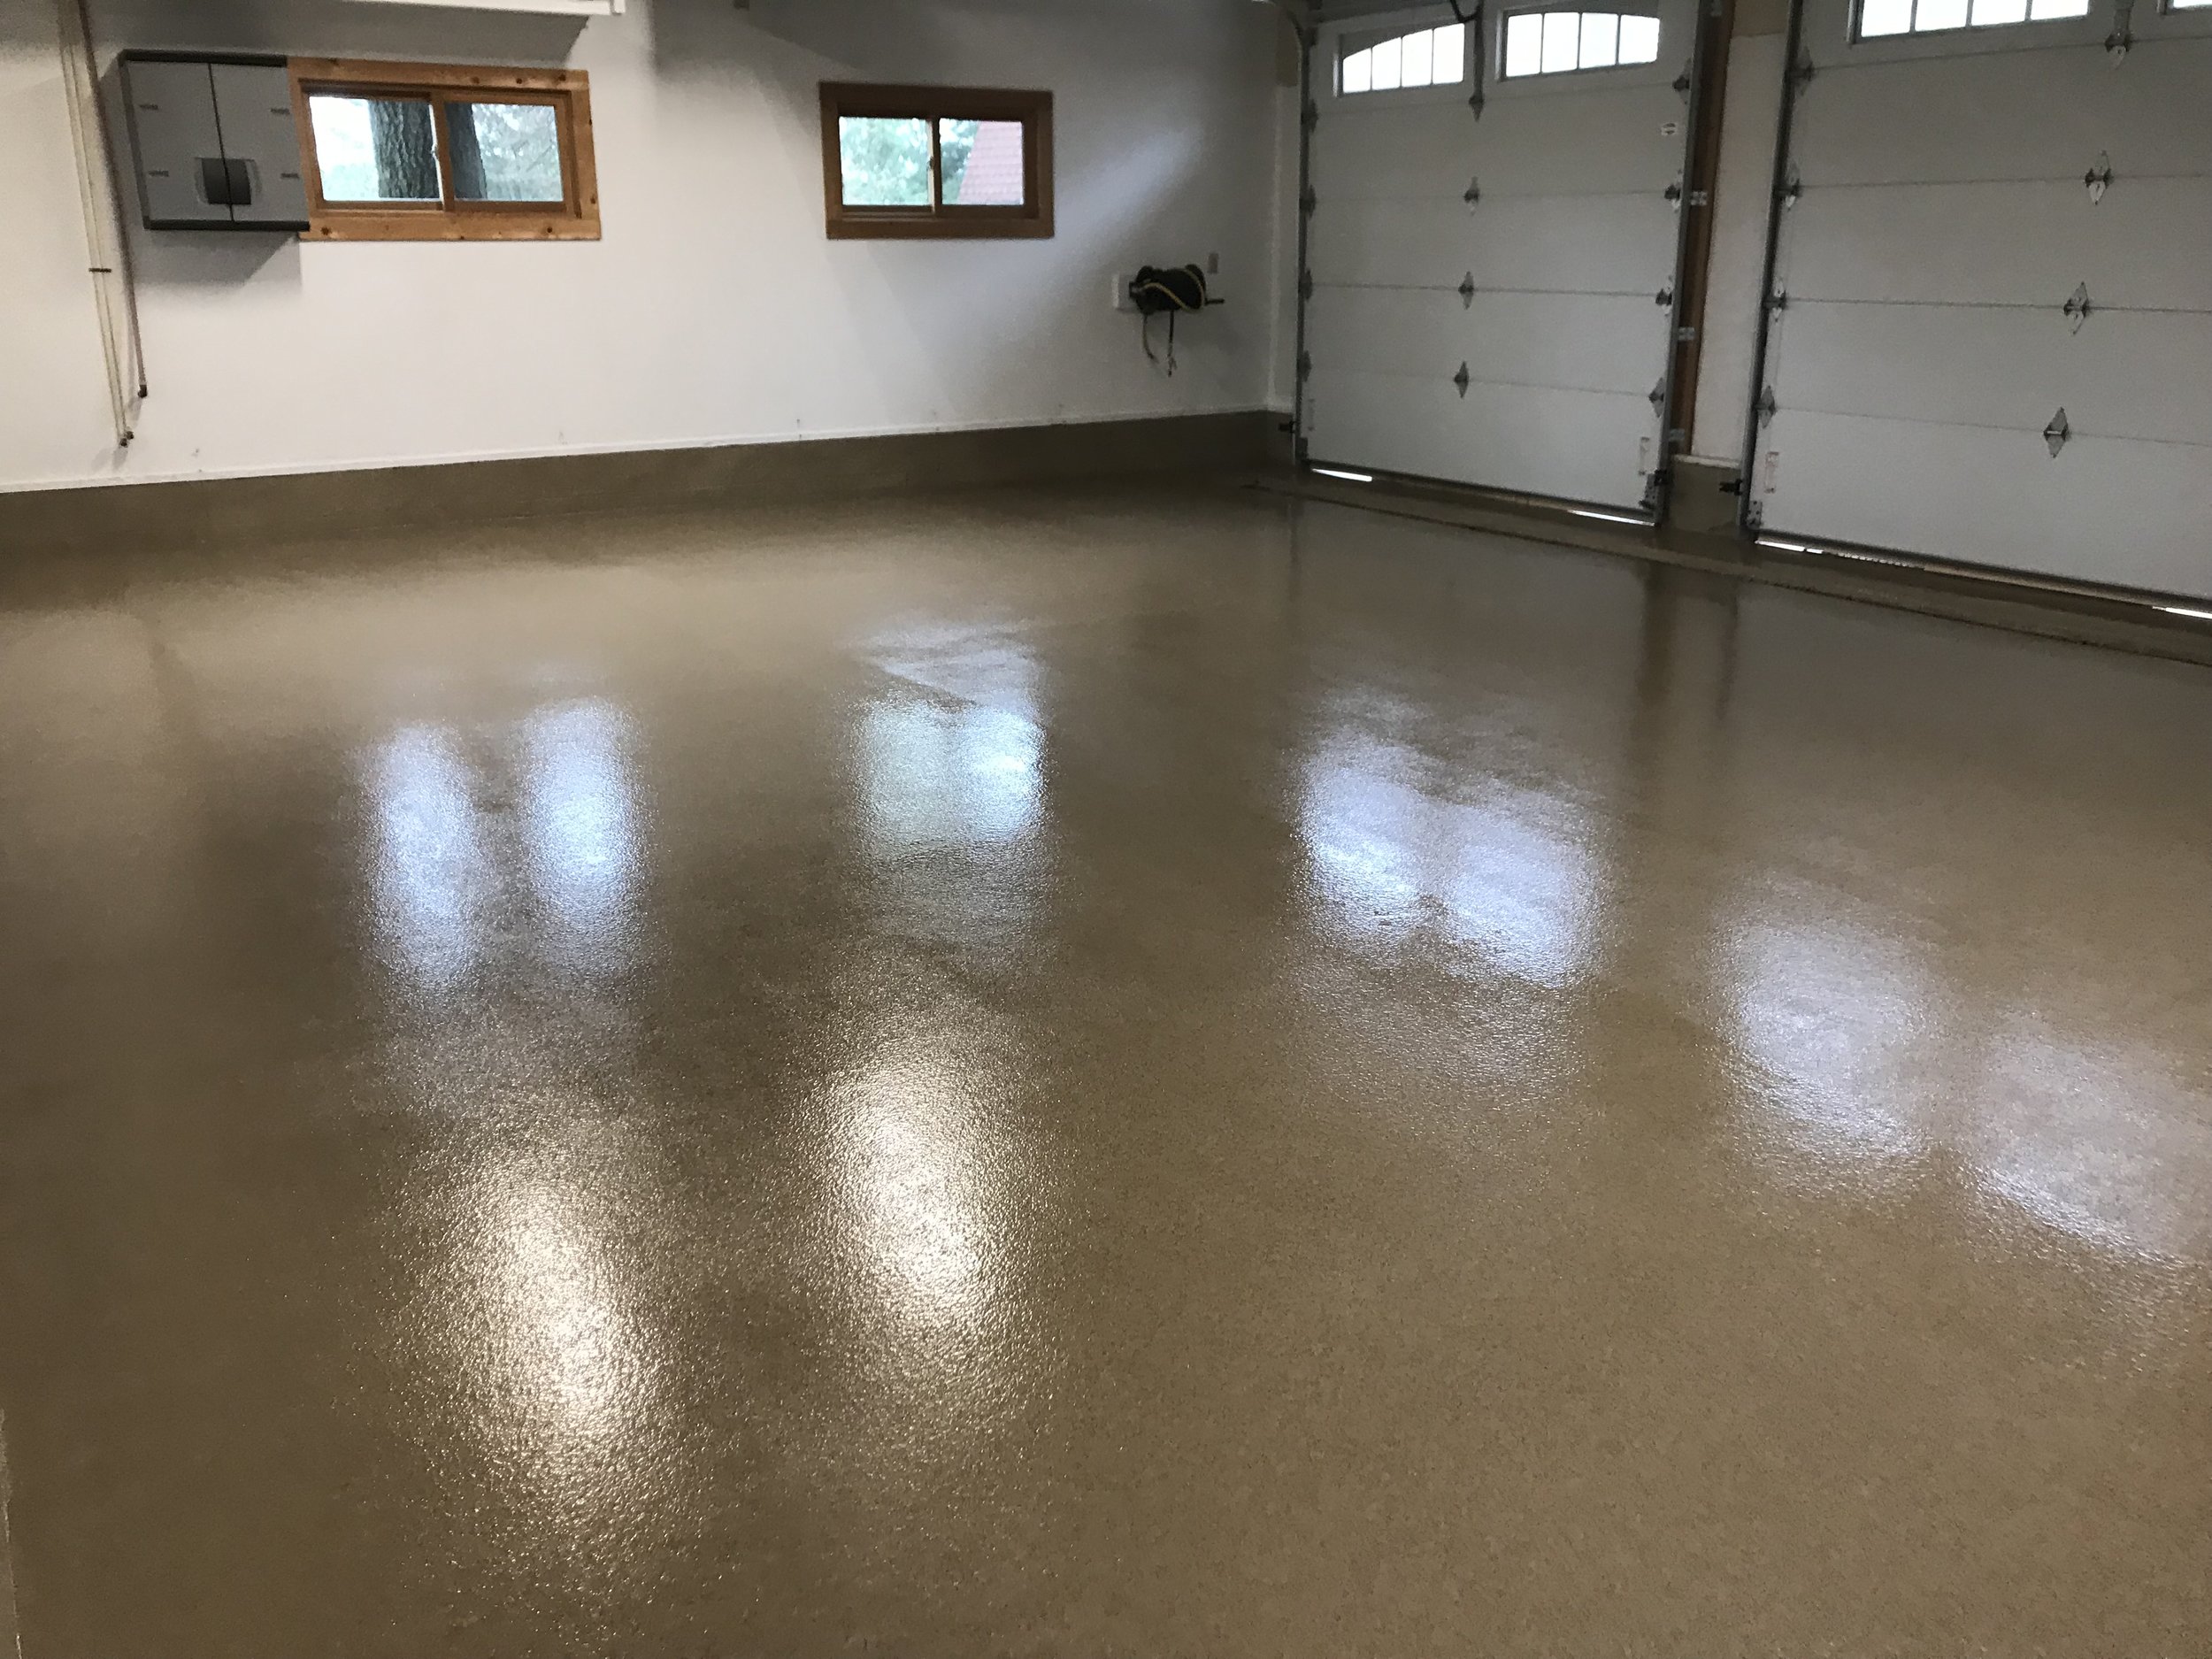
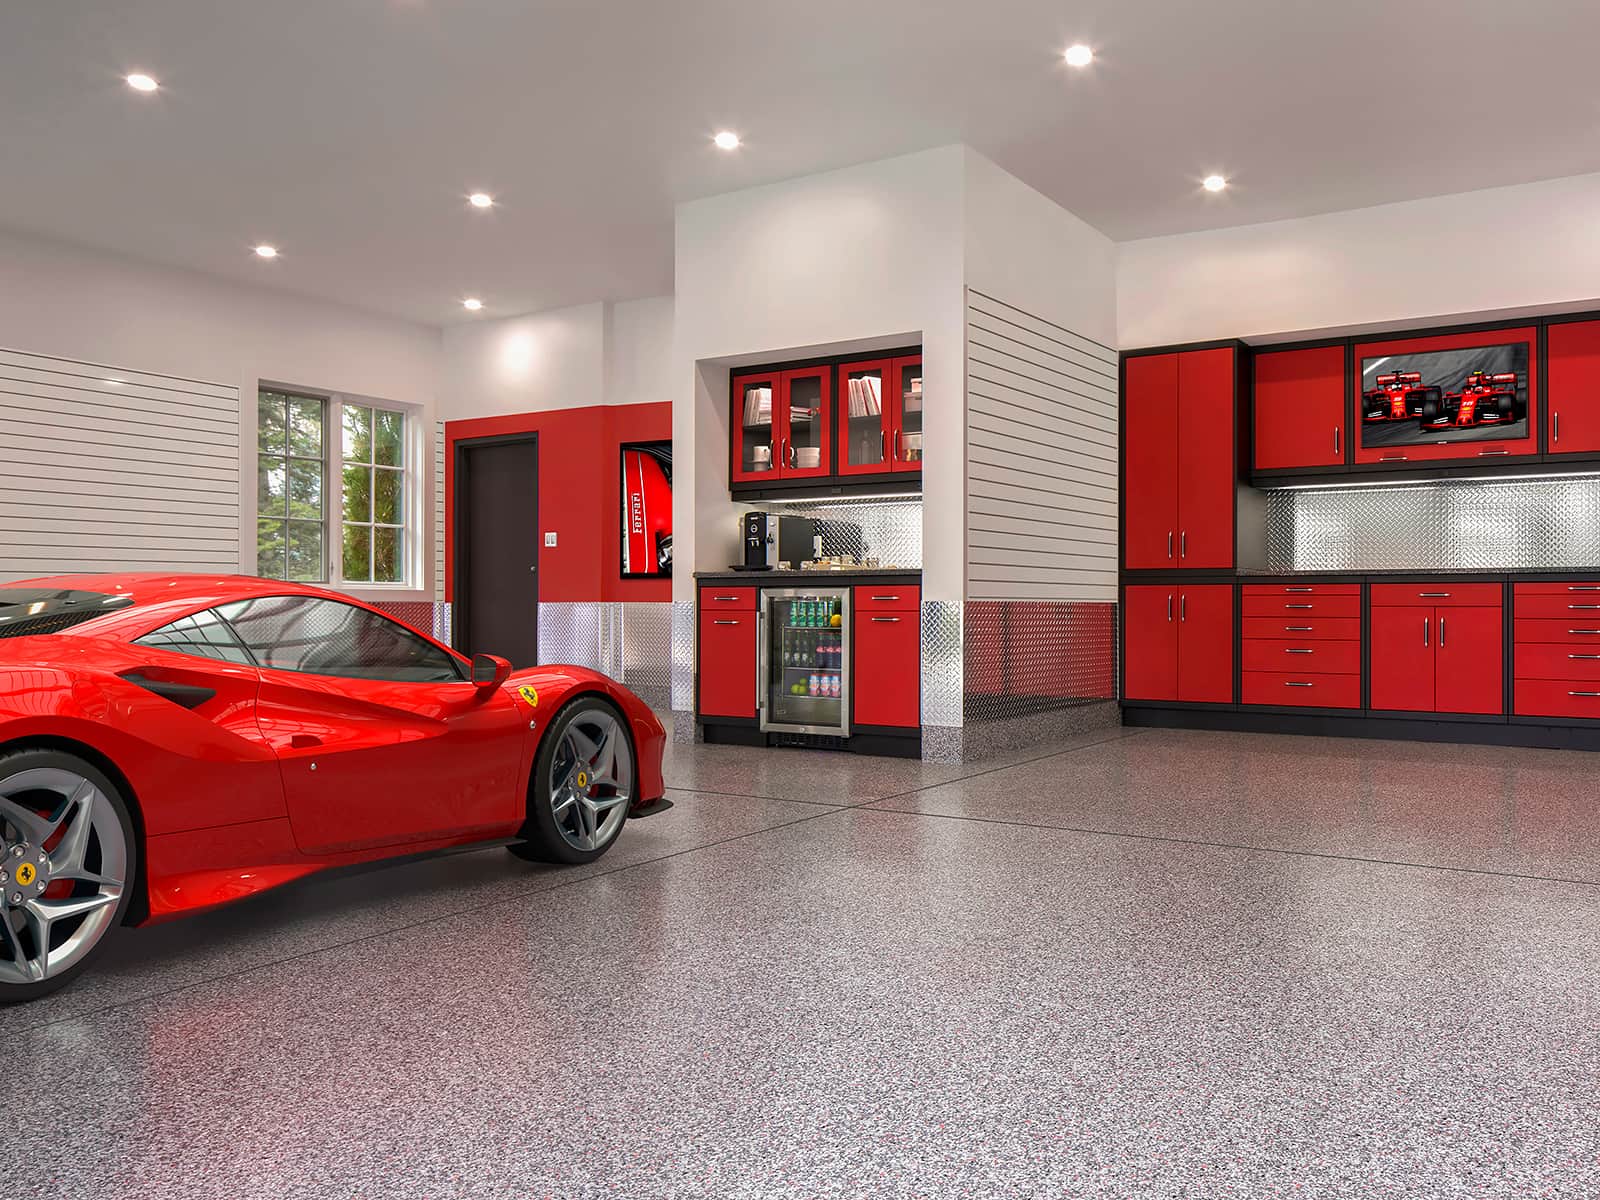
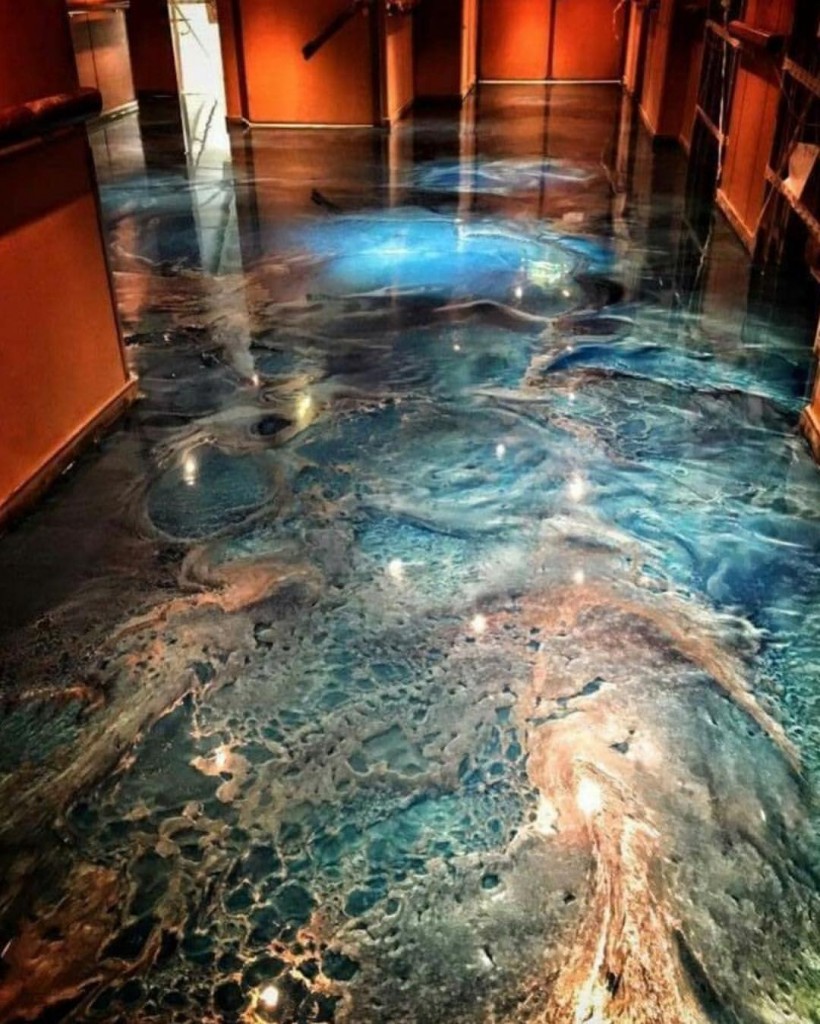
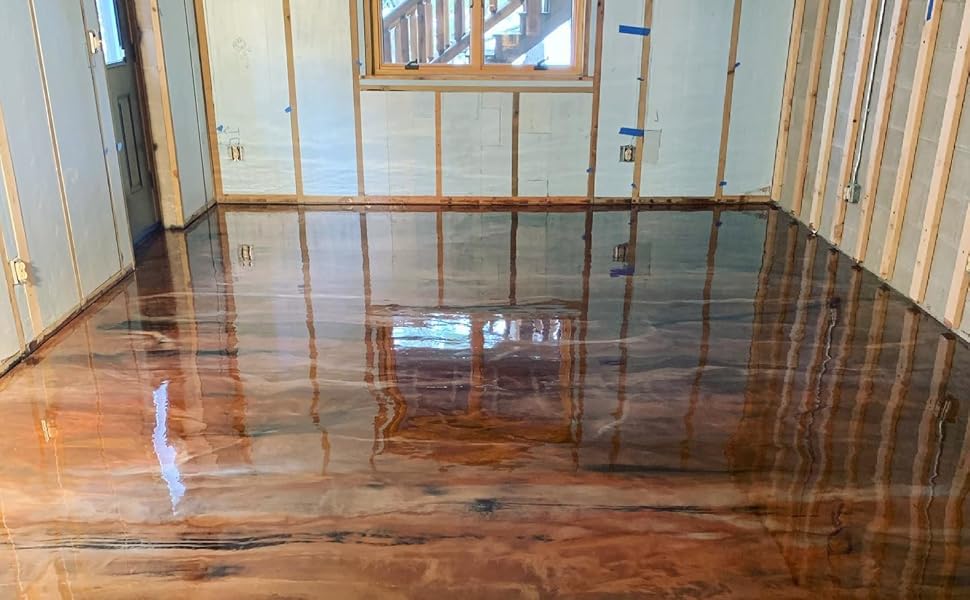
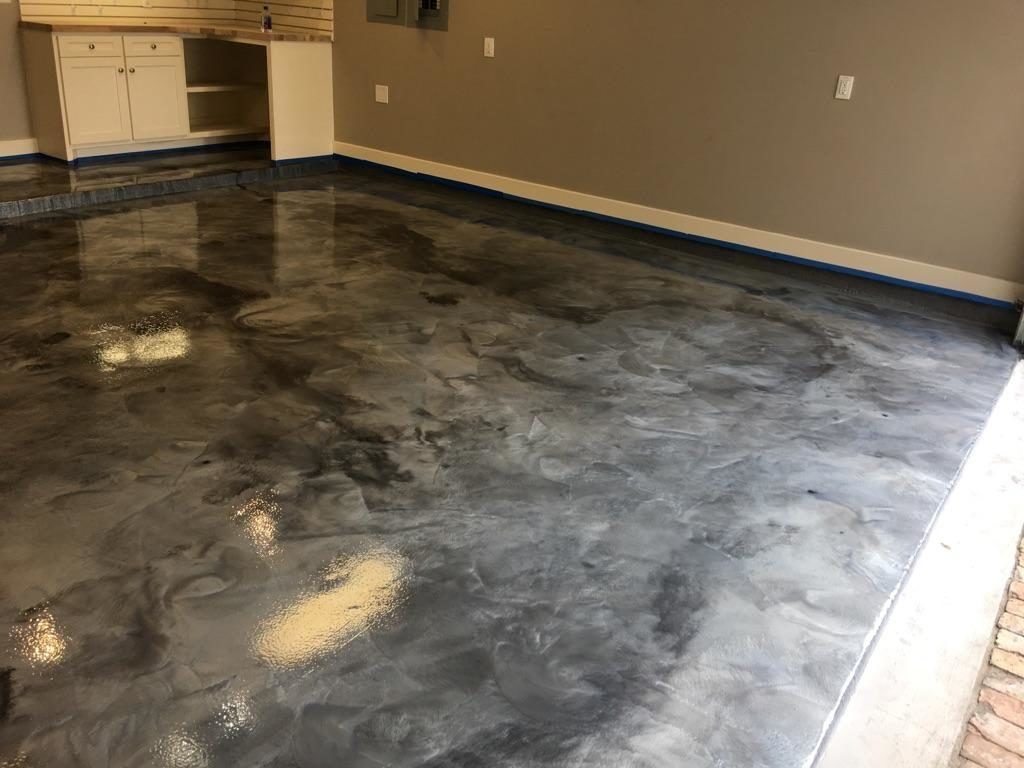
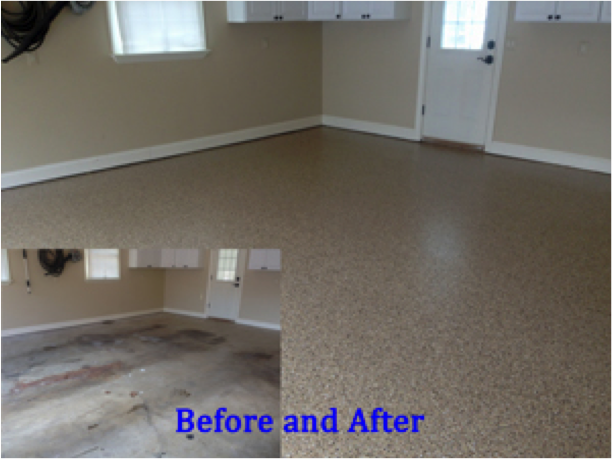
Decorative components increase the variable costs of epoxy projects. My first plain gray floor cost little extra, but adding color flakes to my second project increased the cost by $0.20 to $0.30 per square foot. Metallic pigments on my basement floor produced a gorgeous marble-like appearance while increasing material expenses by $0.75 per square foot. UV-stable top coatings cost an additional $0.40-0.60 per square foot but are important for outdoor applications or regions with high sun exposure. These stylistic decisions have a big impact on the final pricing while also transforming functional spaces into showpieces.
Coverage efficiency varies substantially among product kinds, influencing real-world costs. Water-based epoxy requires two coatings for adequate protection, virtually tripling material requirements. I discovered that 100% solids epoxy delivers greater single-coat coverage but costs more upfront. My thorough expense tracking indicated that real coverage frequently falls 10-15% short of manufacturer claims due to surface porosity and application technique. For correct budgeting, I now compute at 85% of the claimed coverage, eliminating mid-project supply runs and accompanying stress.

Tool and Equipment Investment
Essential tools for epoxy application require a considerable initial investment that reduces expenses on subsequent projects. My first tool purchases were a 1/4-inch notched squeegee ($20), an extension pole ($15), high-quality rollers and frames ($30), spike shoes ($25), mixing buckets ($10), and a drill mixer attachment ($15). These components cost around $115, but they have served me well on several projects. For first-time installers, these tools add around $0.25-0.35 per square foot to a typical two-car garage job, but the expense is amortized over multiple applications.
Surface preparation equipment is another potential expense. After dealing with ineffective results with domestic cleaning materials, I rented a concrete floor grinder ($85 per day) for my second endeavor. The enhanced adhesion justified the cost, but I later discovered that chemical etching solutions ($20-30 per garage) produce satisfactory results for residential applications when applied correctly. For stubborn oil stains and extremely soiled floors, I now rent a pressure washer ($50 a day) rather than scrubbing by hand, and I’ve found that the time savings and improved results make the investment worthwhile.
Personal protective equipment costs are sometimes forgotten in planning, yet they remain critical for safety. Disposable products such as nitrile gloves ($10 per box), respirators with organic vapor cartridges ($35), safety eyewear ($10), and knee pads ($20) add about $75 to the project budget. I reuse non-disposable things wherever possible, but effective respiratory protection necessitates new cartridges for each application. After completing multiple jobs, I consider these safety considerations non-negotiable, having experienced eye discomfort and headaches while attempting to save money on protection after my initial installation.
Hidden Costs and Budget Surprises
Substrate repairs usually surpass initial estimates, especially for older concrete. My first garage renovation revealed numerous cracks and spalling areas that necessitated the use of specialty fillers, which cost $45 per tube and required multiple tubes. Repair materials must be epoxy-compatible and able to endure structural movement. Moisture testing revealed that my basement project required a vapor barrier primer, which increased material costs by $1.25 per square foot. Without this vital component, trapped moisture would have resulted in bubbling and delamination within months, as I discovered from a botched laundry room application.
Temperature control requirements can cause unforeseen expenses. Epoxy curing works best between 65 and 80°F, which my unheated garage couldn’t manage during my winter application. To maintain the right temperature, I temporarily installed a space heater ($50) and insulated the garage door ($35), which added $85 to the project expenditures. Humidity control posed similar issues for my basement installation during a rainy week. After postponing twice, I rented commercial dehumidifiers ($75) to obtain the desired conditions. These environmental control costs vary seasonally but have a substantial impact on both the budget and the timetable.
Disposal and containment costs frequently surprise first-time installations. Epoxy application generates a substantial amount of trash, including mixing containers, used rollers, extra material, and preparation residue. My first project generated three contractor bags of waste that required special disposal owing to chemical composition, which cost $45 in fees. Floor protection during multi-day treatments in partially furnished areas cost an additional $30 for plastic sheeting. For my most recent job, I invested in reusable mixing containers ($25) to save waste and disposal expenses while also being more environmentally responsible across several uses.
Time Investment Considerations
Labor hours are the most cost-effective component of DIY epoxy applications, but they must be assessed realistically. My first 500-square-foot garage project took about 20 hours, including preparation (14 hours) and application (6 hours). Professional teams would normally finish the same job in 6-8 hours but charge $1,500-2,000 in labor. My hourly savings were $75-100 per hour, which exceeded my actual pay rate and justified the time invested. However, this calculation assumes error-free application, which was not the case in my early projects, where faults resulted in significant remediation effort.
Multiple phases and curing times must be considered when calculating a project timeframe. My typical garage installation takes five days, including two days of preparation, one day of application, and two days of drying before light use. Seven extra days are required for full curing, which allows for car parking. These extended intervals present logistical problems such as car storage, alternate laundry arrangements for basement applications, and limited access to critical regions. While not direct financial costs, these inconveniences have a meaningful influence on quality of life and should be considered when making DIY decisions.
Learning curve costs show as material waste and occasional failures. My initial application utilized around 15% more material than was required due to incorrect mixing ratios and application procedures. On my second project, a small piece failed to cure correctly due to poor mixing, necessitating removal and reapplication at an additional cost. These learning experiences helped my later efforts, but they came at a cost that professionals do not often incur. I now include a 10% material contingency for rookie DIY installers to account for unavoidable inefficiencies and mistakes throughout the learning curve.

Long-Term Value and Cost Effectiveness
Differences in durability across price tiers have a significant impact on lifetime expenses. After only 14 months, my laundry room’s low-cost water-based epoxy began to show signs of deterioration and needed to be reapplied. At $150 per application, including materials and preparation supplies, the five-year cost is projected to be $450-600 for three required applications. In comparison, my garage’s premium system cost $750 at first but shows no wear after three years, indicating that it will last at least ten years. The premium system’s expected decade-long durability leads in significant cost savings across several budget applications while avoiding the need for repeated manpower investment.
The impact on property value varies depending on the application’s quality and location. Real estate professionals indicated that my professionally-appearing garage floor increased the value of my home by around $1,500, regaining roughly 200% of my $750 material investment. The stunning metallic basement floor helped to create a finished basement appearance that appraisers evaluated at much greater return rates. However, poorly completed applications or failing epoxy systems can have a negative impact on property values, highlighting the significance of appropriate installation. The cosmetic upgrade alone justified the price for me, with the property value rise serving as an unexpected financial bonus.
Maintenance expenses fall with higher-quality systems, but they never disappear completely. My budget application required quarterly resealing ($25 per application) to keep its beauty and protection. After three years, premium systems require just annual light recoating ($50-75 each application). Regular cleaning materials add roughly $30 per year, regardless of system quality. These recurrent expenses are rarely included in the initial budget but have a substantial impact on lifetime costs. By analyzing these charges across different quality categories in my numerous projects, I’ve discovered that premium systems often have the lowest cost of ownership for places with frequent use, despite the larger initial outlay.

What is the average cost of DIY epoxy flooring materials for a typical two-car garage?
Material expenses for my normal two-car garage, which measured roughly 400-500 square feet, fluctuated greatly depending on product quality. Economy water-based epoxy kits cost $120-200 ($0.25-0.40 per square foot) and provide basic protection with a 1-3 year lifespan. Mid-range polyamine epoxy systems cost $350-500 ($0.70-1.00 per square foot) and last 3-5 years. Premium 100% solids epoxy systems with UV-stable top coats cost the most, at $750-1,000 ($1.50-2.00 per square foot), but provided 10+ years of protection. These figures include primary coating ingredients, but not preparation supplies or tools. In my opinion, the sweet spot for value is in the mid-to-premium category, where the increased endurance justifies the higher initial expenditure.
How do colored flakes and metallic additions effect the total project cost?
Decorative components have a considerable impact on both the aesthetics and the final cost structure. Basic color flakes cost $75-150 for my two-car garage project ($0.15-0.30 per square foot), with coverage density deciding the final price. Full flake coverage, which requires 5-7 pounds per 100 square feet, is more expensive, but it effectively masks concrete defects. Metallic pigments for my basement floor cost roughly $0.75 per square foot ($375 for 500 square feet), but they produced a magnificent three-dimensional effect that ordinary epoxy could not duplicate. Specialized effects, such as glow-in-the-dark additives, can cost more than $1.00 per square foot. While these decorative components raise initial costs, they rarely affect long-term durability, making them mainly cosmetic expenditures rather than functional improvements.

What unexpected costs should first-time DIY epoxy installers plan for?
My first epoxy job revealed various unexpected expenses in addition to the basic ingredients. Floor preparation items, such as concrete cleaner, degreaser, etching solution, and crack fillers, adding $120-150 to my initial budget. Specialized application tools like as notched squeegees, spike shoes, and suitable rollers required an additional $110-130 investment. Safety equipment such as suitable respirators, chemical-resistant gloves, and protective glasses cost an additional $75. Environmental control costs startled me the most, with heaters, dehumidifiers, and fans costing $50-100 depending on the season and workstation conditions. I also miscalculated the cost of disposing of chemical residue, which was $25-50. To account for these necessary supplemental expenses, first-time installers should add between 40 and 50% to base material costs.
How much money can I really save by laying epoxy flooring myself rather than hiring professionals?
My careful cost comparison of DIY versus professional installation found significant savings. For my 500-square-foot garage, professional quotations for quality systems ranged from $2,800 to $3,500 ($5.60-7.00 per square foot). My DIY prices for comparable materials were $750-900 ($1.50-1.80 per square foot), plus $250-300 for tools and supplies, for a total of around $1,050-1,200 ($2.10-2.40 per square foot). This offers a savings of $1,750-2,300, or about 60-65%, as compared to expert installation. However, my project required roughly 20 hours of labor spaced out across several days. When estimating true savings, homeowners should value their time fairly, since complex installations with major floor repairs or hard conditions might take significantly longer and potentially reduce the economic gain.

Will inexpensive epoxy kits from big box stores deliver appropriate results and value?
In my experience, economy kits produced unsatisfactory results despite their appealing price points. Despite light use, my laundry room installation utilizing a $99 water-based kit began revealing wear trails and hot tire pickup after only a few months. These formulations often comprise 30-50% solids versus 100% in premium systems, resulting in thinner final coatings with lower durability. While suitable for occasional usage or as temporary remedies, low-cost goods frequently require reapplication, ultimately costing more over 5-10 years than a single application of higher-quality material. I only recommend these kits for areas with little traffic, no vehicle parking, and little exposure to chemicals or UV rays. For primary living rooms or working garages, the false economy of low-cost materials is soon obvious.
How do the continuing maintenance needs and prices differ between budget and premium epoxy systems?
My experience with many systems has shown that maintenance requirements vary considerably between quality tiers. My low-cost water-based epoxy requires quarterly cleaning with specialized epoxy cleaners ($10 per bottle) and annual resealing ($25-30 per application) to stay protected. Scratches and scuffs appear quickly and cannot be healed on the spot, necessitating a thorough reapplication every 1-3 years ($150 or more per application). In comparison, my premium system just requires regular washing with mild soap and water, with a light maintenance coat advised every 3-5 years ($75-100). The improved scratch resistance and chemical protection eliminate the majority of damage that would require repairs. These differences in continuing maintenance have a substantial impact on lifetime ownership costs, with premium systems requiring roughly 70% less maintenance over a 10-year period than budget alternatives.
Flooring Epoxy 1.5 Gallon Kit
Garage Floor Coating Cost – Guide – Garage Sanctum
Myths about Garage Floor Coatings
Related Posts: