When I moved into my current house five years ago, the garage floor was an embarrassing mess of oil stains, tire marks, and cracked concrete that made me avoid parking inside whenever possible. I’d tried basic concrete paint twice before with disappointing results that peeled and chipped within months, leaving me frustrated and convinced that garage floor coatings were just marketing hype. But after watching my neighbor transform his garage with what he called “military-grade” floor paint, I decided to give it one more serious attempt. This time, I was determined to do my research, invest in truly durable products, and follow proper preparation techniques. What I discovered changed not only my garage floor but my entire approach to home improvement projects that seem too good to be true.
Understanding the Difference Between Regular Paint and Durable Garage Coatings
My first mistake in previous attempts was thinking all garage floor paints were created equal. I’d grab whatever was cheapest at the home improvement store, usually basic concrete paint that cost around $30 per gallon. These products are essentially regular paint with some additives, and they’re designed for light-duty applications, not the punishment a garage floor endures daily. Hot tires, oil drips, chemical spills, and heavy foot traffic will destroy regular paint in months.
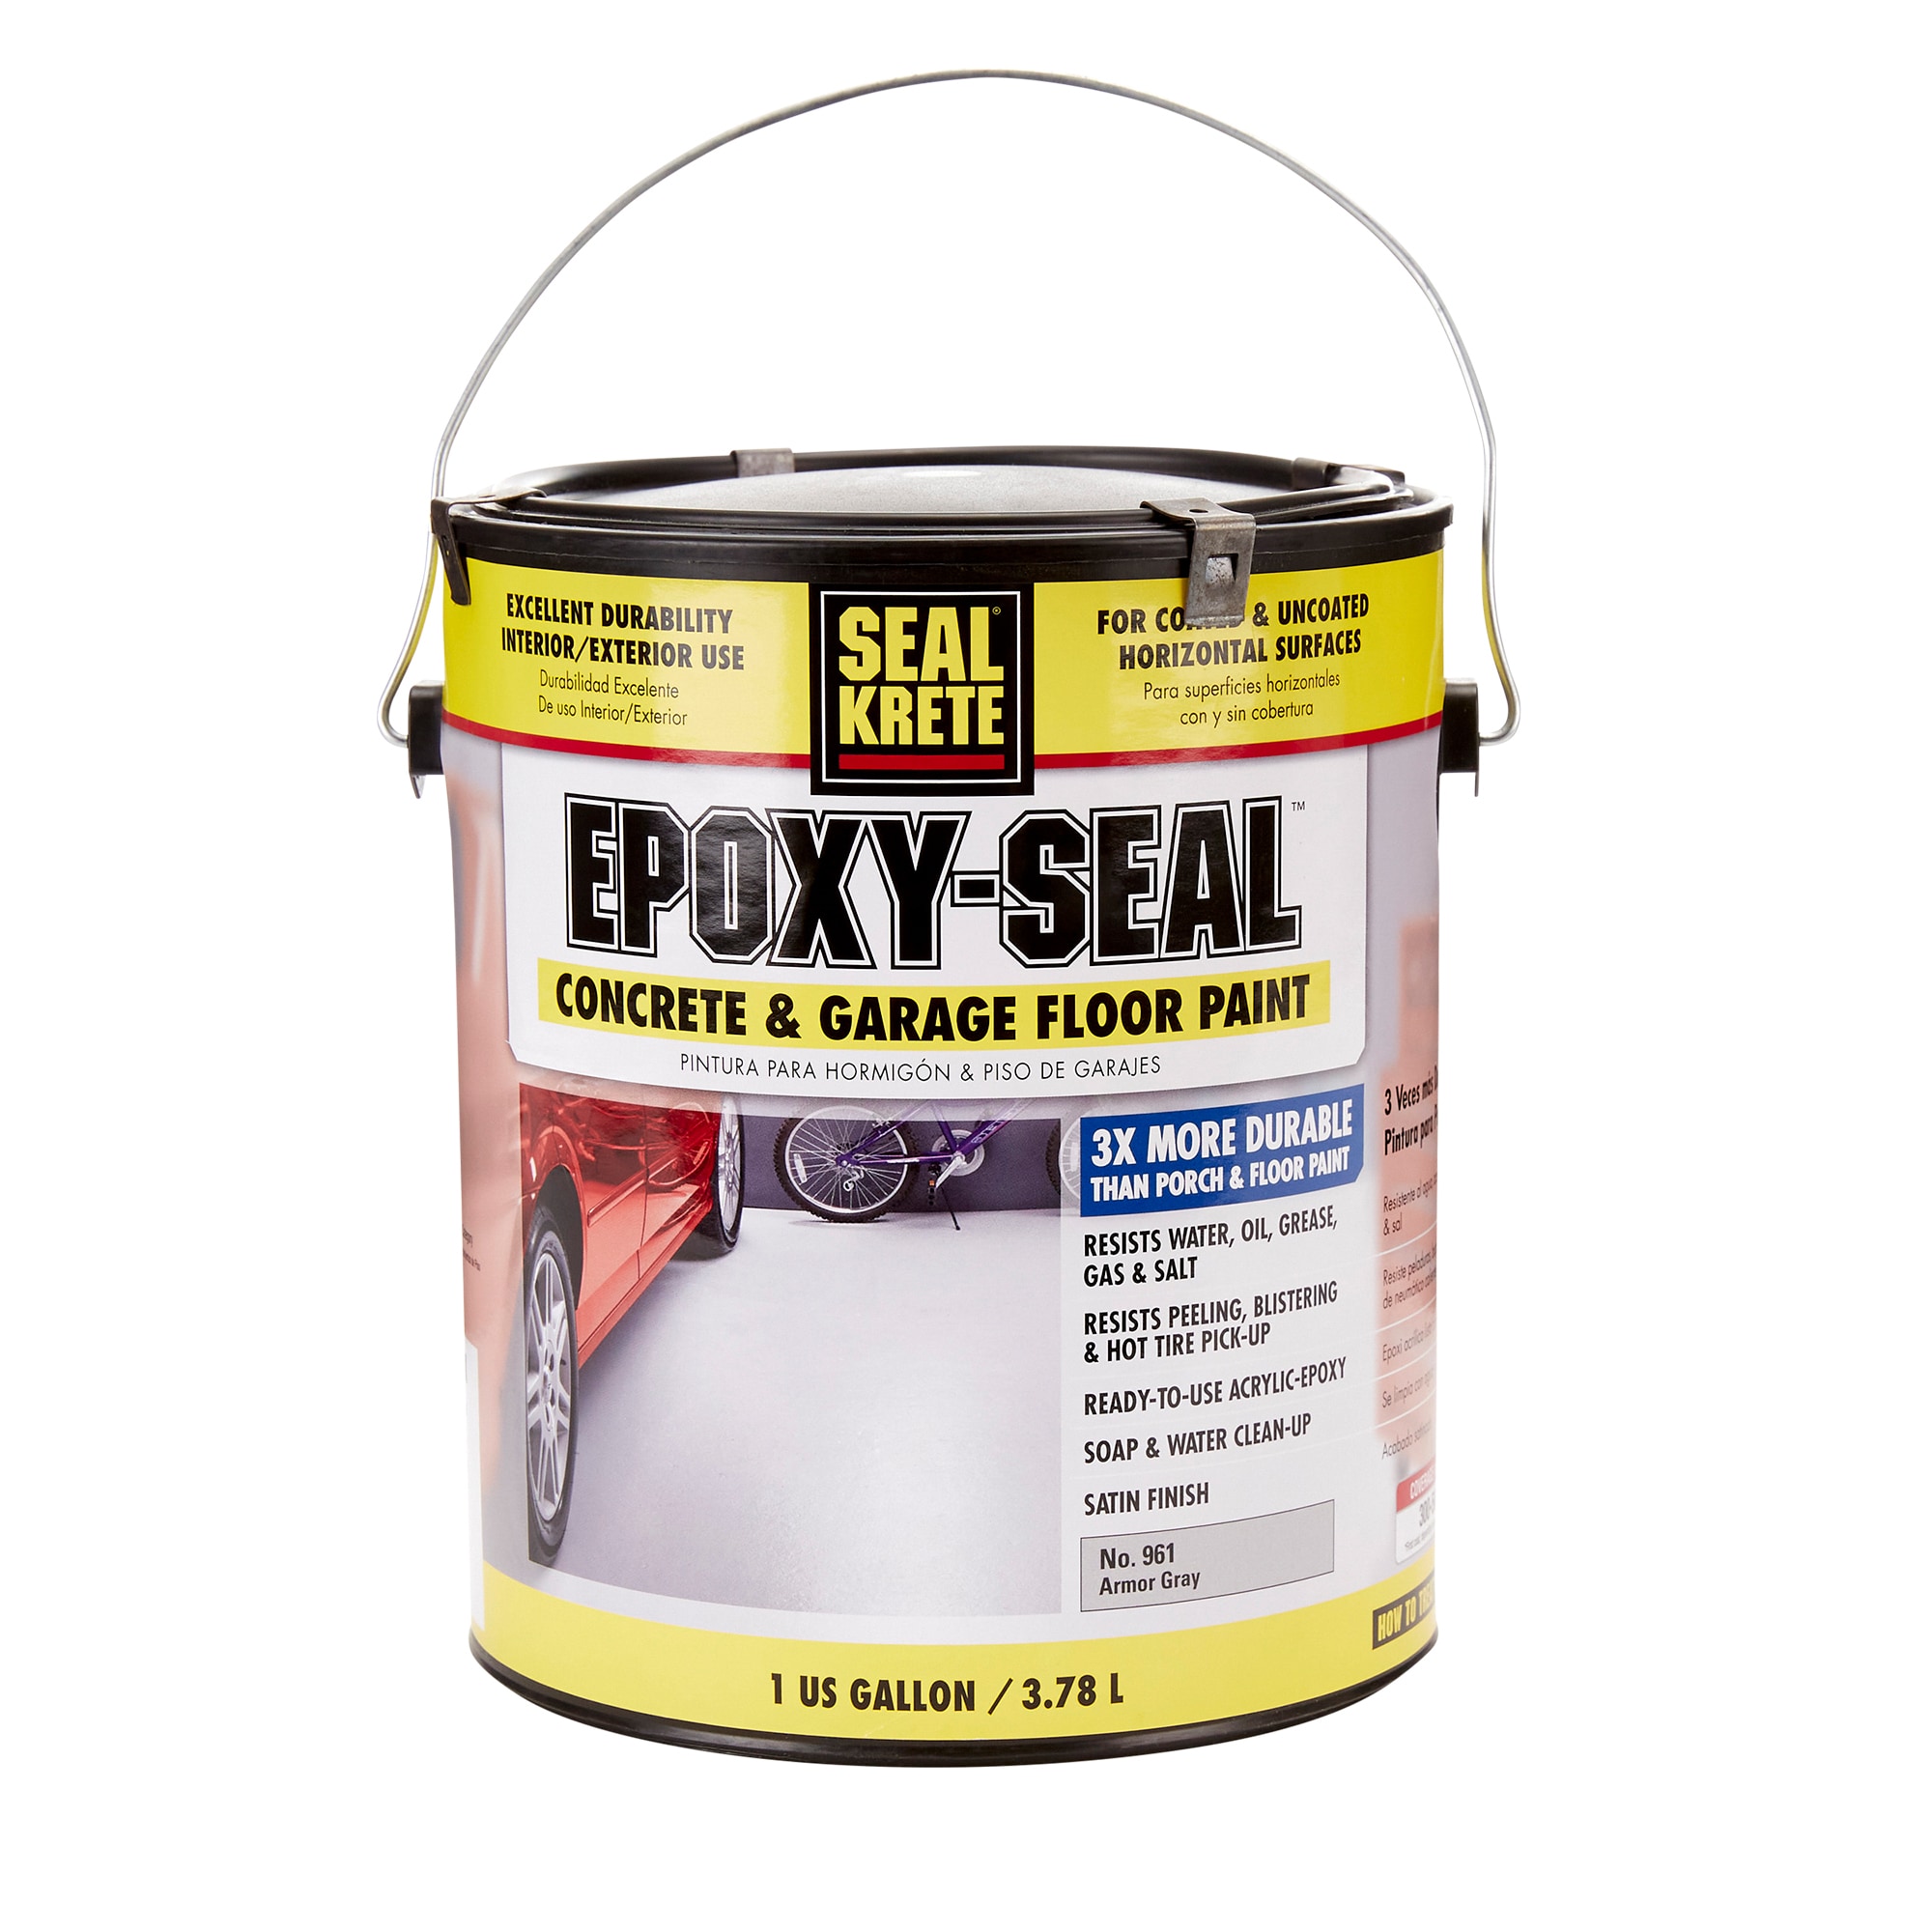
True durable garage floor coatings are completely different animals. I learned about epoxy-based systems, polyurethane coatings, and hybrid formulations that cost significantly more but offer genuine protection. These products contain resins, hardeners, and specialized additives that create a chemical bond with concrete rather than just sitting on top like regular paint. The initial investment shocked me, quality systems run $150-300 for a two-car garage, but considering my previous failures, the cost seemed justified.
The chemistry behind these coatings fascinated me once I started researching. Two-part epoxy systems cure through a chemical reaction that creates cross-linked polymers, essentially forming a plastic-like surface that’s incredibly tough. Single-component polyurethane coatings use moisture in the air to cure, creating flexibility that handles temperature expansion and contraction better than rigid systems. Understanding these differences helped me choose the right product for my specific climate and usage requirements.
My Preparation Journey: Why Surface Prep Makes or Breaks the Project
After my previous paint failures, I knew preparation would be crucial, but I underestimated just how much work proper prep requires. My concrete floor needed thorough degreasing, crack repair, and surface profiling to ensure the coating would bond properly. I started with a commercial degreaser and scrub brush, spending an entire Saturday removing years of accumulated automotive fluids and general grime. This step alone revealed how much contamination was preventing proper adhesion in my previous attempts.
Surface profiling turned out to be the most critical step I’d previously ignored. Smooth concrete won’t hold coatings well, so I rented a diamond grinder to create the proper texture for mechanical adhesion. This process was dusty, noisy, and exhausting, but the difference was immediately visible. The concrete went from smooth and shiny to having a uniform, slightly rough texture that looked ready to grip whatever coating I applied. I also learned to test for moisture vapor transmission, which can cause coating failure even with perfect surface prep.
Crack repair became a major project within the project. My garage floor had several significant cracks that needed attention before coating application. I used a flexible polyurethane crack filler, carefully cleaning out loose material first and allowing proper cure time. This patience paid off tremendously, as the cracks have remained stable and invisible under the coating for three years now. The entire preparation phase took two full weekends, but it was absolutely essential for the long-term success I’ve experienced.

Choosing the Right Durable Coating System for My Needs
Selecting the actual coating system felt overwhelming with so many options claiming to be the most durable solution available. I ultimately chose a two-part epoxy system with decorative flakes, prioritizing chemical resistance since I work on cars and occasionally spill various fluids. The product I selected was specifically formulated for automotive applications, with enhanced resistance to hot tire pickup, which had been a major problem with my previous attempts using regular paint.
The color selection process was more important than I initially realized. Light colors show dirt and tire marks more easily but help brighten the garage and make it feel more spacious. Darker colors hide stains better but can make the space feel closed in. I went with a medium gray base color with black and white decorative flakes, which has proven to be an excellent compromise that hides minor imperfections while maintaining an attractive, finished appearance.
Application timing became crucial with the two-part system I chose. Unlike regular paint that you can apply whenever convenient, epoxy coatings have specific temperature and humidity requirements for proper curing. I had to plan the project around weather conditions, ensuring temperatures would remain between 60-80 degrees for at least 72 hours after application. This meant monitoring weather forecasts carefully and being flexible with my timeline to achieve optimal results.
Application Day: Lessons Learned the Hard Way
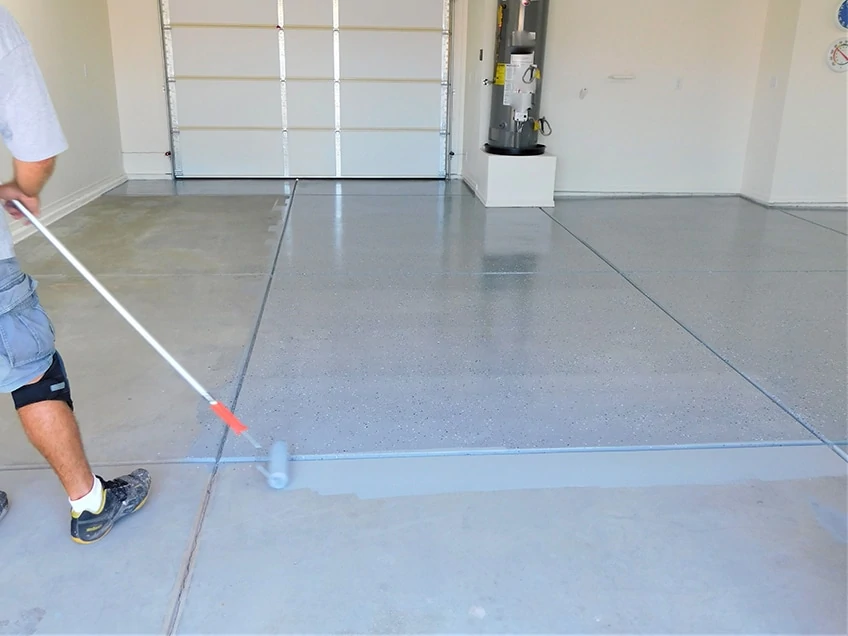
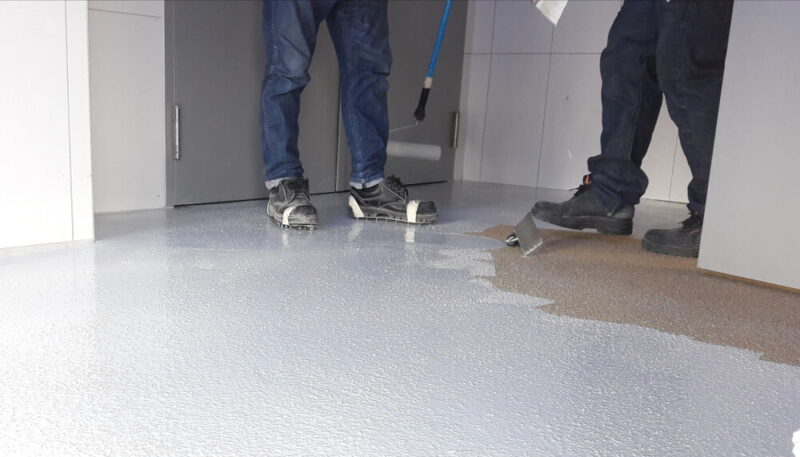
The actual application day arrived after weeks of planning and preparation, and I was both excited and nervous about getting it right. I started early in the morning when temperatures were ideal and humidity was low. Mixing the two-part epoxy required precise ratios and thorough blending, but I’d practiced this step multiple times to ensure consistency. The working time once mixed was limited to about 30 minutes, so I planned to work in manageable sections rather than trying to coat the entire garage at once.
My biggest mistake was underestimating how quickly the coating would begin to thicken as it started curing. I’d mixed too large a batch for my first section and found myself rushing to spread it evenly before it became too viscous to work with properly. This resulted in some uneven areas that I had to address later with additional coats. For subsequent batches, I mixed smaller quantities and maintained a steady, methodical pace that gave me better control over the application thickness and appearance.
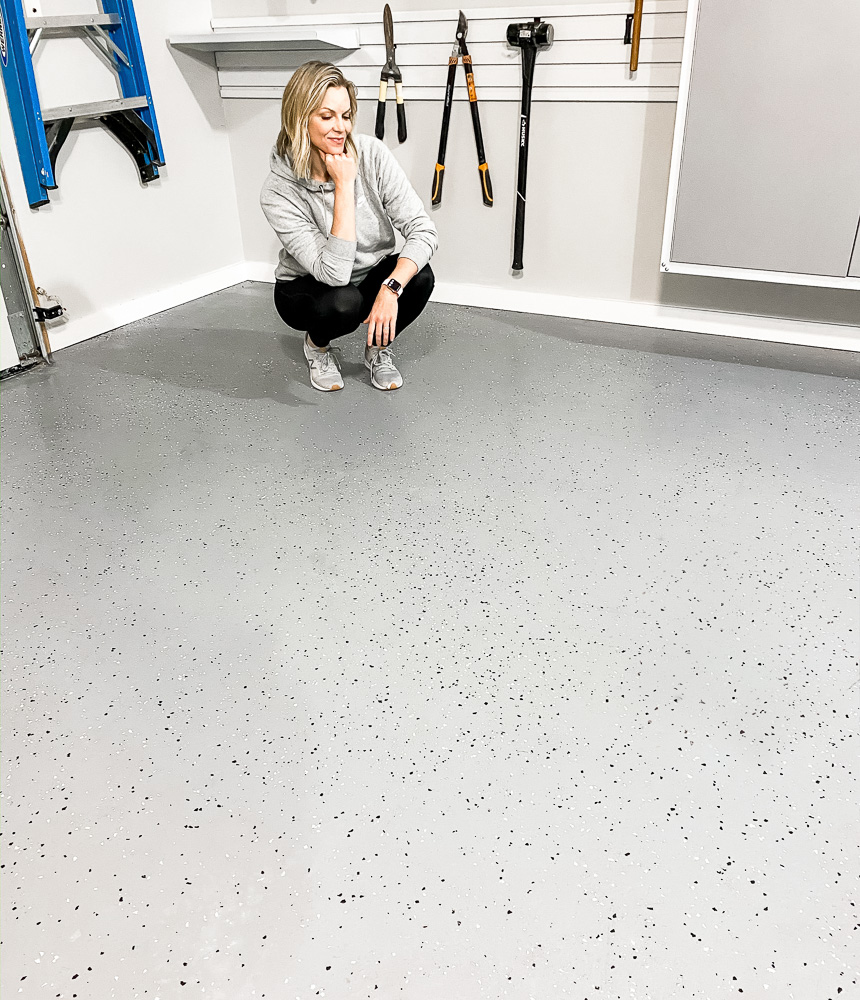
The decorative flake application was actually the most enjoyable part of the entire project. I broadcast the flakes while the epoxy was still tacky, working systematically across the surface to ensure even coverage. My wife helped with this step, and we developed a rhythm that resulted in beautiful, consistent distribution. The key was applying enough flakes for good coverage without overdoing it, as excess flakes would need to be swept up before the topcoat application the following day.

Real-World Durability Testing: Three Years Later
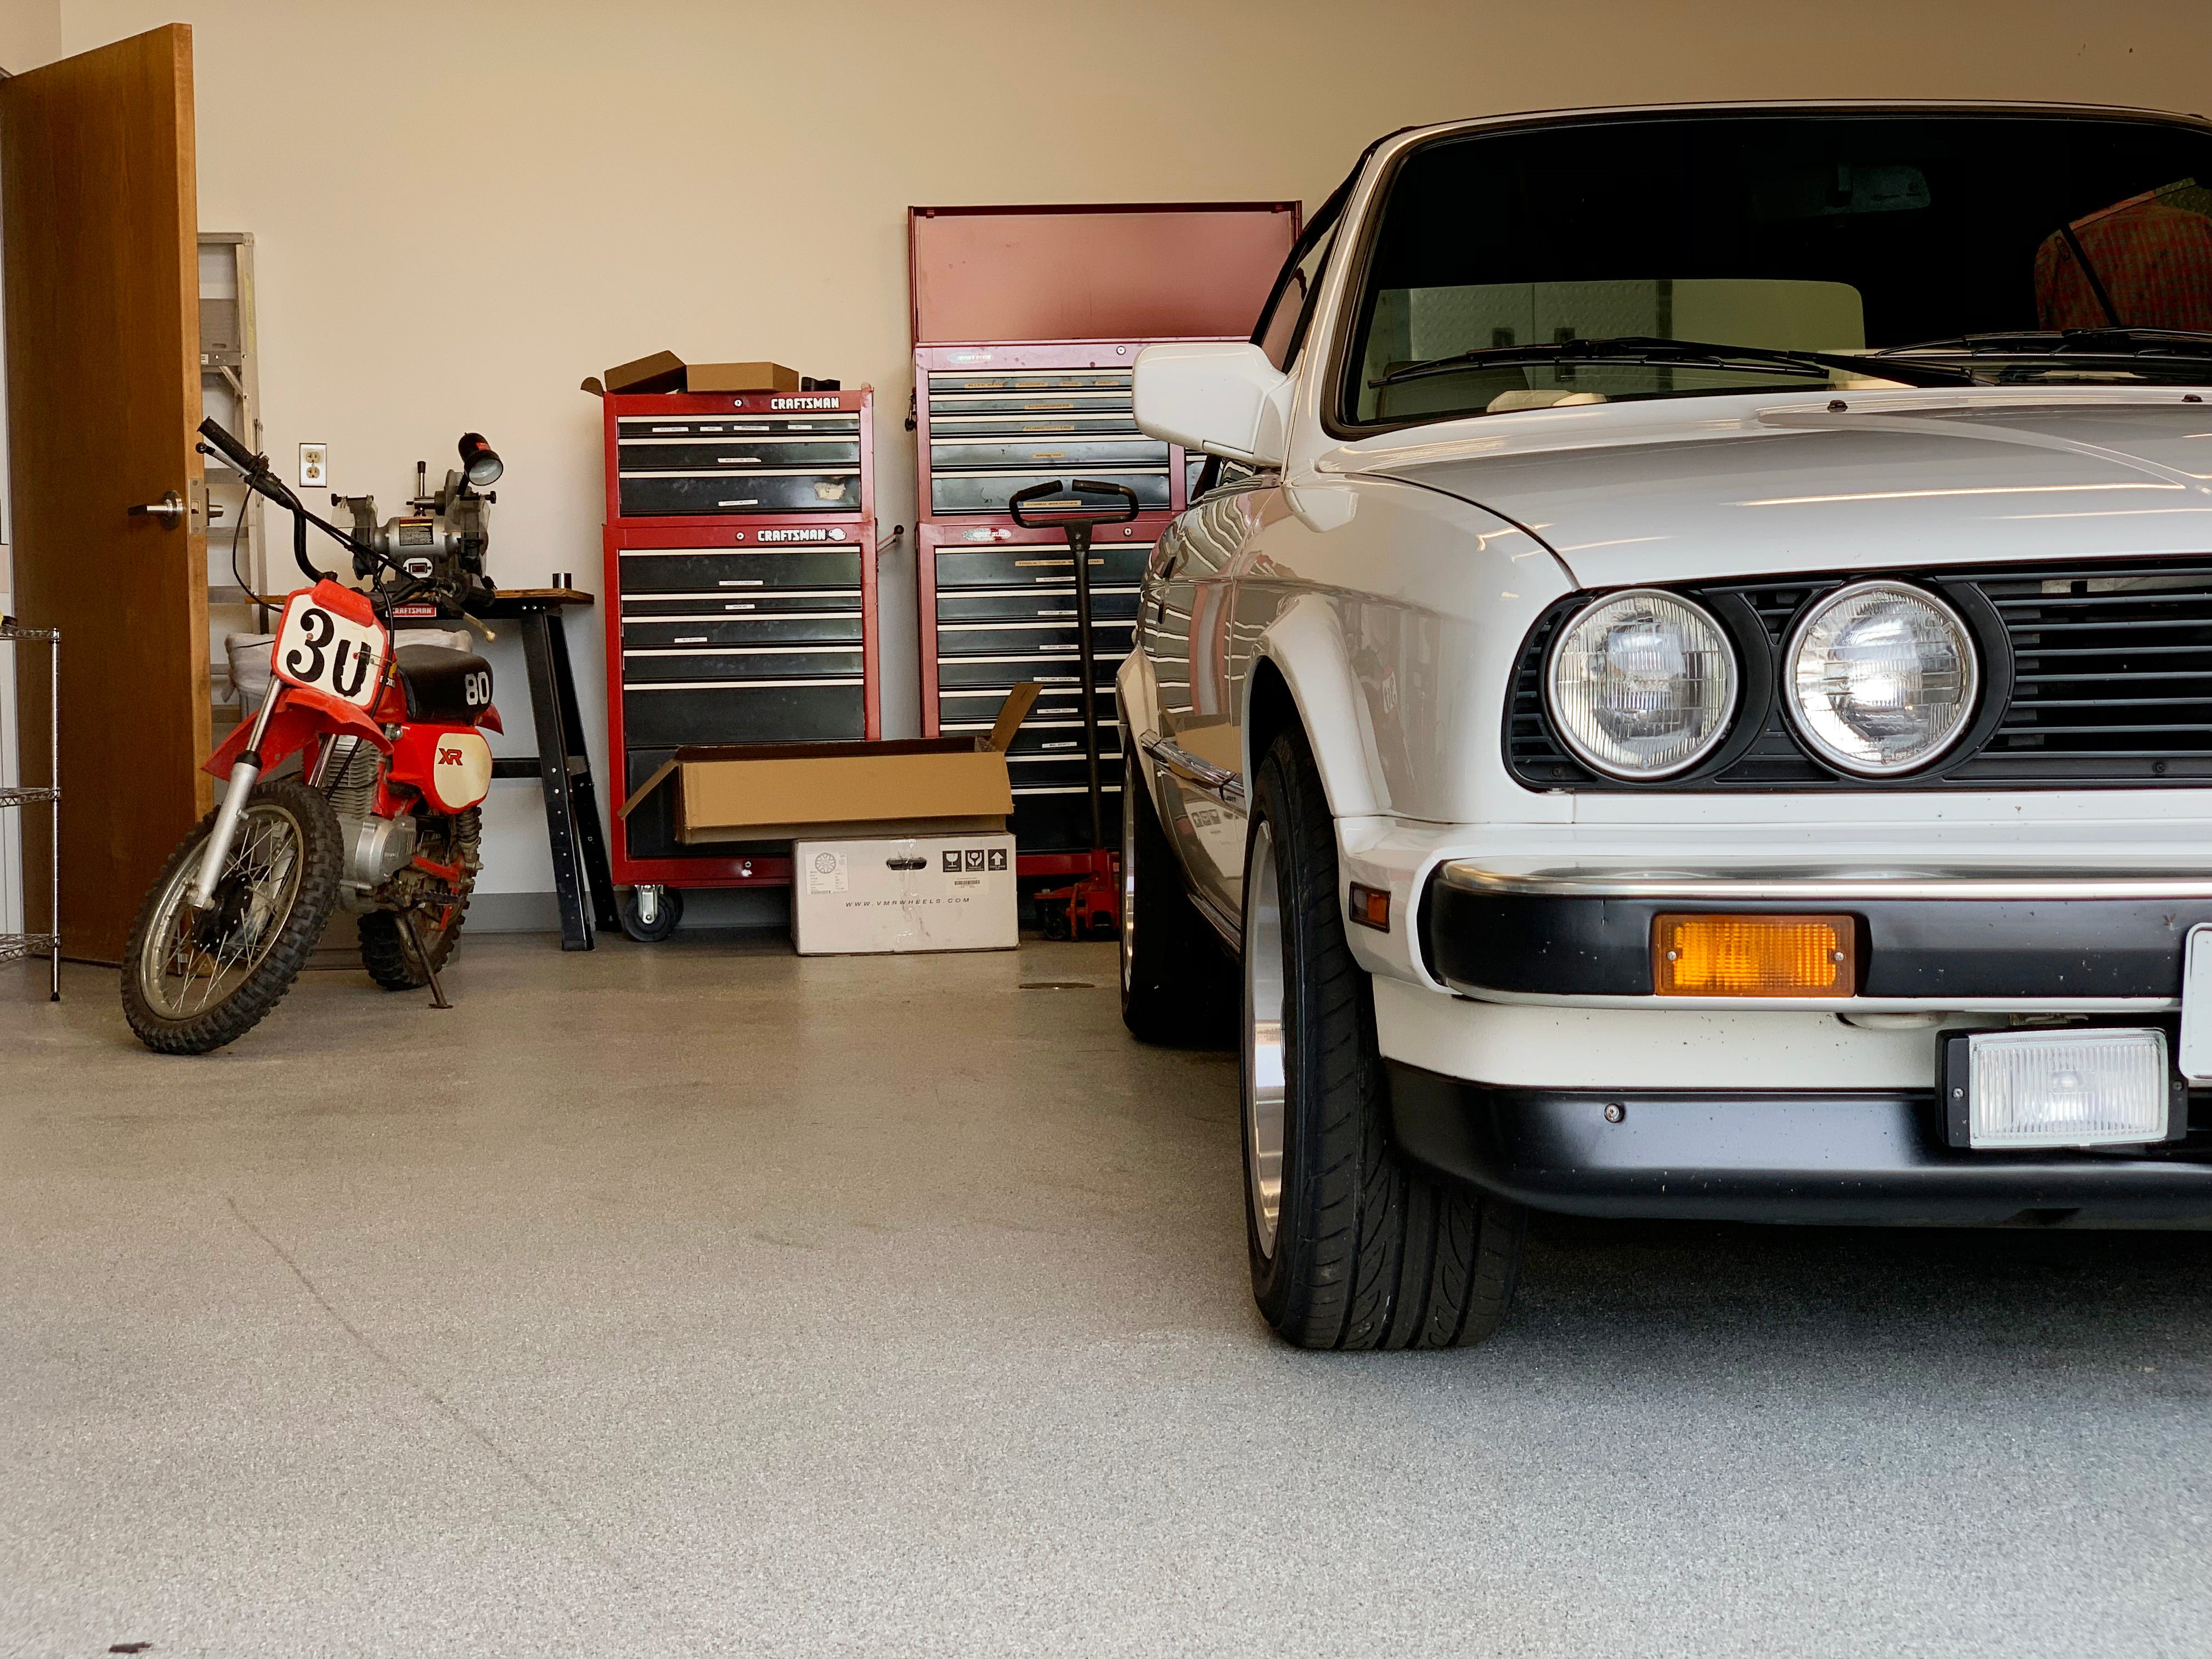
After three years of hard use, I can honestly report that this durable garage floor coating has exceeded all my expectations. My garage houses two cars, serves as my workshop area, and gets heavy traffic from lawn equipment, bicycles, and general storage activities. The coating has shown minimal wear even in the highest traffic areas, maintaining its glossy appearance and protective properties despite daily punishment that destroyed previous paint attempts within months.
Hot tire resistance has been particularly impressive. During the summer months, tires can reach temperatures that would immediately damage regular paint, causing it to soften and stick to the tires when you drive out. My current coating shows no signs of hot tire pickup, even after parking immediately following highway driving on 100-degree days. This single improvement has made the garage much more functional and eliminated the frustration that led me to avoid parking inside previously.
Chemical resistance testing has been unavoidable, given my automotive hobby. I’ve spilled motor oil, brake fluid, antifreeze, gasoline, and various solvents on the floor, and everything cleans up easily without staining or damaging the coating. This performance is dramatically different from my previous paint experiences, where any automotive fluid would immediately penetrate and permanently stain the surface. The ease of cleanup has actually encouraged me to do more car maintenance at home, knowing that spills aren’t disasters anymore.

Maintenance and Long-Term Cost Analysis
Maintaining my durable garage floor coating has proven surprisingly simple compared to the constant touch-ups required with regular paint. Daily maintenance consists of sweeping away dirt and debris, which is easier now because the smooth surface doesn’t trap particles like bare concrete did. Weekly cleaning with a mop and mild detergent keeps the floor looking nearly new, and spills wipe up effortlessly without leaving permanent marks or requiring scrubbing.
The total investment in my durable coating system was approximately $400 for materials, tools, and surface preparation equipment for my two-car garage. This seemed expensive initially, especially compared to the $60 I’d spent on regular paint for previous attempts. However, when I factor in the longevity and performance differences, the cost per year of service is actually much lower. My previous paint jobs needed complete redoing every 12-18 months, making the durable system significantly more economical long-term.
Looking ahead, I expect this coating to last at least 10-15 years with proper care, and possibly longer given its performance so far. The manufacturer suggests light recoating every 5-7 years in high-traffic applications, but that would involve just surface preparation and a single topcoat rather than complete system replacement. When I compare this to the constant maintenance cycle of regular paint, the durability advantage becomes even more compelling from both time and money perspectives.

Why I’d Choose Durable Coatings Again and What I’d Do Differently
If I were starting this project over today, I would absolutely choose a durable garage floor coating system again, but I’d make several adjustments based on my experience. First, I would budget more time and money for surface preparation, possibly hiring professionals for the grinding and crack repair phases. These steps are absolutely critical for long-term success, but they require specialized equipment and expertise that can be challenging for DIY homeowners to execute properly.
I might also consider upgrading to a polyurethane topcoat system for even better chemical resistance and UV stability. My current epoxy system has performed excellently, but polyurethane offers superior long-term durability and maintains its appearance better over time. The additional cost would be modest compared to the total project investment, and the performance benefits could extend the coating life even further in my harsh garage environment.
The timing and planning aspects would receive more attention in a future project. Weather conditions, temperature control, and application scheduling were more critical than I initially realized. I’d plan for a wider weather window and have backup dates available, as rushing the application due to changing conditions can compromise the entire investment. The patience required for proper curing is essential for achieving the durability benefits that make these systems worthwhile in the first place.

How much more expensive are durable garage floor coatings compared to regular paint?
Quality durable systems cost $150-300 for a two-car garage vs $30-60 for regular paint. However, durable coatings last 10+ years while paint fails in 12-18 months. The cost per year is actually lower with durable systems, plus you avoid the frustration of constant repainting and poor performance.
Can I apply durable garage floor coatings myself, or do I need professional installation?
DIY is definitely possible with proper preparation and patience. I did mine myself and saved thousands compared to professional quotes. However, surface prep is crucial and labor-intensive. If you’re not comfortable with grinding, crack repair, and precise mixing, professional installation might be worth the extra cost.

How long does the application process take from start to finish?
Plan for at least two weeks total. Surface prep took me two weekends, application was one weekend, and full cure required another week before heavy use. Weather conditions can extend timelines significantly. Don’t rush this process; proper prep and cure times are essential for long-term durability and performance.
Will durable coatings handle hot tires and automotive fluids without damage?
Yes, this was my biggest concern and greatest success. After three years, I have no hot tire pickup issues even in the summer heat. Oil, brake fluid, gasoline, and other chemicals clean up easily without staining. This performance is dramatically better than any paint I’ve tried previously in my garage.

What’s the most important factor for long-term coating success?
Surface preparation is absolutely critical. My previous paint failures were entirely due to inadequate prep work. Proper degreasing, crack repair, and surface profiling are essential for coating adhesion. Skip these steps, and even the best coating will fail quickly. Invest time and effort in preparation for lasting results.
How do durable coatings perform in extreme temperature climates?
Much better than regular paint in my experience. The coating handles hot summers and cold winters without cracking or peeling. Temperature cycling that destroyed paint within months hasn’t affected my durable coating after three years. Proper product selection for your climate is important, but quality systems handle extreme conditions well.

Best Epoxy Floor Paint – Complete Guide for Epoxy Painting
Painting Your Garage Floors
Best Garage Floor Paint: Latex, Acrylic, or Epoxy?
Seal Krete EPOXY-SEAL Concrete u0026 Garage Floor Paint – GALLON

Understanding the Pros and Cons of Epoxy Floors
Related Posts: