When I first looked at my unfinished basement five years ago, I saw nothing but cold concrete, mysterious stains, and that musty smell that seems to live in every older home’s lower level. Fast-forward to today, and my basement has become the most popular room in our house, thanks largely to the epoxy flooring I installed myself. What started as a weekend DIY project turned into a complete transformation that not only solved my moisture problems but also created a space my family wants to spend time in.
Why I Chose Epoxy Over Other Basement Flooring Options
My research into basement flooring options was extensive and frankly overwhelming at first. Carpet felt risky with potential moisture issues, hardwood seemed like asking for trouble in a below-grade environment, and vinyl tiles looked cheap in the samples I saw. Epoxy kept coming up in forums and contractor recommendations. Still, I was skeptical about the durability claims until I visited a friend’s garage that had been coated three years prior and still looked brand new.
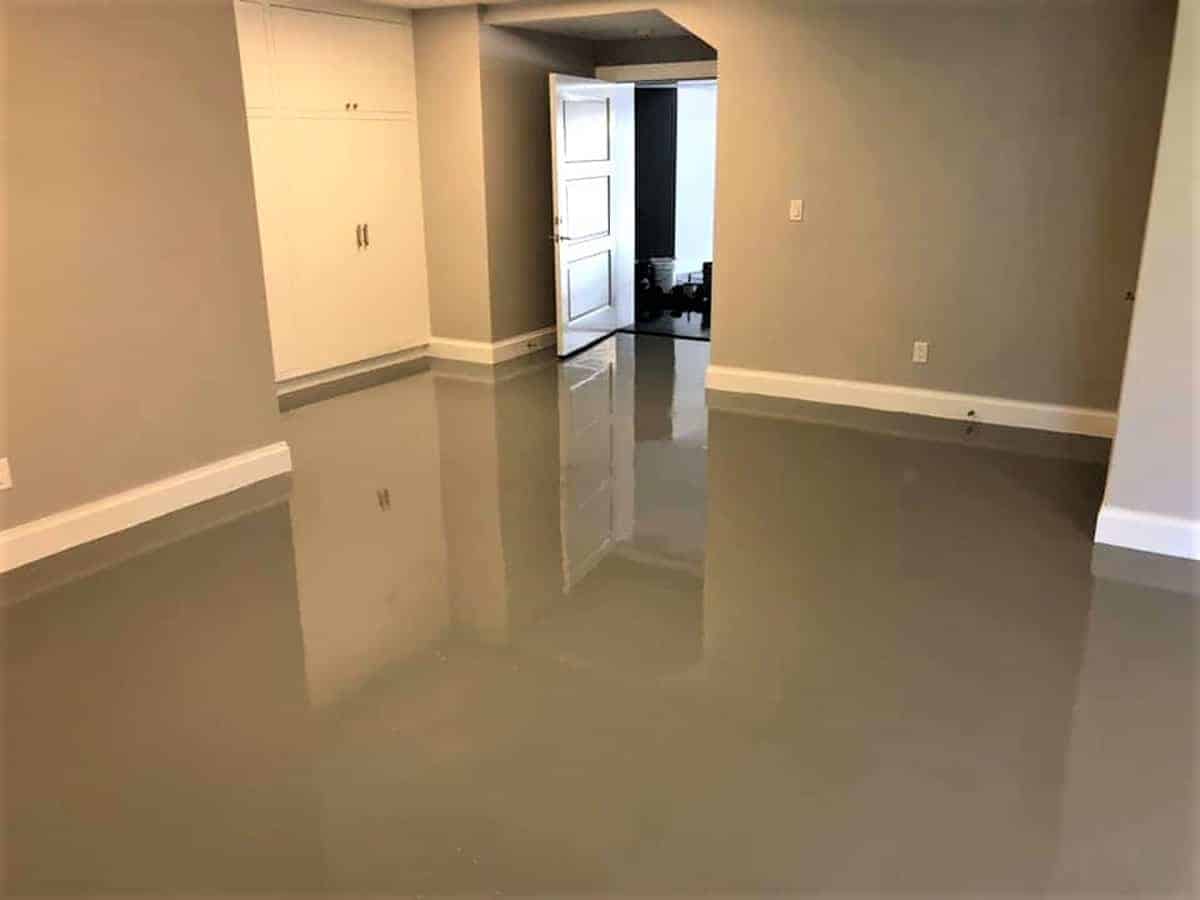
The moisture resistance factor ultimately sold me on epoxy. My basement occasionally gets minor seepage during heavy spring rains, and I needed something that could handle occasional dampness without warping, molding, or requiring replacement. Epoxy creates a completely sealed barrier over the concrete, and the idea of never worrying about water damage again was incredibly appealing to someone who’d already dealt with one flooded basement in a previous home.
Cost played a significant role in my decision, too. Professional installation quotes for quality alternatives were running $8-12 per square foot, while I could do the entire basement myself with high-quality epoxy for about $3 per square foot. The time investment was substantial, but the savings allowed me to upgrade other aspects of the basement renovation, like better lighting and insulation.
My DIY Installation Experience and Lessons Learned
I must admit, the prep work was more intensive than I had anticipated. Cleaning and etching the concrete properly took an entire weekend before I could even think about applying the epoxy. I rented a concrete grinder to remove old paint and stains, and the dust was incredible despite all my plastic sheeting and ventilation efforts. If I did it again, I’d invest in better dust collection equipment.
The actual epoxy application process was surprisingly forgiving once I got the hang of it. I started in the farthest corner and worked my way toward the exit, using a paint roller with an extension handle for most of the coverage and a brush for edges and corners. The key was maintaining a wet edge and working in manageable sections. My biggest mistake was trying to cover too much area at once on my first coat, which left some visible lap marks that I had to sand and recoat.
Temperature and humidity control turned out to be critical factors I hadn’t fully appreciated. My first attempt was during a humid July weekend, and the epoxy didn’t cure properly, staying slightly tacky for days. I ended up having to sand that section and start over during a drier spell in early fall. Now I always check the weather forecast for at least 48 hours of stable, low-humidity conditions before starting any epoxy project.
How Epoxy Transformed My Basement’s Functionality
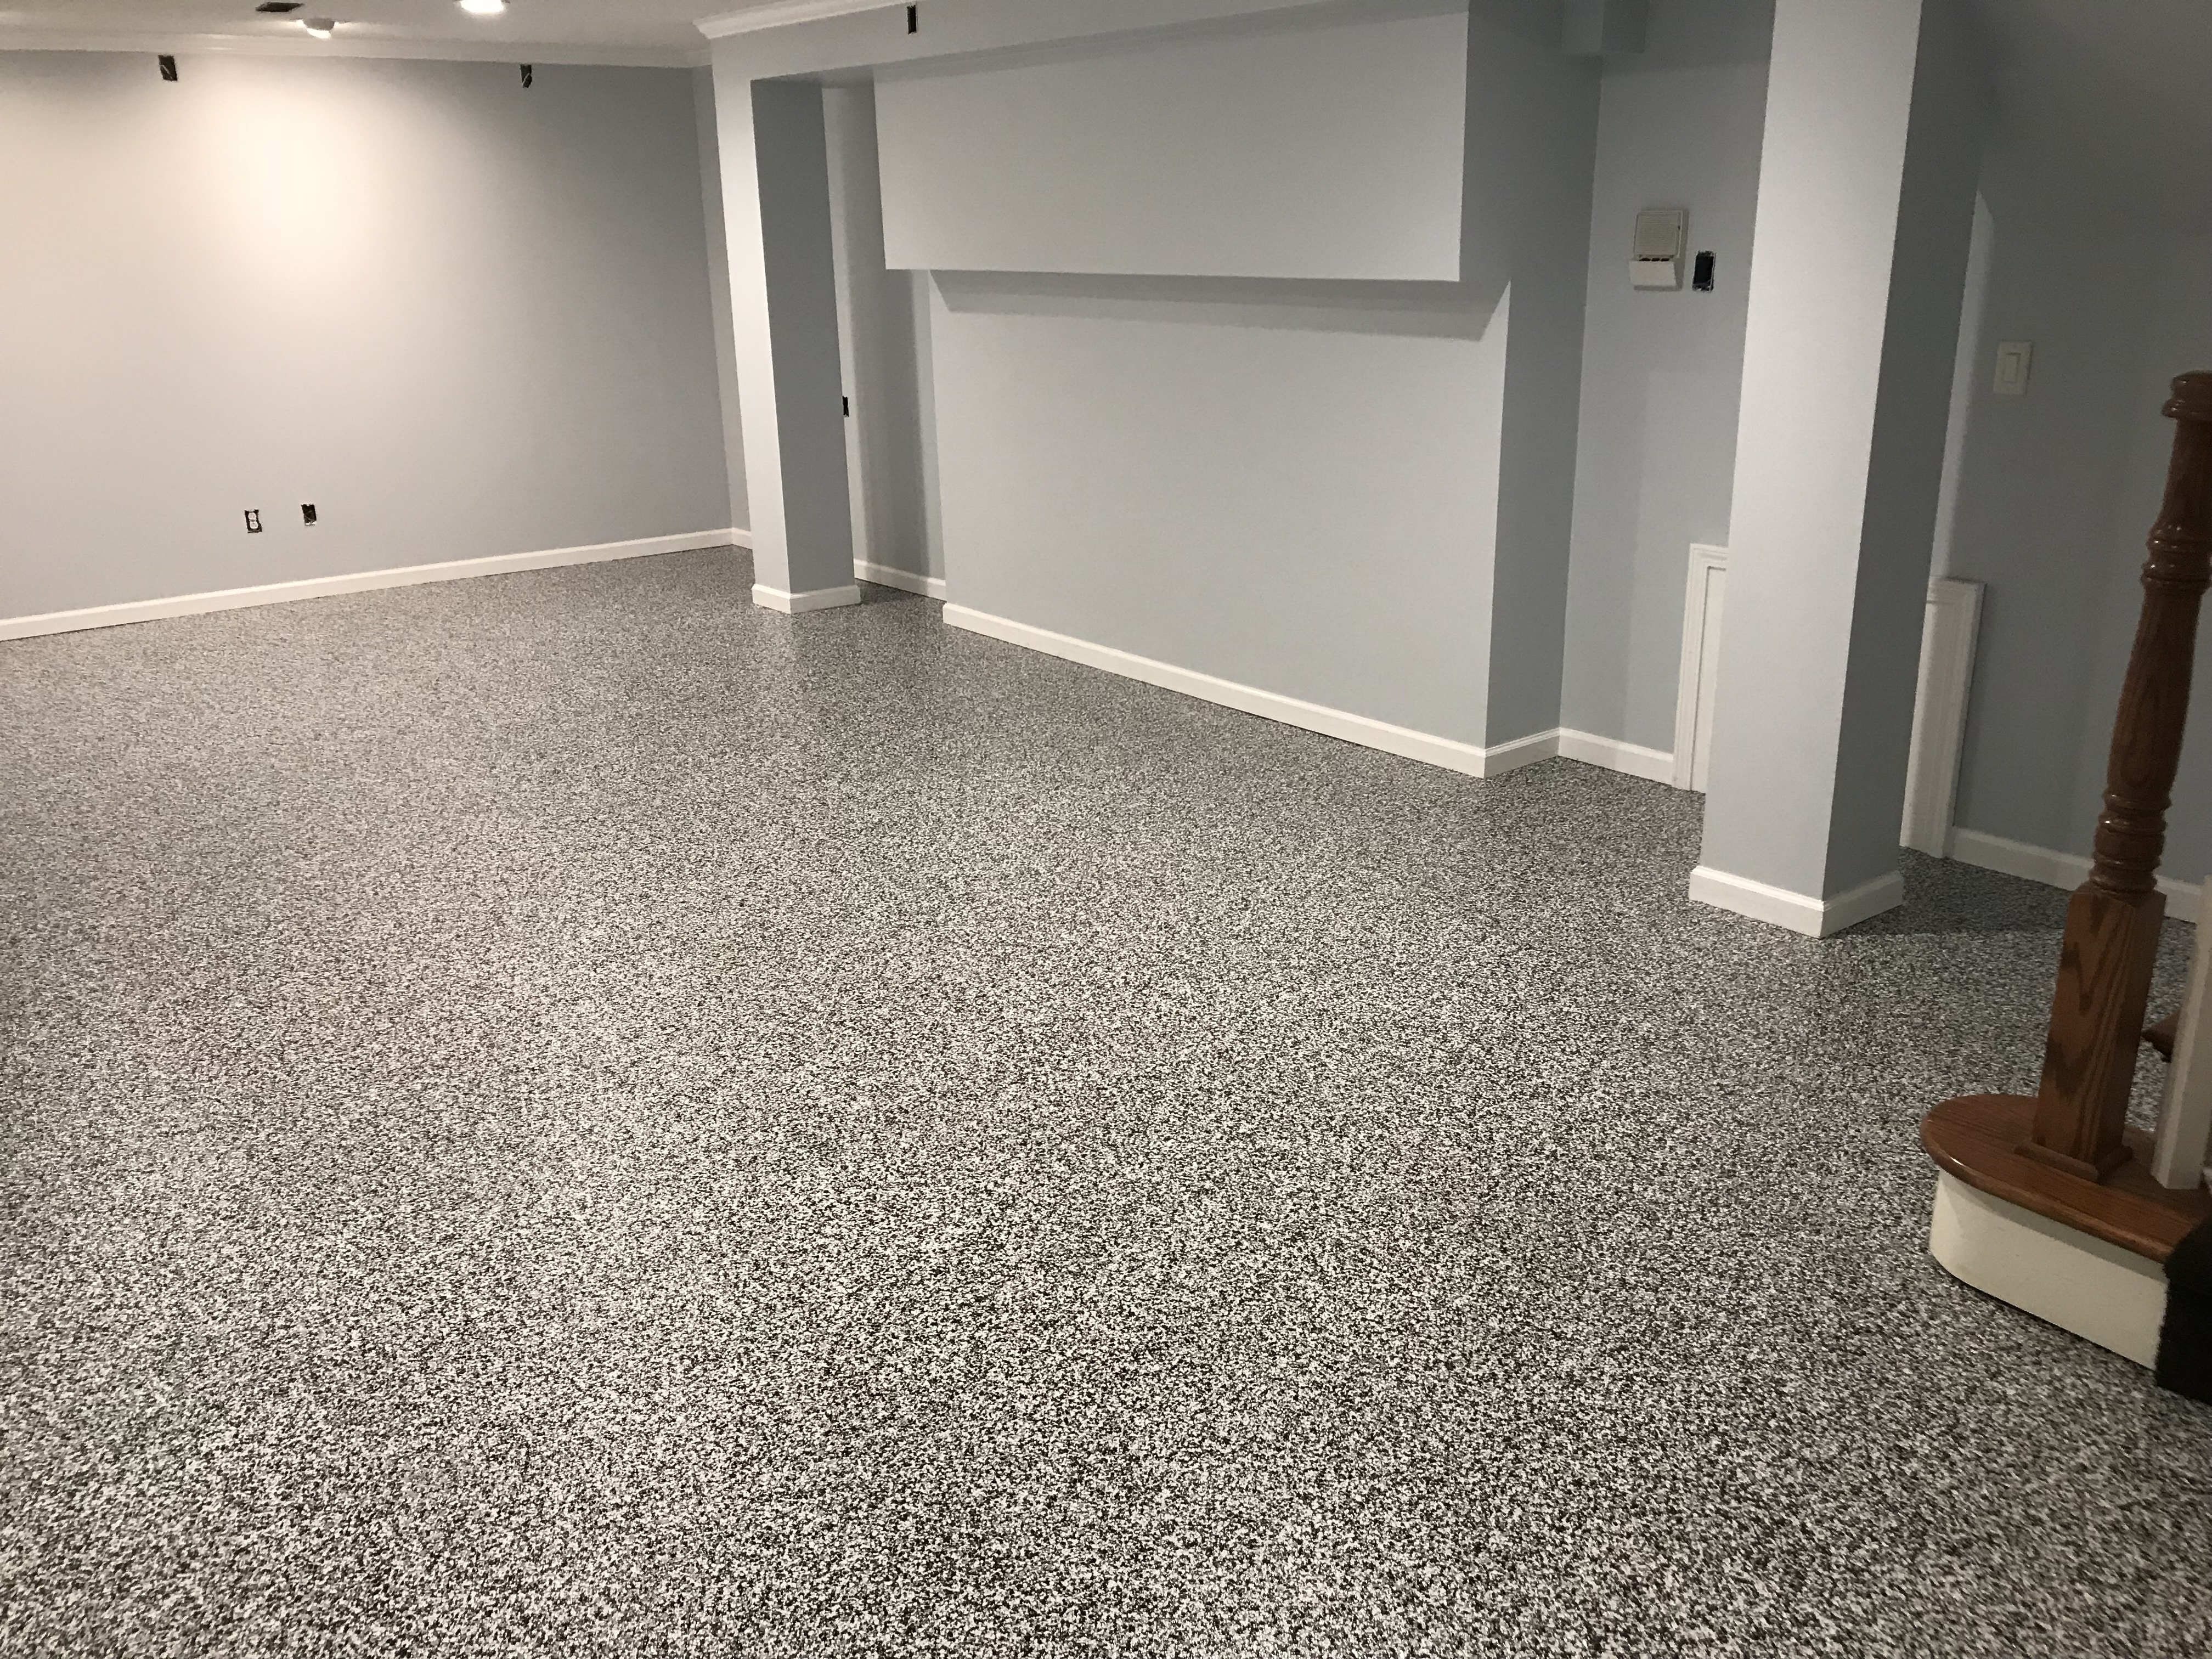
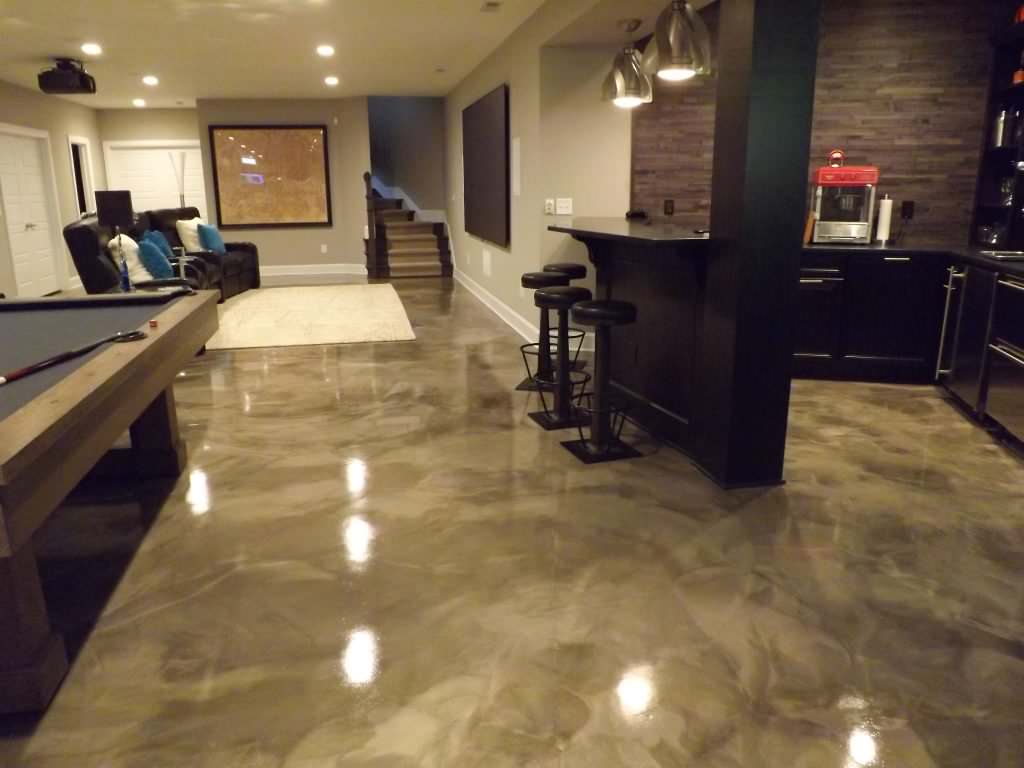
The difference in how we use our basement is dramatic. Before the epoxy, it was purely a storage space that we avoided unless necessary. The concrete was always dusty, cold underfoot, and had this perpetual damp feeling that made the space uninviting. Now it’s become our primary entertainment area, complete with a pool table, exercise equipment, and comfortable seating areas.
The ease of cleaning has been a game-changer for our lifestyle. Spills from drinks, food, or craft projects wipe up effortlessly with just a damp cloth. When my teenage son’s friends come over for gaming sessions, I don’t stress about messes the way I used to. The sealed surface means no absorption of odors or stains, and a quick mop leaves everything looking pristine again.
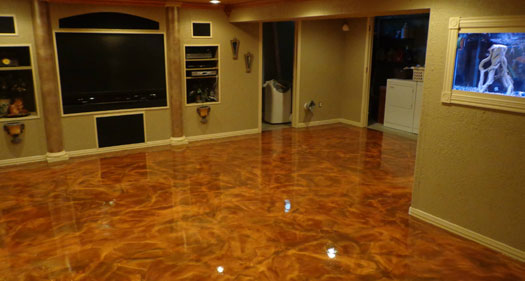
What I didn’t expect was how much brighter the space would feel. The glossy epoxy finish reflects light beautifully, making our existing fixtures much more effective. Combined with some additional LED strips I added later, the basement now feels almost as bright as our main living areas during the day, and welcoming in the evenings when we want to relax downstairs.
Dealing with Moisture Issues and Basement-Specific Challenges
Living in the Midwest, moisture management in basements is always a concern, and epoxy has exceeded my expectations in this area. During our wettest spring on record, when neighbors were dealing with standing water and damaged flooring, my epoxy floor handled everything without issue. Water that does get in simply pools on the surface, where I can easily mop it up.
I did learn the importance of proper moisture testing before installation. I used plastic sheeting taped to various spots on the concrete for 48 hours to check for moisture vapor transmission. One area near the foundation wall showed concerning moisture levels, so I applied an additional moisture barrier primer in that section before the main epoxy coats. This extra step has proven worthwhile over the years.
The thermal properties of epoxy have been another pleasant surprise. While concrete floors are notoriously cold, especially in basements, the epoxy coating seems to make the surface feel warmer underfoot. It’s still not as warm as carpet or wood, but the difference is noticeable, especially when walking around in socks or bare feet during morning coffee runs to my workshop area.
Maintenance Reality After Five Years of Heavy Use
Maintaining epoxy floors has been far easier than I expected when I first committed to this flooring choice. My weekly cleaning routine consists of sweeping or vacuuming to remove debris, followed by mopping with a mild detergent solution. The entire 800-square-foot basement takes me about 15 minutes to clean thoroughly, compared to the hour it used to take to properly vacuum and maintain the area when it was unfinished concrete.
The durability has impressed everyone who sees the space. Despite heavy foot traffic, furniture moving, dropped tools in my workshop area, and general family abuse, the finish still looks nearly new in most areas. I do have a few small chips near the workbench where I dropped some particularly heavy metal objects, but these are barely noticeable and haven’t spread or worsened over time.
I do an annual deep cleaning with a slightly stronger degreasing solution, particularly in areas where we do craft projects or occasional automotive work. This keeps the finish looking fresh and removes any buildup that regular mopping might miss. In five years, I haven’t needed to do any repairs or recoating, though I keep some leftover epoxy on hand just in case.

Cost Analysis and Return on Investment
The financial aspect of my epoxy basement project worked out better than I’d hoped. My total material cost was around $1,800 for 800 square feet, including primers, two coats of epoxy, decorative color flakes, and all the prep materials. This compared favorably to quotes I’d received for professional installation of other flooring types, which ranged from $6,400 to $9,600 for the same space.
The time investment was substantial, about 40 hours spread over several weekends when I include all the prep work, multiple coats, and cleanup. If I valued my time at $25 per hour, the project still cost significantly less than professional alternatives while giving me complete control over the quality and finish details. Plus, I gained valuable experience that I’ve since used to help neighbors with similar projects.
From a home value perspective, the basement transformation has been remarkable. When we had our home appraised last year for refinancing, the appraiser specifically mentioned the finished basement space as a significant value addition. Real estate agents I’ve spoken with estimate that a well-finished basement can add 10-15% to a home’s value, and the professional appearance of the epoxy flooring definitely contributes to that perception.

Long-Term Performance and What I’d Do Differently
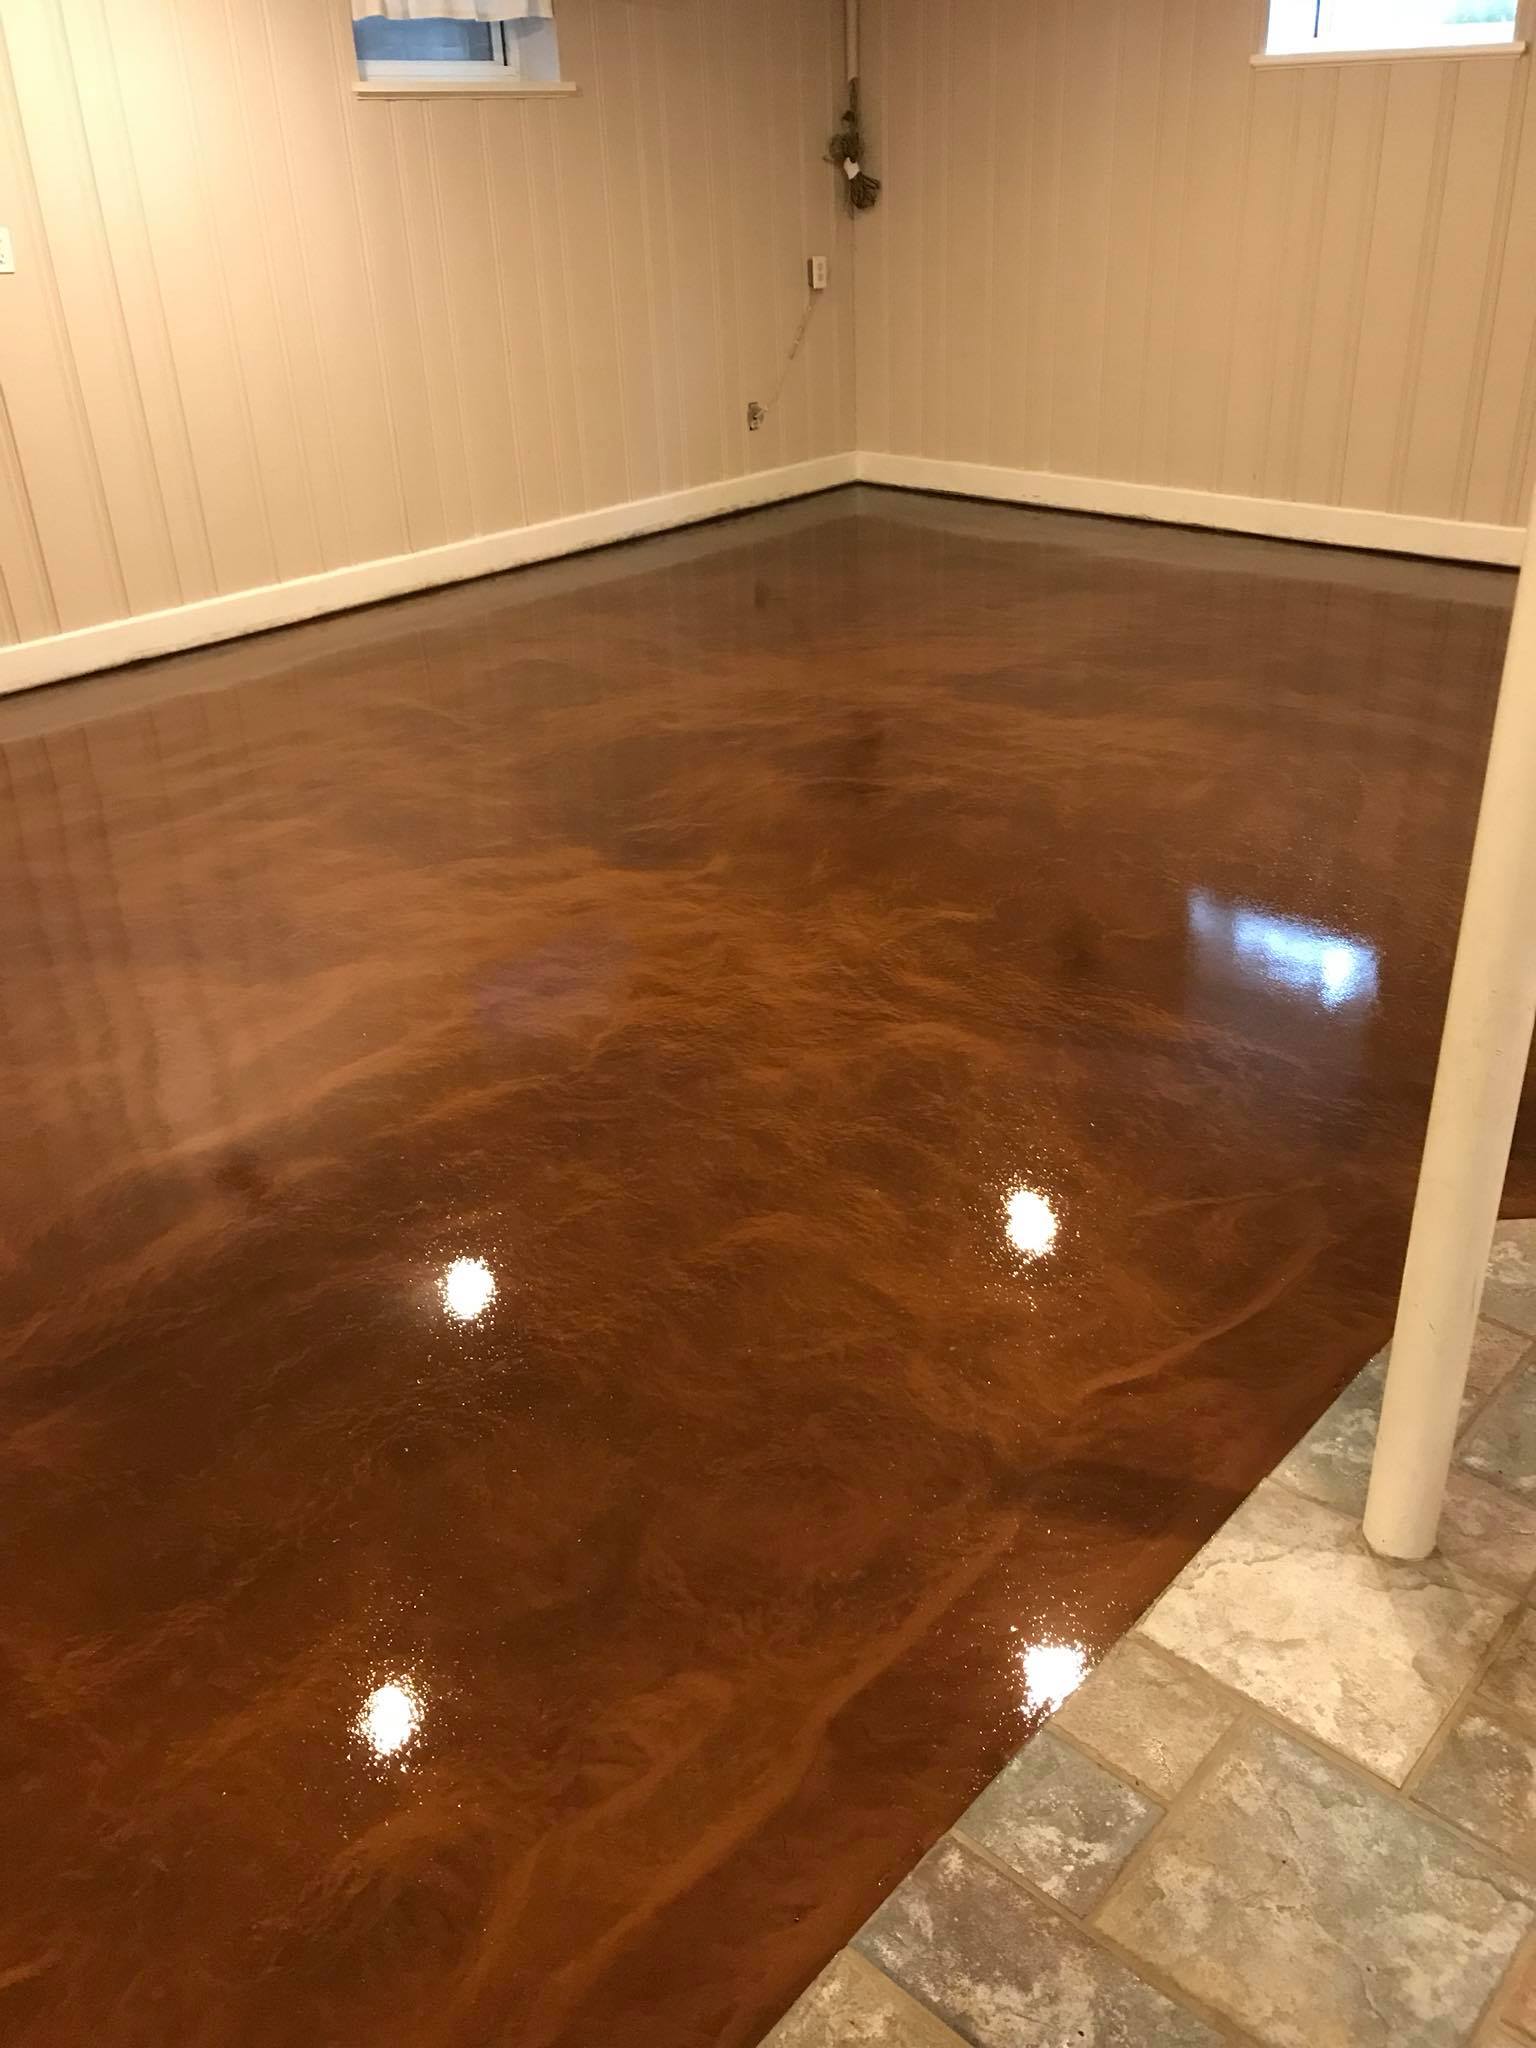
After five years, I’m thoroughly satisfied with my decision to install epoxy flooring in the basement. The performance has exceeded my expectations in terms of durability, maintenance, and aesthetic appeal. If anything, the floor looks better now than it did six months after installation, as the surface has developed a subtle patina that hides minor scuffs and adds character to the space.
If I were starting over, I’d invest in better surface preparation equipment from the beginning. Renting a high-quality concrete grinder and professional-grade dust collection would have saved time and produced better results. I’d also be more patient with the curing process, allowing extra time between coats even when the manufacturer’s specifications suggest faster recoating is possible.
The only real limitation I’ve encountered is that the surface can be somewhat slippery when wet, though this is manageable with common-sense precautions. I’ve added a few strategically placed area rugs in high-traffic zones, and we keep towels handy near the utility sink for quick cleanup of any spills. Overall, the benefits far outweigh this minor inconvenience, and I’d choose epoxy again for any future basement projects.
How long does basement epoxy flooring typically last?
Based on my experience, quality epoxy should last 15-20 years with proper installation and normal residential use. I’m at five years with heavy traffic and still see no signs of wear. The key is proper surface prep and using quality materials rather than budget options that might fail prematurely.
Can I install epoxy flooring over existing basement moisture issues?
Not directly. You must address moisture problems first, or the epoxy will fail. I tested my concrete extensively and used moisture-barrier primer in problem areas. If you have active water intrusion, fix that before considering epoxy. Light occasional dampness can be managed with proper preparation.

Is epoxy flooring slippery when wet in basements?
It can be, but it’s manageable. The smooth surface does become slick when wet, but we handle this with area rugs in key spots and quick cleanup of spills. Most basement activities don’t involve lots of water, so this hasn’t been a major issue in daily use for our family.
How much does DIY epoxy basement flooring cost compared to hiring professionals?
I spent about $3 per square foot doing it myself versus $8-12 per square foot for professional installation. The time investment was significant, around 40 hours total, but the savings allowed me to upgrade other basement improvements. Quality materials are essential regardless of who does the work.

Can heavy furniture damage epoxy basement floors?
In my experience, no. I have a pool table, heavy workshop equipment, and exercise machines on my epoxy floor without issues. The key is using furniture pads when moving items. I did get a few small chips from dropped tools, but these haven’t spread or affected the overall integrity of the floor.
How do you maintain epoxy floors in high-humidity basement environments?
Very easily. Weekly sweeping and mopping with mild detergent keeps everything looking great. The sealed surface doesn’t absorb moisture or odors like concrete does. I do annual deep cleaning with a stronger degreaser, but overall maintenance is much simpler than other flooring options I’ve used.

Epoxy Floor – Photos u0026 Ideas Houzz
Basement Epoxy Flooring Detroit Epoxy Flooring Company
Smooth Epoxy Floor in Basement – Mile High Coatings

Related Posts: