When I first considered epoxy flooring for my garage three years ago, I had no idea how much this decision would transform not just that space, but my entire approach to interior design. What started as a practical solution to oil stains and concrete dust has evolved into a passion for creating stunning, durable surfaces throughout my home. The versatility and beauty of modern epoxy systems have completely changed how I think about flooring, offering endless possibilities that traditional materials simply can’t match.
Understanding Epoxy Basics: What I Wish I’d Known Earlier
My first epoxy project taught me that understanding the fundamentals is crucial for success. I initially thought epoxy was just a simple coating you brush on concrete, but I quickly learned it’s a sophisticated chemical system. The two-part mixture creates a thermosetting polymer that bonds incredibly well to properly prepared surfaces. When I mixed my first batch, watching the chemical reaction begin was fascinating, but timing became everything.
Temperature and humidity control became my obsession during installation. I learned the hard way that epoxy doesn’t forgive environmental mistakes. My garage project happened during a humid summer week, and I had to wait for the perfect conditions. The ideal temperature range is 60-80°F with low humidity. I now keep a digital hygrometer handy and plan projects around weather forecasts. This attention to environmental factors makes the difference between a professional-looking finish and a disappointing failure.
Surface preparation proved to be 80% of the success equation. I spent two full days grinding, cleaning, and etching my garage floor before applying any epoxy. Every oil stain, crack, and imperfection had to be addressed. I discovered that concrete must be completely dry and free of contaminants for proper adhesion. This preparation phase isn’t glamorous, but it’s critical for long-term durability and appearance.
Color Schemes and Visual Impact: Creating Your Design Vision
Choosing colors for my first epoxy floor felt overwhelming until I developed a systematic approach. I started by considering the space’s primary function and lighting conditions. My garage needed bright, clean colors to maximize the limited natural light, so I chose a light gray base with white flakes. For my workshop area, I selected a darker charcoal system that hides dirt better while maintaining a professional appearance.
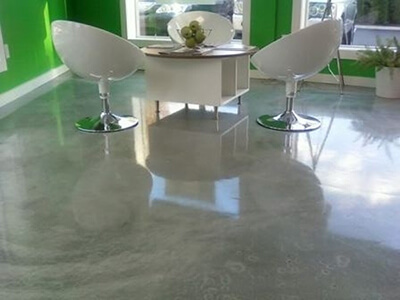
Color psychology plays a bigger role than I initially realized in epoxy design. Cool colors like blues and grays create calming, professional atmospheres perfect for workshops and commercial spaces. Warmer colors like tans and earth tones work beautifully in residential areas where comfort is a priority. I’ve learned that neutral bases with colorful flake systems offer the best flexibility, allowing accent colors through decorative elements and lighting.
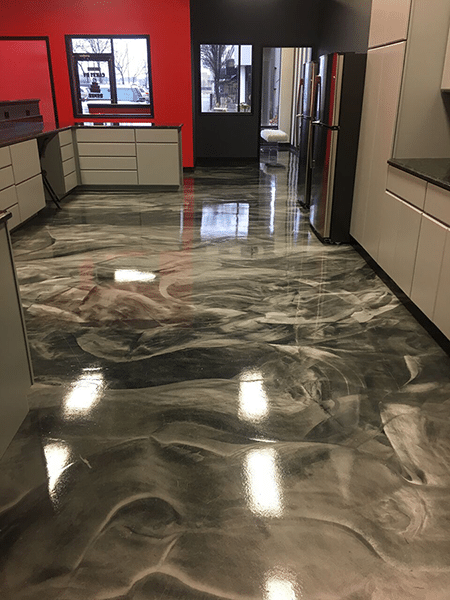
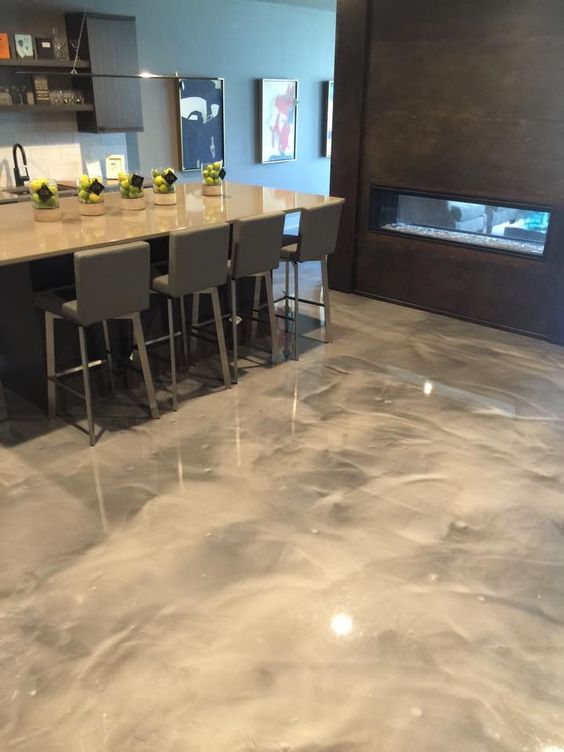
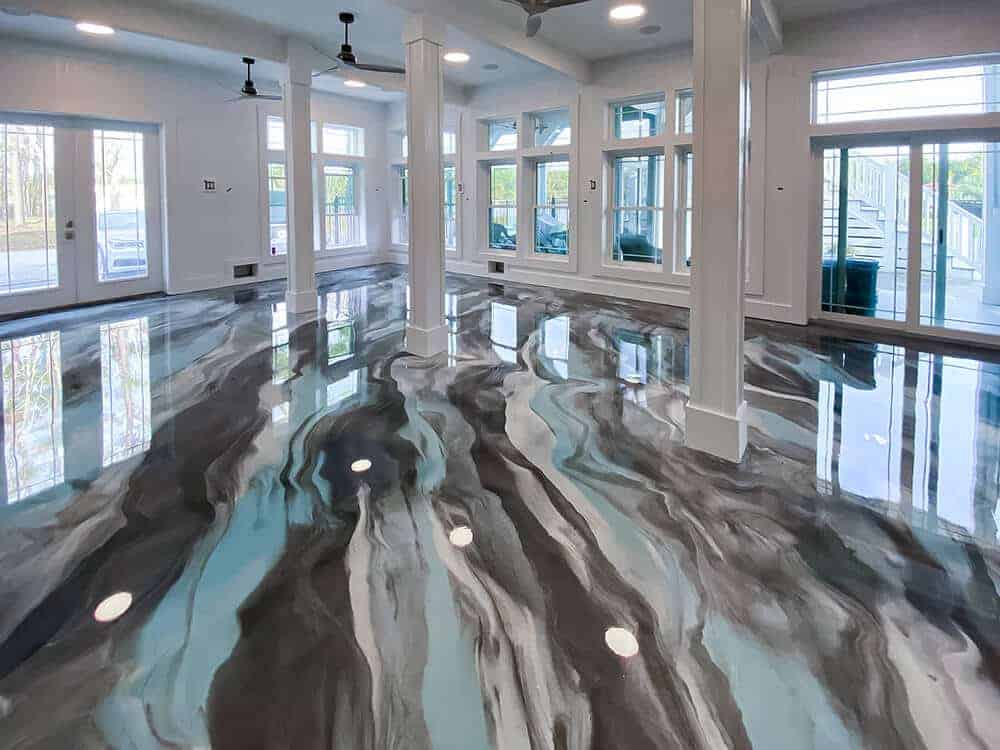
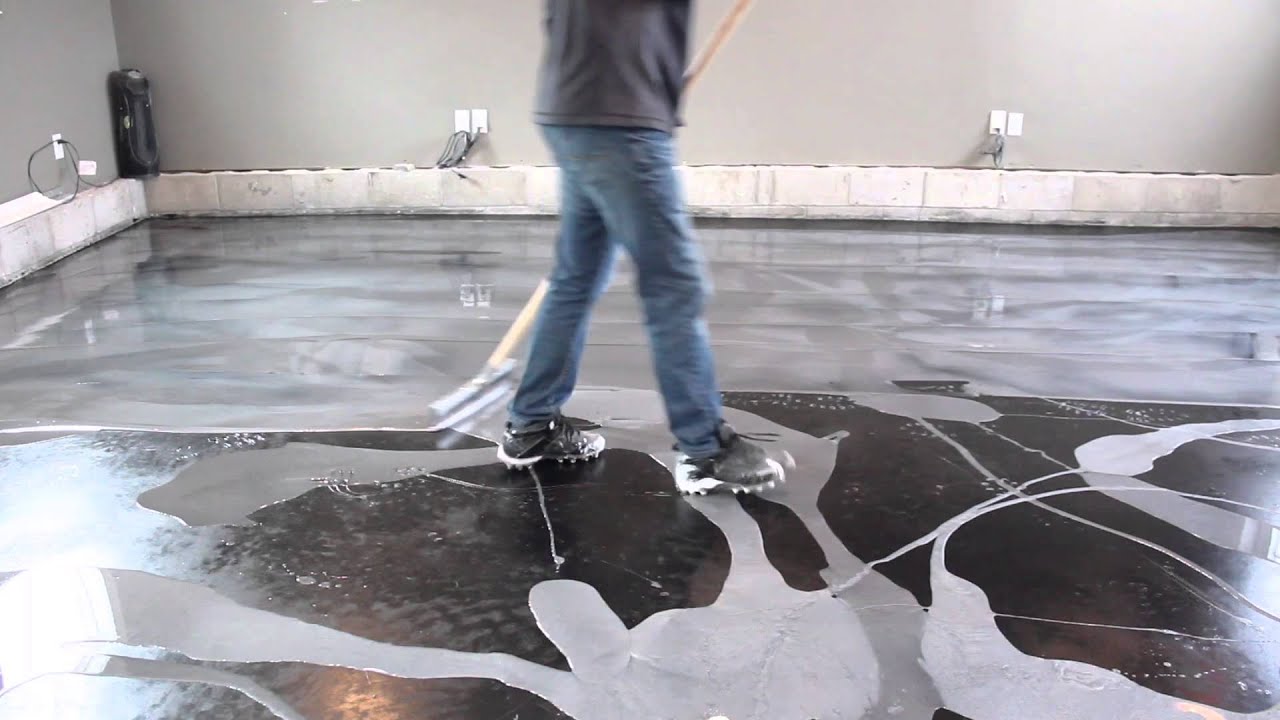
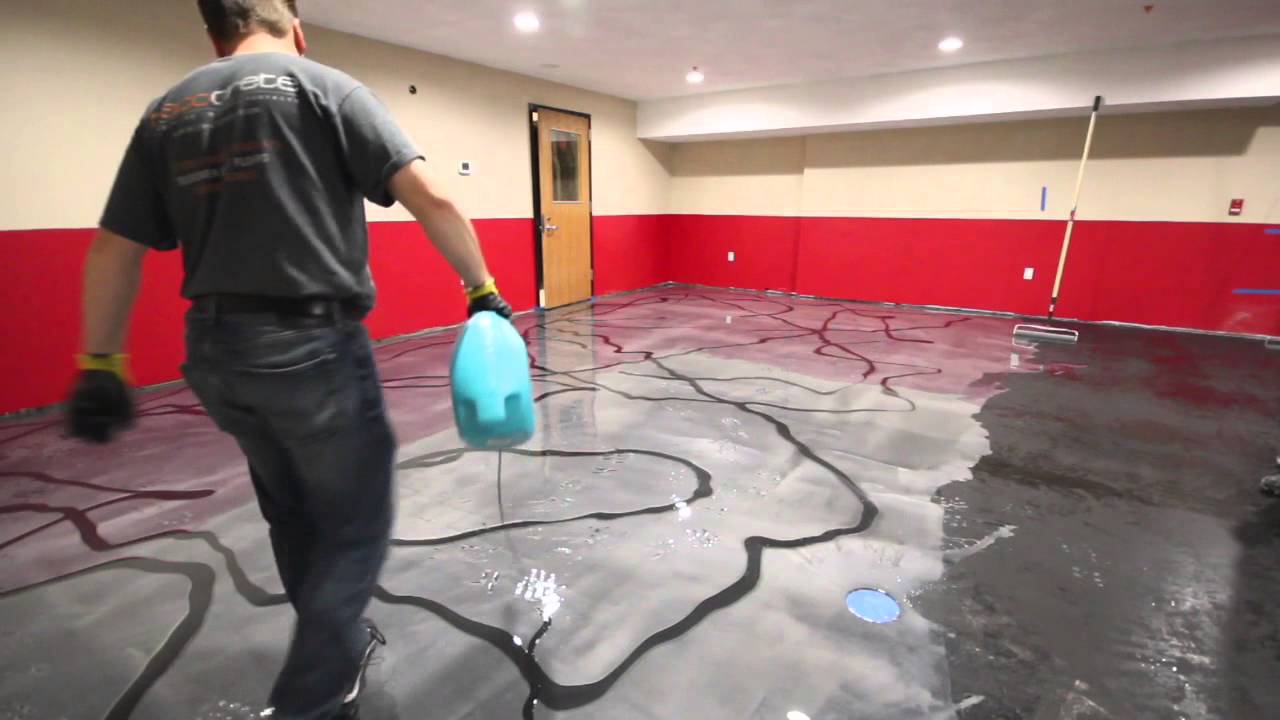
The metallic epoxy trend caught my attention during my second project. These systems create stunning visual depth that traditional solid colors can’t achieve. I installed a copper metallic system in my home office, and the way it shifts and shimmers under different lighting conditions never stops amazing visitors. The key is applying thin, even coats and using proper techniques to achieve the desired metallic effect without creating an overwhelming or gaudy appearance.

Decorative Techniques: Adding Personality to Your Floors
Flake systems became my gateway into decorative epoxy techniques. I started with standard vinyl flakes in my garage, creating a speckled pattern that hides imperfections while adding visual interest. The key is achieving even distribution, which I learned requires a consistent throwing technique and proper timing. I found that working in small sections and maintaining a wet edge prevents overlap marks and ensures uniform coverage throughout the entire surface.
Stenciling opened up incredible creative possibilities I hadn’t considered initially. For my workshop, I created custom logos and safety markings using vinyl stencils and contrasting epoxy colors. The process requires patience and precision, but the results are incredibly professional-looking. I’ve since helped friends create everything from decorative borders to full murals using this technique. The secret is using high-quality stencils and taking time to seal edges properly.
Aggregate additives transformed my outdoor patio project into something truly special. I incorporated decorative quartz crystals and glass beads into the final coat, creating a surface that sparkles in sunlight while providing excellent slip resistance. These additives require careful selection and proper mixing ratios to achieve the desired effect without compromising durability. Each aggregate type offers different visual and functional characteristics worth exploring.
Installation Process: Learning from My Mistakes
My first installation taught me that rushing leads to expensive mistakes. I initially underestimated the time needed for each step, trying to complete my garage in a single weekend. The reality is that proper surface preparation alone takes a full day, and each epoxy coat needs adequate cure time. I learned to plan for at least a week-long process, allowing proper time for each phase without feeling pressured to rush.
Tool selection and preparation became crucial elements I overlooked initially. Quality brushes, rollers, and mixing equipment make an enormous difference in the final result. I invested in spike shoes for walking on wet epoxy and proper ventilation equipment for safety. Having everything ready before mixing epoxy prevents panic when working times become critical. Organization and preparation separate successful projects from disasters.
Environmental control during installation requires careful planning and sometimes creative solutions. I learned to monitor temperature and humidity continuously, adjusting work schedules accordingly. For one project, I rented portable heaters to maintain consistent temperatures during a cold snap. Dust control is equally important. I now wet down surrounding areas and restrict access during curing periods. These details seem minor but significantly impact final quality.
Maintenance and Longevity: Protecting Your Investment
Daily maintenance routines keep epoxy floors looking new for years. I sweep my garage floor every few days using a microfiber dust mop that captures fine particles without scratching. For deeper cleaning, I use a pH-neutral cleaner specifically designed for epoxy surfaces. Harsh chemicals and abrasive cleaners can damage the finish over time. I learned this lesson when using a degreaser that dulled the gloss in high-traffic areas.
Preventive care extends epoxy life significantly beyond basic cleaning. I apply a thin maintenance coat every few years to restore gloss and protect against wear. This process is much simpler than a full installation but requires the same attention to surface preparation and environmental conditions. I also address small chips or scratches immediately before they become larger problems requiring major repairs.
Seasonal considerations affect epoxy maintenance requirements throughout the year. Winter brings salt and moisture challenges that require more frequent cleaning and inspection. Summer heat can make floors more susceptible to certain types of damage. I adjust my maintenance routine seasonally, paying extra attention during extreme weather periods. Understanding these patterns helps predict and prevent problems before they develop.
Cost Considerations and Value: Making Smart Investment Decisions
Budget planning for epoxy projects involves more factors than just material costs. I initially focused only on epoxy prices but learned that preparation materials, tools, and time investment represent significant expenses. Professional installation costs 3-5 times more than DIY but guarantees results and often includes warranties. For my first project, I chose DIY to learn the process, but I’ve since hired professionals for complex installations.
Long-term value justifies higher upfront costs for quality materials and proper installation. Cheap epoxy systems may save money initially, but often require replacement within a few years. I’ve learned that investing in high-performance systems pays dividends through reduced maintenance costs and extended service life. The durability and appearance retention of quality epoxy far exceeds that of painted concrete or other low-cost alternatives.
Return on investment varies by application but generally exceeds that of traditional flooring materials. My garage epoxy increased my home’s value while providing practical benefits like easier cleaning and improved lighting reflection. Commercial applications often see even better returns through reduced maintenance costs and improved aesthetics. Calculating the total cost of ownership rather than the initial price provides better decision-making information for any epoxy project.

How long does epoxy flooring typically last, and what factors affect its lifespan?
In my experience, quality epoxy floors last 10-20 years with proper installation and maintenance. I’ve seen garage floors still looking great after 15 years of heavy use. The key factors are surface preparation quality, environmental conditions, traffic levels, and maintenance consistency. Industrial applications may need renewal sooner due to heavy equipment and chemical exposure.
Can I install epoxy flooring myself, or should I hire professionals?
I started with DIY installation to learn the process and save money. Simple single-car garage projects are manageable for handy homeowners, but larger areas or decorative systems benefit from professional installation. The learning curve is steep, and mistakes are expensive to fix. I recommend starting small and hiring pros for complex or high-visibility projects.
What’s the best way to prepare concrete for epoxy application?
Surface preparation makes or breaks epoxy projects. I always start with thorough cleaning, then mechanically abrade the surface using diamond grinding or shot blasting. Chemical etching works for smooth surfaces, but mechanical preparation is more reliable. The concrete must be completely clean, dry, and profiled properly for maximum adhesion strength.
How do I choose the right epoxy system for my specific needs?
Consider your environment, traffic levels, and aesthetic goals. I use 100% solids epoxy for high-traffic areas like garages, while water-based systems work well for lighter residential applications. Chemical resistance, temperature range, and cure time are critical factors. Consulting with suppliers about specific requirements helps ensure proper system selection.
What maintenance is required to keep epoxy floors looking their best?
Regular sweeping and occasional mopping with pH-neutral cleaners maintain epoxy floors easily. I recoat high-traffic areas every 3-5 years to restore appearance and protection. Immediate cleanup of spills prevents staining, and using furniture pads protects against scratches. The maintenance requirements are much lower than traditional flooring materials.
Are there any limitations or drawbacks to epoxy flooring I should know about?
Epoxy can be slippery when wet, though anti-slip additives help significantly. Installation requires specific temperature and humidity conditions that may limit timing. Some people are sensitive to epoxy fumes during installation, requiring proper ventilation. UV exposure can cause yellowing in some systems, making topcoats important for outdoor applications.
Epoxy flooring & Art ideas flooring, floor art, floor design

Metallic Epoxy Flooring – Lafayette LA – Old World Concrete Design

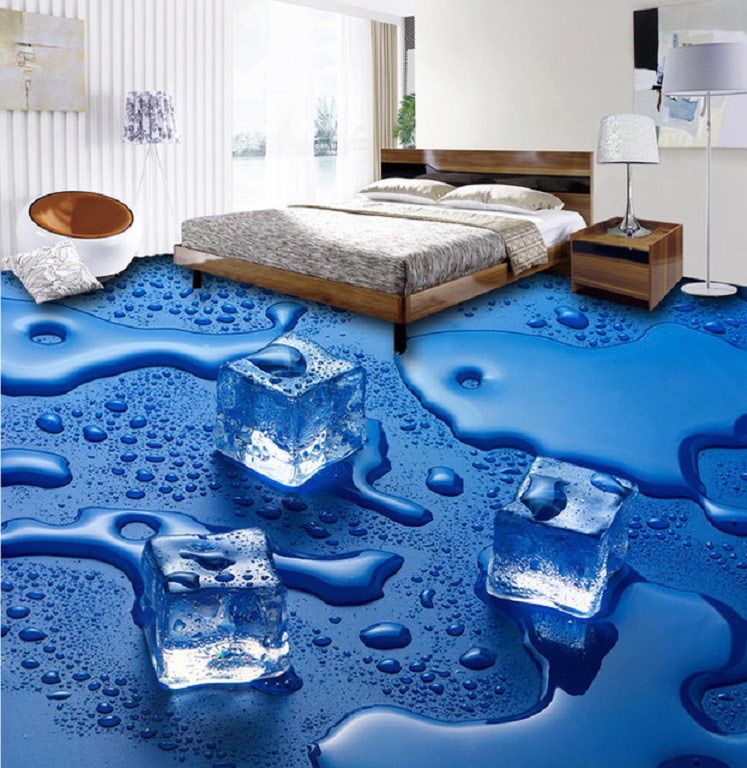
3D epoxy flooring and floor art designs
China Solvent Free Metallic Epoxy Floor Coating Design for Family

Related Posts: