I’ve spent years transforming ordinary concrete floors into stunning, durable surfaces that completely change how homeowners view their garage spaces. Through countless installations and conversations with satisfied customers, I’ve learned that garage floor coating isn’t just about aesthetics; it’s about creating a functional space that adds real value to your home. Let me share the insights I’ve gained from working with hundreds of garage transformations and the mistakes I’ve seen that can make or break your investment.
The Game-Changing Benefits That Make Coating Worth Every Penny
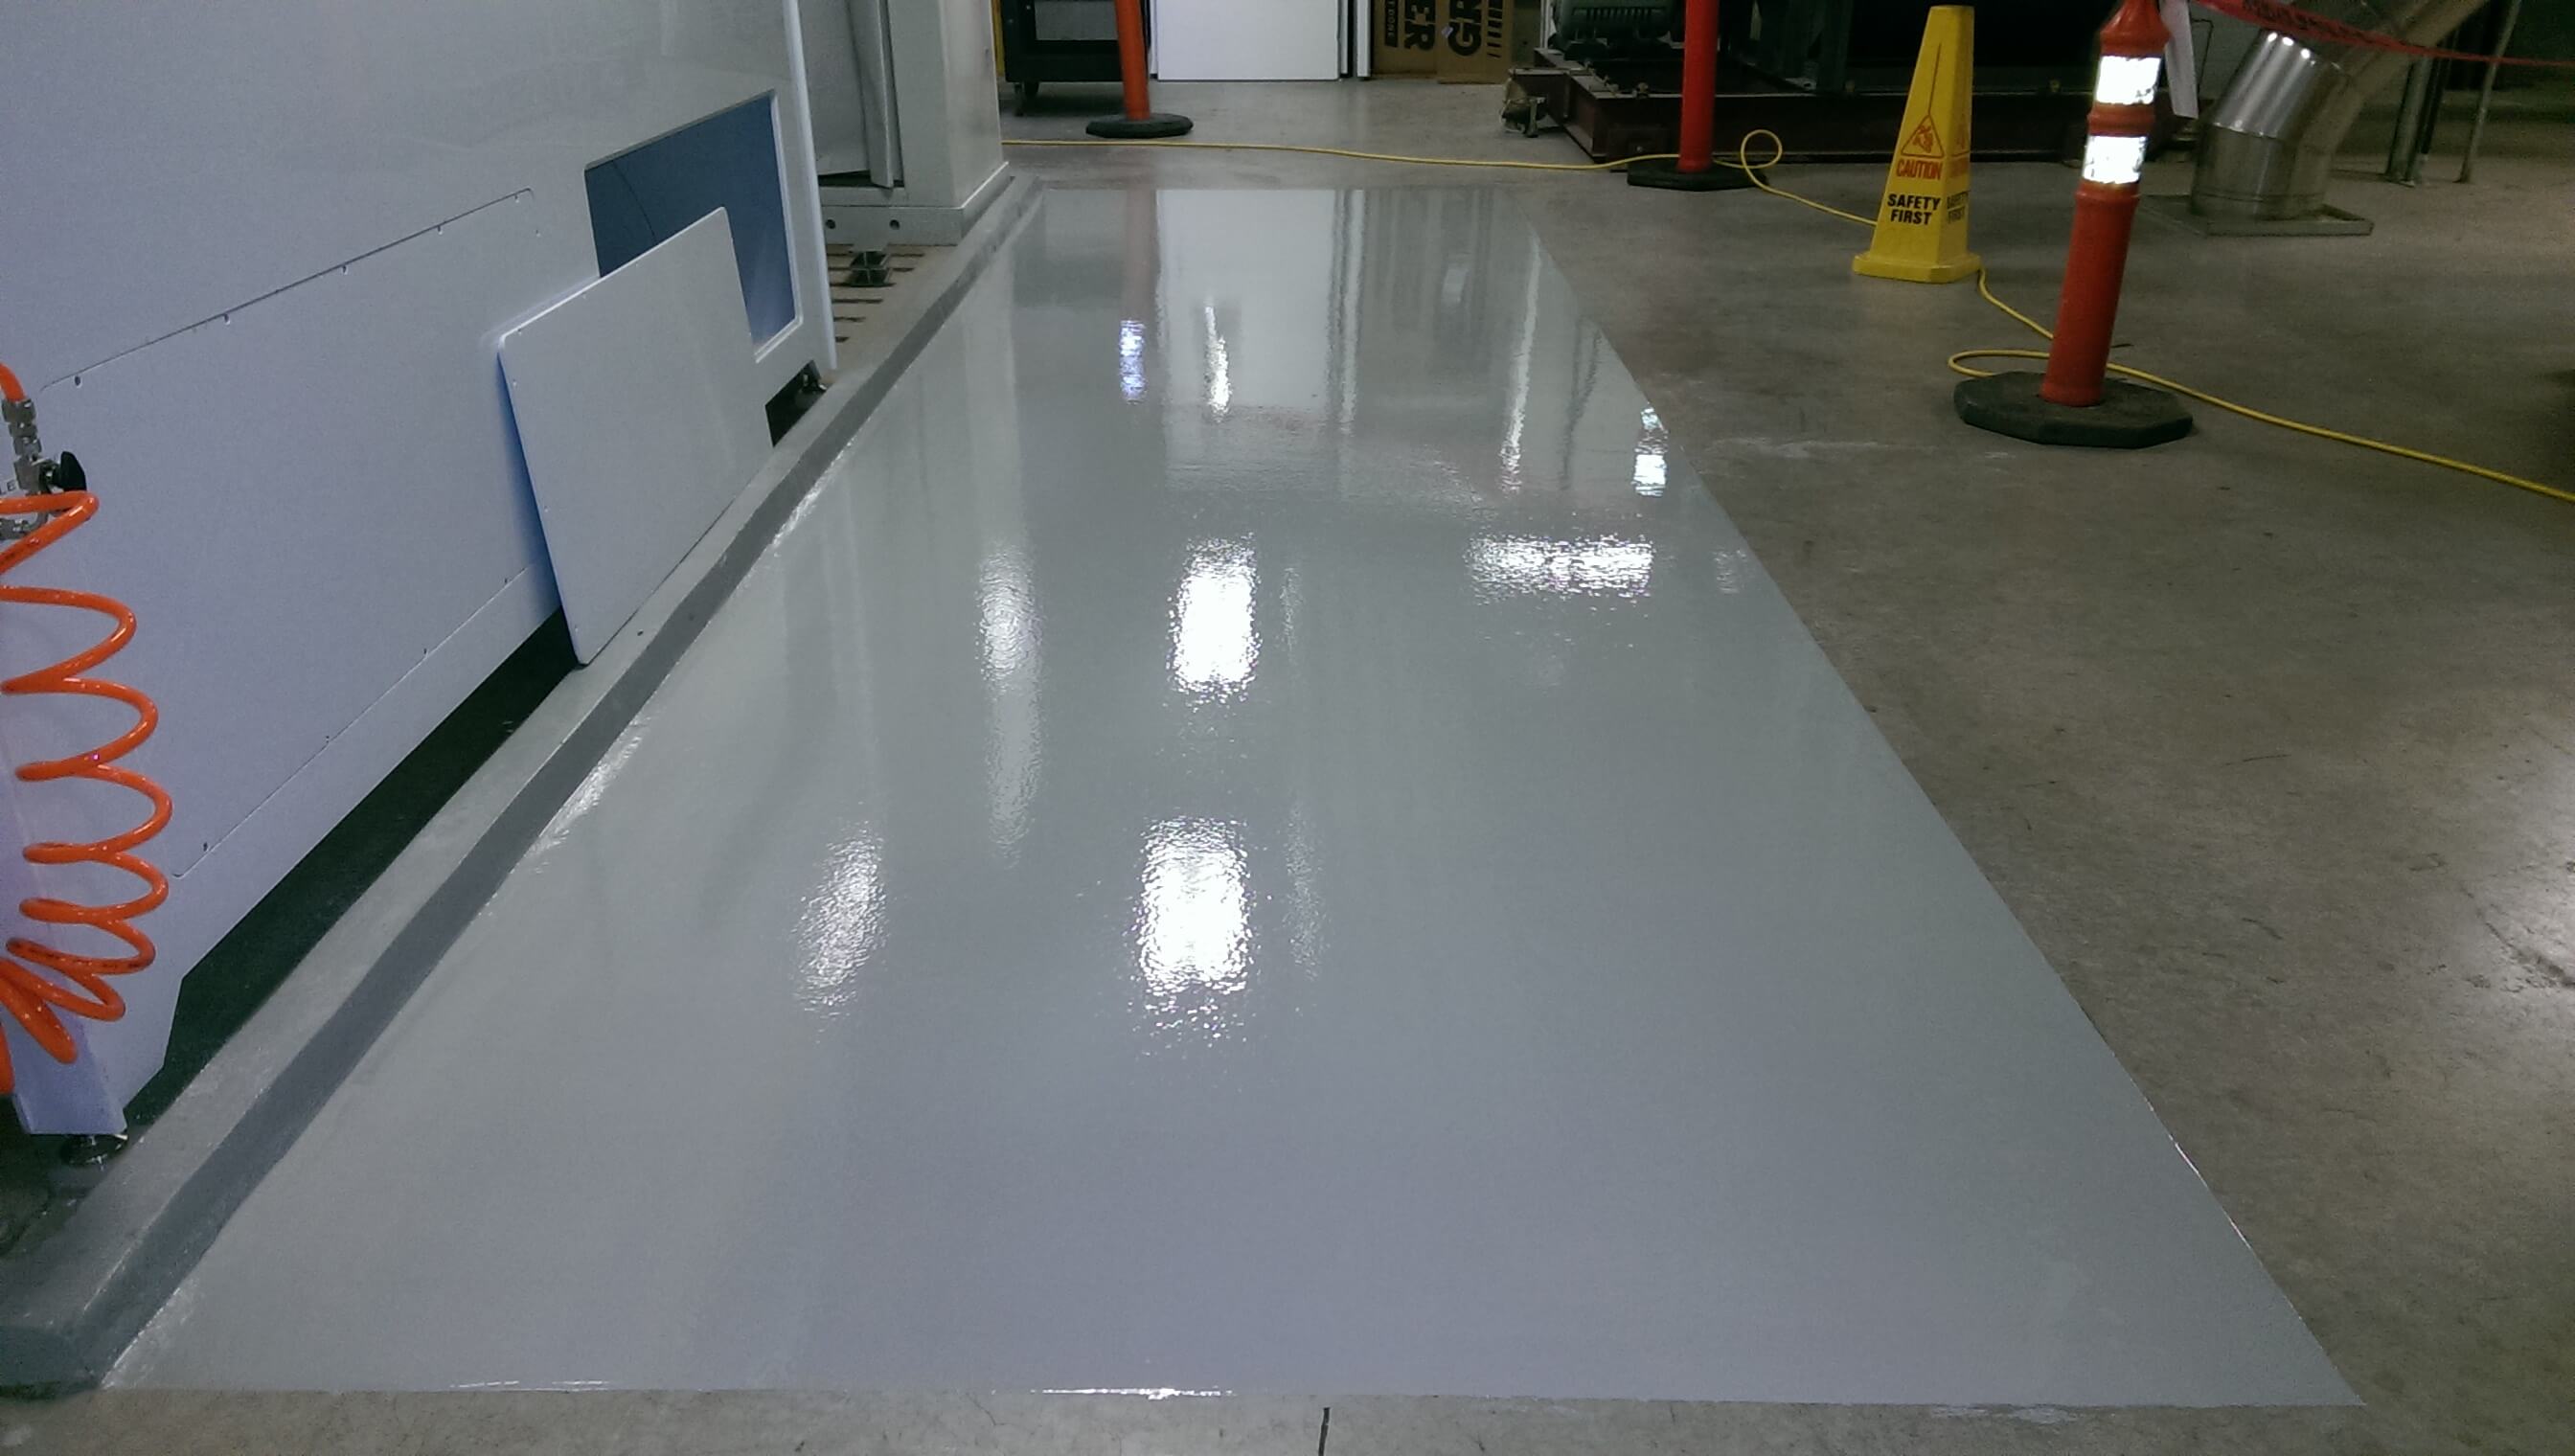
When I first started coating garage floors, I was amazed by how dramatically these surfaces could transform a space. The durability factor alone makes this investment worthwhile, as properly applied coatings protect concrete from staining, fading, pitting, and cracking for decades. I’ve seen floors that look brand new after twenty years of heavy use, proving that quality coating truly can last a lifetime when installed correctly.
The functionality improvements never cease to impress my clients. Coated floors become incredibly easy to clean, requiring just a simple mop with warm water to maintain their pristine appearance. The non-slip properties also enhance safety, making it much safer to park vehicles and store belongings without worrying about slippery surfaces during wet conditions or spills.
Chemical resistance has saved countless garage floors from permanent damage in my experience. Oil, gasoline, road salt, and other automotive fluids simply wipe away without penetrating the surface or causing stains. This protection keeps your garage looking professional while preventing potentially harmful chemicals from seeping into the concrete substrate over time.
Choosing the Right Coating Type for Your Specific Needs
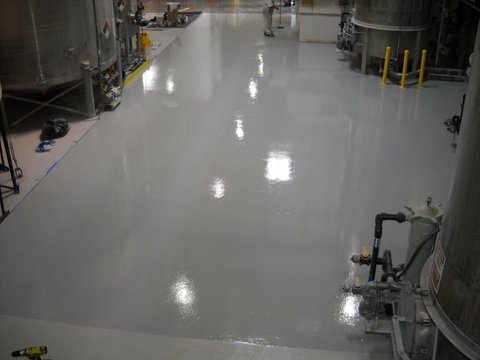
Polyaspartic coatings have become my go-to recommendation for clients who want the ultimate in durability and convenience. These modern solutions cure rapidly, allowing complete installation in just one day, and they resist UV light perfectly, maintaining their color and finish without yellowing. The superior durability makes them ideal for high-traffic garages with heavy vehicle use and frequent activity.
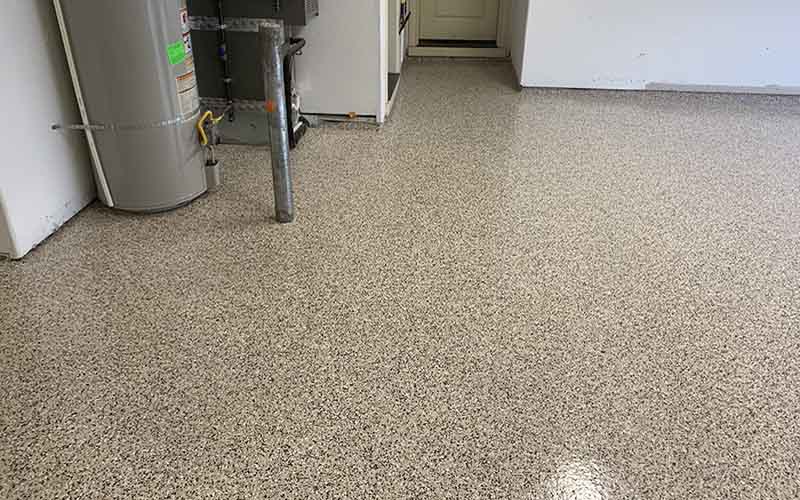
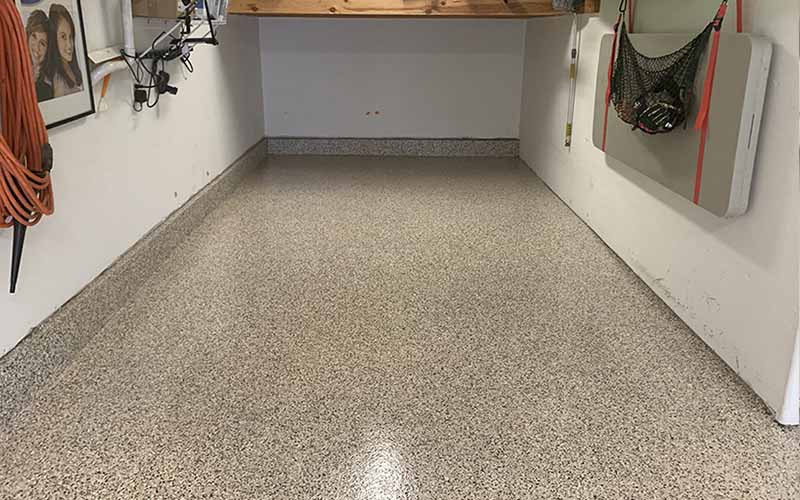
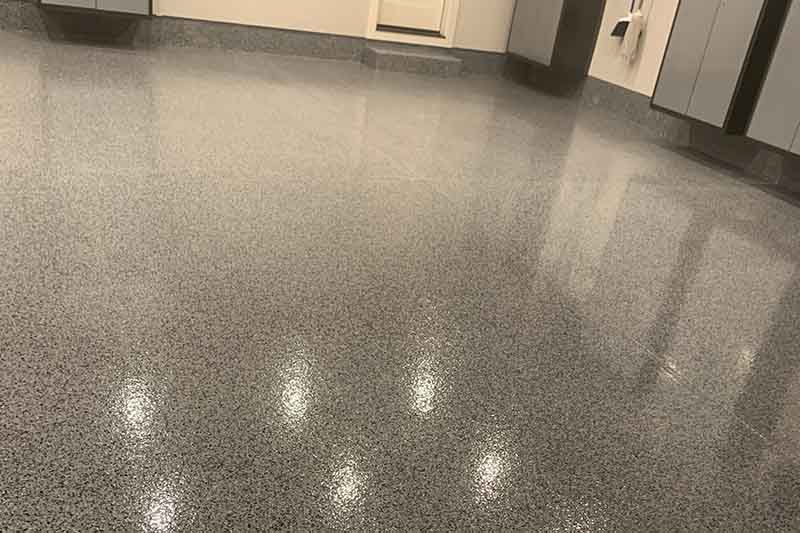
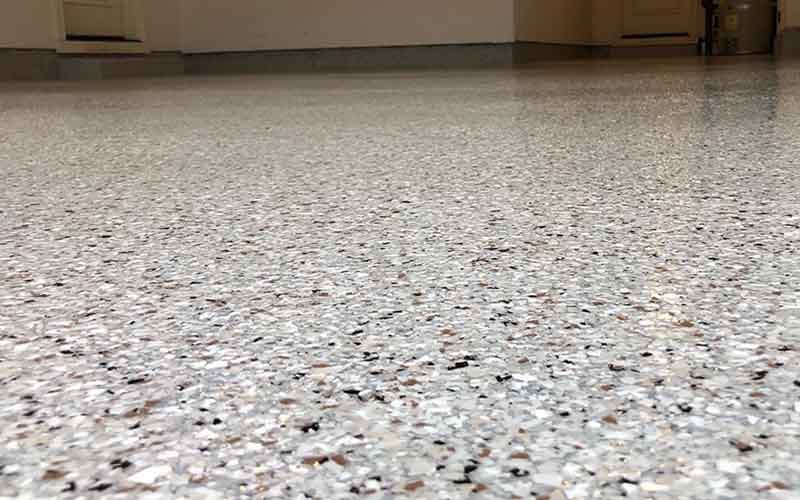
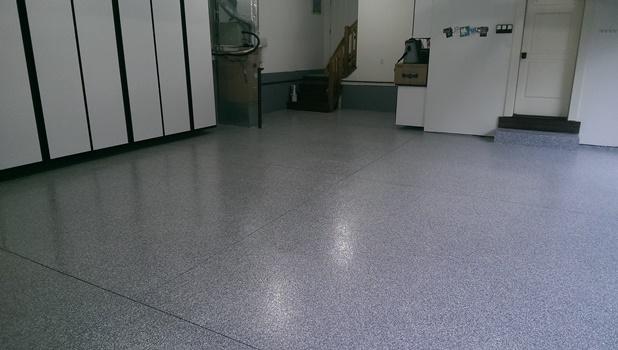
Epoxy coatings remain popular due to their excellent strength-to-cost ratio and incredible versatility in colors and textures. I’ve used epoxy to create everything from subtle, professional finishes to bold, decorative surfaces with metallic flakes and custom patterns. The variety available allows homeowners to perfectly match their garage aesthetic to their style and home’s overall design theme.
For clients seeking flexibility or temporary solutions, interlocking tiles offer unmatched convenience and adaptability. These systems install quickly without adhesives or curing time, and individual tiles can be replaced if damaged. I often recommend them for renters or homeowners who might want to change their garage layout frequently, as the tiles can be easily reconfigured or removed entirely.
Proper Surface Preparation Makes All the Difference
Surface preparation represents the most critical phase of any successful coating project, and I’ve seen too many failures caused by rushing this step. Thorough cleaning with degreasers removes oil stains, dirt, and contaminants that prevent proper adhesion. Every crack and imperfection must be filled with appropriate concrete filler to create a smooth, uniform surface for coating application.
Moisture testing has saved numerous projects from premature failure in my experience. Excess moisture in concrete causes adhesion problems that lead to bubbling, peeling, and coating failure within months. I always conduct thorough moisture tests and allow adequate drying time, even if it means delaying the project by several days to ensure optimal conditions.
The concrete surface must be properly etched or ground to create the porous texture necessary for strong coating adhesion. This mechanical preparation opens the concrete pores, allowing the coating to penetrate and form a chemical bond with the substrate. Skipping this step or doing it inadequately virtually guarantees coating failure, regardless of the product quality used.
Professional Application Techniques That Ensure Success
Temperature and humidity control during application cannot be overlooked if you want professional results. I’ve learned to carefully monitor weather conditions and only apply coatings within the manufacturer’s specified ranges. High humidity or extreme temperatures affect curing chemistry, leading to weak bonds, uneven finishes, and premature coating failure that requires complete removal and reapplication.
Proper mixing ratios and working time management separate successful projects from disasters. Each coating system has specific mixing requirements and pot life limitations that must be strictly followed. I always mix only the amount that can be applied within the working time, ensuring consistent chemical reactions and uniform curing throughout the entire surface area.
Application technique significantly impacts the final appearance and performance of the coating system. Using the correct roller type, maintaining wet edges, and applying uniform thickness prevent streaking, bubbles, and thin spots. I work systematically from the farthest corner toward the exit, ensuring I never trap myself in wet coating while maintaining consistent coverage rates throughout the process.
Maintenance Strategies That Maximize Coating Lifespan
Regular cleaning routines keep coated floors looking spectacular for decades with minimal effort required. I recommend weekly sweeping with soft-bristle brooms to remove abrasive dirt and debris, followed by monthly mopping with pH-neutral cleaners. Harsh chemicals like bleach or ammonia can damage the protective finish, so I always advise clients to stick with gentle, coating-safe cleaning products.
Immediate spill cleanup prevents even the most resistant coatings from potential staining or damage. While quality coatings resist most chemicals, prompt attention to spills ensures complete protection and maintains the floor’s pristine appearance. I teach clients to keep absorbent materials handy and address any spills immediately with clean cloths and mild soap solutions.
Protective measures extend coating life significantly and prevent unnecessary damage from heavy equipment or furniture. Floor mats under vehicles catch drips and reduce wear, while furniture pads prevent scratching from storage units and tools. These simple precautions, combined with seasonal inspections for chips or cracks, help identify and address minor issues before they become major problems.

Avoiding Common Mistakes That Ruin Your Investment
Poor product selection has destroyed more coating projects than any other single factor in my experience. Cheap DIY epoxy kits often lack the durability and UV resistance needed for garage environments, leading to premature yellowing, peeling, and wear. I always recommend investing in high-quality polyurea or polyurethane systems designed specifically for high-traffic garage applications and harsh chemical exposure.
Rushing the preparation phase causes the majority of coating failures I’ve encountered over the years. Inadequate cleaning, insufficient surface preparation, or applying coating over damp concrete creates weak bonds that fail quickly. Taking time to properly clean, repair, etch, and dry the surface ensures strong adhesion and long-lasting performance that justifies the investment.
Environmental conditions during application cannot be ignored without risking project failure and wasted money. Applying coatings during unsuitable weather conditions, inadequate ventilation, or extreme temperatures affects curing chemistry and final performance. I always check manufacturer specifications and wait for optimal conditions, even if it means delaying the project to ensure successful results.
How long does garage floor coating typically last with proper maintenance?
Quality garage floor coatings can last 15-20 years or even longer with proper maintenance and professional installation. I’ve personally seen polyaspartic and high-grade epoxy systems maintain their appearance and protective properties for decades when properly cared for. The key factors include using quality materials, proper surface preparation, professional application techniques, and following recommended maintenance routines, including regular cleaning and prompt spill cleanup.
Can I apply garage floor coating myself, or should I hire professionals?
While DIY coating kits exist, professional installation significantly increases success rates and longevity. I’ve seen countless DIY projects fail due to inadequate surface preparation, improper mixing, unsuitable environmental conditions, or application technique errors. Professional installers have specialized equipment, experience with various coating systems, and knowledge of local climate considerations that ensure optimal results and warranty protection for your investment.
What’s the difference between epoxy and polyaspartic coatings for garage floors?
Polyaspartic coatings cure much faster than epoxy, allowing same-day installation and immediate use, while epoxy typically requires 2-3 days for full cure. Polyaspartic offers superior UV resistance, preventing yellowing and color fading, plus better chemical resistance and durability. However, epoxy costs less and provides more color and texture options. I recommend polyaspartic for high-performance applications and epoxy for budget-conscious projects with good results.
How should I prepare my garage floor before coating application?
Proper preparation involves thorough cleaning with degreasers, repairing all cracks and imperfections, and creating proper surface texture through etching or grinding. I always start with pressure washing to remove dirt and debris, then apply concrete degreaser to eliminate oil stains. After repairs cure completely, the surface must be etched to open concrete pores for proper adhesion. Finally, moisture testing ensures the concrete is sufficiently dry before coating application begins.

What maintenance is required to keep my coated garage floor looking great?
Regular maintenance involves weekly sweeping with soft-bristle brooms, monthly mopping with pH-neutral cleaners, and immediate cleanup of any spills or stains. I recommend avoiding harsh chemicals, abrasive cleaning tools, and excessive moisture that can damage the coating surface. Seasonal inspections help identify minor issues before they become major problems. Using protective mats under vehicles and furniture pads under heavy equipment prevents unnecessary wear and scratching.
How much does professional garage floor coating installation typically cost?
Professional garage floor coating costs vary significantly based on coating type, garage size, surface condition, and regional labor rates. Basic epoxy systems typically range from $3-6 per square foot, while premium polyaspartic coatings cost $6-12 per square foot installed. Additional costs may include surface preparation, repairs, or decorative elements like color flakes or metallic finishes. I always recommend getting multiple quotes and focusing on value rather than just price for the best long-term results.
Garage Floor Paint
Epoxy Garage Flooring

Related Posts: