Two years ago, I stared at my garage floor in frustration. Years of oil stains, salt damage, and general wear had turned the concrete into an eyesore that embarrassed me every time I opened the garage door. After researching various options, I settled on gray epoxy coating, thinking it would be practical and hide imperfections well. That decision transformed not just my garage floor but my entire approach to home maintenance. The project taught me valuable lessons about preparation, application techniques, and the long-term performance of epoxy systems. Let me share my complete experience with gray garage floor epoxy and whether it’s the right choice for your situation.
Why I Chose Gray Over Other Epoxy Colors
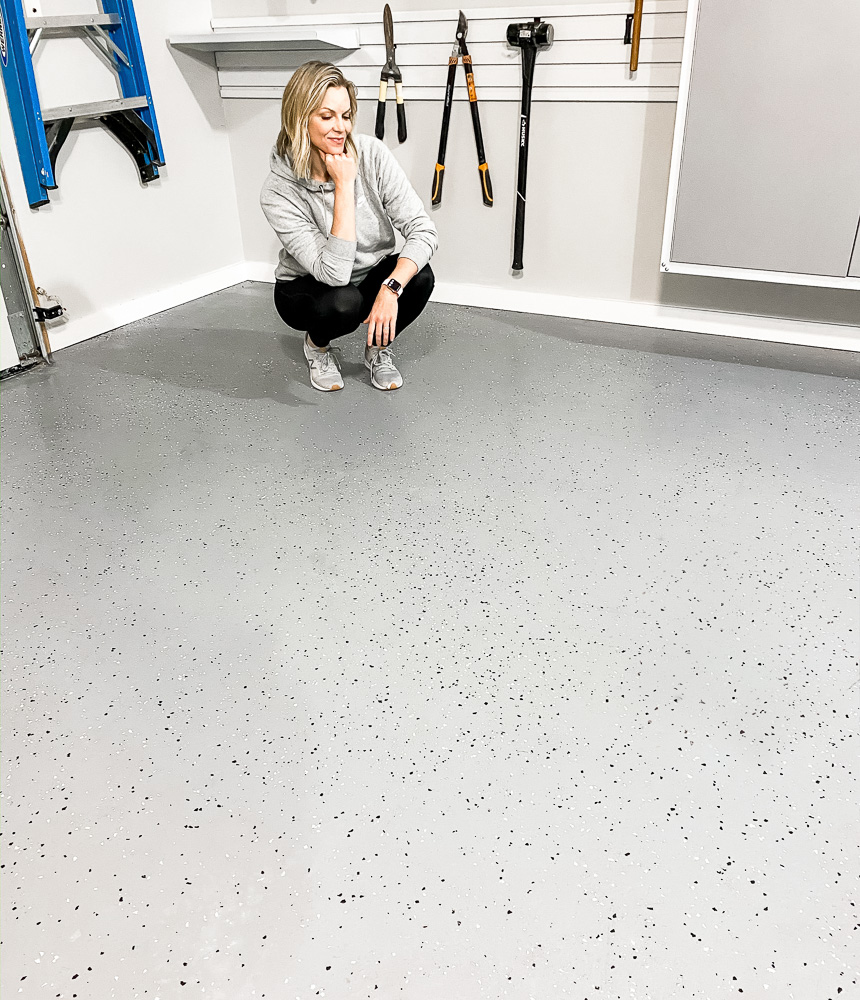
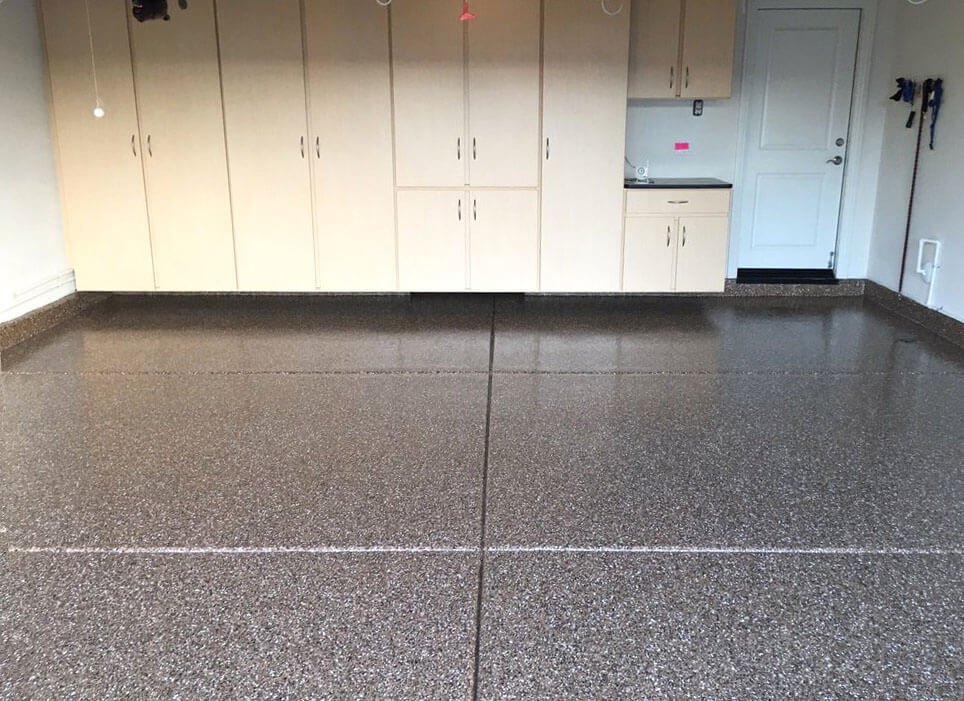
Selecting gray for my garage floor epoxy was a decision I initially made for practical reasons. Gray seemed like a safe, neutral choice that would hide dirt and tire marks better than lighter colors. I was concerned that white or beige would show every speck of dirt, while darker colors might make the garage feel smaller and reveal dust more readily. Gray struck the perfect balance between practicality and aesthetics for my needs.
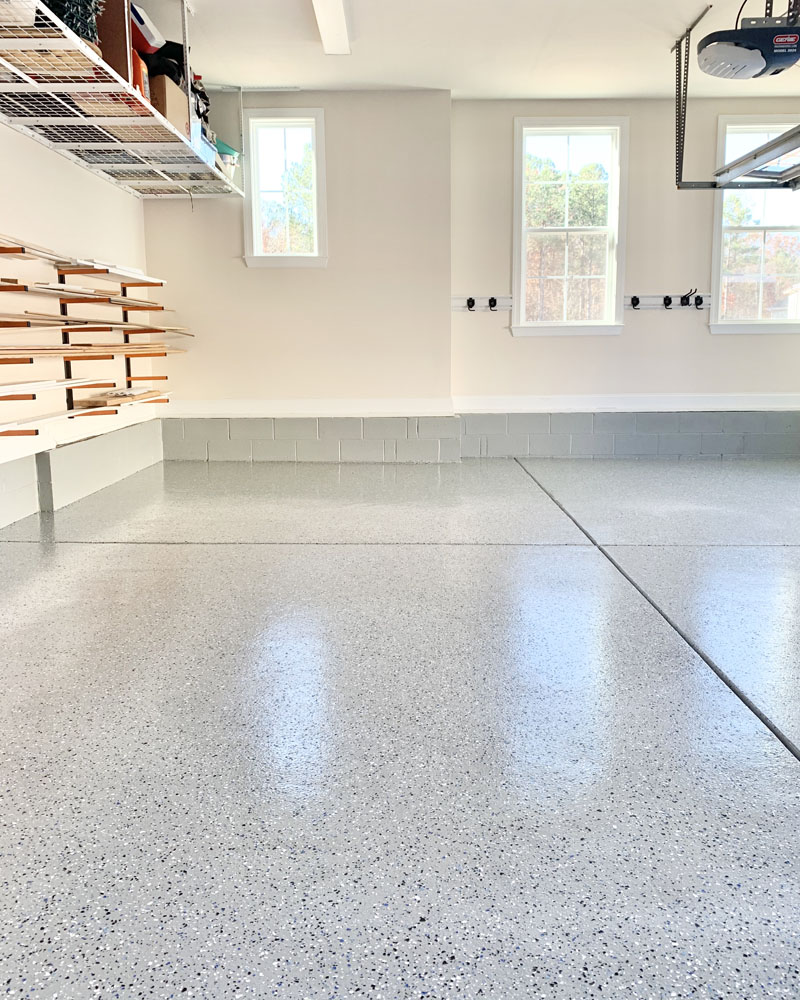
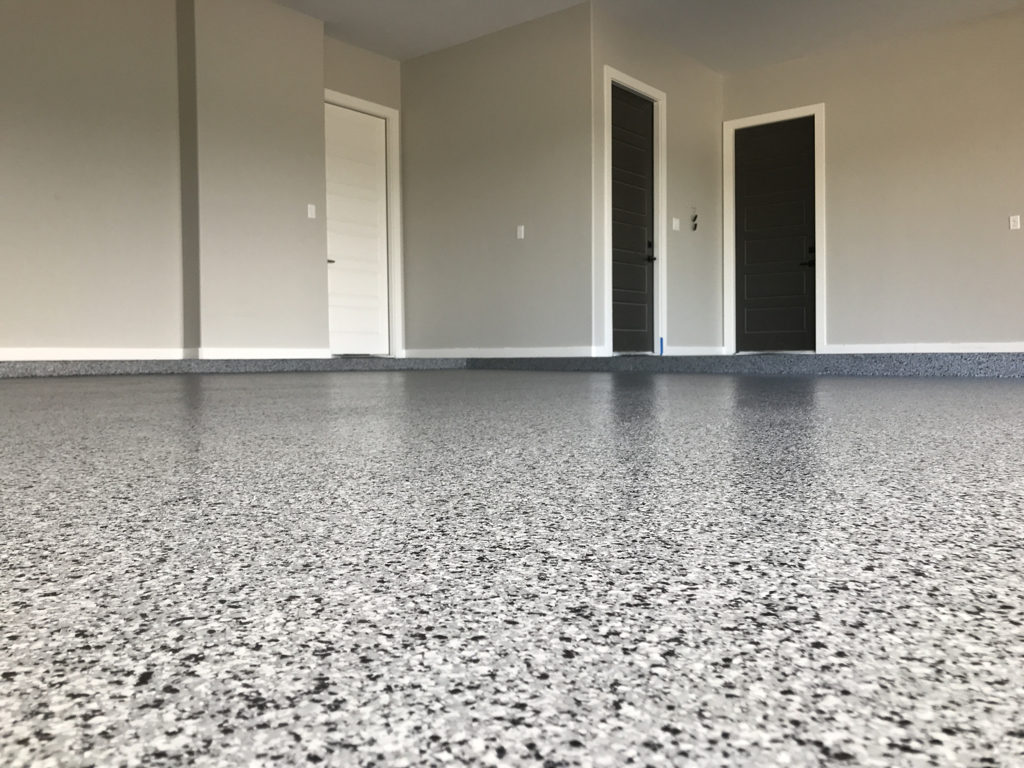
The versatility of gray became apparent once I started considering decorative options. I could add colored flakes in various combinations to create different looks, from subtle speckled patterns to bold contrasting designs. Gray serves as an excellent base color that complements almost any accent color scheme. I experimented with different flake combinations before settling on a mix of black, white, and charcoal flakes.
Gray also offers excellent light reflection properties without being too bright. My garage has limited natural light, and I wanted a floor that would help brighten the space without creating glare. The medium tone of gray reflects enough light to improve visibility while working on projects, yet doesn’t create harsh reflections that strain your eyes during detailed work.
Surface Preparation and the Reality of DIY Installation
Preparing my garage floor for epoxy application was far more involved than I anticipated. The concrete surface needed to be completely clean, dry, and properly etched to ensure good adhesion. I spent an entire weekend degreasing oil stains, filling cracks, and grinding down high spots. The preparation work took longer than the actual coating application, but I learned it’s critical for long-term success.
Concrete etching proved to be the most challenging aspect of preparation. I tried acid etching first, but found it difficult to achieve consistent results across the entire floor. Eventually, I rented a concrete grinder, which provideda much better surface profile and removed all existing sealers and contaminants. The dust was incredible, even with proper ventilation and dust collection equipment.
Testing for moisture became an important step I almost overlooked. I taped plastic sheets to several areas of the floor and left them for 24 hours to check for moisture vapor transmission. One section showed condensation, indicating a moisture problem that required additional drying time. This test probably saved me from coating failure down the road.

Application Process and Lessons Learned
Mixing the epoxy components requires precision and speed once you start. I learned to have all tools ready and the floor completely prepared before opening any containers. The pot life of mixed epoxy is limited, typically 30-45 minutes, so there’s no time for mistakes or delays. I practiced the mixing process with water first to get comfortable with the ratios and timing.
Temperature and humidity control became critical factors I hadn’t fully considered. My first attempt was during a humid summer day, and the epoxy didn’t cure properly in some areas. I had to strip and reapply those sections during cooler, drier conditions. Now I always check weather forecasts and plan applications during optimal conditions, typically 65-75 degrees with low humidity.
The actual application technique took practice to master. I used a combination of rolling and back-rolling to achieve uniform thickness and eliminate bubbles. Working in small sections and maintaining a wet edge prevented lap marks. I found that a good quality roller cover designed for epoxy gave much better results than standard paint rollers. The flake broadcast timing was crucial, applying them while the epoxy was still tacky.
Performance and Durability After Two Years
After two years of use, my gray garage floor epoxy has performed exceptionally well overall. The surface remains glossy and easy to clean, requiring only occasional mopping to maintain its appearance. Oil spills and other automotive fluids clean up easily without staining, which was one of my primary goals for the project. The chemical resistance has been excellent for typical garage contaminants.
Wear patterns have developed in high-traffic areas, particularly where I walk from the house door to the car. The wear isn’t severe, but the gloss has dulled slightly in these zones. Heavy items dragged across the floor have left some scratches, but they’re not highly visible against the gray background with flakes. Overall, the durability has exceeded my expectations for a DIY installation.
Hot tire pickup became an issue during the first summer that I hadn’t anticipated. On extremely hot days, car tires can soften the epoxy surface and leave marks. I learned to avoid driving on the floor when tires are extremely hot from highway driving. This problem is less noticeable with gray than it would be with lighter colors, but it’s still something to consider.
.JPEG)
Maintenance Requirements and Long-Term Care
Daily maintenance of my epoxy garage floor is remarkably simple compared to bare concrete. I sweep or blow out debris regularly, and the smooth surface makes this task quick and easy. Spills clean up immediately with just water and mild detergent, eliminating the staining problems I had with untreated concrete. The non-porous surface prevents the absorption of oils and other liquids.
Deep cleaning is needed only occasionally, typically when salt buildup occurs during winter months. I use a pressure washer on a low setting or mop with a degreasing solution. The key is avoiding harsh chemicals that could damage the epoxy surface. I’ve found that simple cleaning solutions work best and don’t require special or expensive products.
Long-term maintenance involves protecting the surface from excessive wear and damage. I use furniture pads under heavy items and avoid dragging sharp objects across the floor. The coating can be recoated if necessary, but proper care extends the life significantly. I inspect the floor quarterly for any signs of damage that might require attention before they become larger problems.
Cost Analysis and Return on Investment
The total cost of my gray garage floor epoxy project was approximately $800 for a two-car garage, including all materials and tools. This was significantly less than hiring professionals, who quoted between $2,500 and $4,000 for similar work. The DIY approach saved money but required substantial time investment for preparation and application. Quality materials made up about 60% of the total cost.
Comparing costs to other flooring options, epoxy provided excellent value. Garage tiles would have cost similar amounts, but without the seamless appearance and chemical resistance. Polished concrete was more expensive and wouldn’t have addressed the existing stains and damage. The durability and low maintenance requirements make epoxy cost-effective over time.
The return on investment goes beyond financial considerations. The improved appearance, easier maintenance, and increased usability of the garage space have been valuable benefits. Property value impact is difficult to quantify, but the professional appearance certainly doesn’t hurt. The satisfaction of completing the project successfully was worth the effort involved.

How long does gray garage floor epoxy typically last?
Based on my experience and research, properly applied garage floor epoxy can last 5-10 years or more with normal use. The longevity depends heavily on surface preparation quality, traffic levels, and maintenance practices. My floor still looks great after two years with only minor wear in high-traffic areas. Professional installations may last longer due to better equipment and experience, but DIY applications can achieve similar results with proper technique.
Can I apply gray epoxy over existing garage floor coatings?
Existing coatings must usually be removed before applying new epoxy. I learned this when testing adhesion on a small area that had been previously sealed. The new epoxy didn’t bond properly and peeled off easily. Complete removal of old coatings, paints, or sealers is essential for proper adhesion. Some primers are designed to bond over existing coatings, but testing is critical before proceeding with the full application.
What’s the best way to repair damaged areas in gray epoxy flooring?
Small scratches and chips can often be repaired with matching epoxy filler or touch-up kits. I keep leftover mixed epoxy in the freezer for minor repairs, though color matching can be challenging. Larger damaged areas may require grinding out the damaged section and reapplying fresh epoxy. The key is addressing damage quickly before it spreads or allows moisture penetration underneath the coating.
How do I prevent hot tire pickup on my gray epoxy floor?
Hot tire pickup occurs when extremely hot tires soften the epoxy surface. I avoid driving on the floor immediately after highway driving on hot days. Letting tires cool for 30 minutes usually prevents problems. Some people use tire mats in parking areas, but this defeats the purpose of having a seamless floor. Higher-quality epoxy systems with better heat resistance can reduce this issue, but cost more initially.

What flake colors work best with gray epoxy base coats?
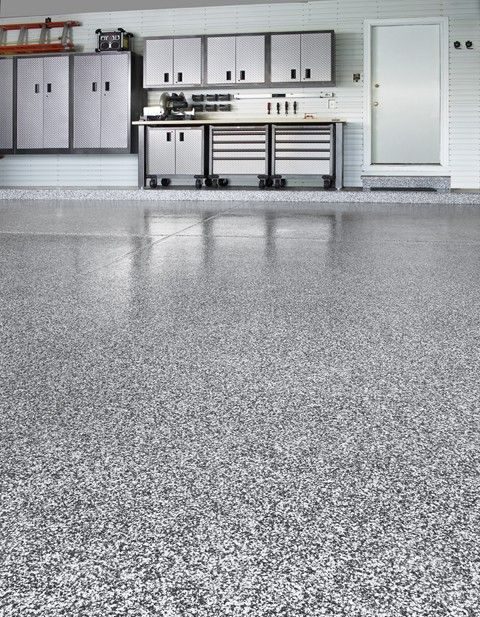
Gray base coats are incredibly versatile and work with almost any flake color combination. I used black, white, and charcoal flakes for a subtle, professional look that hides dirt well. Brighter colors like red, blue, or yellow create more dramatic appearances but may show dirt more readily. The flake size and density also affect the final appearance, with larger flakes creating more texture and smaller ones providing smoother surfaces.
Is professional installation worth the extra cost for gray garage epoxy?
Professional installation costs 2-3 times more than DIY but offers advantages like warranty coverage, specialized equipment, and experience with problem surfaces. I chose DIY to save money and gain experience, but I’d consider professional installation for larger areas or if my time is limited. The key factors are your comfort level with the preparation work, available time, and budget constraints. Both approaches can achieve excellent results.

Epoxy Garage Floor Coatings
Epoxy Floor Coatings – Garage Innovations
Classic Finish Garage Floor Epoxy With Full Flake Artisan Garage
Related Posts: