When I decided to install hardwood flooring in my kitchen three years ago, everyone told me I was crazy. “Wood and water don’t mix,” they said. “You’ll regret it,” others warned. But I’d fallen in love with the warm, seamless flow that hardwood would create between my kitchen and adjoining living spaces, and I was determined to make it work. After extensive research, careful material selection, and learning some hard lessons about maintenance along the way, I can honestly say my hardwood kitchen floor has been one of my favorite home improvement decisions. Yes, it requires more attention than tile or vinyl, but the beauty and character it brings to my kitchen make every extra minute of care worthwhile.
Species Selection and Durability Considerations: Finding My Perfect Match
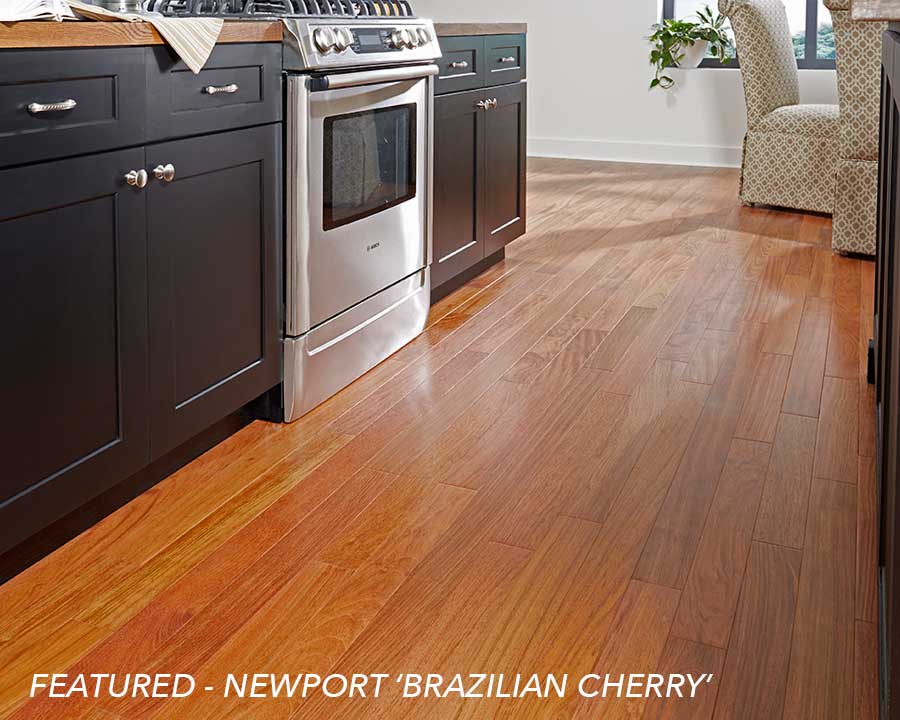
Choosing the right wood species for my kitchen became an obsession that lasted weeks. I quickly learned that not all hardwoods are created equal when it comes to moisture resistance and durability in high-traffic, high-spill environments. My contractor initially steered me toward traditional oak, but my research led me to consider harder, more stable species like hickory and maple. After examining samples and reading countless reviews, I settled on white oak, which offers excellent durability and naturally contains tyloses that help resist moisture penetration.
The Janka hardness scale became my best friend during the selection process. I needed something that could handle dropped pots, sliding chairs, and the constant foot traffic that kitchens endure. White oak’s rating of 1,360 pounds of force struck the perfect balance between durability and workability. I visited showrooms with my kids in tow, actually testing how different species looked with inevitable crayon marks and juice spills. The tight grain pattern of white oak proved excellent at hiding minor scratches and imperfections that would be glaringly obvious on softer woods like pine or cherry.
Quarter-sawn boards became my unexpected choice after learning about their superior stability compared to plain-sawn lumber. The vertical grain orientation makes them less likely to cup or warp when exposed to moisture, a crucial consideration for kitchen applications. While quarter-sawn boards cost about 20% more than plain-sawn, the long-term performance benefits convinced me the investment was worthwhile. The unique grain patterns also added visual interest that makes my kitchen floor a conversation starter rather than just a surface to walk on.
Moisture Protection and Sealing Strategies: My Defense System
Installing hardwood in a kitchen required a comprehensive moisture management strategy that went far beyond just applying a polyurethane finish. I learned that moisture protection starts with the subfloor and extends through every aspect of installation and maintenance. My contractor installed a moisture barrier under the hardwood, and we used a moisture meter to verify that the concrete subfloor was adequately dry before beginning installation. This extra step added cost but provided peace of mind that prevents costly problems later.
The finish selection became crucial for creating a protective barrier against inevitable spills and splashes. I chose a high-quality water-based polyurethane finish with multiple coats, prioritizing durability over the deeper amber tones that oil-based finishes provide. The water-based finish maintains the natural color of the wood while providing excellent protection against moisture penetration. I applied five coats instead of the typical three, with light sanding between each coat to ensure proper adhesion and maximum protection.
Edge sealing required special attention around appliances, cabinets, and island bases where moisture exposure risks are highest. I used flexible caulk that matches the wood color to seal gaps where water might otherwise penetrate. Under the dishwasher and sink areas, I applied additional coats of polyurethane and used waterproof wood glue on all joints. These extra precautions have proven worthwhile, as I’ve had no moisture-related issues despite several significant spills and a dishwasher leak that could have been disastrous without proper preparation.
Installation Challenges and Professional vs. DIY: Learning From My Mistakes
I initially planned to install the kitchen hardwood myself, having completed floors in other rooms. However, the kitchen presented unique challenges that tested my skills and patience beyond their limits. The multiple angles around appliances, precise cuts needed for cabinet toe kicks, and coordination required with other trades convinced me to hire professionals for the installation while handling the finishing work myself. This hybrid approach saved money while ensuring critical installation steps were done correctly.
Acclimation became more critical in the kitchen than in other rooms due to temperature and humidity variations from cooking activities. I stored the hardwood in my kitchen for two full weeks before installation, allowing it to adjust to the specific conditions it would face. The professional installers confirmed this was crucial, as wood that hasn’t properly acclimated can develop gaps or buckling after installation. I learned that patience during acclimation prevents expensive problems that can occur months after installation is complete.
The transition strips and thresholds required more planning than I anticipated. Creating smooth transitions between the kitchen hardwood and adjacent tile or carpet while maintaining proper expansion gaps demanded precision that exceeded my DIY capabilities. The professionals used custom transition pieces that perfectly matched the hardwood color and grain pattern, creating seamless flows between rooms. These details make the difference between a DIY project that looks homemade and one that appears professionally installed throughout the entire home.
Daily Maintenance and Cleaning Realities: What Actually Works
Living with hardwood in my kitchen for three years has taught me the reality of daily maintenance requirements. The key is developing habits that prevent problems rather than trying to fix damage after it occurs. I keep microfiber slippers by the kitchen entrance for quick spill cleanup and maintain several dry towels in strategic locations for immediate response to water splashes. These simple preparations have prevented countless potential water stains and damage incidents that could have been costly to repair.
My cleaning routine evolved through trial and error to find products and methods that maintain the floor’s beauty without causing damage. I discovered that pH-neutral hardwood cleaners work best for weekly maintenance, avoiding harsh chemicals that can dull the finish over time. Daily sweeping with a soft-bristled broom removes grit that could scratch the surface, and I use a barely damp mop for deeper cleaning when needed. The key is never allowing standing water to remain on the surface for more than a few minutes.
Preventive maintenance became more important than corrective measures in preserving my kitchen hardwood. I refinished high-traffic areas every two years instead of waiting for obvious wear to appear. This proactive approach maintains the protective finish before moisture can penetrate to the wood itself. I also learned to address scratches and dents immediately with touch-up markers and wood filler, preventing minor imperfections from becoming major problems that require professional refinishing.

Temperature and Humidity Control: Managing the Kitchen Environment
Kitchen environments present unique challenges for hardwood flooring due to constant temperature and humidity fluctuations from cooking activities. I installed a whole-house humidity control system after experiencing minor seasonal gaps in my first winter with the new floor. Maintaining relative humidity between 30-50% year-round prevents the wood from expanding and contracting excessively, which can cause gaps, cupping, or crowning that affect both appearance and performance.
Ventilation became crucial for managing cooking-related moisture and preventing condensation that could damage the wood finish. I upgraded my range hood to a more powerful model that effectively removes steam and cooking vapors before they can settle on the floor. Running exhaust fans during and after cooking activities helps maintain stable humidity levels that protect the hardwood investment. These environmental controls require ongoing attention but prevent expensive flooring problems.
Seasonal adjustments to heating and cooling systems help maintain optimal conditions for hardwood flooring performance. I learned to gradually adjust temperatures rather than making dramatic changes that shock the wood into rapid expansion or contraction. During humid summer months, I run the air conditioning more consistently to prevent excessive moisture buildup. In winter, I use a humidifier to prevent the wood from becoming too dry and developing gaps or cracks that compromise the floor’s integrity.
Cost Analysis and Long-term Value: Investment Perspective
The total investment for my kitchen hardwood flooring project came to approximately $12 per square foot, including materials, professional installation, and multiple finish coats. This positioned it at the higher end of flooring options, but competitive with high-end tile or natural stone. When I calculated the cost over the floor’s expected 20-30 year lifespan, the annual cost became quite reasonable compared to replacing other flooring materials multiple times over the same period.
Maintenance costs proved higher than anticipated but manageable with proper planning. Annual deep cleaning and touch-up work costs about $200 for my 300-square-foot kitchen, while major refinishing every 5-7 years runs approximately $1,000. These ongoing expenses are offset by the floor’s durability and the fact that it can be refinished multiple times rather than requiring complete replacement like other flooring materials. The ability to restore hardwood to like-new condition extends its usable life significantly.
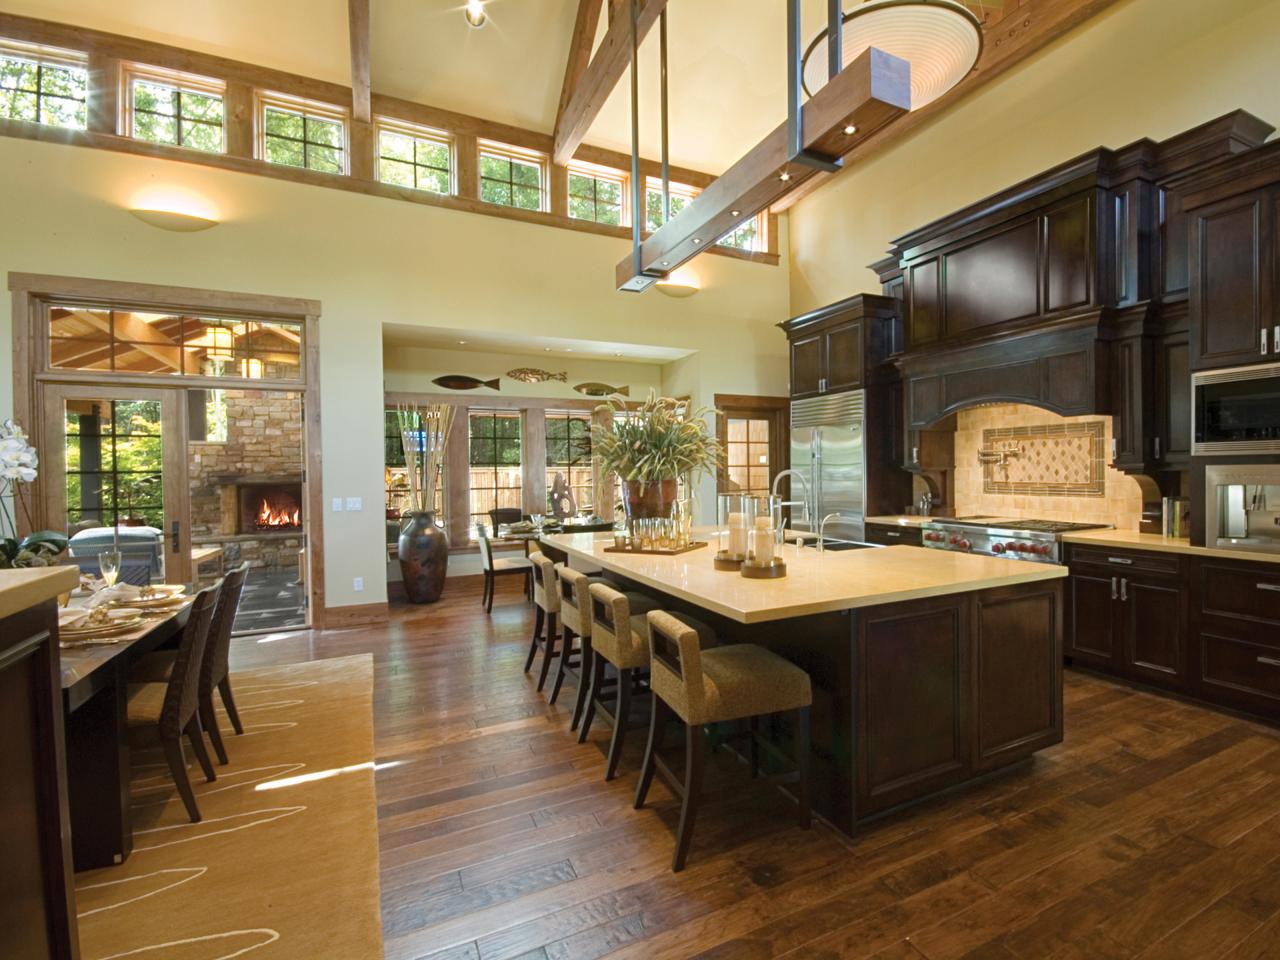
Resale value considerations played a role in my decision, as hardwood flooring consistently ranks among the top home improvements for return on investment. Real estate agents confirmed that hardwood floors, including in kitchens, appeal to most buyers and can justify higher asking prices. The seamless flow from kitchen to adjacent living spaces creates an open, spacious feeling that enhances the entire home’s perceived value. Three years later, I’m confident this investment will pay dividends when I eventually sell.

Design Integration and Aesthetic Impact: Creating Kitchen Harmony
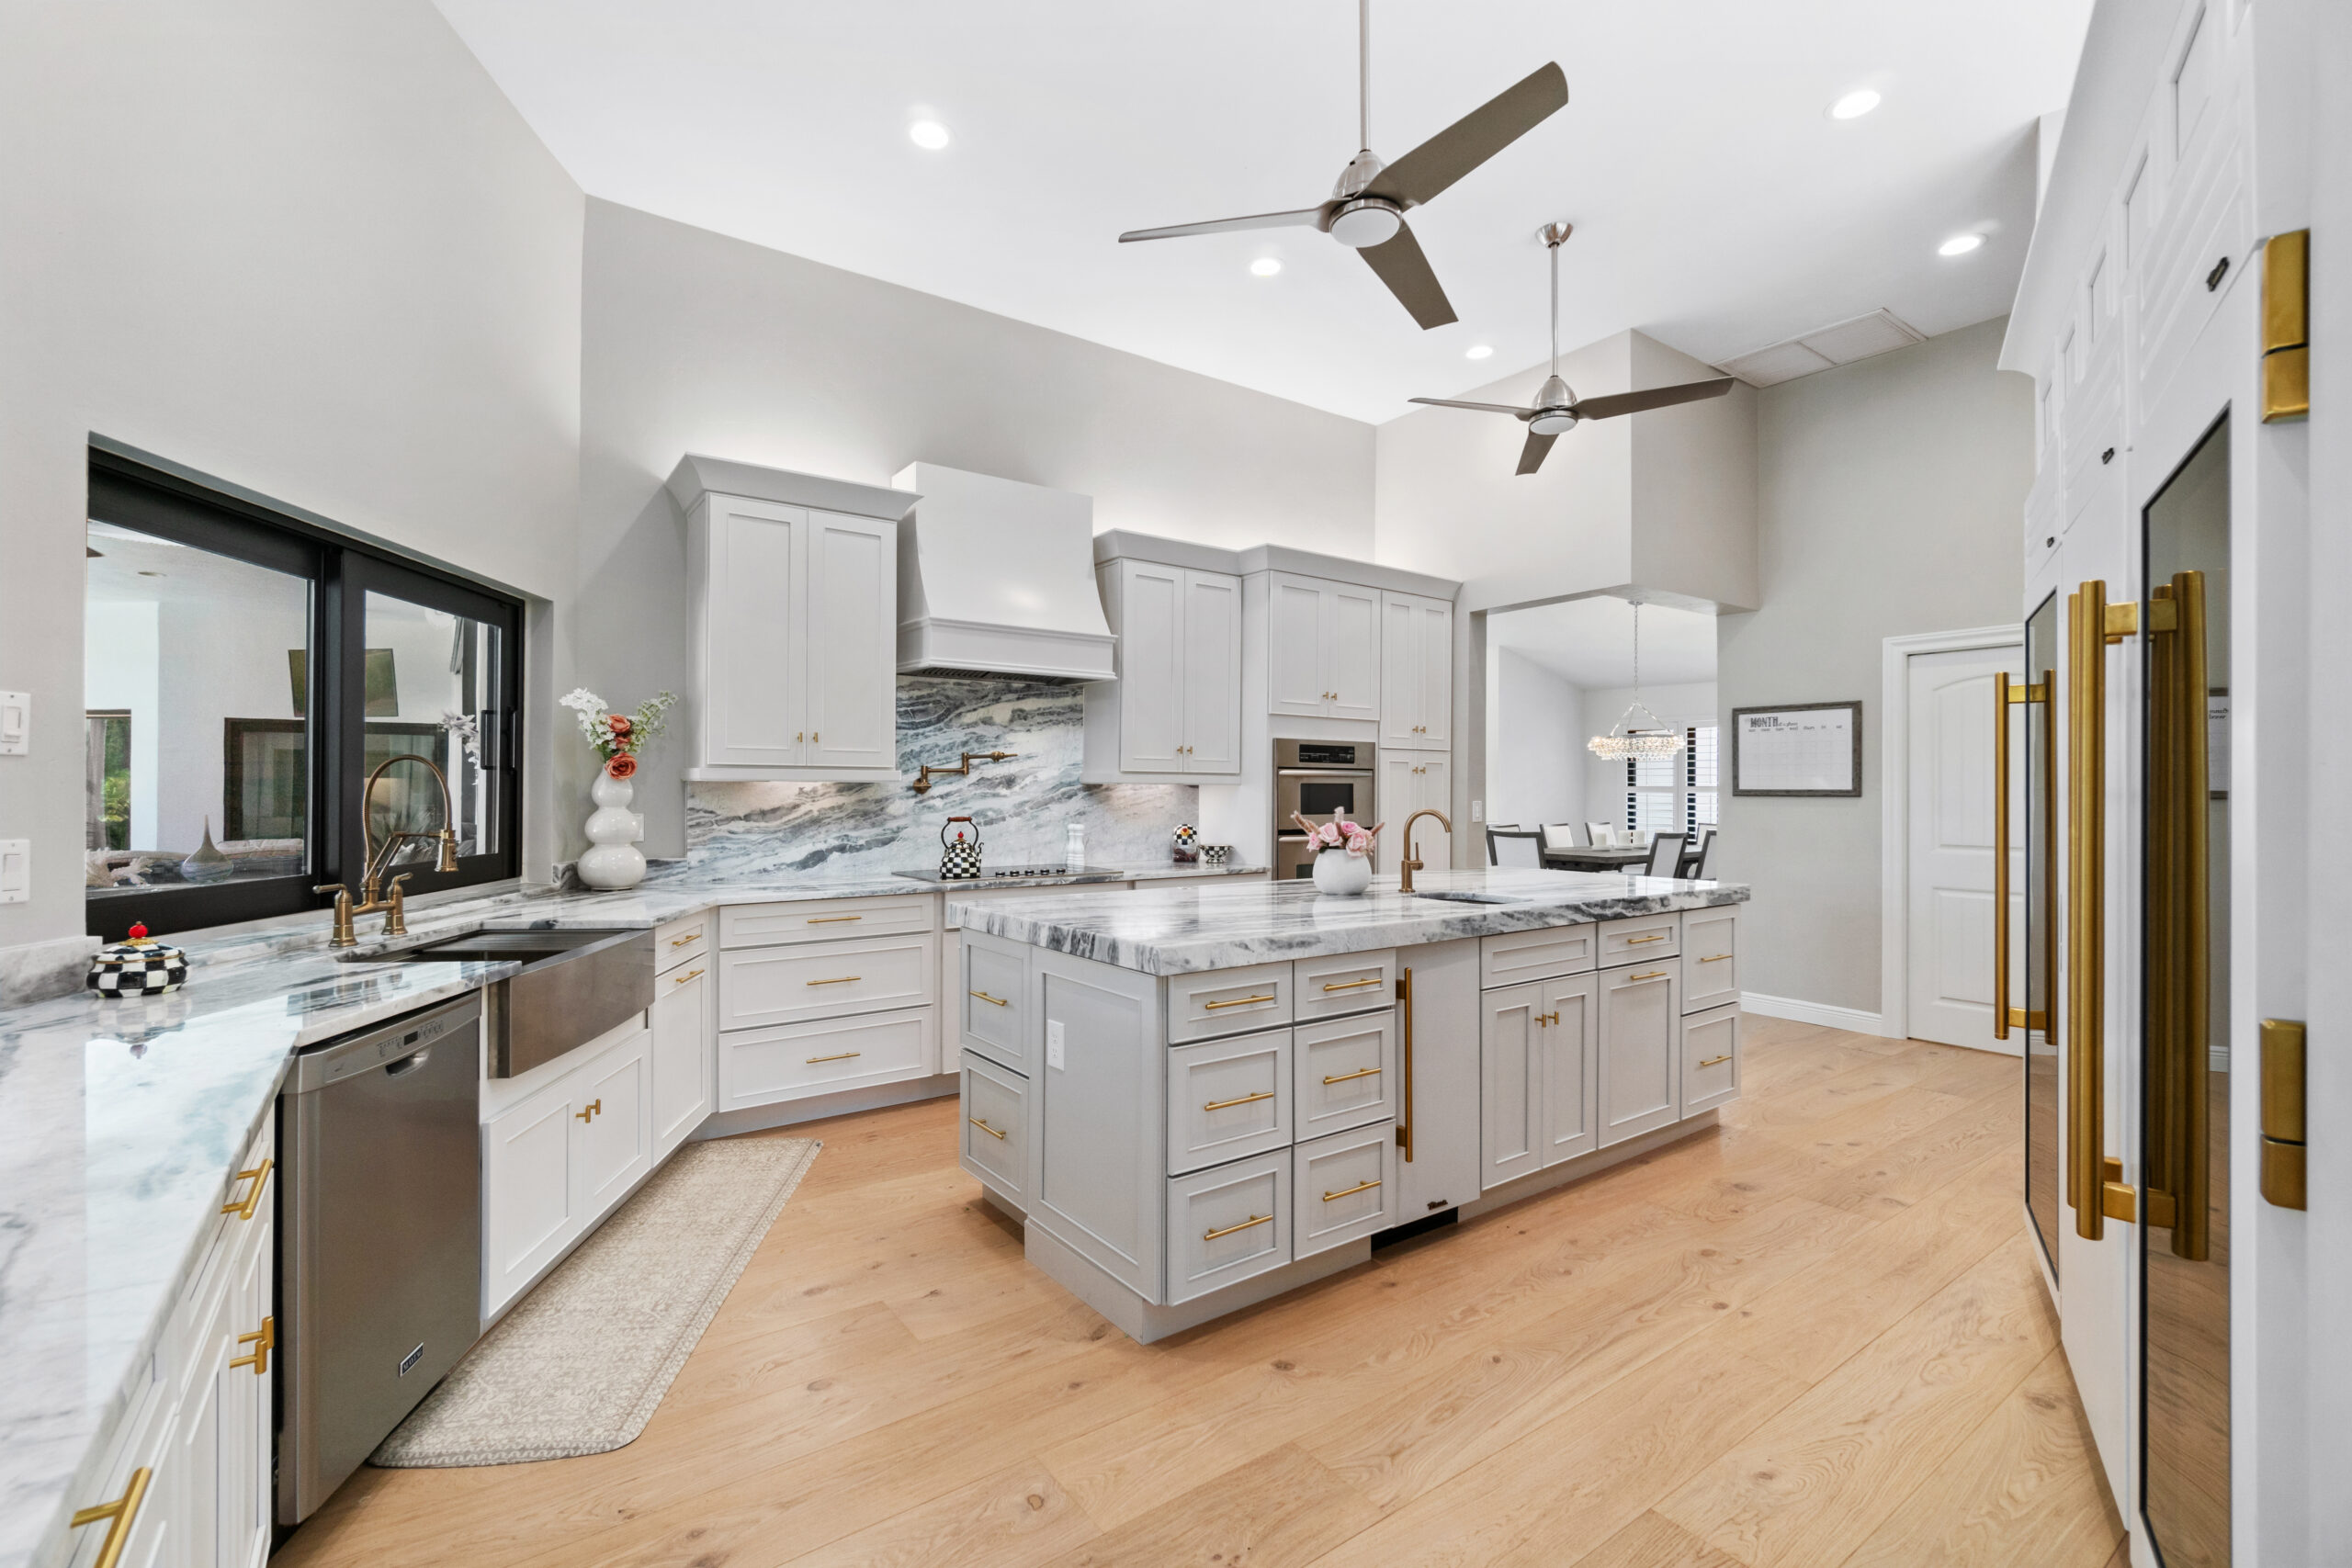
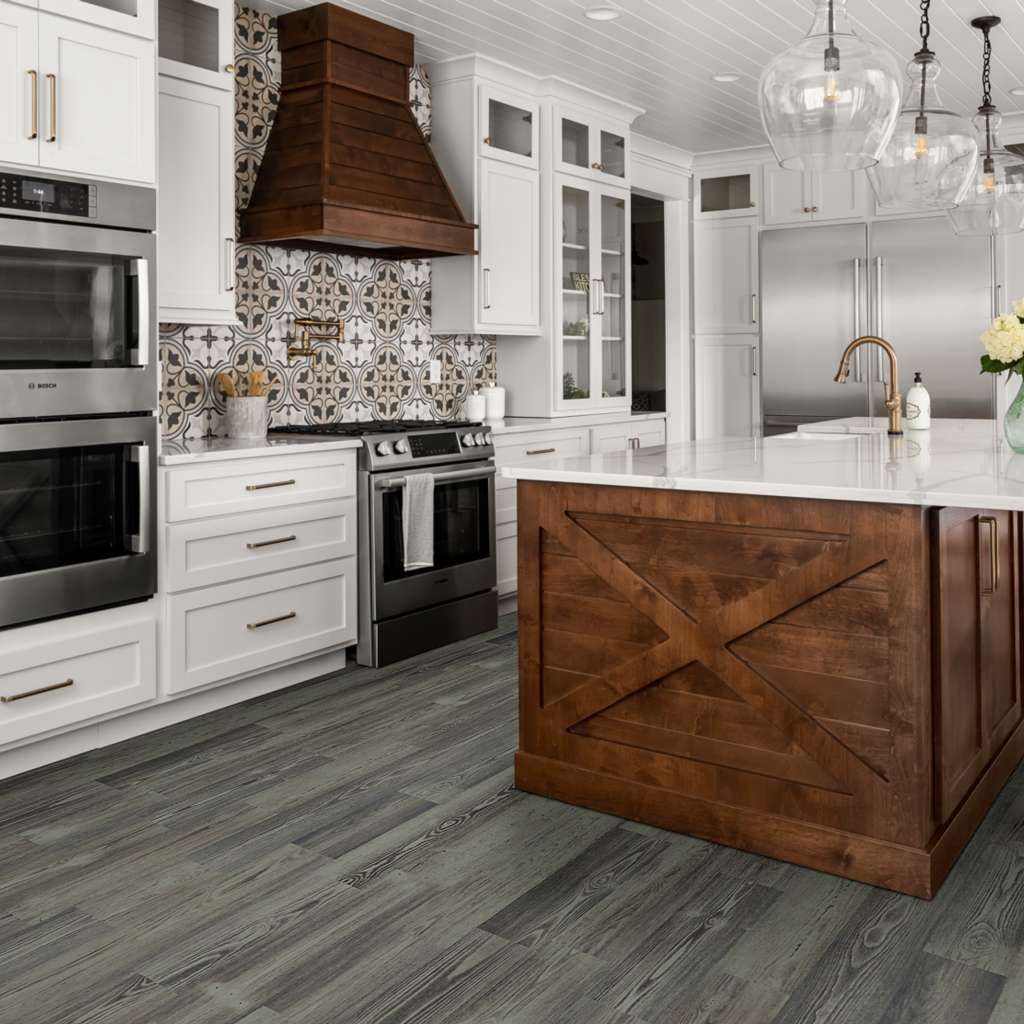
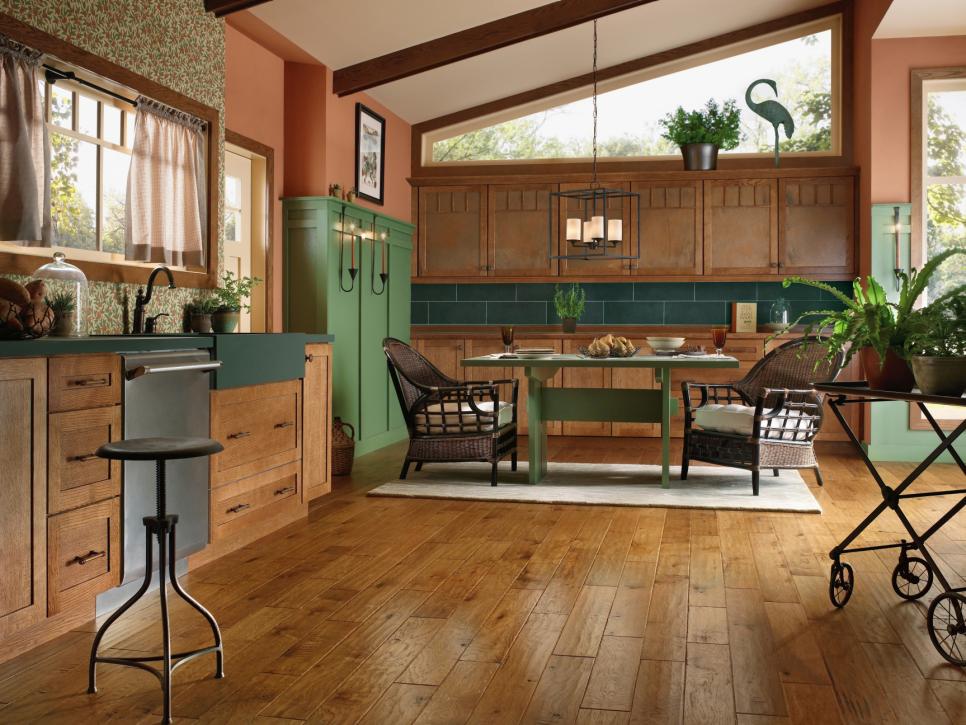
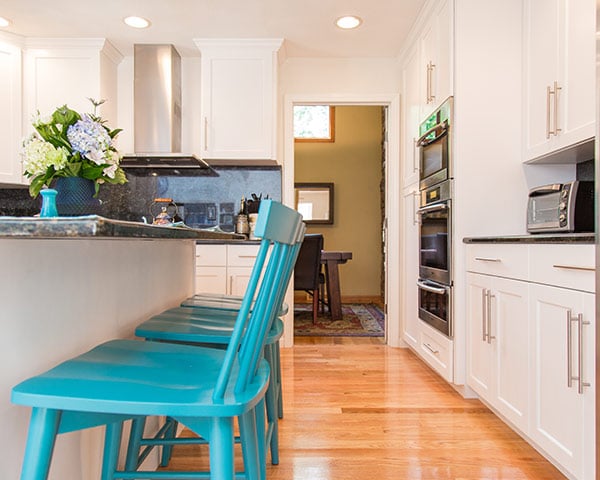
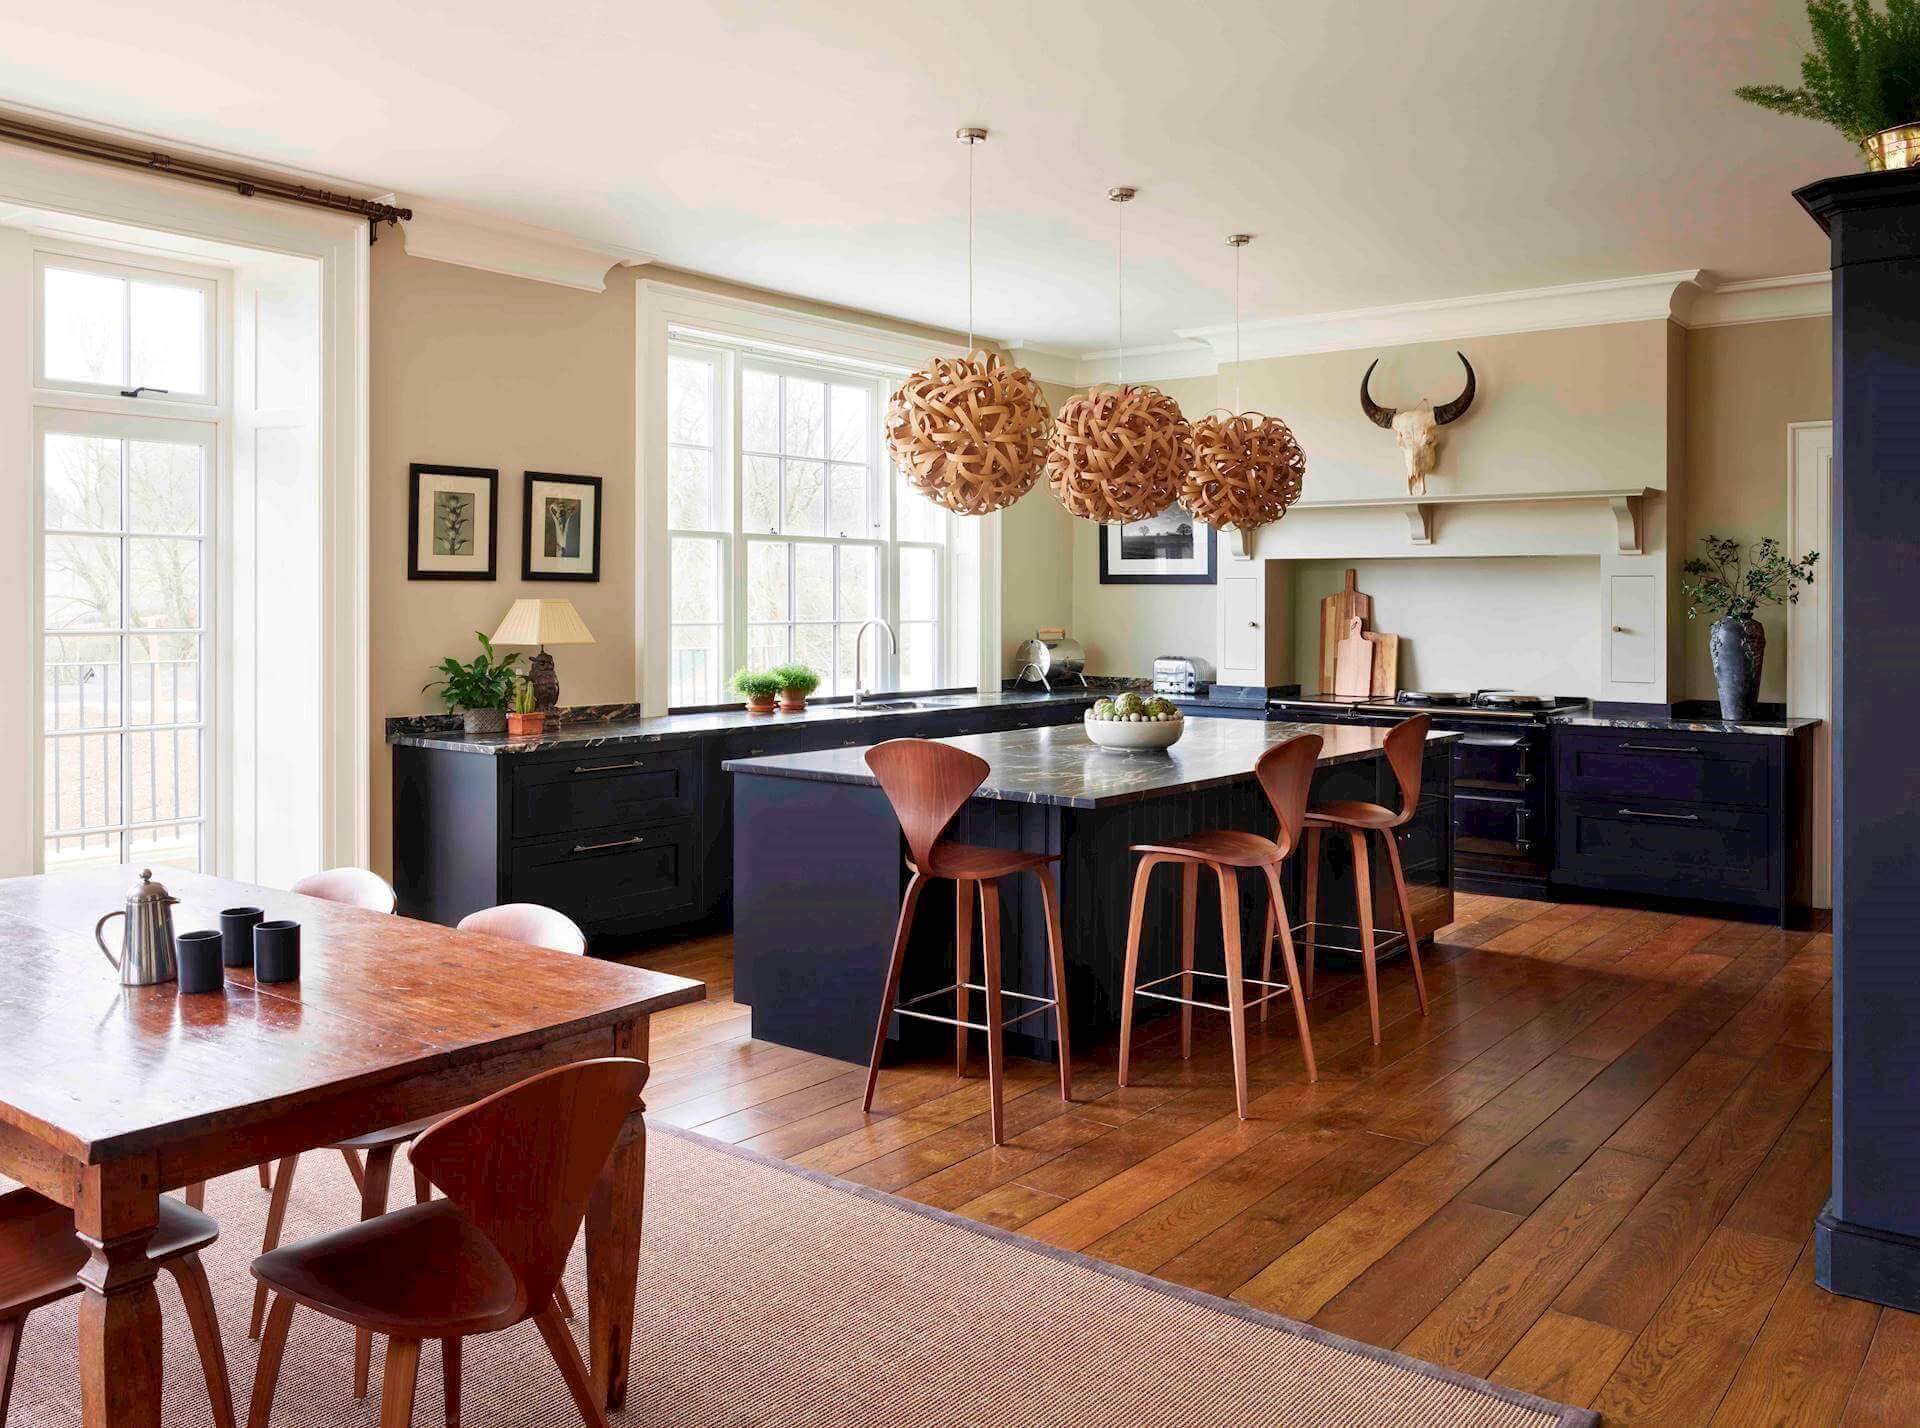
Integrating hardwood flooring with my existing kitchen design required careful consideration of cabinet colors, countertop materials, and overall aesthetic goals. The warm tones of white oak complement both light and dark cabinetry, but I learned that the specific stain color dramatically affects the room’s overall appearance. I chose a medium brown stain that bridges the gap between my espresso cabinets and granite countertops, creating visual cohesion throughout the space.
The grain pattern direction became an important design element that affects how the space feels and flows. I installed the planks parallel to the longest wall, which makes the kitchen appear larger and creates natural sight lines that draw the eye through the space. This orientation also minimizes visible seams and creates a more unified appearance when viewed from adjacent rooms. The decision to use wider planks (5 inches) instead of standard 3-inch boards adds to the spacious feeling and reduces the number of seams.
Color coordination with adjoining rooms required sampling different stain options under various lighting conditions throughout the day. Kitchen lighting changes dramatically from morning natural light to evening task lighting, and I wanted the floor color to look consistent and attractive under all conditions. I ultimately chose a stain that appears slightly darker in bright light and warmer under artificial lighting, creating the perfect balance for a room that serves multiple functions throughout the day.

How do you handle water spills and cooking accidents on hardwood kitchen floors?
Immediate cleanup is crucial – I keep towels handy and wipe up spills within minutes. For cooking spills, I clean with appropriate cleaners, then dry thoroughly. The multiple polyurethane coats I applied provide excellent protection, but standing water still poses risks. I’ve learned that a quick response prevents 99% of potential damage from everyday kitchen accidents.
Is refinishing kitchen hardwood more difficult than other rooms due to appliances?
Yes, it’s more complex but manageable. I’ve had mine refinished once in three years, which required moving the refrigerator and disconnecting the dishwasher. The process took an extra day due to working around fixed appliances, and cost about 25% more than standard room refinishing. Planning and coordinating with appliance service helps minimize disruption.
How does kitchen hardwood hold up to heavy foot traffic and dropped items?
White oak has performed excellently under heavy use. I’ve dropped pots, pans, and kitchen tools with minimal visible damage thanks to the wood’s hardness rating. High-traffic areas show subtle wear patterns after three years, but the grain pattern helps hide minor scratches. The key is choosing appropriately hard species and maintaining proper finish protection.
What’s the biggest maintenance mistake people make with kitchen hardwood?
Using too much water during cleaning is the most common error I see friends make. Even “hardwood-safe” cleaners can cause damage if used excessively wet. I use barely damp mopping and dry the surface immediately. Also, many people wait too long between refinishing coats, allowing wear to penetrate the wood rather than just affecting the protective finish.

Can you install hardwood over existing kitchen flooring to save money?
This depends on what’s underneath and height considerations. I removed old vinyl to ensure proper adhesion and avoid height issues with appliances and transitions. Installing over existing flooring can create problems with door clearances and appliance fit. The cost savings rarely justify the potential problems, especially in a moisture-prone environment like kitchens.
How do you prevent scratches from bar stools and kitchen chairs?
Furniture pads are essential – I replace them every few months as they wear down. For frequently moved items like bar stools, I use high-quality felt pads designed for hardwood. I also taught my family to lift rather than drag chairs. The investment in good furniture protection pays for itself by preventing expensive refinishing needs from preventable scratches and gouges.

Pros & Cons of Hardwood Flooring in the Kitchen
Hardwood Flooring for Your Kitchen
What is the Best Hardwood Flooring for Kitchens and Why
Related Posts: