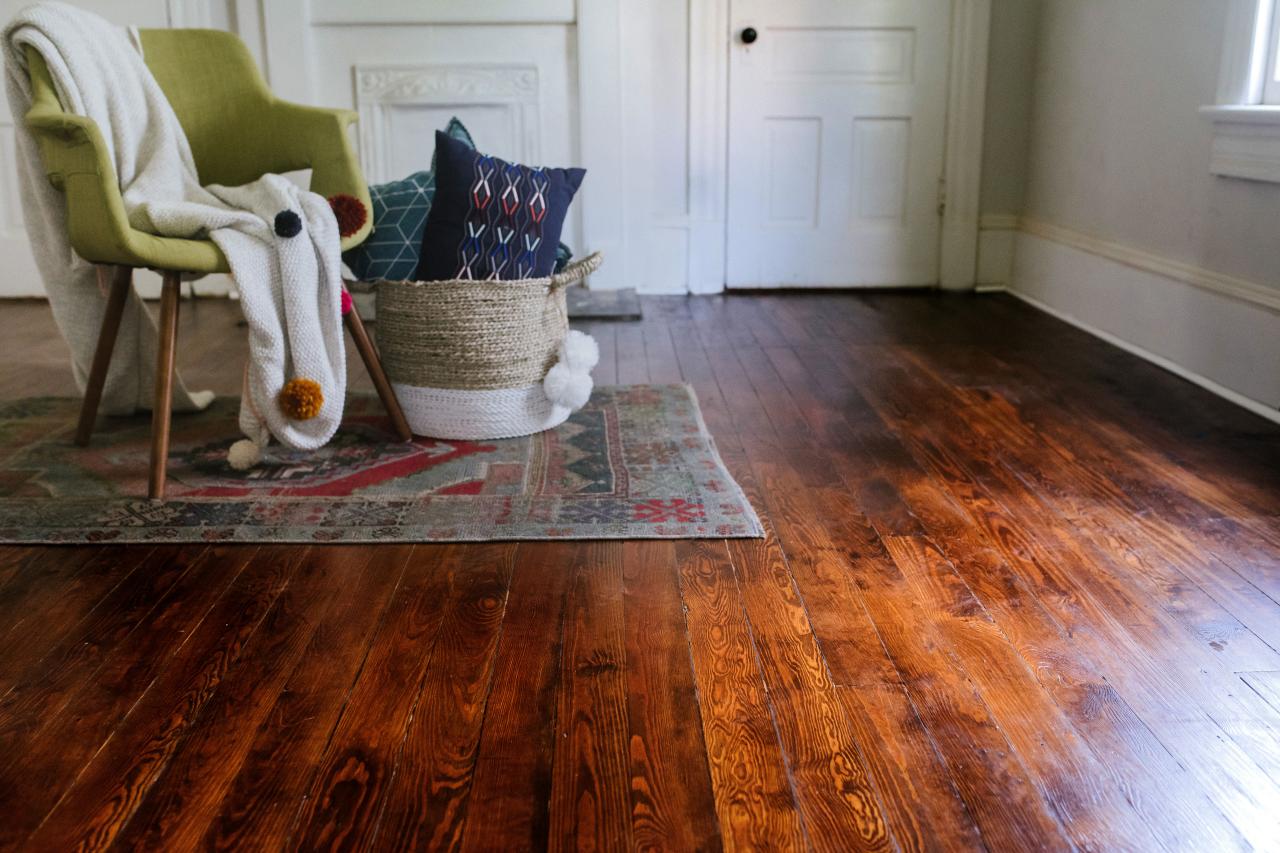
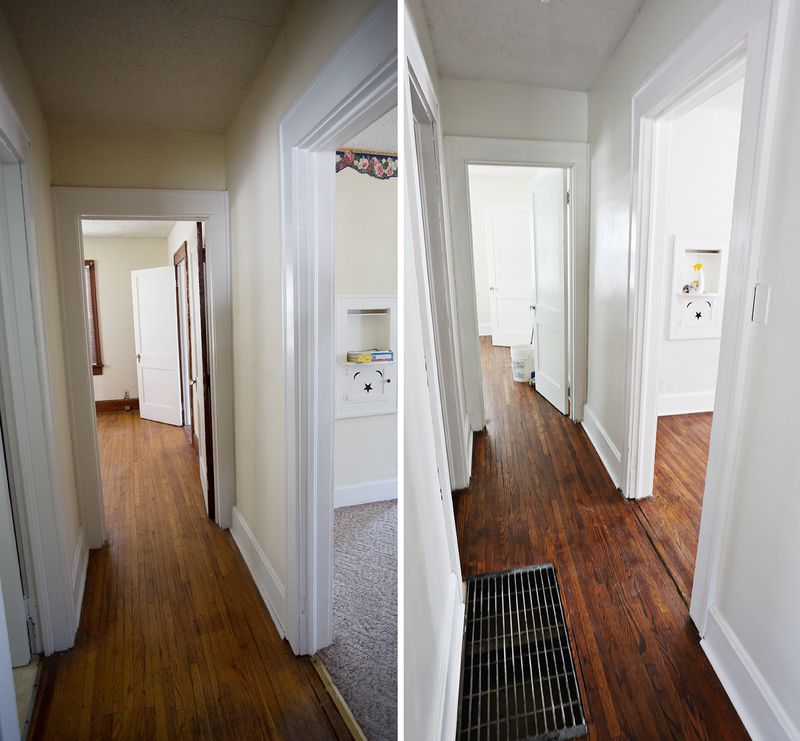
When I bought my 1920s colonial two years ago, I fell in love with the original hardwood floors that ran throughout the main level, but decades of neglect had left them looking absolutely terrible. The once-beautiful oak planks were hidden under layers of dark, worn finish, scattered with scratches, water stains, and areas where the wood had actually turned gray from age and moisture damage. Everyone told me to just cover them with carpet or luxury vinyl, but something about those wide-plank floors called to me. I decided to tackle refinishing them myself, partly to save money but mostly because I wanted to be the one to restore their original beauty. What followed was three months of backbreaking work, countless mistakes, and moments when I questioned my sanity, but the final results transformed not just my floors but my entire home’s character and value.
Assessing the Damage: When I Knew My Floors Could Be Saved
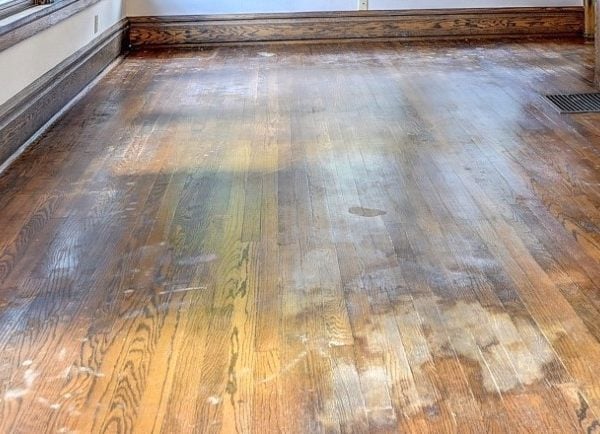
The first step in my refinishing journey was honestly evaluating whether my floors were worth saving or if I should just replace them entirely. I spent hours on my hands and knees examining every plank, looking for signs of structural damage, rot, or wear that had gone too deep into the wood. The good news was that most of the damage was superficial, years of accumulated scratches, stains, and worn finish that could be sanded away. The bad news was discovering several boards with deeper gouges and a few areas where pet stains had actually penetrated the wood grain.
I learned to test the wood’s condition by trying to sand a small, inconspicuous area by hand. If gentle sanding revealed fresh, clean wood underneath the dark surface staining, I knew that area would refinish beautifully. Areas where the wood remained discolored even after sanding indicated deeper damage that would require more aggressive treatment or possibly board replacement. This testing phase took several weekends, but it saved me from starting a project that couldn’t deliver the results I was hoping for.
The structural assessment involved checking for loose boards, squeaks, and gaps between planks. I found that most of my issues were cosmetic, but I did discover a few loose boards near the kitchen that needed re-nailing before refinishing could begin. I also measured the thickness of the existing wood to ensure there was enough material for proper sanding. My floors had been refinished at least once before, but there was still plenty of wood remaining for a complete restoration project.
Planning and Preparation: The Foundation of Success
Once I committed to the refinishing project, planning became crucial for managing the disruption to my daily life. I realized I’d need to move out of the affected rooms for at least a week during sanding and finishing, so I arranged to stay with family and planned the project during a time when I could handle the inconvenience. I also had to coordinate the rental of professional sanding equipment, which required booking well in advance and planning around availability.
The preparation phase involved much more than just moving furniture out of the rooms. I had to remove all trim and baseboards carefully to avoid damage, since I planned to reinstall them after refinishing. I also needed to seal off the work areas from the rest of the house to control dust, which meant plastic sheeting and tape around doorways and heating vents. This step proved absolutely crucial, as hardwood sanding creates an incredible amount of fine dust that gets into everything.
Material selection required extensive research and multiple trips to flooring suppliers. I needed to choose the right sandpaper grits for each stage of the process, select an appropriate stain color that would complement my home’s style, and pick a polyurethane finish that would provide the durability I needed. I ended up purchasing far more supplies than I initially estimated, including extra sandpaper, multiple stain samples, brushes, rollers, and safety equipment. The total material cost was around $800 for 1,200 square feet of flooring.
The Sanding Marathon: My Three-Week Battle with Dust and Noise
Sanding turned out to be the most physically demanding part of the entire project, and it took much longer than I had anticipated. I rented a drum sander for the main areas and an edge sander for corners and tight spaces, both of which required learning curves that cost me time and created some mistakes early in the process. The drum sander was particularly challenging to control, as it removes wood very quickly and can create gouges or uneven spots if you’re not careful with your technique.
I started with 40-grit paper to remove the old finish and level any uneven areas, then progressed through 60-grit, 80-grit, and finally 120-grit for the smooth surface needed for staining. Each grit required multiple passes over the entire floor area, working systematically to ensure even coverage and consistent results. The edge sander was even more tedious, as it required hand-guiding along all the perimeter areas where the drum sander couldn’t reach effectively.
The dust control battle was constant and exhausting. Despite my plastic sheeting and the sander’s dust collection systems, fine wood dust seemed to penetrate everywhere in my house. I went through dozens of dust masks and had to stop work several times to clean out the sanders’ dust bags and vacuum the surrounding areas. By the end of the sanding phase, I understood why most homeowners hire professionals for this step, as the physical demands and time requirements were much greater than I had anticipated.
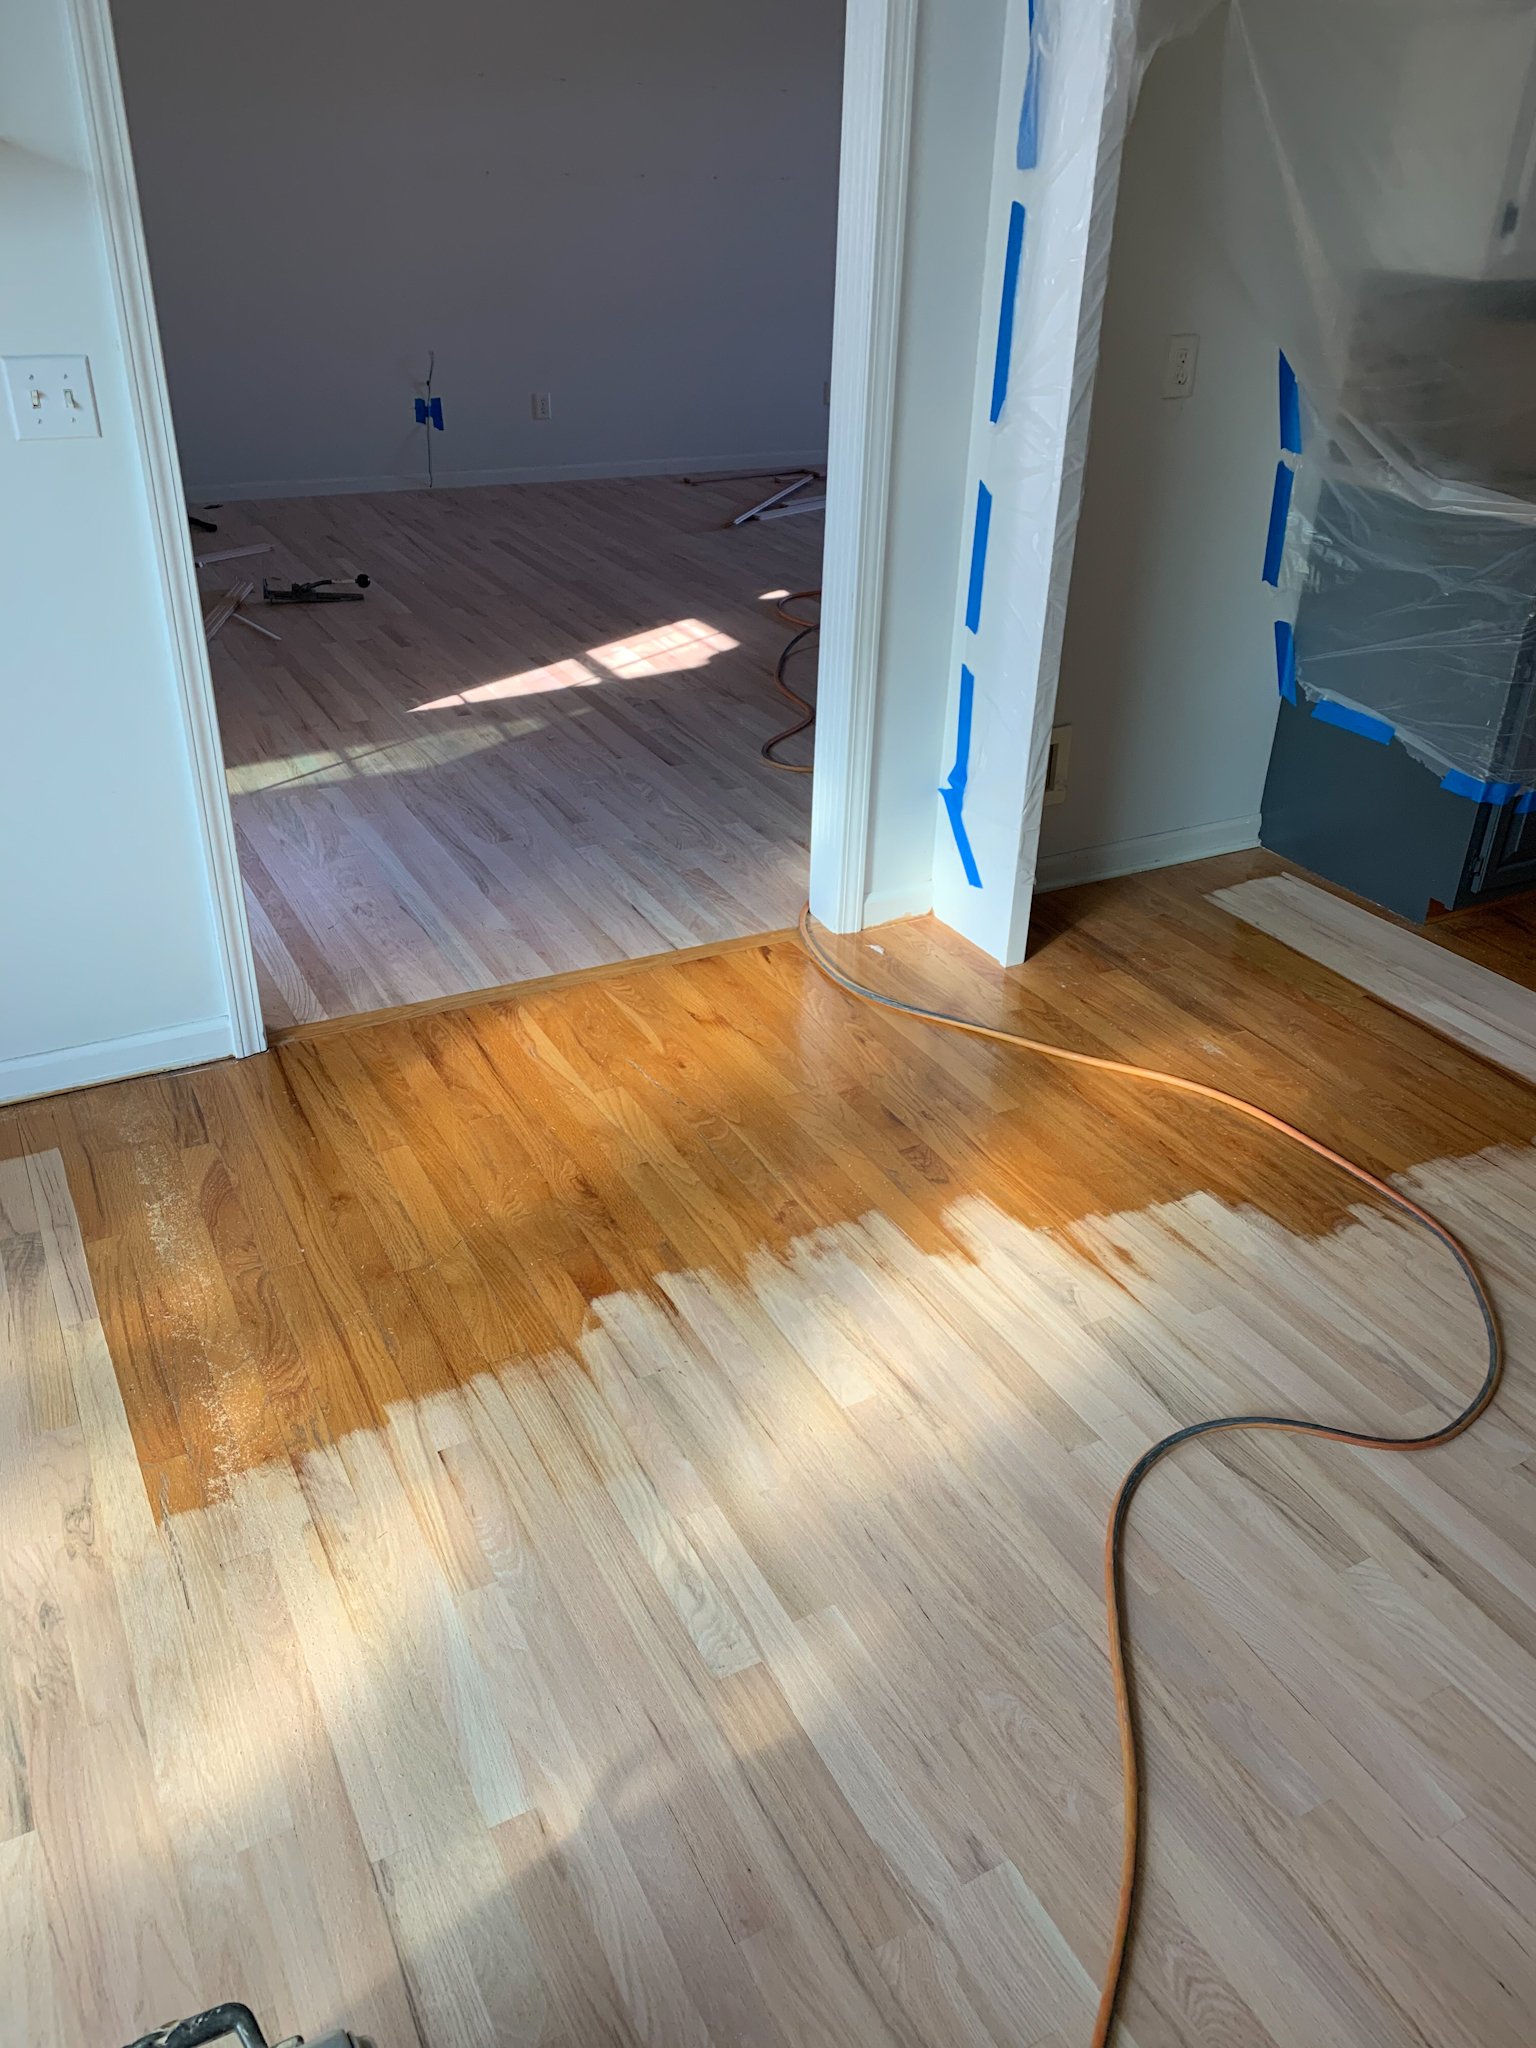
Staining Decisions: Finding the Perfect Color Match
Choosing the right stain color became an unexpectedly complex decision that involved much more testing and experimentation than I had planned for. I started with the assumption that I wanted something close to the original color, but once the old finish was removed, the natural wood color was much lighter than I expected. I tested at least eight different stain colors on inconspicuous areas, allowing each to dry completely before making comparisons and final decisions.
The staining process itself required perfect timing and technique to achieve consistent results across the entire floor. I had to work in manageable sections, applying the stain evenly and wiping off excess before it could become tacky or uneven. Temperature and humidity affected how the stain penetrated and dried, so I had to monitor conditions carefully and adjust my technique accordingly. Some areas of the floor absorbed stain differently due to wood grain variations, requiring additional attention to achieve a uniform appearance.
I ultimately chose a medium walnut stain that enhanced the wood’s natural grain while providing the rich, warm color I wanted for my home’s traditional style. The staining phase took two full days, working carefully to maintain wet edges and consistent application patterns. I learned that rushing this step would show in the final results, so patience and attention to detail were essential for achieving the professional appearance I was hoping for throughout the project.
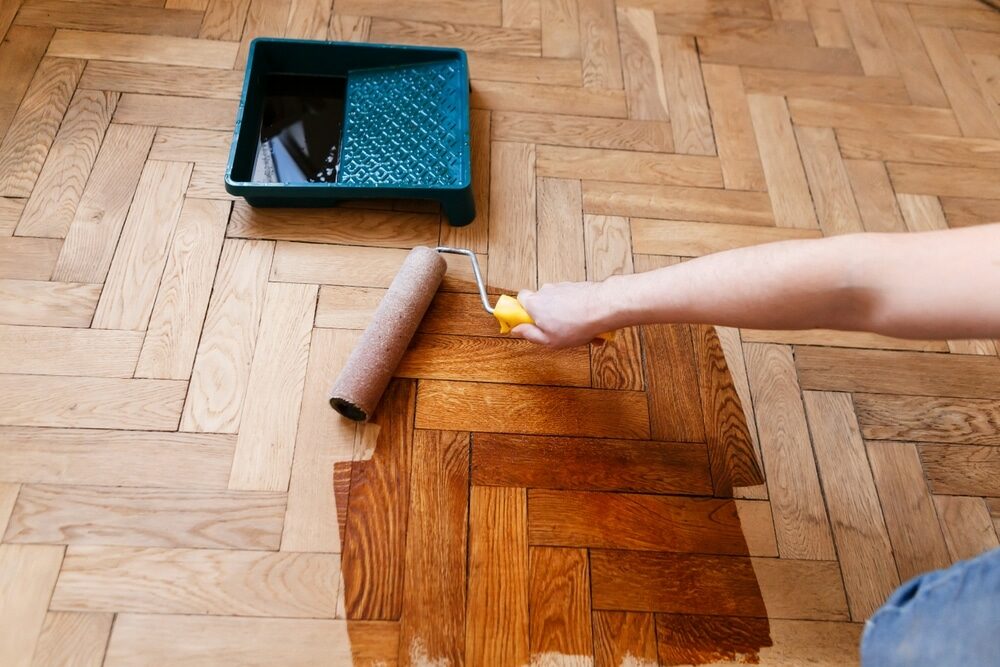
Applying the Finish: Protection and Beauty in Multiple Coats
The polyurethane finishing phase was both the most rewarding and nerve-wracking part of my refinishing project. After weeks of preparation and staining, I was finally applying the protective coating that would determine how my floors would look and perform for years to come. I chose a satin-finish polyurethane that would provide durability while maintaining the natural wood appearance I wanted. The application required three coats with light sanding between each coat for proper adhesion.
Temperature and humidity control became critical during the finishing phase, as these conditions directly affected how the polyurethane flowed and cured. I had to maintain consistent climate conditions for several days, which meant running dehumidifiers and managing ventilation carefully. Each coat required 24 hours to cure before the next application, and I had to keep dust and debris from settling on the wet finish. This meant closing off the rooms completely and avoiding any activities that might create airborne particles.
The final results exceeded my expectations, but the process taught me tremendous respect for professional floor finishers. Each coat had to be applied smoothly and evenly, with careful attention to brush marks and overlap patterns. I used a combination of brush and roller techniques, depending on the area and accessibility. The third and final coat created the smooth, durable surface that would protect my floors from daily wear while showcasing the beautiful wood grain and stain color I had worked so hard to achieve.
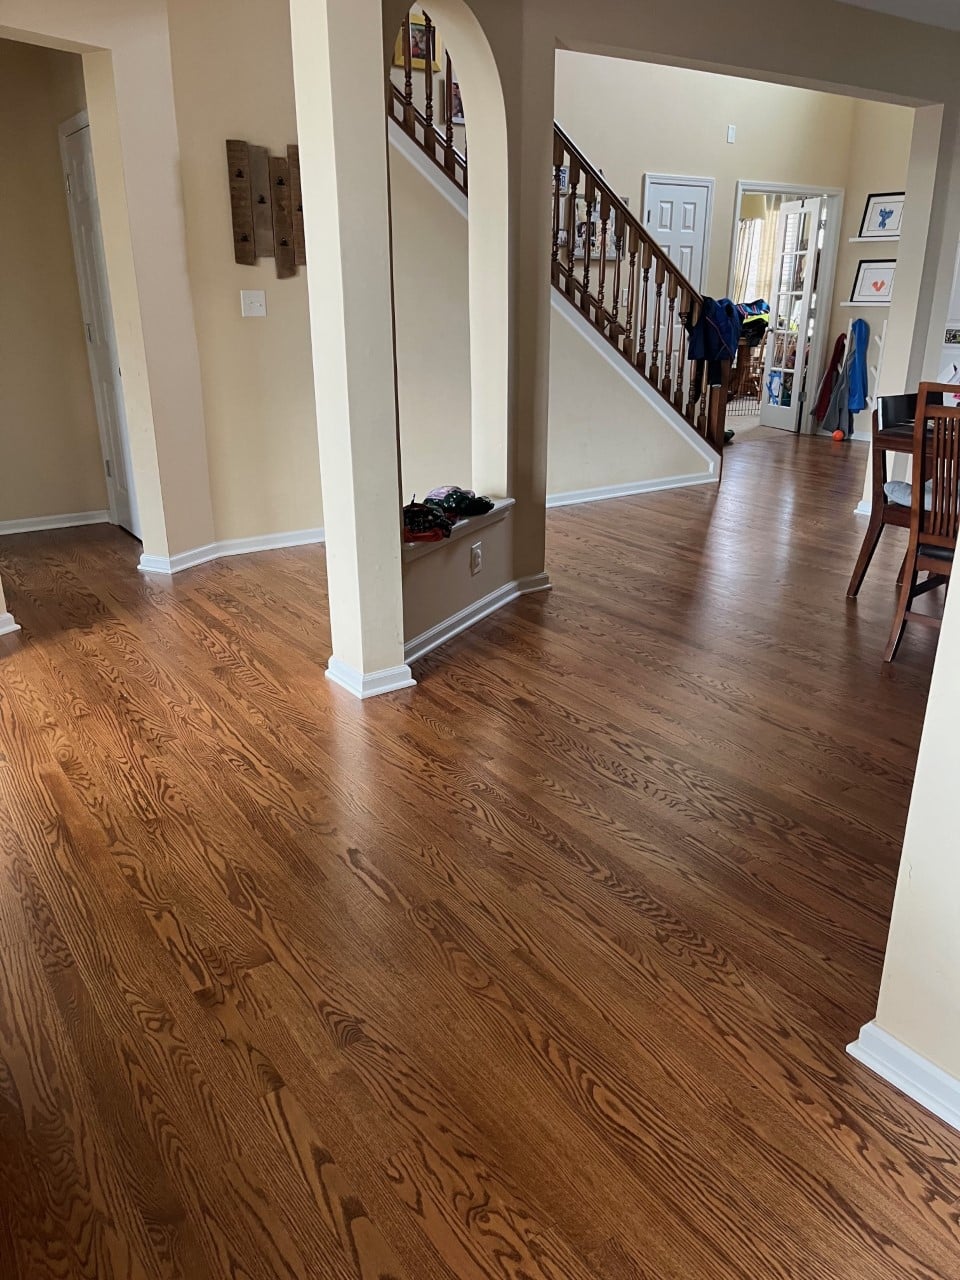
Living with the Results: Two Years of Real-World Performance
Two years after completing my hardwood floor refinishing project, I can honestly say it was one of the most challenging but rewarding home improvement projects I’ve ever undertaken. The floors have held up beautifully to daily family life, including kids, pets, and regular entertaining. The polyurethane finish has maintained its appearance well, showing only minor wear patterns in the highest traffic areas near doorways and the kitchen island. The stain color has remained consistent and rich, enhancing my home’s character exactly as I had hoped.
The maintenance routine has been much simpler than I anticipated during the stressful days of the refinishing process. Regular sweeping and occasional damp mopping with hardwood floor cleaner keep them looking great most of the time. I use furniture pads under all heavy pieces and area rugs in high-traffic zones to minimize wear. The floors have survived several minor spills and accidents without permanent damage, proving that the finishing work was done correctly and will provide years of protection.
The financial investment has proven worthwhile both in terms of personal satisfaction and home value. Professional refinishing quotes were in the $4,000-5,000 range for my square footage, while my DIY approach cost around $1,200 in materials and equipment rental. The time investment was substantial, nearly three months of weekend work, but the sense of accomplishment and the money saved made it worthwhile. Most importantly, I preserved the character and history of my home while creating beautiful, functional floors that I’m proud to show off to visitors.

How long does a complete hardwood floor refinishing project typically take for a DIY homeowner?
My 1,200 square feet took about three months of weekend work. Professional sanding took two weeks, staining was one weekend, and finishing required another week with cure time. Factor in preparation, cleanup, and learning curves. Professionals complete similar projects in 5-7 days, but DIY requires much more time for quality results.
What’s the realistic cost difference between DIY refinishing and hiring professionals?
I spent $1,200 on materials and equipment rental versus $4,000-5,000 for professional quotes. However, factor in your time value and physical demands. Mistakes can be expensive to fix. If you’re handy and have time, DIY saves money, but professionals deliver faster, guaranteed results with less disruption to your life.

Can floors that look completely ruined actually be refinished successfully?
Often, yes, if the damage is mostly surface-level. I test-sand inconspicuous areas first. If fresh wood appears after light sanding, refinishing will work. Deep scratches, pet stains, and worn finishes are usually fixable. However, structural damage, excessive thinning from previous refinishing, or extensive rot may require board replacement or complete floor replacement.
What’s the most challenging aspect of DIY hardwood floor refinishing?
Dust control and sanding technique were my biggest challenges. Drum sanders are powerful and unforgiving, creating permanent damage if used incorrectly. The dust penetrates everywhere despite precautions. Physical demands are intense. Many people underestimate the time, effort, and skill required for professional-quality results.
How do I know if my hardwood floors are good candidates for refinishing?
Check wood thickness, structural integrity, and damage depth. Floors can typically be refinished 7-10 times over their lifetime. Look for solid wood construction, adequate thickness remaining, and mostly surface-level damage. If boards are loose, extensively damaged, or engineered with thin wear layers, replacement might be necessary instead of refinishing.
What maintenance is required after refinishing to preserve the results?
Regular sweeping, damp mopping with hardwood cleaner, furniture pads, and area rugs in high-traffic zones. Avoid water standing on the surface and clean spills immediately. My floors look great after two years with basic maintenance. Expect to recoat every 5-7 years and fully refinish every 10-15 years, depending on traffic and care.
Refinish Wood Floors This Old House And Review

Hardwood floor refinishing in my vintage home

Refinishing Old Wood Floors Wood floor stain colors, Old wood

Related Posts: