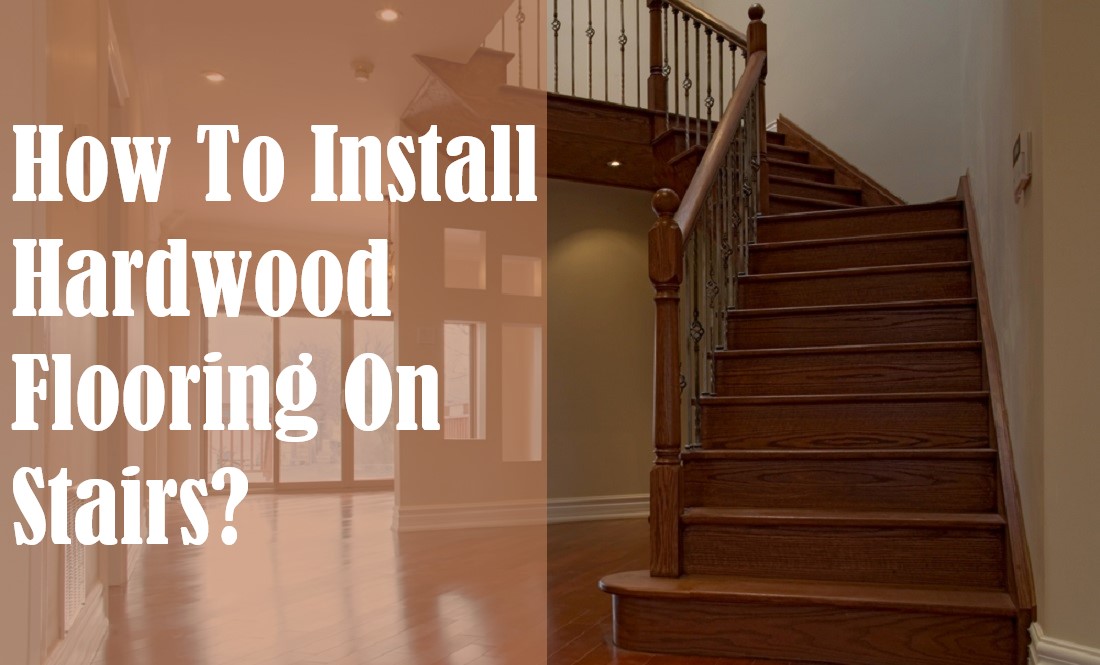
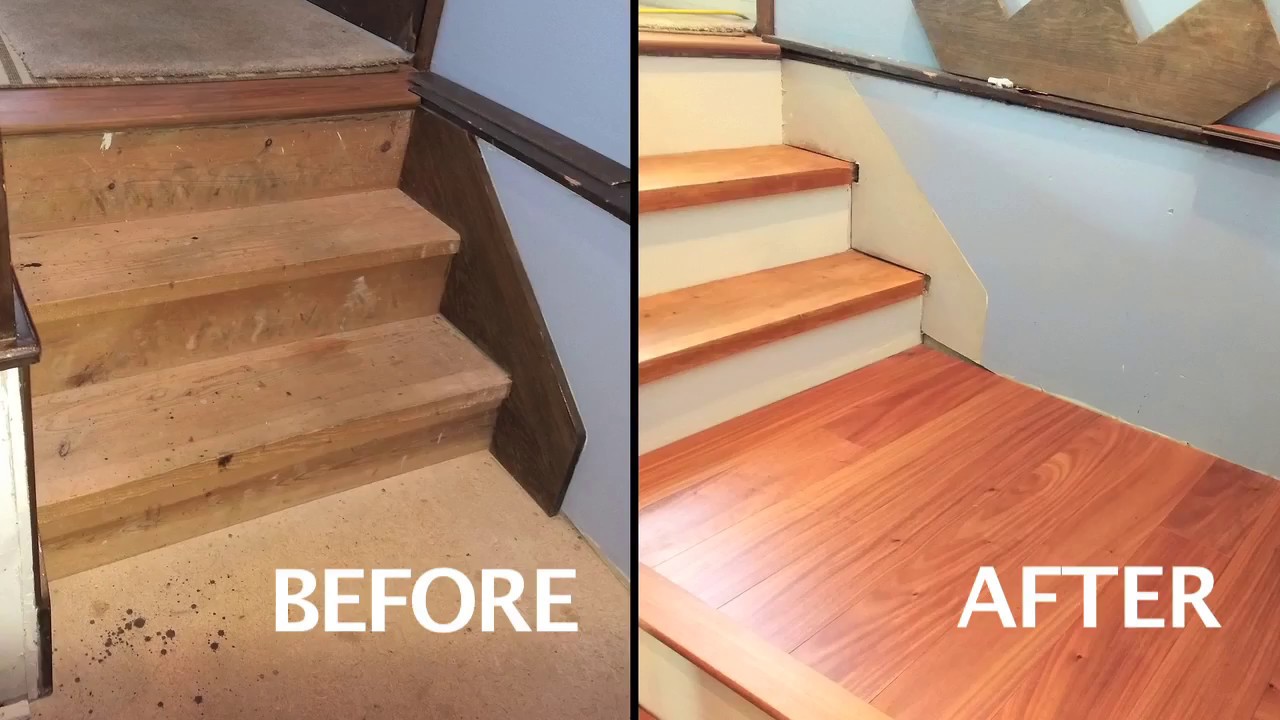
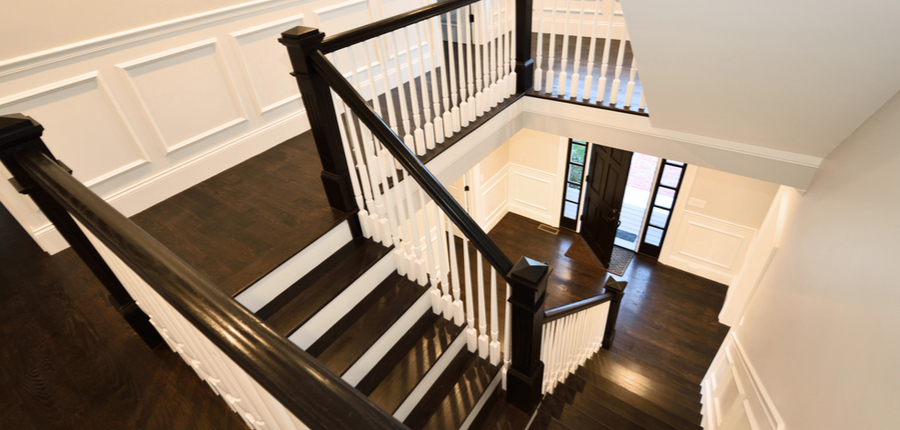
When I decided to replace the worn carpet on my staircase with hardwood flooring, I knew I was taking on a significant project. The stairs are the centerpiece of my home’s entryway, and I wanted them to make a statement while being durable enough for daily family traffic. After three years with my hardwood stairs, I can confidently say it was one of the best home improvements I’ve ever made.
The transformation was dramatic, the process was challenging but manageable, and the results have held up beautifully. Let me share everything I learned about choosing, installing, and maintaining hardwood flooring on stairs so you can avoid my mistakes and achieve stunning results.
Choosing the Right Hardwood Species for Stair Durability
Red oak became my choice after extensive research into wood hardness and durability. With a Janka hardness rating of 1290, red oak strikes the perfect balance between toughness and workability. My stairs endure constant foot traffic from my family of four plus our dog, and the red oak has held up remarkably well. The open grain pattern hides minor scratches better than smoother woods, a practical consideration I didn’t initially appreciate but now value tremendously.
I seriously considered white oak for its slightly higher hardness rating of 1360 and tighter grain pattern. The samples I brought home were beautiful, with a more refined, contemporary appearance.
However, my installer advised that for traditional homes like mine, red oak’s warmer tones and classic character would age better aesthetically. He was right, the red oak complements my existing trim and feels timeless rather than trendy.
Maple was another contender with its impressive 1450 Janka rating, making it one of the hardest domestic hardwoods. I loved maple’s smooth, consistent grain and light color.
However, my contractor warned that maple’s density makes it more challenging to work with on stairs, where precise cuts and fits are critical. The extra labor costs and installation difficulty ultimately steered me toward red oak. For stairs, workability matters almost as much as hardness.
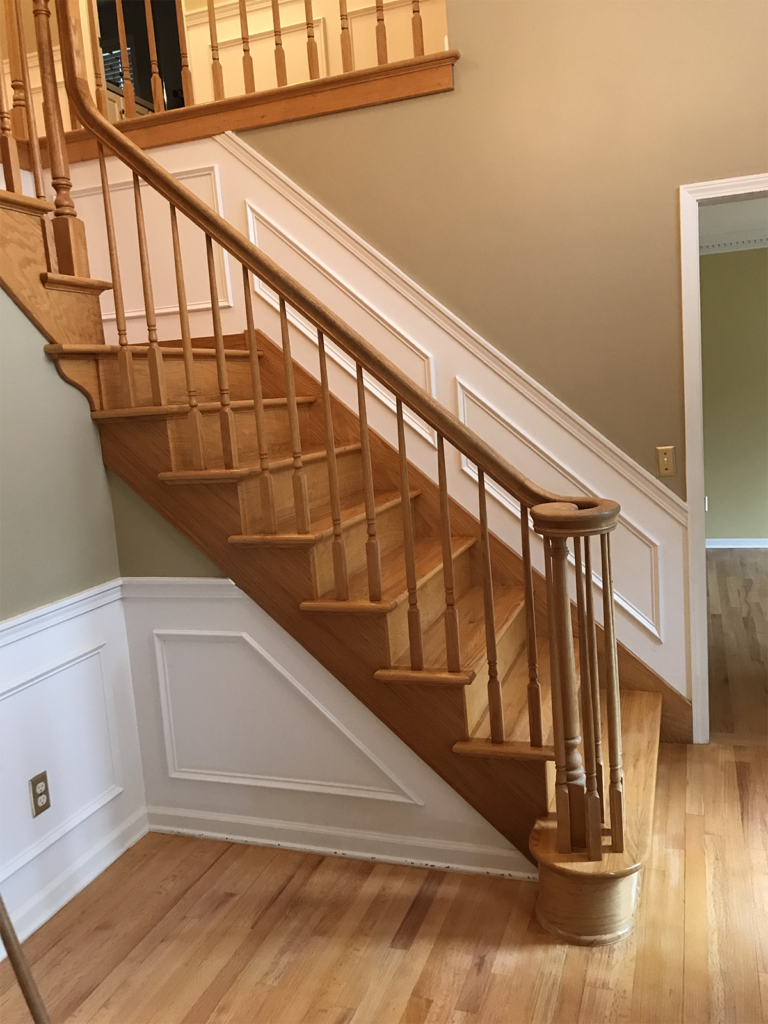
Understanding Stair Components and Installation Methods
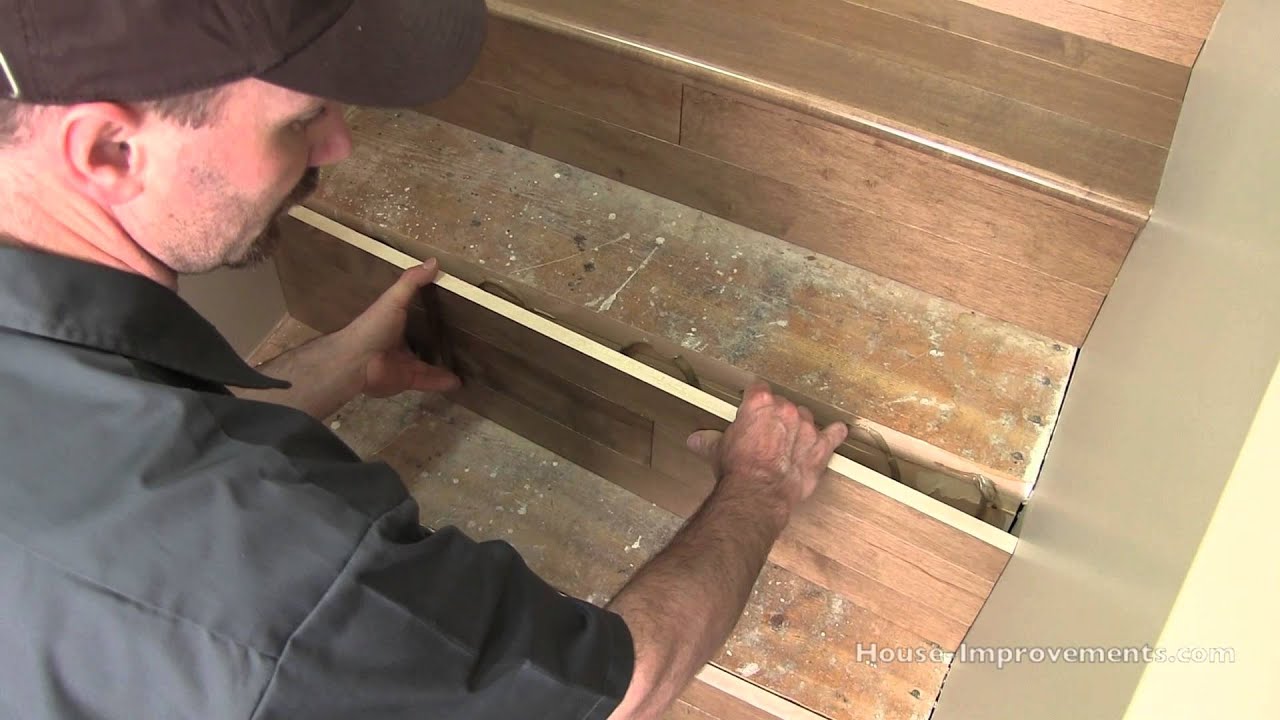
Learning stair terminology felt like studying a foreign language initially. Treads are the horizontal steps you walk on, risers are the vertical boards between steps, and nosing is the rounded edge that overhangs each tread. Understanding these components helped me communicate effectively with my installer and make informed decisions about materials and finishes. Each piece plays a specific role in both function and appearance.
My installer recommended solid hardwood treads rather than engineered wood for maximum durability. Stair treads take concentrated wear in the center where everyone steps, and solid wood can be sanded and refinished multiple times over decades. I chose three-quarter-inch thick treads, which provided substantial feel underfoot. The solid construction also eliminated the hollow sound that engineered products can produce when stepped on repeatedly.
The installation method involved both adhesive and hidden fasteners for ultimate stability. My installer applied construction adhesive to every tread and riser before securing them with finish nails driven at angles. This dual-attachment approach prevents squeaks and movement that would develop over time with just nails or just glue alone. Three years later, my stairs are completely silent, no creaks or groans even with heavy use.
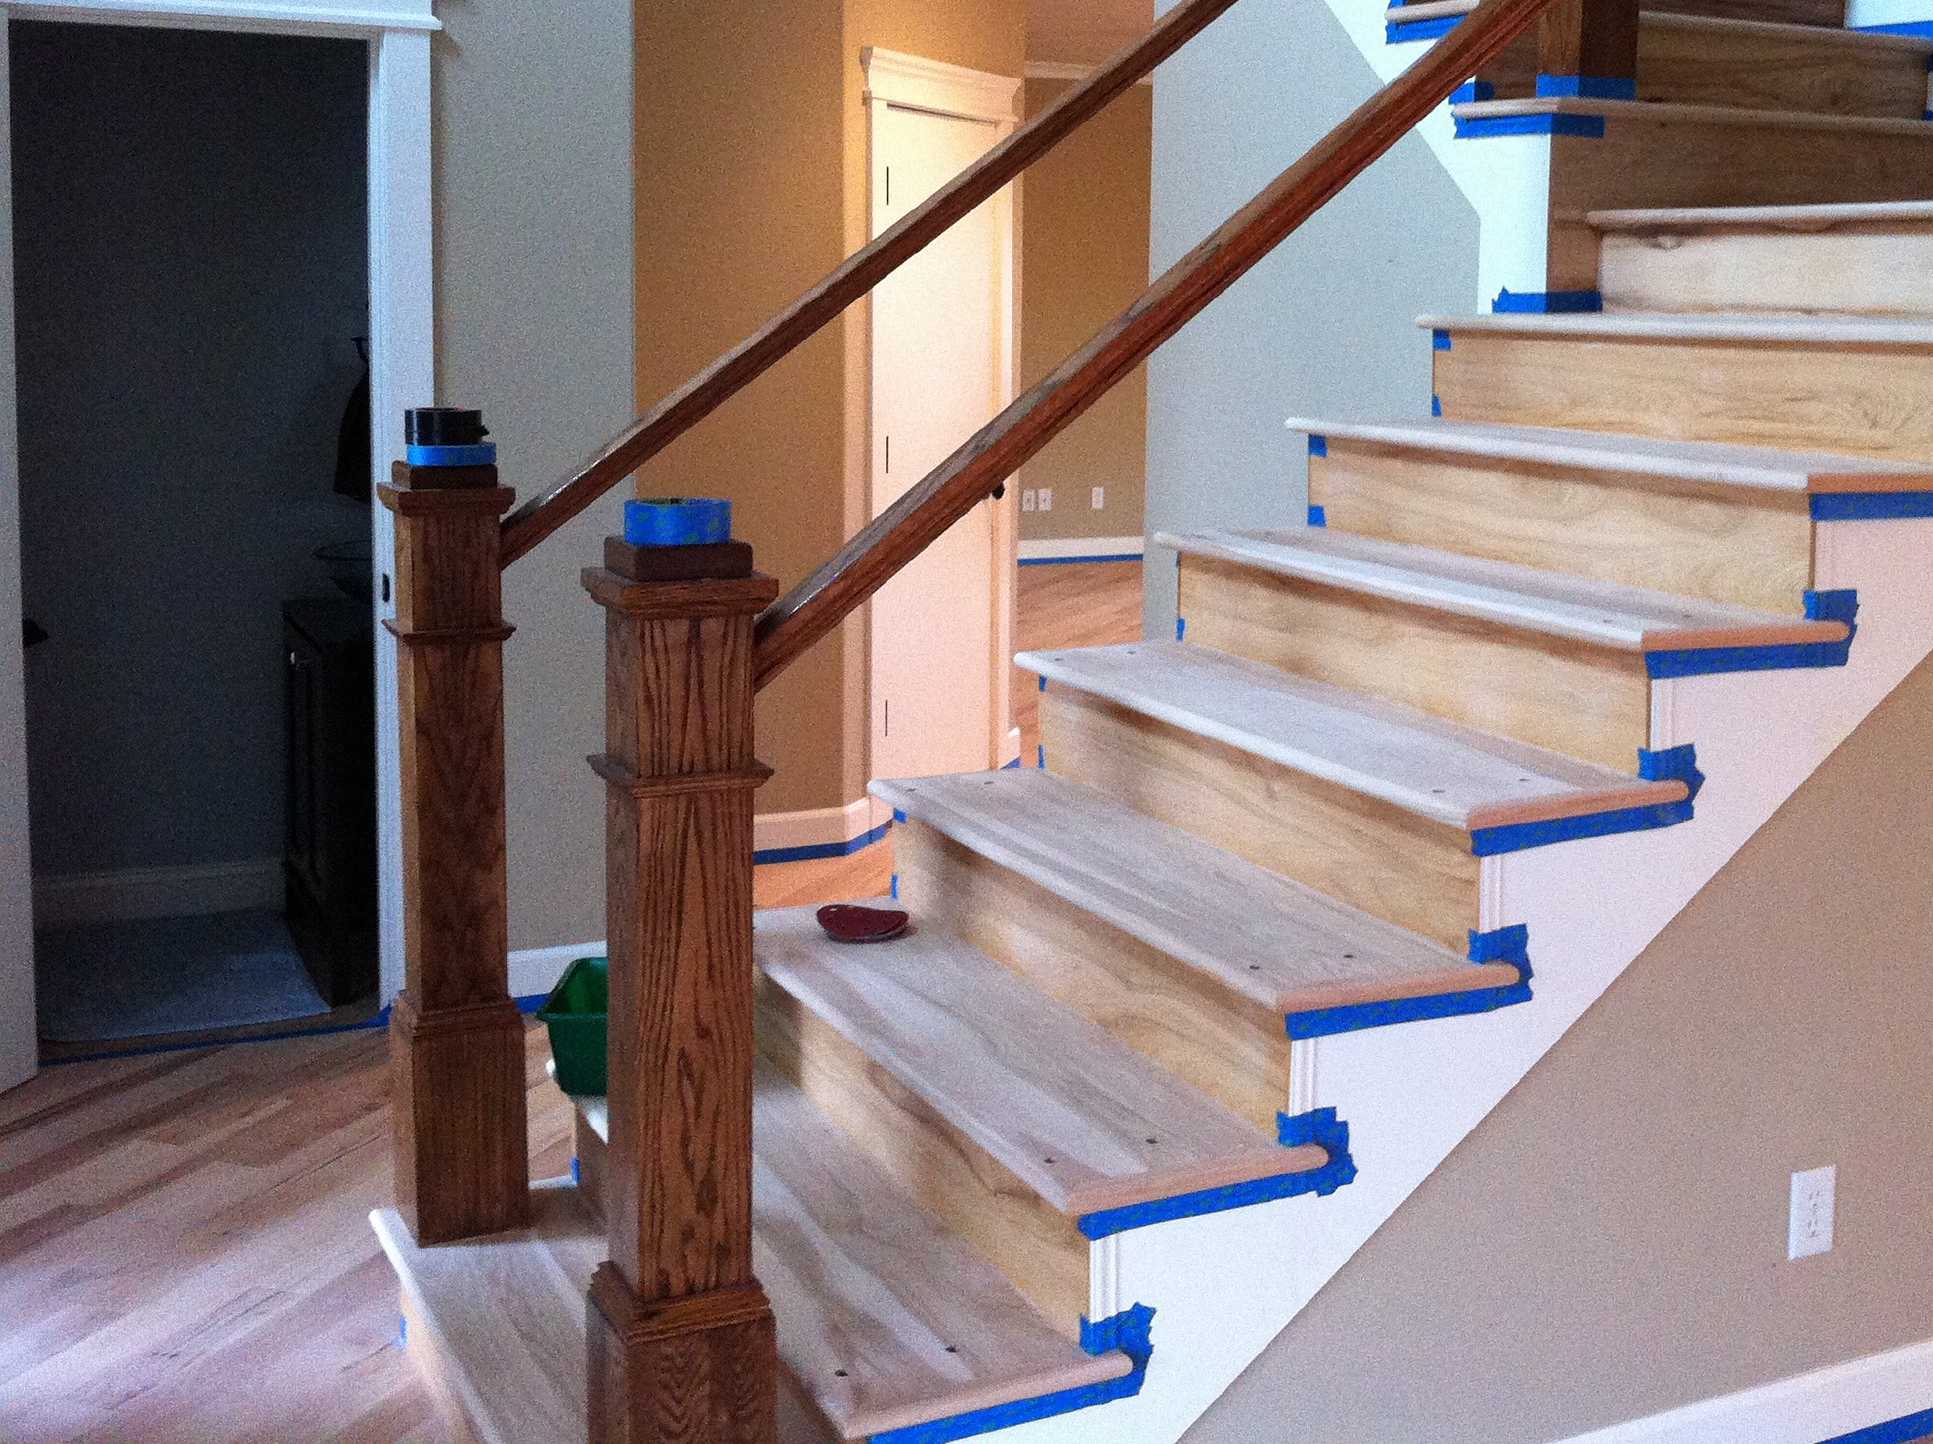
Selecting Finishes and Colors for High-Traffic Stairs
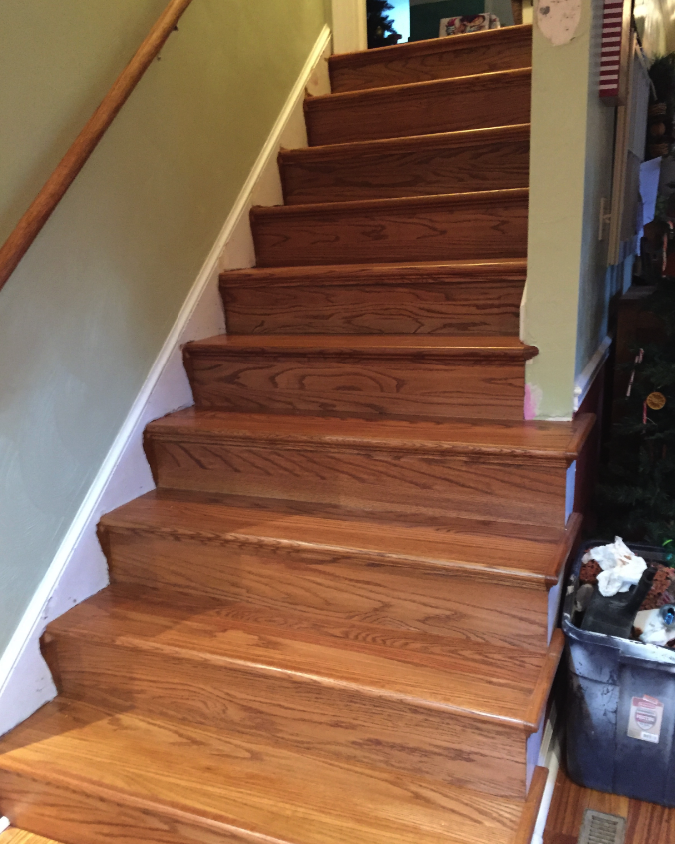
I chose a medium-dark stain that hides dirt and wear better than very light or very dark options would. Light stains show every scuff mark and footprint, while extremely dark stains highlight scratches as lighter wood beneath shows through. My medium walnut stain provides richness and depth while being remarkably forgiving of daily wear. This practical color choice has kept my stairs looking great with minimal touch-ups.
The finish selection proved just as important as color. I went with oil-based polyurethane in a satin sheen rather than high-gloss or matte options. Satin provides subtle luster that enhances the wood’s natural beauty without creating a slippery surface. On stairs, traction is a safety concern I couldn’t ignore. The satin finish gives me beauty and safety, offering enough grip for secure footing in socks or bare feet.
My installer applied five coats of polyurethane to the treads compared to three coats on risers. Treads need extra protection since they receive all the direct foot traffic. This additional coating has created a durable surface that still looks nearly perfect after three years. I touch up the finish annually with a light buffing and fresh coat, maintaining the protection and keeping the stairs looking newly refinished.
Addressing Safety Considerations and Code Requirements
Stair nosing dimensions are regulated by building codes for good reason. My installer ensured each nosing extended between three-quarters and one-and-a-quarter inches beyond the riser, meeting code requirements while providing secure footing. Consistent nosing depth on every step prevents tripping hazards. I didn’t realize how critical these measurements were until my inspector explained that inconsistent nosing is a leading cause of stair accidents.
Slip resistance became a priority after I nearly fell on my friend’s glossy hardwood stairs. I added transparent anti-slip stair treads to the center of each step where traffic concentrates. These adhesive strips are barely visible but provide crucial traction, especially when wearing socks. They’ve given me peace of mind with young kids who tend to run up and down stairs. Safety and beauty can absolutely coexist with thoughtful planning.
Lighting installation happened alongside my stair project, transforming both safety and aesthetics. I installed LED strip lights under each nosing, creating a soft glow that illuminates treads at night. These lights prevent missteps in darkness while adding sophisticated ambiance. The low-voltage system was easy to install during construction and costs pennies monthly to operate. Good lighting makes hardwood stairs safer and more dramatic visually.
Managing the Installation Process and Timeline
I hired a specialized stair installer rather than a general flooring contractor. Stairs require precision and expertise that regular floor installation doesn’t demand. Every measurement must be exact, cuts must be perfect, and fitting must be flawless. My installer had fifteen years of stair-specific experience, and watching him work showed why this specialization matters. The craftsmanship and attention to detail justified the higher cost completely.
The project timeline stretched longer than I anticipated. My thirteen-step staircase took five full days from demolition to final finish coat. Day one involved carpet removal and assessment. Days two and three covered installation of treads, risers, and nosing. Days four and five were entirely finishing work, allowing proper drying time between polyurethane coats. I couldn’t use the stairs during finishing, requiring careful household logistics planning.
Living without stair access for nearly a week challenged our daily routine significantly. We temporarily moved our bedroom downstairs and carried everything we needed for several days down before work began. I rented a tall ladder for emergency upstairs access if needed. This inconvenience was substantial but temporary. Planning for this disruption and having alternate arrangements made the process manageable rather than chaotic.

Maintaining Hardwood Stairs Through Daily Use
My maintenance routine focuses on prevention rather than repair. I vacuum the stairs twice weekly using a soft brush attachment, removing dirt and grit that could scratch the finish. This takes maybe ten minutes but prevents the abrasive wear that dulls stairs prematurely. I’m religious about this cleaning schedule because I know prevention is easier than restoration.
Felt pads on furniture that occasionally gets carried up and down stairs have prevented countless gouges and scratches. I also keep a small basket of slippers at the bottom of the stairs, encouraging family and guests to remove shoes before ascending. Street shoes track in the most abrasive debris, and simply removing them has dramatically reduced wear. These small habit changes make a measurable difference in floor longevity.
Annual maintenance involves light sanding of high-wear areas and applying a fresh polyurethane coat. I hire my original installer for this work since stairs require the same precision as initial installation. The center of each tread shows the most wear, and these targeted touch-ups keep the entire staircase looking consistent. This proactive maintenance costs a few hundred dollars annually but prevents the thousands required for complete refinishing.
How much does hardwood stair installation typically cost?
My thirteen-step staircase cost about $4,500 including materials and professional installation. Costs vary based on wood species, stair complexity, and region. Oak is less expensive than exotic hardwoods. Straight stairs cost less than curved or L-shaped configurations. This was significantly more than carpet would have been, but the durability and beauty justify the investment for me.
Can I install hardwood stairs myself?
I wouldn’t recommend it unless you have carpentry experience. The precision required for safe, attractive stairs exceeds typical DIY skill levels. One mistake in cutting or fitting can compromise safety and appearance. Professional installation includes proper code compliance and warranties. I considered DIY to save money but chose expertise over savings, a decision I’ve never regretted.
How do hardwood stairs hold up with pets?
My medium-sized dog uses the stairs daily, and they’ve held up well. I keep his nails trimmed short, which is crucial. Longer nails will scratch any hardwood finish. The medium-dark stain hides minor scratches better than light finishes. Pet-related wear appears mostly in tread centers where touch-ups easily address it. Regular maintenance keeps them looking great.
Are hardwood stairs slippery?
They can be with socks on high-gloss finishes. I chose satin finish for better traction and added transparent anti-slip treads for extra safety. These modifications provide secure footing without compromising appearance. Bare feet and proper footwear have good grip. I’m cautious with socks but haven’t experienced dangerous slipping with my precautions in place.
Should treads and risers match or contrast?
This is personal preference. I stained both the same color for a cohesive, traditional look. Some people paint risers white for contrast, creating a more contemporary aesthetic. Consider your home’s style and existing trim. Matching creates flow, contrast creates drama. Both approaches can be beautiful, choose what speaks to your design sensibilities.
How often do hardwood stairs need refinishing?
With proper maintenance, full refinishing might not be needed for 10-15 years. I do annual touch-ups on high-wear areas, which extends the time between complete refinishing. Foot traffic levels and maintenance habits affect this timeline significantly. Solid hardwood can be refinished multiple times over its lifetime, making it a truly long-term flooring solution for stairs.

Replace Carpet on Stairs With Hardwood

Related Posts: