When I first considered installing hardwood floors in my kitchen five years ago, everyone told me I was making a mistake. Friends warned about water damage, family members questioned the practicality, and even some contractors raised eyebrows. But after living with beautiful oak planks beneath my feet for half a decade, I can confidently say it was one of the best home improvement decisions I’ve ever made. The warmth, character, and timeless appeal have transformed my cooking space into the heart of our home, proving that with proper planning and maintenance, hardwood and kitchens can be a perfect match.
Choosing the Right Wood Species and Finish
I spent months researching different wood species before settling on white oak for my kitchen. The tight grain structure naturally resists moisture better than softer woods like pine or maple. Oak’s durability impressed me during my research, and I’ve watched it handle dropped pans, spilled wine, and daily foot traffic without showing significant wear. The natural tannins in oak also provide some antimicrobial properties, which gives me peace of mind in a food preparation area.
The finish selection proved just as crucial as the wood choice itself. I opted for a water-based polyurethane with aluminum oxide particles, which creates an incredibly hard surface that resists scratches and stains. Oil-based finishes look beautiful but require more maintenance in kitchen environments. My finish has a satin sheen that hides minor imperfections while still showcasing the wood’s natural beauty. After five years, it still looks nearly new.
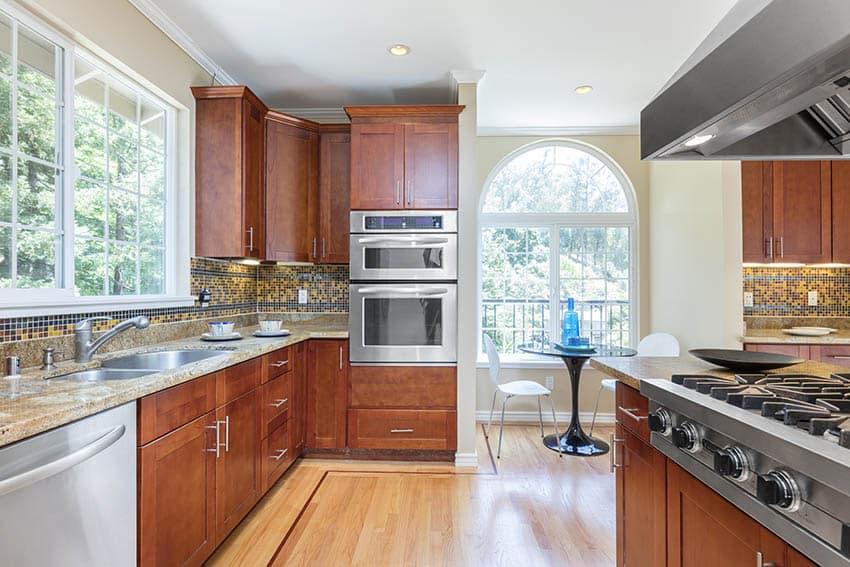
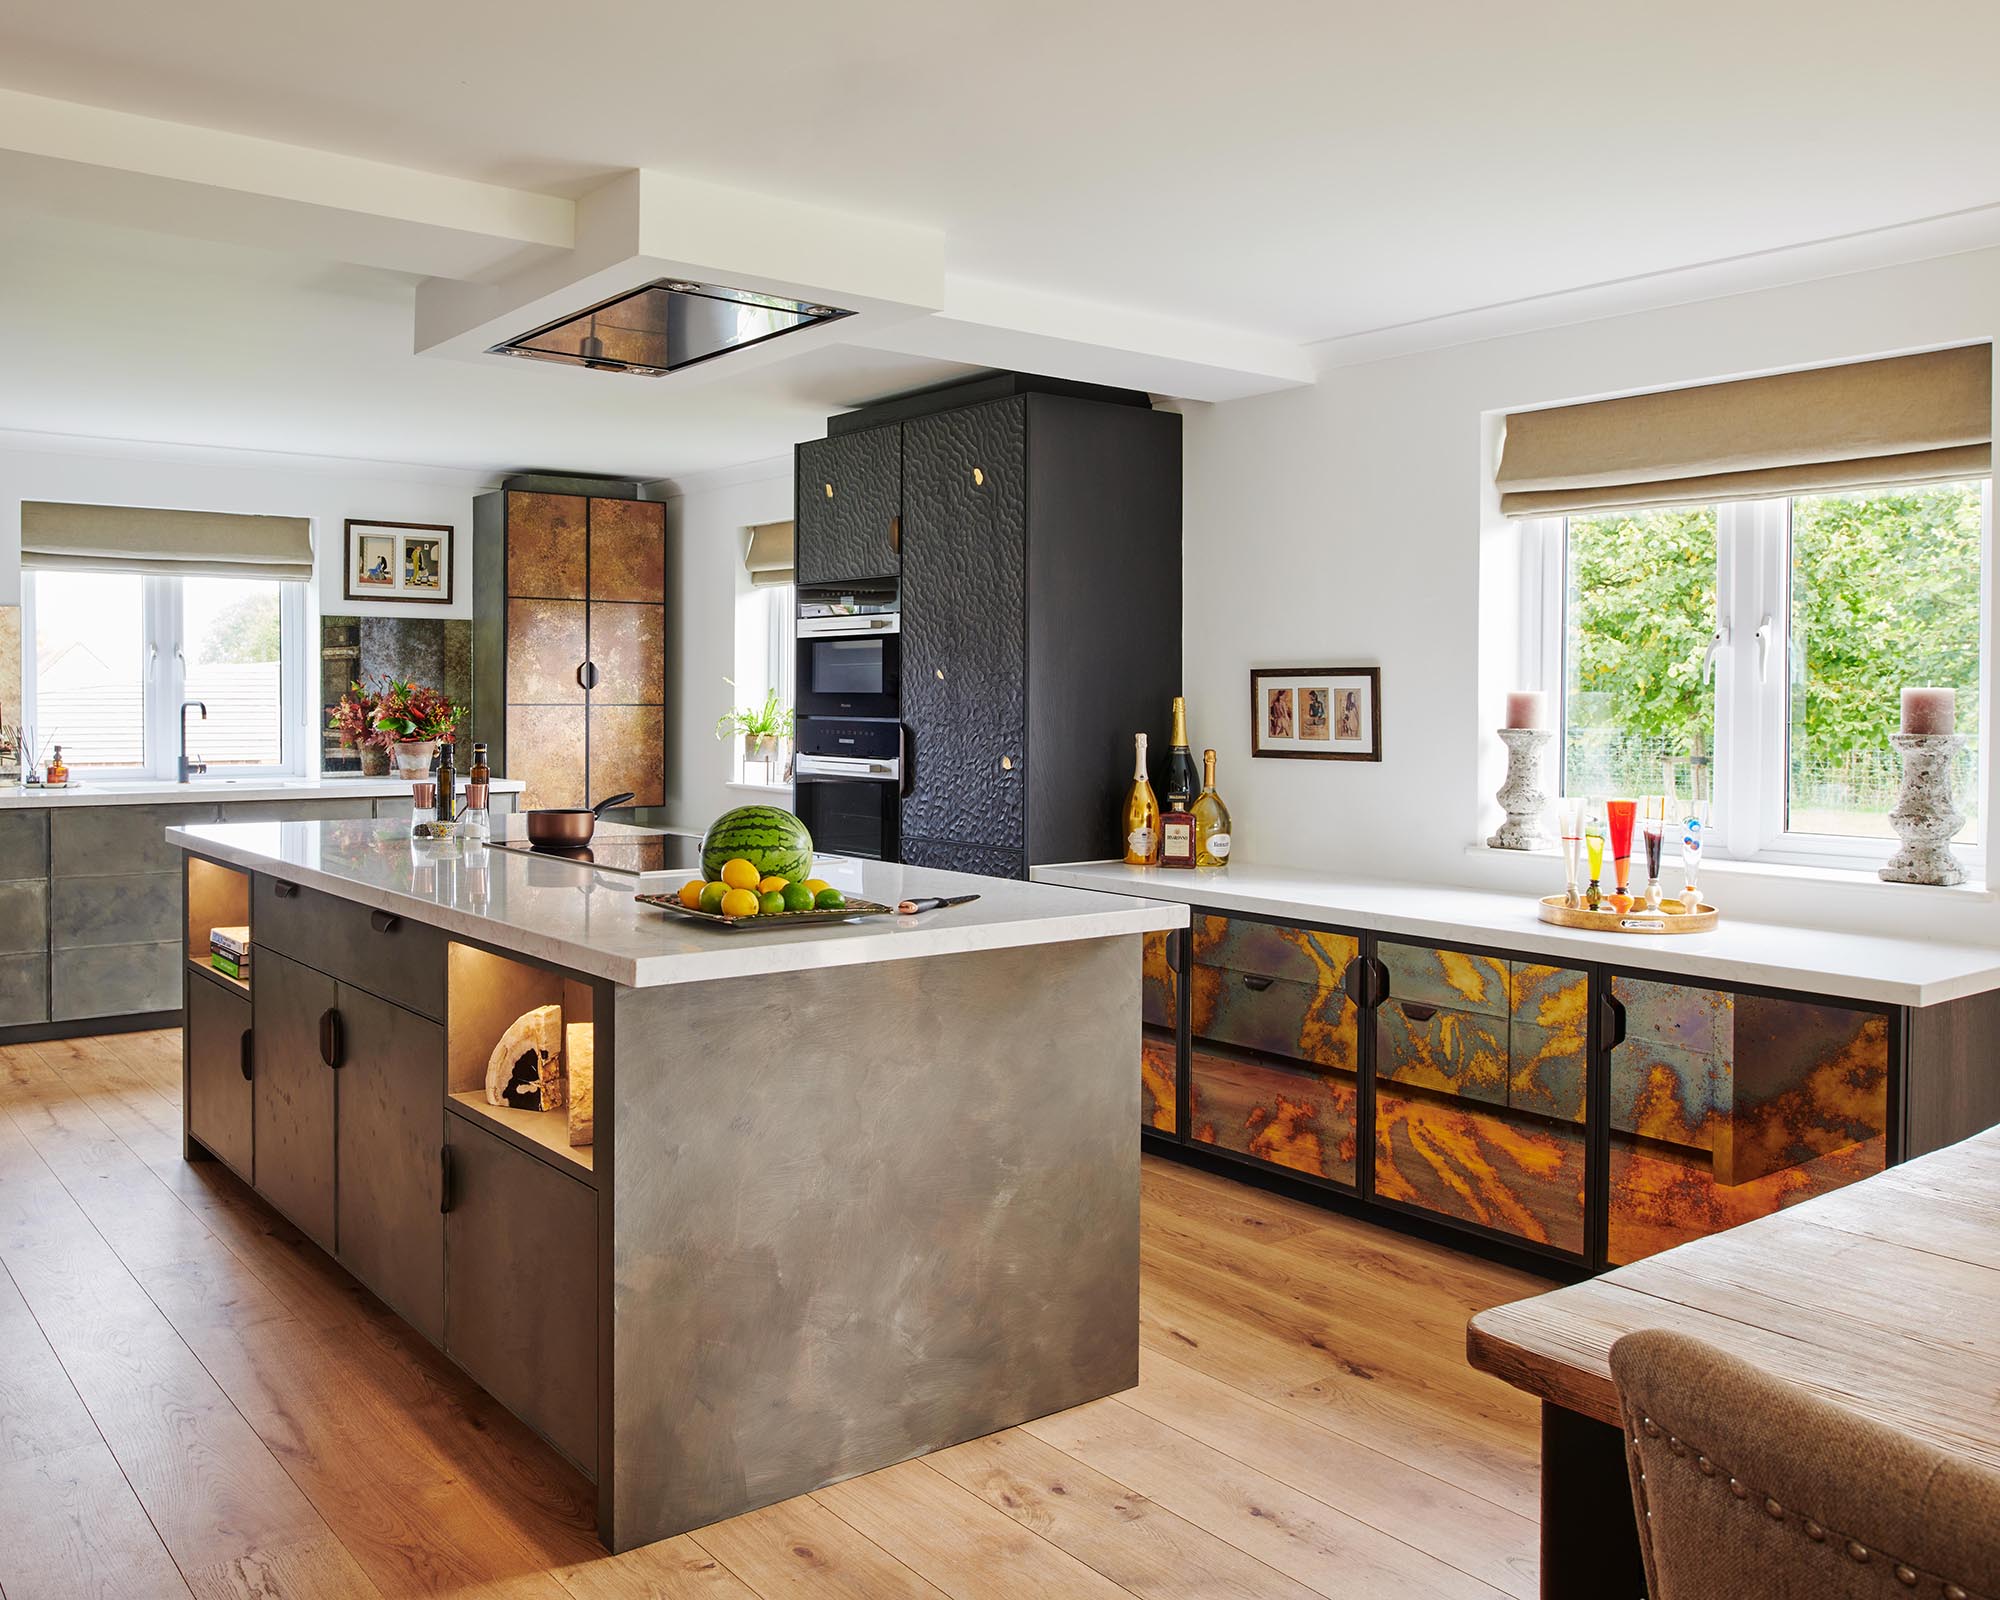
Site-finished floors gave me the advantage of custom staining to match my cabinetry perfectly. I chose a medium brown stain that complements both my maple cabinets and granite countertops. The seamless integration between flooring and kitchen design creates visual continuity that makes the space feel larger and more cohesive. Pre-finished boards would have saved time, but couldn’t achieve this level of customization that makes my kitchen uniquely mine.
Installation Considerations and Moisture Management
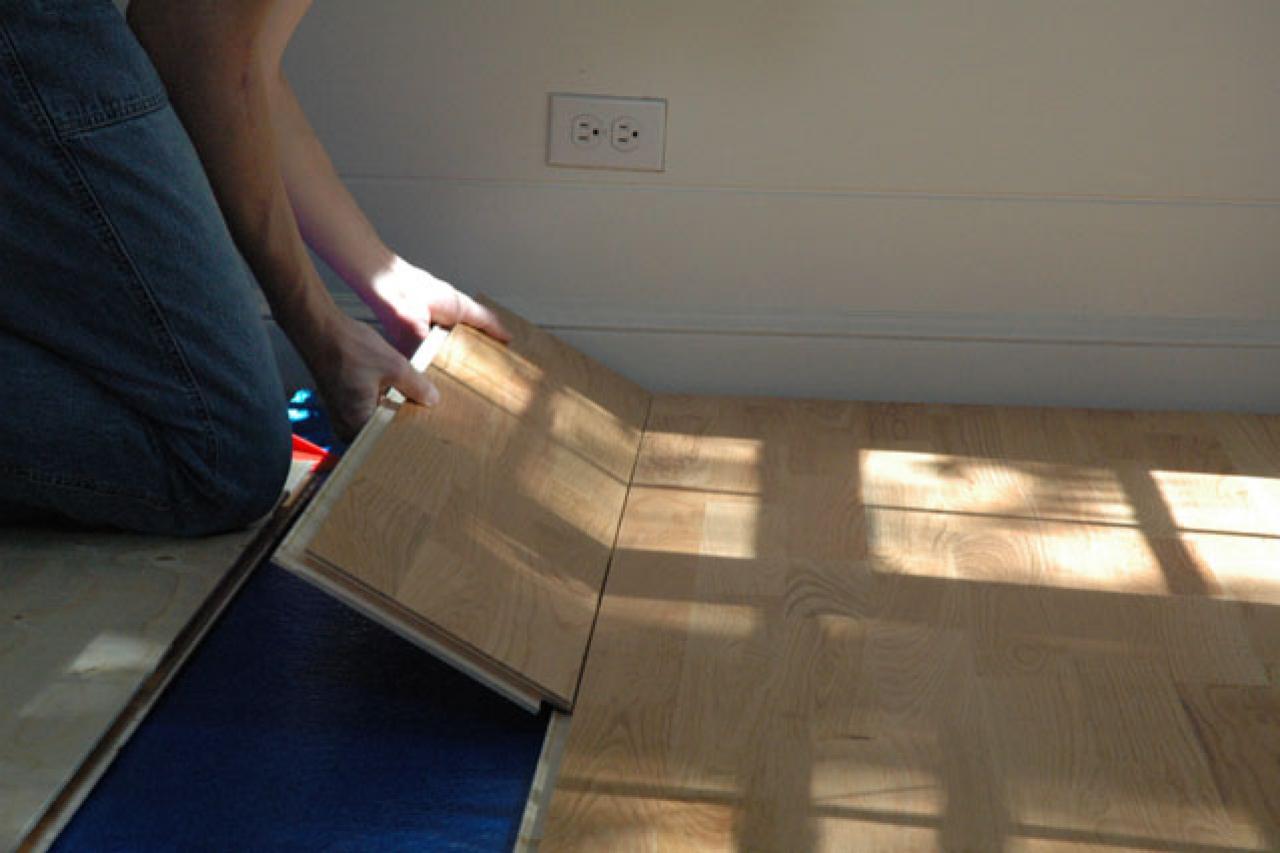
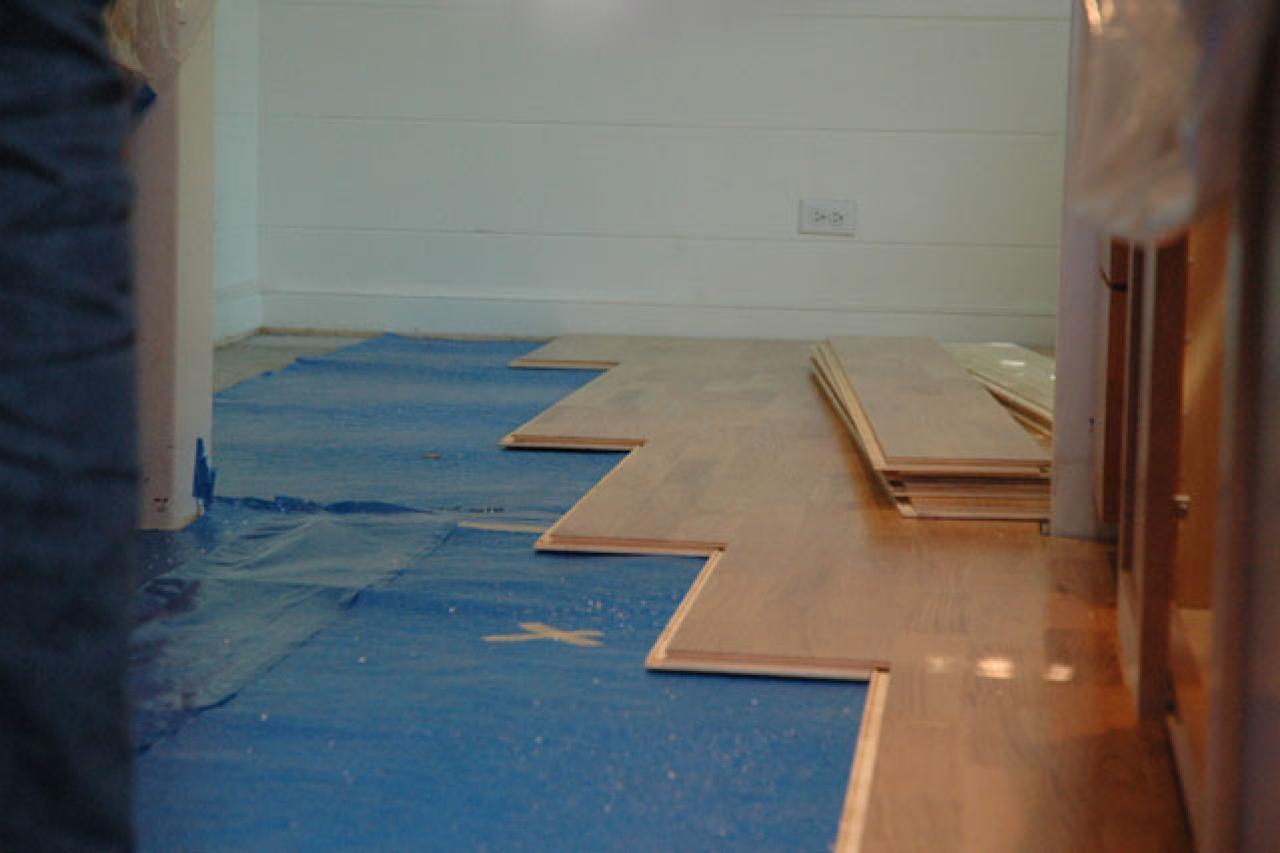
Moisture control became my top priority during the installation planning phase. I had my contractor install a vapor barrier beneath the subfloor and ensure proper acclimation of the wood planks for two weeks before installation. We also upgraded my kitchen ventilation system to handle cooking moisture more effectively. These upfront investments have prevented the warping and cupping issues that plague many kitchen hardwood installations.
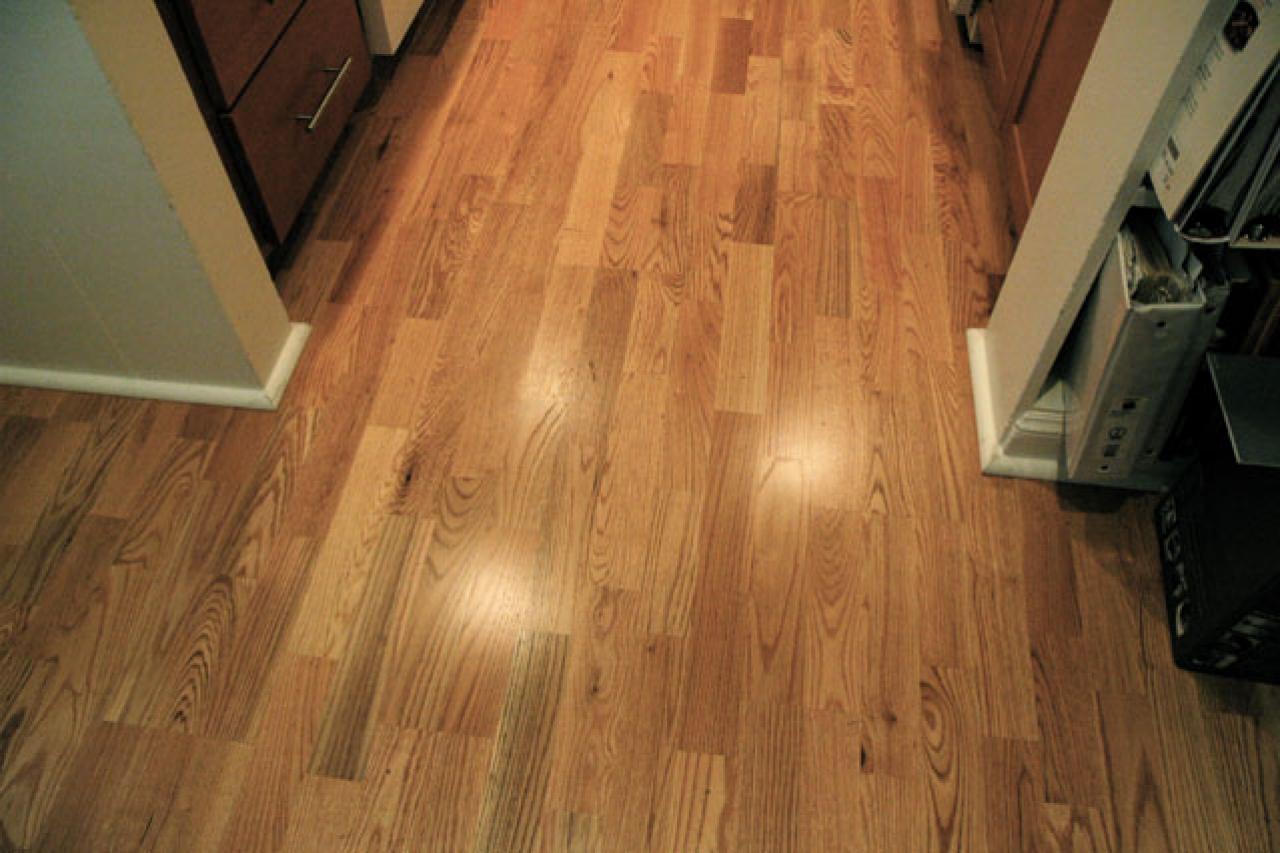
The installation required careful planning around my kitchen island and appliances. We decided to run the planks perpendicular to the longest wall, which creates visual width in my galley-style kitchen. Installing under appliances was debated, but I chose to run flooring only to the appliance fronts to save costs and allow for easier appliance replacement. Transition strips at doorways were carefully selected to complement the wood tone.
My contractor emphasized the importance of leaving proper expansion gaps around the perimeter, which are now hidden beneath my baseboards and toe kicks. We used a moisture meter throughout the process to ensure optimal conditions. The installation took three days, including sanding and finishing, and required us to stay out of the kitchen for a full week while the finish cured completely. The temporary inconvenience was worth the stunning results.

Daily Maintenance and Cleaning Routines
I’ve developed a simple daily routine that keeps my hardwood floors looking pristine. Every morning, I sweep or vacuum with a soft brush attachment to remove crumbs and debris that could scratch the surface. Spills get wiped up immediately, no exceptions. I keep microfiber cloths in strategic locations around the kitchen for quick cleanup. This proactive approach has prevented staining and water damage that could compromise the wood’s integrity.
Weekly deep cleaning involves damp mopping with a cleaner specifically formulated for hardwood floors. I avoid oil soaps and vinegar-based solutions that can dull the finish over time. My spray-and-mop technique ensures I never oversaturate the wood surface. I also place mats at the kitchen entrances and in front of the sink to catch water and dirt before they reach the floor. These simple habits have become second nature.
Monthly maintenance includes checking for any signs of wear or damage and addressing them promptly. I keep a small container of matching stain for minor scratches and know when to call professionals for more significant repairs. The key is staying ahead of problems before they become major issues. My floors still look nearly new after five years because I treat them as the investment they are, not just something to walk on.
Protection Strategies and Prevention Methods
I learned early that prevention is far more effective than repair when it comes to hardwood in kitchens. Furniture pads under all chairs and barstools prevent scratches from daily movement. I replaced metal chair legs with wood ones to reduce noise and potential damage. Area rugs in high-traffic zones provide extra protection without hiding the beautiful wood underneath. These small changes have preserved my floors’ appearance remarkably well.
Water protection remains my constant focus, especially around the sink and dishwasher areas. I installed high-quality caulking along all edges where water might seep beneath the flooring. My cutting boards have rubber feet to prevent sliding and protect the surface during food preparation. I also keep absorbent mats near the coffee maker and other appliances where spills commonly occur. Vigilance in these areas has prevented costly water damage.
Temperature and humidity control throughout the seasons helps prevent the wood from expanding and contracting excessively. I run a humidifier in winter when heating systems dry the air, and ensure good ventilation during humid summers. My HVAC system maintains consistent conditions year-round. I’ve learned to recognize the subtle sounds of seasonal wood movement and know they’re normal when properly managed through environmental control.
Repair and Refinishing Experience
Two years into living with my hardwood kitchen floors, I faced my first major scratch when a cast-iron pan slipped from my hands. Initially devastated, I learned that most damage can be repaired without replacing entire boards. A local hardwood specialist showed me how minor scratches can be filled with wood putty and touched up with matching stain. The repair blended seamlessly with the surrounding floor, giving me confidence to handle future issues.
Professional refinishing every seven to ten years keeps hardwood floors looking new indefinitely. I’ve planned for this expense as part of my long-term maintenance budget. The process involves sanding away the worn finish, applying new stain if desired, and adding fresh protective coats. While disruptive, refinishing costs a fraction of replacement and allows me to update the color if my design preferences change over time.
I’ve also learned to identify when problems require professional intervention versus DIY solutions. Deep gouges, water stains, or multiple damaged boards need expert assessment. However, minor surface scratches, small dents, and finish wear can often be addressed with readily available products. Building relationships with local flooring professionals has given me confidence and resources for maintaining my investment properly over the long term.
Long-Term Value and Aesthetic Benefits
The resale value addition of hardwood flooring in kitchens has exceeded my expectations. Recent comparable sales in my neighborhood show homes with hardwood throughout, including kitchens, selling faster and for higher prices than those with tile or vinyl. Real estate agents consistently tell me that buyers love the continuity of hardwood flowing from living areas into the kitchen. This investment has already paid dividends in my home’s market value.
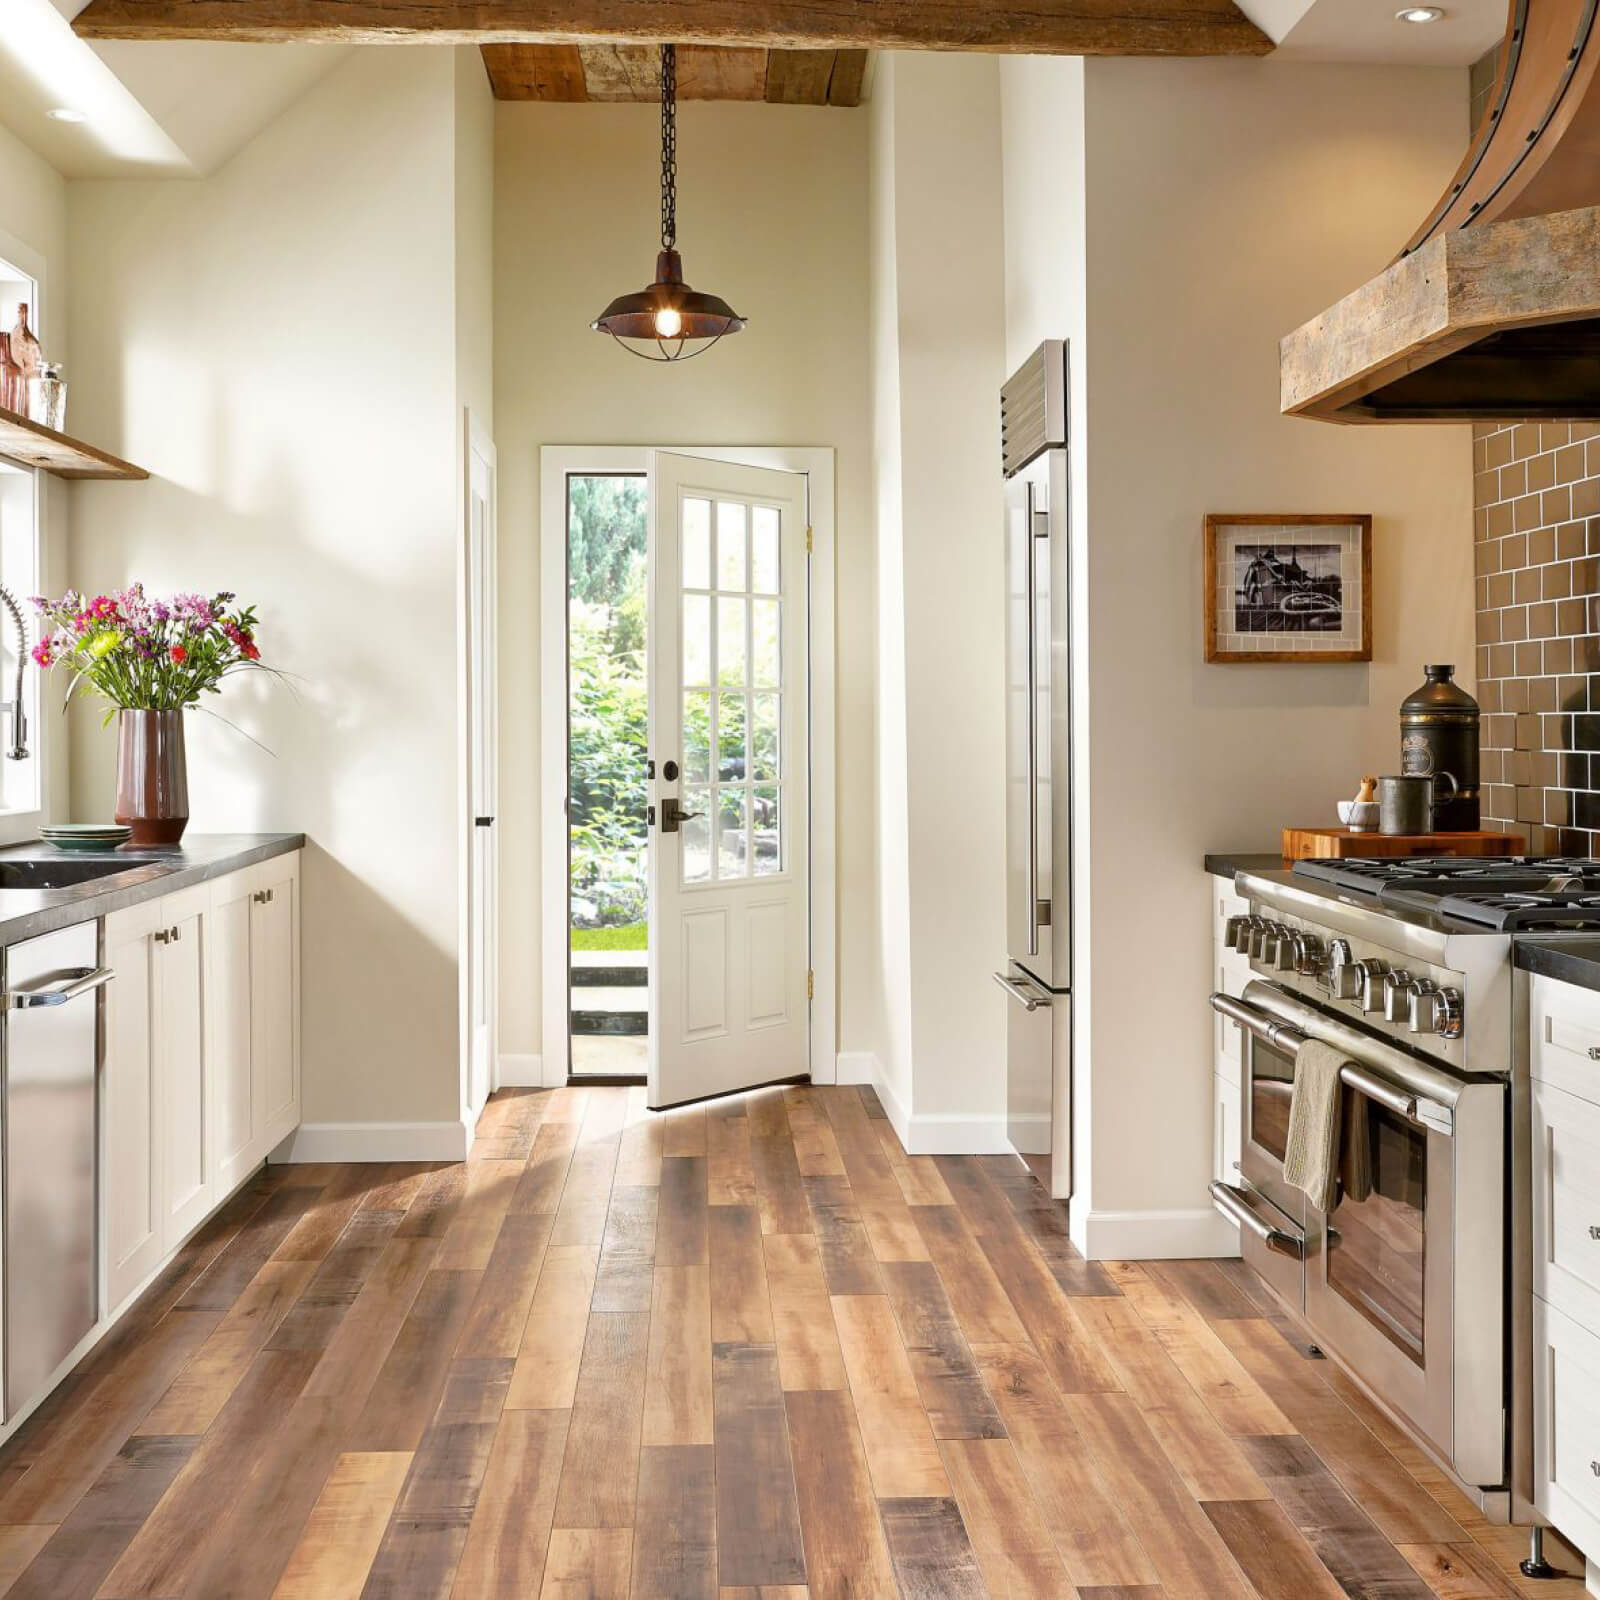
Beyond financial benefits, the aesthetic transformation of my kitchen space has been remarkable. The warm wood tones create a welcoming atmosphere that makes cooking and entertaining more enjoyable. Guests consistently compliment the flooring choice, and I’ve inspired several friends to consider hardwood in their kitchen renovations. The timeless appeal means my floors won’t look dated as design trends change over the years.
Living with hardwood in my kitchen for five years has convinced me that the benefits far outweigh the challenges. The daily pleasure of walking on beautiful, natural wood surfaces makes the extra maintenance worthwhile. My kitchen feels more like a living space than a utilitarian room, which has changed how my family uses and enjoys this central area of our home. I would absolutely make the same choice again.

Will hardwood floors survive water spills and kitchen accidents?
Properly installed hardwood with quality finishes can handle normal kitchen spills and accidents. The key is immediate cleanup and proper sealing around vulnerable areas like sinks and dishwashers. I’ve had countless spills over five years, from red wine to olive oil, and none have caused permanent damage. Modern polyurethane finishes create an excellent moisture barrier when maintained properly. However, standing water or ignored spills can cause problems, so a quick response is essential for long-term success.
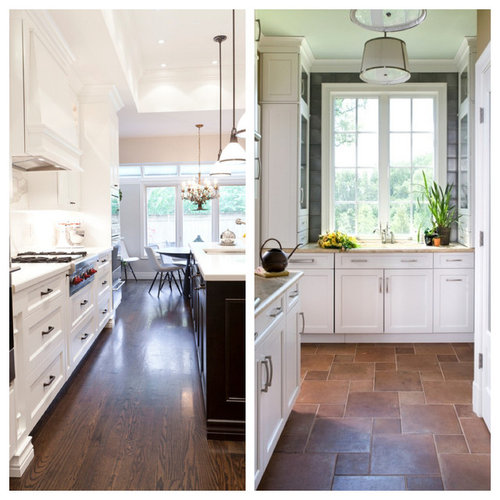
How do hardwood kitchen floors compare cost-wise to tile or luxury vinyl?
Initial installation costs for quality hardwood typically exceed tile or luxury vinyl by 30-50%, but the long-term value proposition is compelling. Hardwood can be refinished multiple times, essentially lasting forever with proper care, while other materials require complete replacement. My real estate agent confirms that hardwood adds more resale value than alternatives. When amortized over decades of use, the cost per year often favors hardwood, especially considering the aesthetic and comfort benefits it provides daily.
What about scratches from dropped utensils and heavy appliances?
Surface scratches from normal kitchen use are manageable with proper maintenance and occasional touch-ups. I use furniture pads under appliances and have learned to be more careful with heavy cookware, but minor scratches add character rather than detract from appearance. Deep gouges require professional repair, but I’ve only needed this service once in five years. The key is accepting that kitchen floors will show some wear, and hardwood ages more gracefully than most alternatives while remaining repairable.
Is the maintenance more difficult than other flooring options?
Daily maintenance is simpler than grout cleaning or luxury vinyl care in my experience. Quick sweeping and immediate spill cleanup become automatic habits. Weekly damp mopping takes the same time as any hard flooring. The main difference is being more conscious about water and using appropriate cleaning products. I spend maybe ten extra minutes per week compared to my previous tile floors, but the aesthetic rewards make this minimal additional effort completely worthwhile for our family lifestyle.
How do I handle the area around sinks and dishwashers?
Proper installation with quality caulking and water-resistant finishes makes these high-risk areas manageable. I placed absorbent mats strategically and check caulk lines annually for maintenance needs. My contractor installed extra vapor barrier protection in these zones during the original installation. I’m simply more mindful about wiping up splashes immediately and ensuring appliance connections remain leak-free. These areas require attention but haven’t presented major problems with proactive care and quality installation techniques.
Can I install hardwood myself, or do I need professionals?
While DIY installation is possible for experienced woodworkers, I strongly recommend professional installation for kitchens due to moisture considerations and precision requirements around appliances. The cost difference between DIY disaster and professional success is too significant to risk. My contractor’s expertise in vapor barriers, expansion gaps, and finish application has prevented problems that would have cost thousands to repair. Professional installation also provides warranties and accountability that protect your significant investment in quality materials.

Is it better to install hardwood floors before or after the

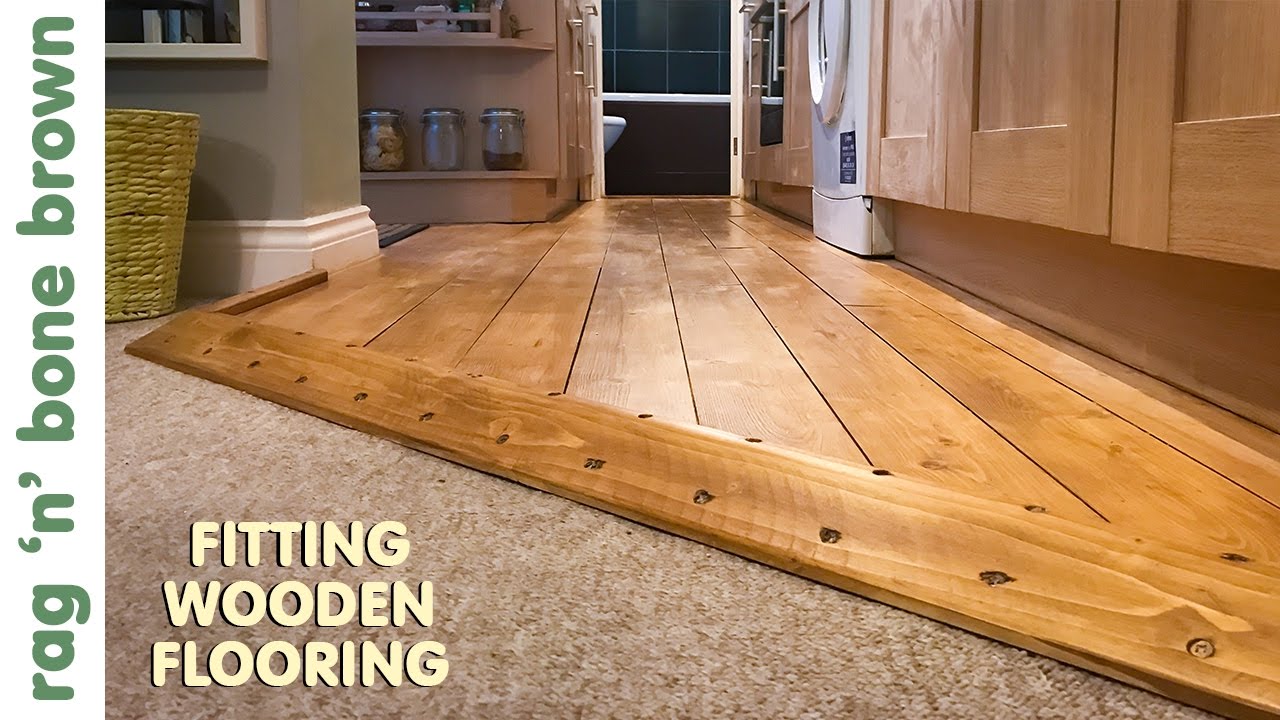
How to Install Hardwood Flooring in a Kitchen
Wood kitchen flooring: Is wood flooring suitable for kitchens? The
POLL: Wood Floors in the Kitchen?
Related Posts: