After years of staring at my garage’s cracked concrete floor, I finally decided to transform it with epoxy coating. What started as a weekend project became an enlightening journey that taught me patience, precision, and the satisfaction of creating something beautiful with my own hands. Through trial and error, I discovered the secrets to achieving a professional-looking finish that has lasted for years.
Getting Started: Essential Tools and Materials
I learned the hard way that having the right tools makes all the difference. My first attempt failed because I tried to cut corners with cheap brushes and inadequate mixing containers. Now I always gather everything beforehand: high-quality rollers, mixing paddles, protective gear, and plenty of drop cloths. The investment in proper equipment pays for itself in the final result.
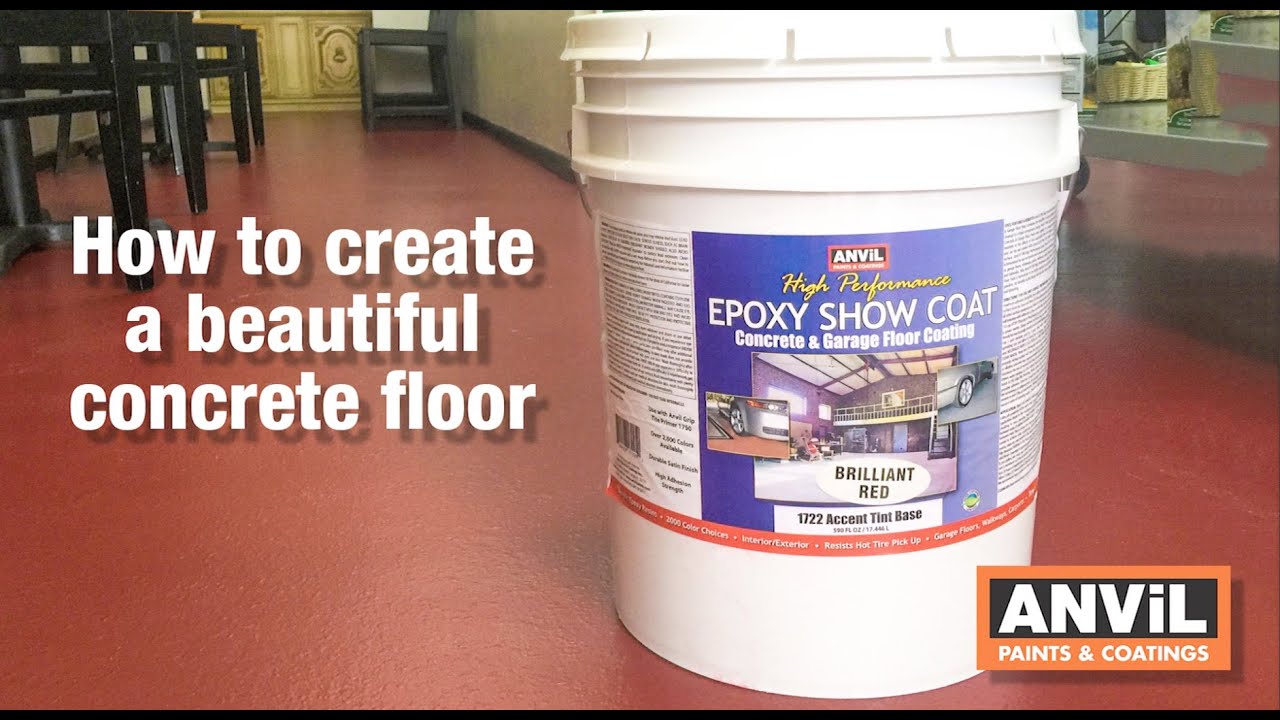
Quality materials are non-negotiable when it comes to epoxy flooring. I’ve tested various brands and formulations, and the difference between cheap and premium products is striking. Professional-grade epoxy may cost more upfront, but it provides better coverage, superior durability, and a more attractive finish that withstands heavy traffic and chemical spills.
My toolkit now includes diamond grinding pads, pH test strips, moisture meters, and temperature gauges. These might seem excessive, but each serves a crucial purpose in ensuring optimal adhesion. I’ve seen too many beautiful floors fail prematurely because someone skipped proper preparation or ignored environmental conditions during application.
Surface Preparation: The Foundation of Success
I cannot stress enough how critical proper surface preparation is to your project’s success. My first epoxy job looked great initially, but started peeling within months because I rushed through the cleaning process. Now I spend at least two full days preparing the surface, and the results speak for themselves with floors that remain flawless years later.
Concrete surfaces must be completely clean and slightly porous for proper adhesion. I start with thorough degreasing using industrial cleaners, followed by mechanical abrading with diamond grinders or shot blasting equipment. This creates the microscopic texture that allows epoxy to grip the surface permanently. Skipping this step guarantees failure.
Moisture testing is something I initially overlooked but now consider essential. Even seemingly dry concrete can contain enough moisture to prevent proper bonding. I use plastic sheet tests and electronic moisture meters to ensure the surface is ready. Patience during this phase prevents costly do-overs and ensures your hard work lasts for decades.
Mixing and Timing: Chemistry in Action
Understanding epoxy chemistry transformed my application technique from amateur to professional quality. These coatings are two-part systems that begin curing immediately upon mixing, giving you a limited working window. I’ve learned to calculate exactly how much material I can apply within the pot life to avoid waste and ensure uniform coverage throughout the project.
Temperature and humidity dramatically affect working time and final properties. I now monitor conditions constantly and adjust my mixing ratios accordingly. Hot weather accelerates curing, while cold temperatures can prevent proper crosslinking. I’ve postponed projects when conditions weren’t ideal, and this patience has saved me from numerous potential disasters over the years.
My mixing technique has evolved through experience and occasional failures. I use slow-speed drill mixers to minimize air bubbles and ensure complete blending of components. Proper mixing takes time, but rushing this step creates weak spots and visual defects that compromise the entire project. Consistency in mixing translates directly to consistency in performance.
Application Techniques: Mastering the Process
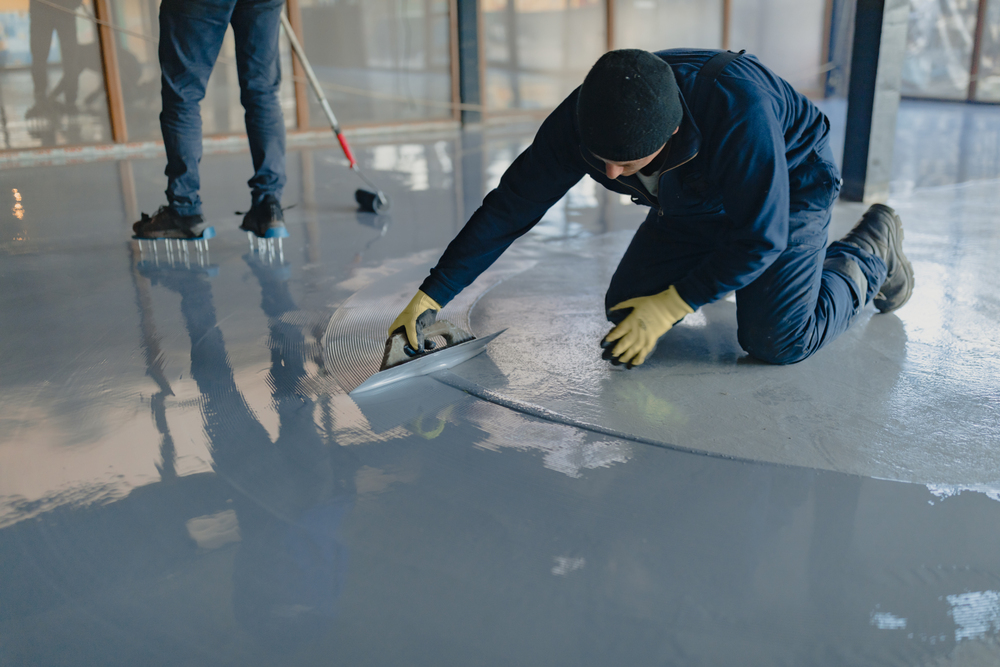
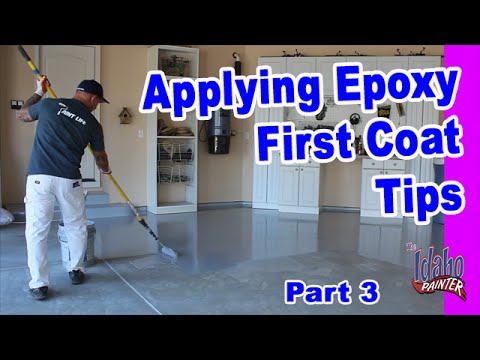
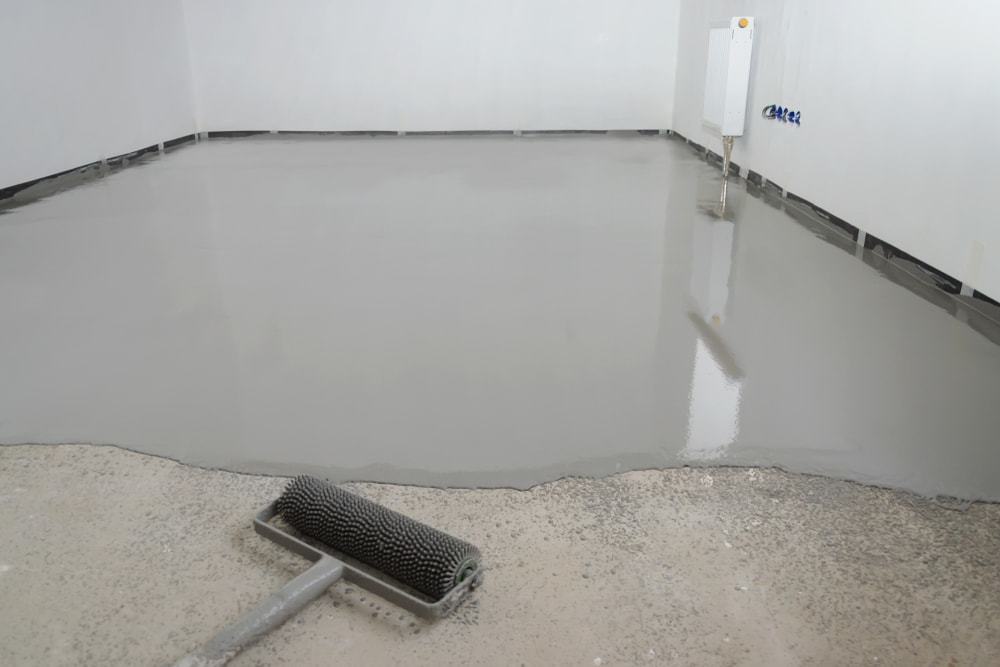
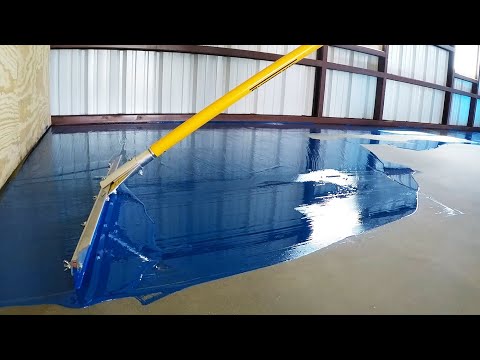
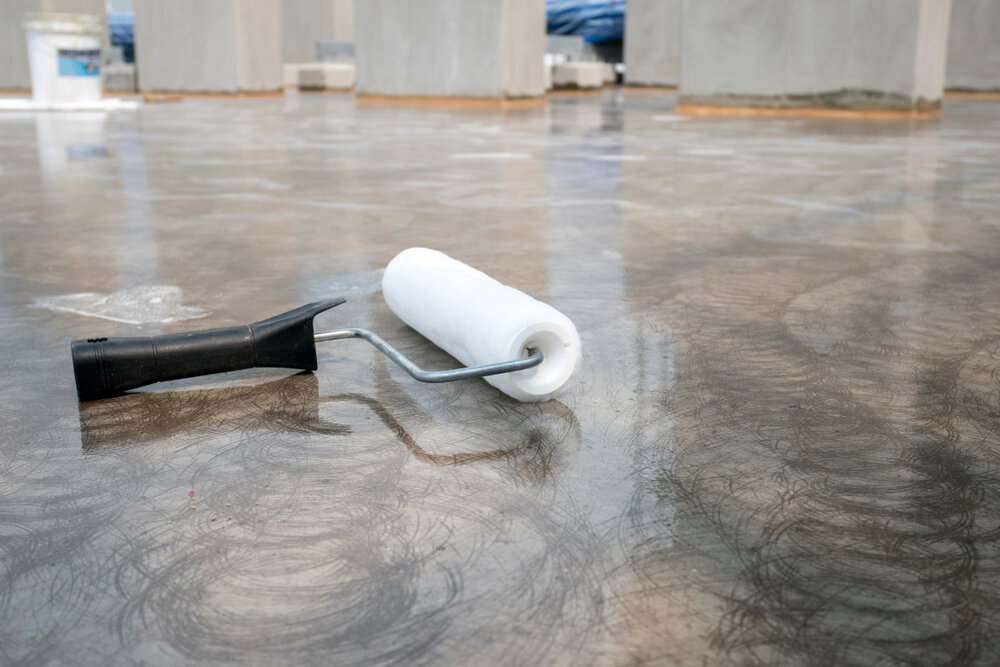
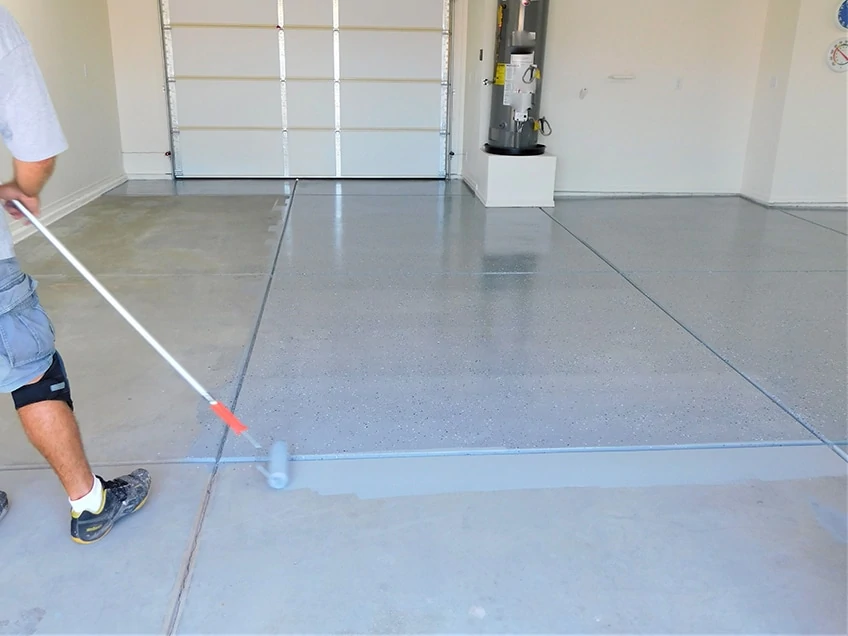
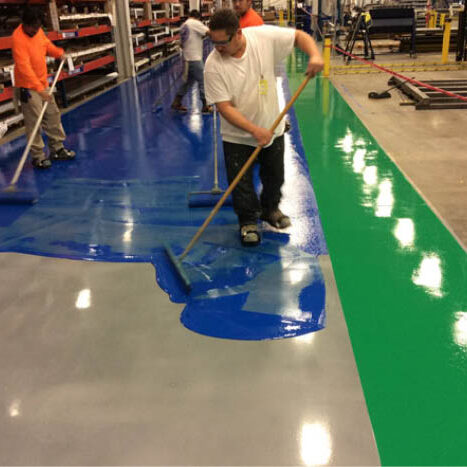
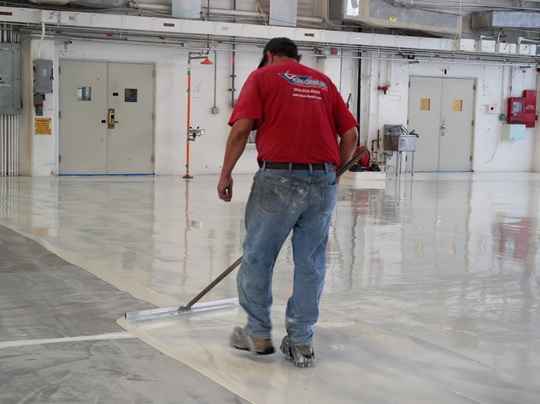
The rolling technique makes the difference between amateur and professional results. I learned to maintain wet edges by working systematically across the surface, never allowing sections to begin setting before connecting them. My rolling pattern creates uniform texture while eliminating unsightly lap marks that can ruin an otherwise perfect installation.
Multiple thin coats always outperform single thick applications in both appearance and durability. I typically apply a primer coat followed by two color coats, allowing proper cure time between applications. This builds thickness gradually while ensuring each layer bonds completely to the previous one, creating a monolithic surface that performs like a single thick coating.
Back-rolling is a technique that dramatically improves final appearance by eliminating roller stipple and ensuring complete coverage. After applying epoxy with a roller, I immediately back-roll with light pressure using a fresh roller cover. This smooths the surface and forces material into any missed spots, resulting in a glass-like finish that looks professionally applied.
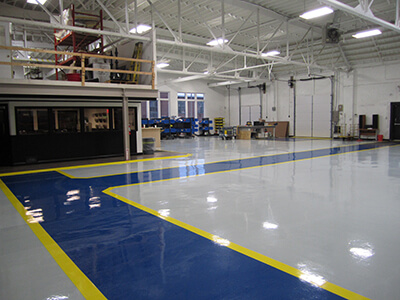
Color and Design Options: Creative Possibilities
Solid colors provide timeless elegance and are perfect for beginners learning proper application techniques. I started with simple gray and tan shades that hide minor imperfections while I developed my skills. These neutral tones complement any décor and maintain their appearance longer than more adventurous color schemes that might show wear patterns or become dated over time.
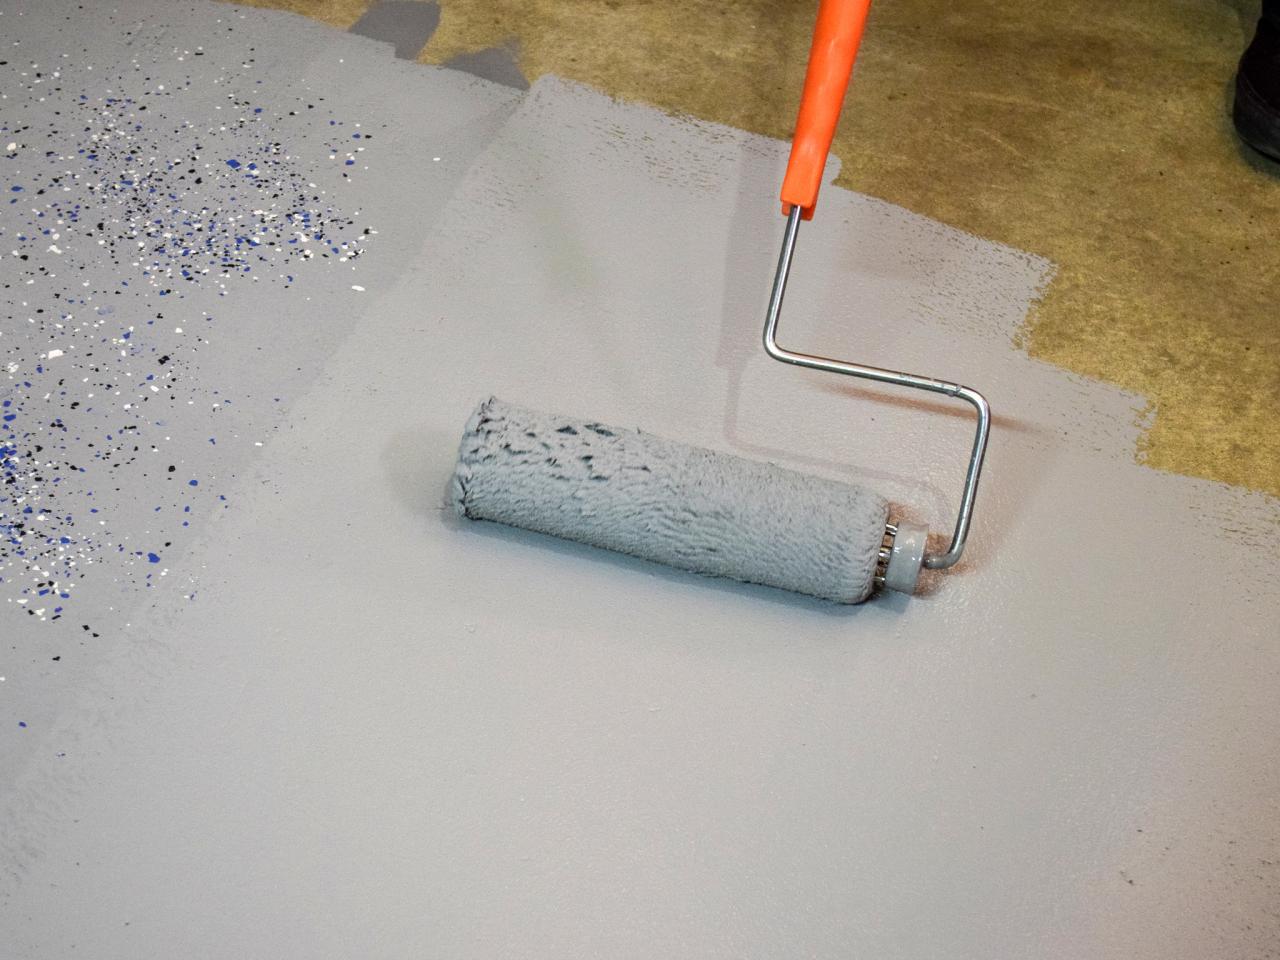
Decorative flakes opened up exciting design possibilities that transformed my plain garage into something special. I learned to broadcast flakes while the base coat remains tacky, then back-roll lightly to embed them properly. The key is achieving uniform distribution without overcrowding, which requires practice but creates stunning results that rival expensive terrazzo installations.
Metallic epoxy systems offer the most dramatic visual impact with their swirling, three-dimensional appearance. These require advanced techniques, including multiple metallic colors, strategic placement, and careful manipulation with specialty tools. I spent months practicing on sample boards before attempting my first metallic floor, but the results were worth the learning curve and extra effort required.
Maintenance and Longevity: Protecting Your Investment
Regular maintenance extends epoxy floor life significantly and keeps it looking new for years. I developed a simple cleaning routine using pH-neutral cleaners and microfiber mops that removes dirt without damaging the surface. Harsh chemicals and abrasive cleaning tools can dull the finish, so I stick to gentle products specifically designed for epoxy floors.
Understanding wear patterns helps me address issues before they become major problems. High-traffic areas show wear first, so I monitor these zones carefully and apply maintenance coats when necessary. This proactive approach costs far less than full refinishing and maintains a consistent appearance across the entire surface. Prevention is always cheaper than replacement.
I keep detailed records of application dates, products used, and maintenance performed on each floor. This information proves invaluable when planning future maintenance or troubleshooting issues. I also save leftover materials for touch-ups and repairs, ensuring perfect color matches years after the original installation. Good record-keeping pays dividends over time.
How long does epoxy flooring typically last?
With proper preparation and application, high-quality epoxy floors can last 10-20 years in residential settings and 5-10 years in commercial environments. I’ve seen well-maintained floors look nearly new after 15 years, while poorly installed floors fail within two years. The key factors are surface preparation, material quality, application technique, and ongoing maintenance. Regular cleaning and prompt repair of any damage significantly extend service life and maintain appearance.
Can I apply epoxy over existing paint or sealers?
I never recommend applying epoxy over existing coatings because adhesion will be compromised. Paint and sealers must be completely removed through grinding, sandblasting, or chemical stripping before epoxy application. I’ve attempted shortcuts in the past and always regretted it when the coating failed prematurely. Proper surface preparation requires removing all previous coatings down to bare, clean concrete for optimal bonding and long-term performance.
What temperature and humidity conditions are best for application?
I’ve found that temperatures between 60-80°F with relative humidity below 85% provide optimal working conditions. Extreme temperatures affect cure rates and can cause application problems like bubbling or poor flow characteristics. I use temperature strips and humidity meters to monitor conditions constantly during application. If conditions fall outside these parameters, I postpone the project rather than risk a failed installation that requires costly removal and reinstallation.
How do I fix bubbles or other imperfections after application?
Small bubbles can often be removed immediately after application by lightly rolling with a spiked roller or using a propane torch held at a safe distance. Once cured, imperfections require sanding and spot repairs with fresh epoxy. I’ve learned that prevention through proper mixing and application techniques is far easier than repairs. Major defects sometimes require complete removal and reapplication, which is expensive and time-consuming but necessary for acceptable results.
Is it possible to apply epoxy flooring myself, or should I hire professionals?
I successfully completed my first epoxy floor as a DIY project, but it required extensive research, careful preparation, and realistic expectations about the learning curve. Smaller areas like single-car garages are manageable for motivated homeowners, while large commercial spaces benefit from professional installation. The key is honestly assessing your skills, available time, and tolerance for potential mistakes that might require expensive corrections.
What safety precautions should I take during application?
Proper ventilation is absolutely critical when working with epoxy products due to potentially harmful vapors. I always use organic vapor respirators, chemical-resistant gloves, and eye protection during mixing and application. Adequate lighting prevents accidents and ensures complete coverage. I also keep emergency contact information readily available and never work alone when using these chemicals. Safety equipment costs far less than medical bills or permanent health damage from exposure.

Best Epoxy Floor Paint – Complete Guide for Epoxy Painting
How to Do Epoxy Flooring

CPC Floor Coatings Industrial Epoxy Floor Coatings
How to Resurface a Garage Floor
Epoxy Floor Coatings vs. Epoxy Paint: Just How Different Are They
Related Posts: