When I first stepped into my bare concrete garage five years ago, I never imagined how dramatically the right flooring could transform this utilitarian space. What started as a simple weekend project became my passion for creating stunning epoxy garage floors. Through countless hours of experimentation, mistakes, and successes, I’ve learned that epoxy flooring isn’t just about durability; it’s about expressing creativity while solving practical problems. This journey taught me that your garage can become an extension of your home’s aesthetic appeal.
Choosing Your Perfect Color Scheme
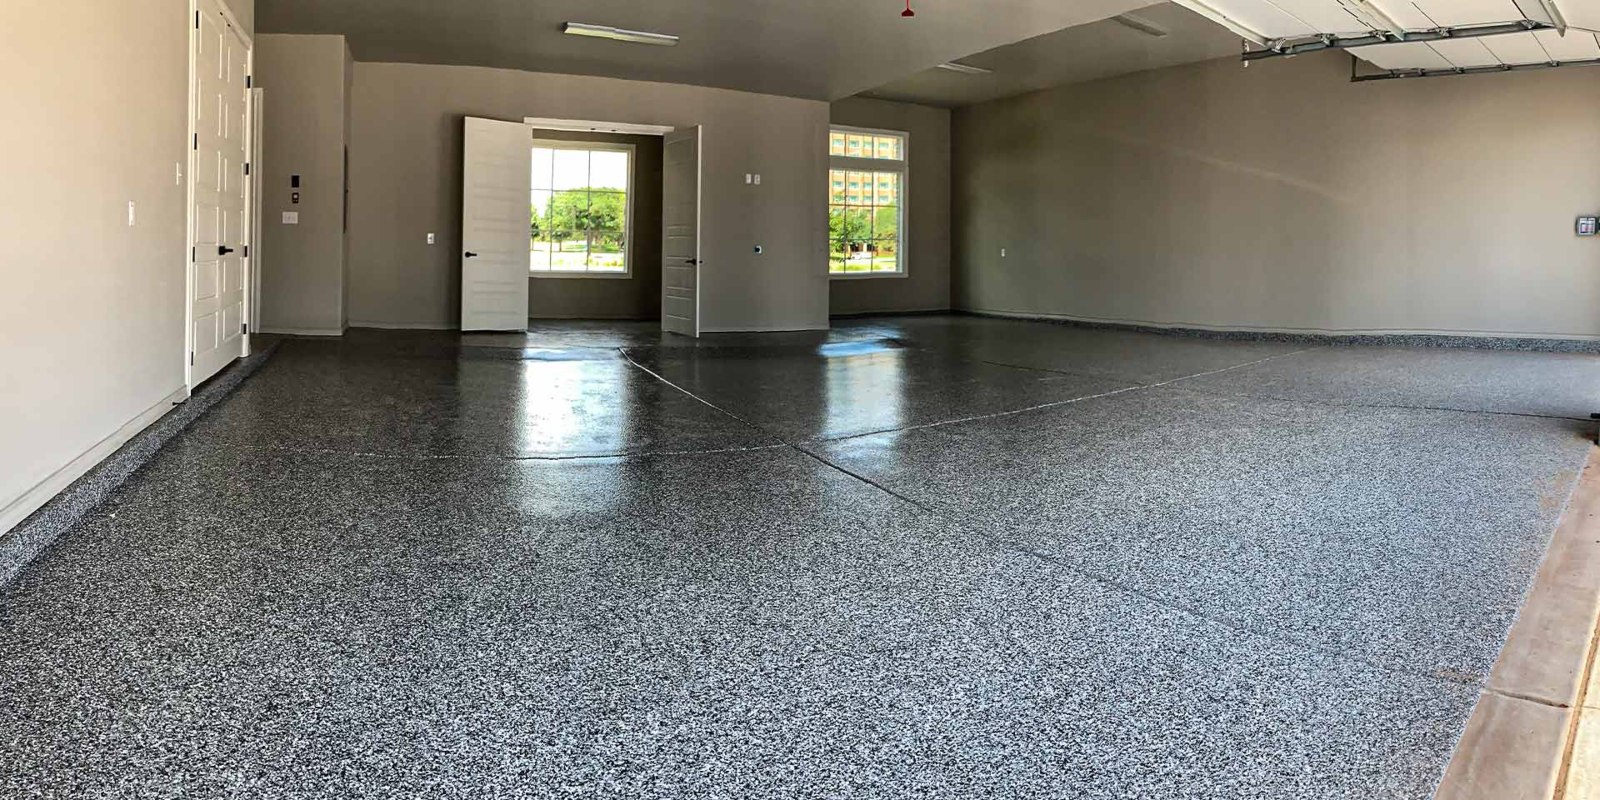
My first epoxy project taught me that color selection can make or break the entire design. I initially went with basic gray, thinking it would hide dirt better. What a mistake that was! The space felt cold and uninviting. After researching color psychology, I discovered that warm tones, such as deep blues and rich browns, create welcoming environments while still maintaining a professional garage aesthetic. The key is balancing personal preference with practicality.
Bold colors can be more forgiving than neutral ones when it comes to showing wear patterns. I learned this the hard way when my neutral beige floor showed every tire mark and oil stain. Now I recommend vibrant blues, forest greens, or even burgundy for clients who want something that stays looking fresh. These colors complement most car colors while adding personality to an otherwise functional space.
The lighting in your garage dramatically affects how colors appear throughout the day. I always test color samples under different lighting conditions before making final decisions. Natural daylight, fluorescent bulbs, and LED lights all cast different hues. What looks perfect under your overhead lights might appear completely different when the garage door is open and natural light floods in.
Mastering Decorative Flake Systems
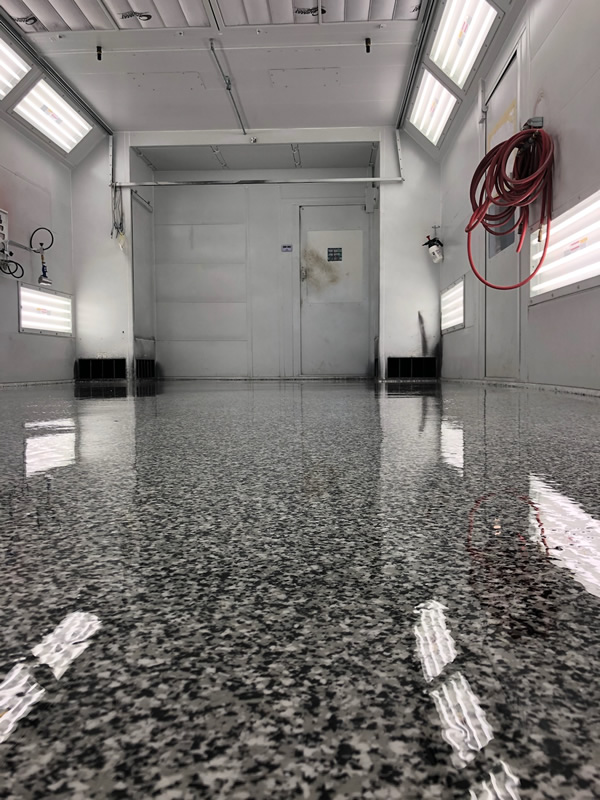
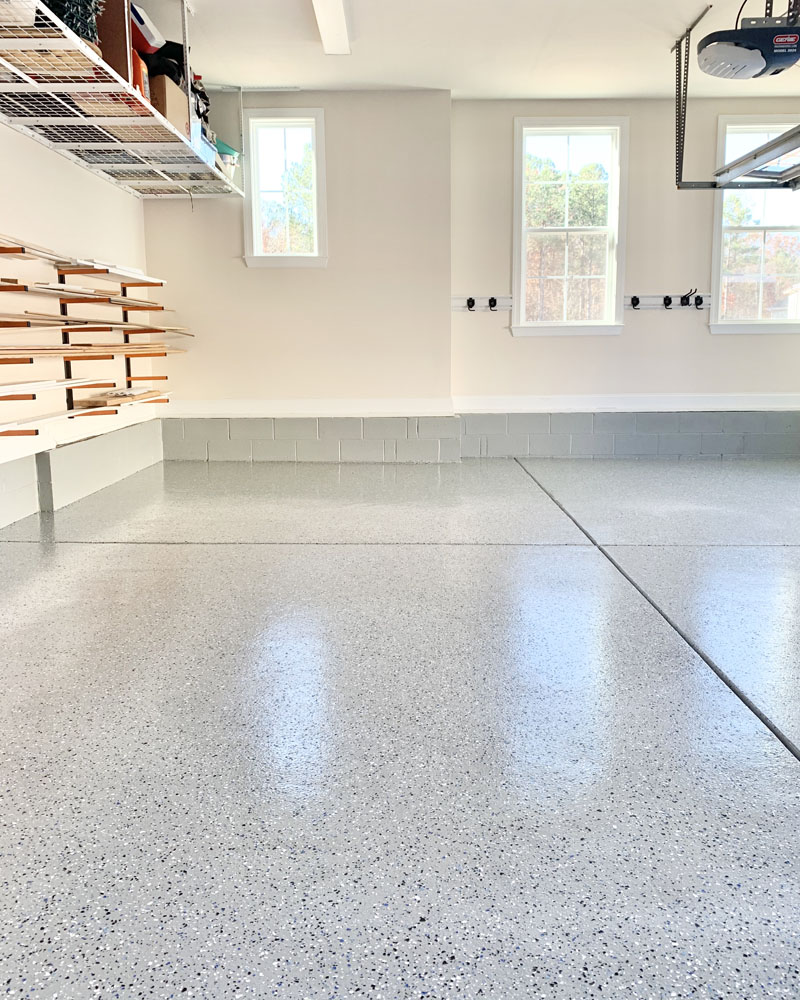
Decorative flakes were my gateway into understanding texture and visual depth in epoxy systems. My first attempt looked like I had scattered cereal across wet paint, completely uneven and unprofessional. The secret I discovered is in the application technique and timing. You need to broadcast the flakes while the base coat is still tacky but not wet enough to swallow them completely.
The size and color combination of flakes determines whether your floor looks sophisticated or chaotic. I prefer mixing different-sized flakes in complementary colors rather than using single-color systems. Quarter-inch flakes provide good coverage while eighth-inch flakes fill gaps and add subtle texture variation. The density of application should vary across the floor to create natural-looking patterns rather than uniform distribution.
Proper flake removal between coats separates amateur work from professional results. I use a floor scraper to remove loose flakes before applying the topcoat, ensuring only well-adhered pieces remain. This step prevents flakes from pulling up later and creates a smooth surface for the final protective layer. Many DIY enthusiasts skip this crucial step and wonder why their floors feel rough or show premature wear.
Creating Stunning Metallic Effects
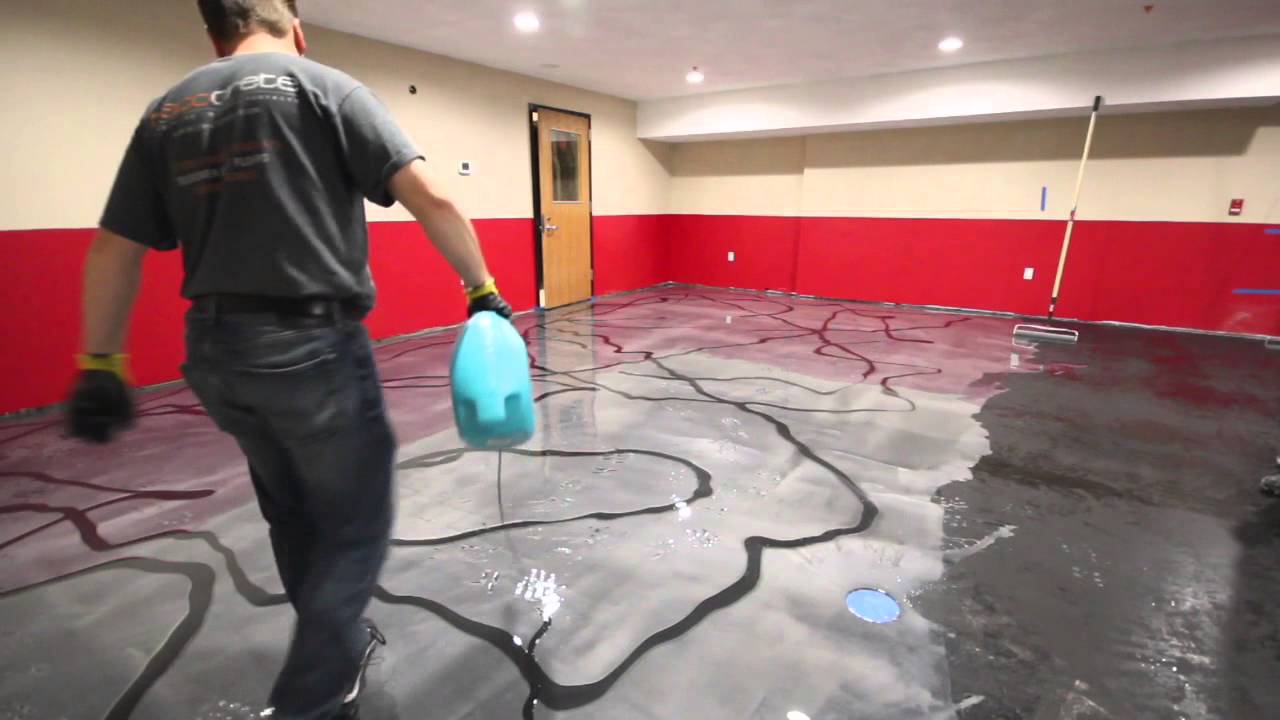
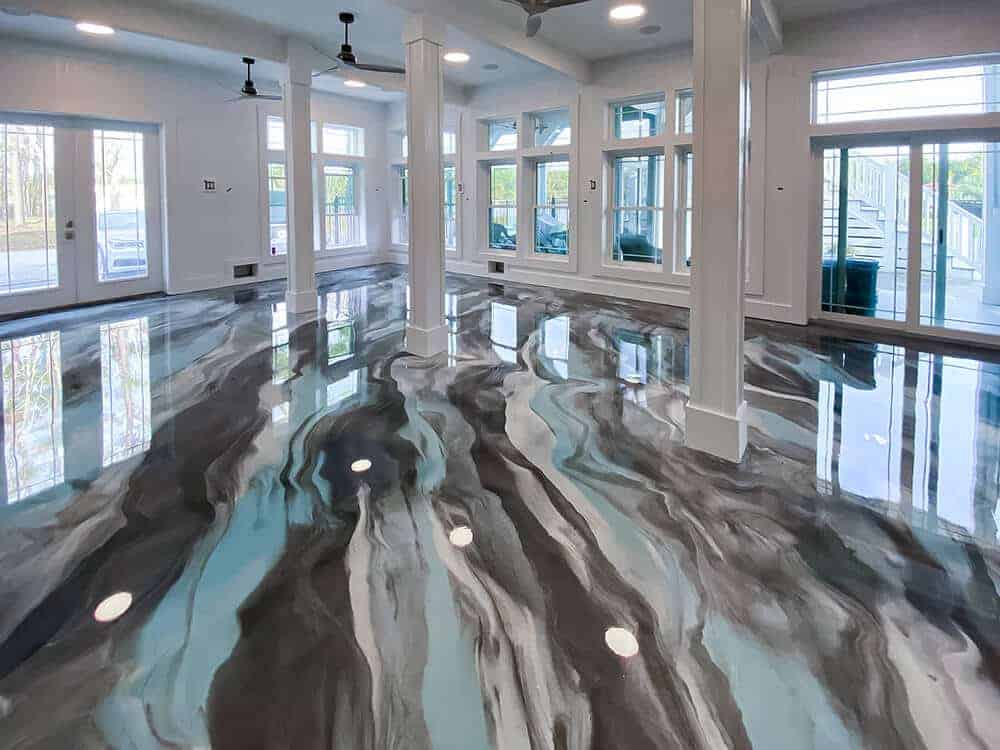
Metallic epoxy systems opened up an entirely new dimension in my design capabilities. The first time I watched metallic pigments swirl and flow across the floor, creating organic patterns that resembled polished stone or flowing water, I was hooked. These systems require a completely different mindset and technique compared to standard solid-color applications.
Temperature and humidity control become critical factors when working with metallic systems. I learned this during a humid summer project where the metallic effects barely moved, creating a static, lifeless appearance. Now I monitor conditions carefully and adjust my techniques accordingly. Cooler temperatures slow the reaction, allowing more working time, while warmer conditions accelerate the metallic flow and create more dramatic effects.
The manipulation techniques for metallic systems are where artistry meets science. I use various tools including brushes, rollers, and even leaf blowers, to guide the metallic flow. Each tool creates different patterns and effects. The key is knowing when to manipulate and when to let the metallics flow naturally. Overworking the material destroys the organic beauty that makes these floors so captivating.

Advanced Pattern Integration
Geometric patterns transformed my understanding of what’s possible with epoxy flooring. My first attempt at creating diamonds using tape resulted in bleeding edges and crooked lines. The preparation phase for patterned floors requires mathematical precision and patience. I now spend more time measuring and marking than actually applying the epoxy, but the results justify this meticulous approach.
Stencils offer another avenue for creating repeating patterns or logos. I’ve created everything from subtle basket-weave textures to bold corporate logos using custom-cut stencils. The key is using the right adhesive strength, enough to prevent bleed-through but not so strong that removal damages the base coat. I’ve found that removable vinyl works best for most applications.
Combining different pattern types within the same floor creates visual zones without physical barriers. I often use subtle geometric patterns in the main driving area while incorporating more decorative elements along the perimeter or in work zones. This approach maintains functionality while adding visual interest and helps define different areas within the garage space.

Functional Design Considerations
Safety became my primary concern after witnessing a client slip on their newly installed floor during a rainy day. Texture additives and strategic design choices can significantly improve traction without sacrificing appearance. I now incorporate anti-slip aggregates in specific areas while maintaining smooth surfaces where they’re not needed for easier cleaning and cart movement.
Traffic patterns in your garage should influence design decisions from the planning stage. High-wear areas like entry points and parking zones need different consideration than storage areas along the walls. I use darker colors or patterns that disguise wear in heavy-traffic zones while allowing lighter, more decorative treatments in protected areas. This strategic approach extends the floor’s attractive appearance over time.
Maintenance requirements vary dramatically between different design approaches. Solid colors show dust and dirt more readily than textured or patterned surfaces. Metallic finishes hide imperfections better than glossy solid colors but may require more frequent recoating to maintain their luster. I always discuss these trade-offs with clients during the design phase to ensure realistic expectations.
Installation Tips and Techniques
Proper surface preparation accounts for eighty percent of a successful epoxy installation, yet it’s where most DIY projects fail. I spent my early years learning this lesson repeatedly through peeling and bubbling floors. Concrete must be clean, dry, and properly profiled to achieve maximum adhesion. I use mechanical grinding rather than acid etching whenever possible for superior surface preparation.
Temperature and humidity monitoring throughout the installation process prevents many common problems. I maintain detailed logs of environmental conditions during each project phase. This data helps me predict curing times, working windows, and potential issues before they occur. Rushing installations due to weather changes has caused more project failures than any other single factor in my experience.
Tool selection and maintenance directly impact the final appearance quality. I invest in premium brushes and rollers specifically designed for epoxy applications and replace them regularly. Cheap tools leave streaks, bubbles, and texture variations that are impossible to correct once the epoxy cures. Proper cleaning and storage of tools between coats also prevents contamination that can cause adhesion problems.
How long does an epoxy garage floor installation typically take from start to finish?
A complete epoxy garage floor installation usually takes three to five days, depending on the complexity of your design and environmental conditions. Surface preparation consumes the first day, including cleaning, grinding, and repairs. The primer coat goes down on day two, followed by the base color and decorative elements on day three. Day four involves applying the protective topcoat, with an additional day needed for final curing before vehicle traffic. Complex metallic or patterned designs may extend this timeline.
What’s the realistic lifespan of different epoxy garage floor systems?
Basic solid-color epoxy systems typically last eight to twelve years with proper maintenance and normal residential use. Decorative flake systems often exceed fifteen years due to their superior wear resistance and ability to hide minor damage. Premium metallic systems, when professionally installed, can maintain their appearance for twenty years or more. Commercial-grade systems in residential applications may last even longer. The key factors affecting lifespan include surface preparation quality, system thickness, and maintenance practices.

How do I maintain my decorative epoxy floor to preserve its appearance?
Regular maintenance begins with daily sweeping or dust mopping to remove abrasive particles that can dull the surface over time. Weekly cleaning with a pH-neutral cleaner maintains the floor’s luster without damaging the epoxy chemistry. Avoid harsh chemicals, especially ammonia-based products, which can cloud the finish. Address spills immediately to prevent staining, particularly oil-based substances. Annual inspection helps identify areas needing touch-up before problems spread throughout the system.
Can I install epoxy flooring over existing coatings or damaged concrete?
Existing coatings must be completely removed before applying new epoxy systems, as adhesion between different coating types is unreliable and often fails within months. Damaged concrete requires proper repair with compatible materials before installation. Small cracks can be filled with epoxy crack fillers, while larger structural issues may require concrete patching compounds. The substrate must be sound, clean, and properly profiled, regardless of its current condition, for successful installation.
What design options work best for hiding dirt and maintaining a clean appearance?
Darker base colors with contrasting decorative flakes excel at concealing dust, dirt, and minor wear patterns between cleanings. Medium-tone grays, blues, and greens work particularly well as base colors. Avoid pure white or very light colors in high-traffic areas. Metallic systems with subtle color variations naturally camouflage dirt and provide visual depth that distracts from surface imperfections. Matte finishes show dirt less than high-gloss surfaces but may be harder to clean thoroughly.
How do different epoxy systems perform in extreme temperature conditions?
Quality epoxy systems handle temperature fluctuations from negative twenty to positive one hundred sixty degrees Fahrenheit without structural damage. However, extreme heat can cause temporary softening, making the surface more susceptible to marking from hot tires or dropped tools. Cold temperatures make the floor more brittle temporarily. Thermal shock from rapid temperature changes poses the greatest risk, potentially causing cracking in poorly prepared substrates. Proper installation and substrate preparation minimize temperature-related issues in most climates.

DIY Epoxy Garage Floors
Custom Epoxy Garage Floor Contractor

Epoxy Flooring Ideas to Extend the Life of Your Floors

Related Posts: