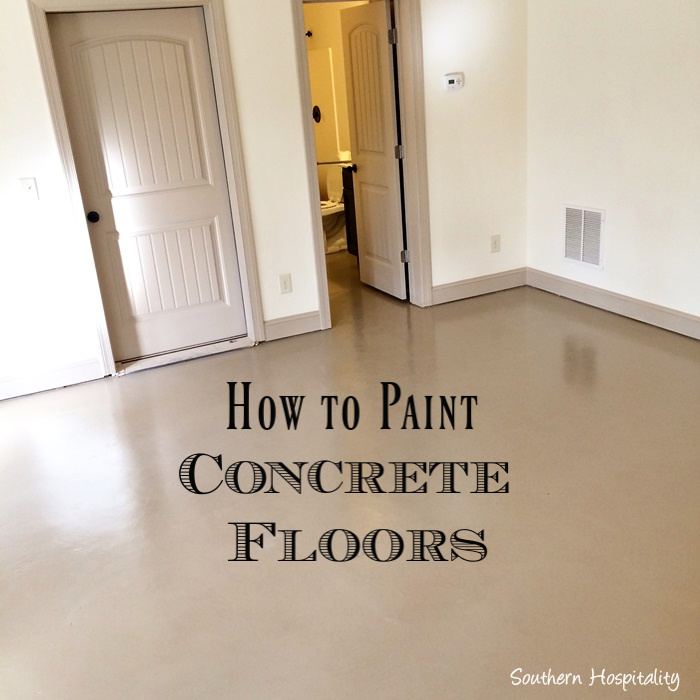
Two years ago, I stared at the ugly, stained concrete floor in my basement and decided something had to change. What started as a weekend project turned into a comprehensive learning experience about surface preparation, paint selection, and application techniques. I made plenty of mistakes along the way, but each error taught me valuable lessons that I’m excited to share. The transformation from dull gray concrete to a beautiful, durable painted surface exceeded my expectations and added significant value to my home.
Surface Preparation Made the Difference
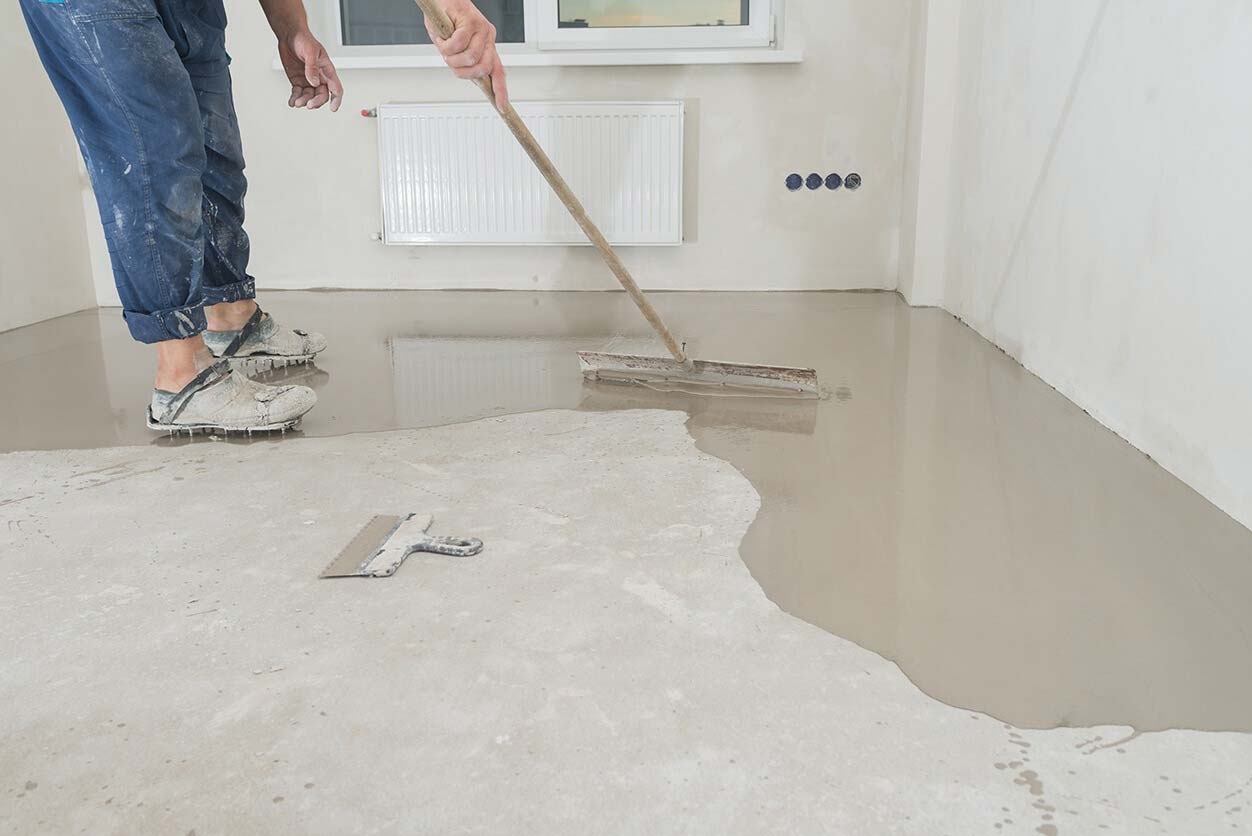
I learned the hard way that proper preparation determines whether your paint job lasts years or fails within months of completion. My first attempt involved minimal cleaning, and the paint peeled off in sheets within six months, teaching me the importance of never skipping crucial preparation steps. I spent two full days on my second attempt, thoroughly cleaning, repairing cracks, and ensuring optimal surface conditions for paint adhesion.
Concrete cleaning required much more effort than I initially anticipated, involving degreasing agents, pressure washing, and scrubbing to remove years of accumulated dirt and stains. I discovered that oil stains required special treatment with concrete degreasers before any paint application could be successful. The investment in proper cleaning products and equipment paid dividends through superior paint adhesion and professional-looking results.
Crack repair became essential when I found numerous hairline fractures that would telegraph through paint if left untreated, creating unsightly lines and potential failure points. I used concrete crack filler and smoothed each repair carefully, allowing proper curing time before proceeding with subsequent steps. This patience proved crucial for achieving smooth, uniform surfaces that accept paint evenly across the entire floor area.
Choosing the Right Paint and Primer System
I researched countless paint options before selecting an epoxy-based system specifically formulated for concrete surfaces and high-traffic applications that my basement would experience. Regular house paint simply cannot withstand the moisture, temperature fluctuations, and wear patterns that concrete floors endure in basements and garage environments. The investment in specialized concrete paint proved worthwhile through superior durability and appearance retention over time.
Primer selection required understanding the specific needs of concrete surfaces, which are naturally alkaline and can cause standard primers to fail prematurely. I chose an alkali-resistant primer that bonds chemically with concrete while providing a proper base coat for topcoat adhesion. This two-step system costs more initially but prevents costly repainting projects that result from using inappropriate primer products.
Color coordination involved testing multiple samples under different lighting conditions to ensure the final result would complement my basement’s intended use and existing décor elements. I learned that concrete paint colors appear differently on large surfaces compared to small test patches, requiring larger sample areas for accurate color evaluation. The extra time spent on color selection prevented disappointment and ensured satisfaction with the finished project.
Tools and Equipment That Made the Job Easier
I invested in quality rollers, brushes, and extension poles after discovering that cheap tools left streaks, shed fibers, and made even coverage nearly impossible to achieve. Professional-grade equipment costs more initially but produces superior results while lasting through multiple projects, making it a worthwhile investment for serious DIY enthusiasts. The right tools transformed a frustrating experience into an enjoyable project with professional-quality outcomes.
Paint sprayers initially seemed like overkill for my basement project, but after struggling with rollers on textured concrete surfaces, I rented equipment that dramatically improved efficiency and finish quality. Spraying allowed me to achieve even coverage in corners, around obstacles, and on rough surfaces where rollers couldn’t penetrate effectively. The rental cost proved minimal compared to the time saved and superior results achieved.
Safety equipment became crucial when I realized that concrete painting involves chemical vapors, dust, and potential skin contact with harsh cleaning agents and paint products. I invested in proper respirators, protective clothing, and ventilation fans that made the work environment safer and more comfortable. These precautions protected my health while allowing me to work longer periods without fatigue or discomfort.

Application Techniques I Learned Through Trial and Error
Temperature and humidity control proved critical for successful paint application, requiring careful timing and environmental monitoring throughout the project duration to ensure optimal curing conditions. I learned to check weather forecasts and postpone painting during high humidity periods that could affect paint adhesion and drying times. Basement environments often require dehumidifiers to create ideal conditions for concrete paint application and curing.
Paint application patterns require systematic approaches to maintain wet edges and avoid lap marks that create visible seams in the finished surface, particularly important on large, continuous areas. I developed techniques for working in manageable sections while maintaining continuity across the entire floor area. Back-rolling after spraying ensured uniform texture and eliminated any spray pattern irregularities that could affect appearance.
Multiple coat application demanded patience and proper timing between coats to achieve maximum durability and color depth which makes the investment in quality paint worthwhile. I learned that rushing between coats compromises adhesion and can cause lifting or peeling problems later. Following manufacturer recommendations for recoat timing ensured each layer bonded properly with the previous coat, creating a durable, long-lasting finish.

Common Mistakes and How I Fixed Them
My biggest error involved inadequate surface preparation that resulted in poor paint adhesion and premature failure, requiring complete removal and starting over with proper preparation techniques. I learned that shortcuts in cleaning and priming create problems that multiply over time, making thorough initial preparation essential for long-term success. The time invested in proper preparation prevents costly do-overs and ensures professional results that last for years.
Paint thickness variations created an uneven appearance that became obvious under certain lighting conditions, teaching me the importance of consistent application techniques and proper coverage rates. I corrected these issues by sanding high spots and applying additional thin coats to achieve a uniform appearance across the entire surface. Maintaining consistent wet film thickness requires practice and attention to detail throughout the application process.
Ventilation problems caused extended drying times and poor curing conditions that affected final paint hardness and durability, requiring additional fans and dehumidification to create optimal conditions. I learned that concrete painting requires excellent air circulation to remove moisture and chemical vapors that interfere with proper curing. Proper ventilation also makes the work environment more comfortable and safer for extended periods.
Long-Term Maintenance and Touch-Up Strategies
Daily maintenance involves simple cleaning routines using mild detergents and avoiding harsh chemicals that could damage the paint surface or affect its protective properties over time. I established weekly cleaning schedules that prevent dirt accumulation and maintain the painted surface’s appearance and performance characteristics. Regular maintenance proves much easier and less expensive than major refinishing projects required when floors are neglected.
Traffic pattern monitoring revealed areas that experience higher wear rates and require periodic touch-up attention to maintain uniform appearance across the entire painted surface. I keep matching paint available for quick repairs and address small damages immediately before they expand into larger problems. Strategic placement of rugs and furniture protects high-wear areas while maintaining the floor’s overall aesthetic appeal.
Annual inspection routines help identify potential issues before they become major problems requiring extensive repair work or complete refinishing of the painted concrete surface. I document any changes in appearance, adhesion, or performance that might indicate underlying moisture problems or structural issues affecting the floor. Early intervention prevents minor problems from becoming costly major repairs that could have been avoided through regular maintenance attention.

How long should I wait before painting newly poured concrete?
New concrete requires at least 30 days of curing time before paint application, though I recommend waiting 60-90 days for optimal results and adhesion. Fresh concrete contains excess moisture and continues chemical curing processes that interfere with paint bonding if rushed too quickly. I learned this lesson when paint failed on concrete that seemed dry but hadn’t fully cured internally, creating adhesion problems that required complete removal.
What’s the best way to test if concrete is ready for painting?
I use the plastic sheet test, taping plastic squares to various floor areas and checking for condensation after 24 hours to determine moisture levels. Dry concrete shows no condensation, while wet concrete creates visible moisture under plastic that indicates the surface isn’t ready for painting. Additionally, I test pH levels using litmus strips, ensuring alkalinity has neutralized sufficiently for primer adhesion and long-term paint performance.
Can I paint over previously painted or sealed concrete floors?
Yes, but surface preparation becomes more complex and critical for success, requiring the removal of loose paint, deglossing shiny surfaces, and ensuring proper adhesion. I’ve successfully painted over old coatings after thorough cleaning, light sanding, and using high-quality bonding primers designed for difficult surfaces. Test adhesion in inconspicuous areas first, as some sealers prevent proper paint bonding regardless of preparation efforts.
How do I handle moisture problems before painting concrete?
Moisture issues must be resolved before painting, as trapped water will cause paint failure regardless of product quality or application technique used. I install vapor barriers, improve drainage, and use dehumidifiers to control basement humidity that contributes to concrete moisture problems. Hydrostatic pressure requires professional waterproofing solutions before any paint application can succeed long-term in below-grade concrete areas.

What type of paint works best for high-traffic concrete areas?
Epoxy-based paints provide superior durability for garages, basements, and commercial applications where concrete floors experience heavy use and potential chemical exposure. I’ve used two-part epoxy systems that cure harder than single-component paints, though they require more careful mixing and application timing. Polyurethane concrete paints offer good durability with easier application, making them suitable for moderate-traffic residential applications.
How often will I need to repaint concrete floors?
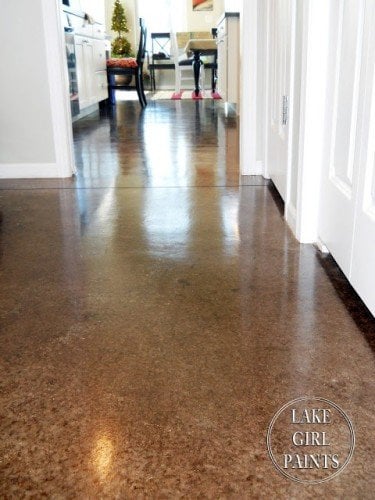
Quality concrete paint systems last 3-7 years, depending on traffic levels, surface preparation quality, and environmental conditions affecting the painted surface. My basement floor shows minimal wear after two years of normal family use, while garage floors require more frequent maintenance due to vehicle traffic and temperature fluctuations. Proper preparation and quality materials extend paint life significantly, making the investment worthwhile for long-term performance and appearance.

Painted Concrete Floors, Concrete Floor Paint

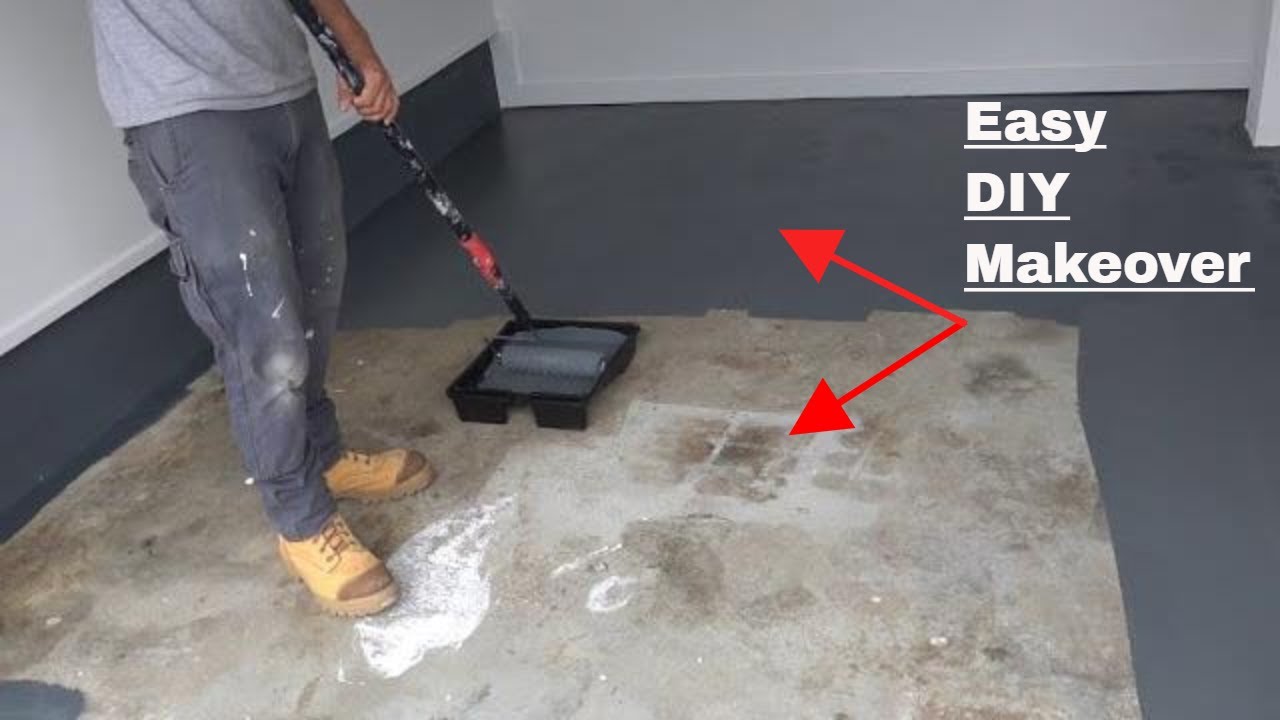
How to paint concrete floors – DIY makeover
How To Paint Concrete UPDATED!!

Related Posts: