Cork takes heat absorption to a whole brand new level, and whereas hardwood floors can be noisy to hike on, cork floors are actually much quieter. Nevertheless, this is precisely the complete opposite of just how cork is harvested. We recommend to travel to a showroom that showcases cork as their flooring version. We would love to present you to a flooring item that we believe will boosts the homes decor of yours and be an excellent investment.
Images about How To Remove Cork Floor Tiles
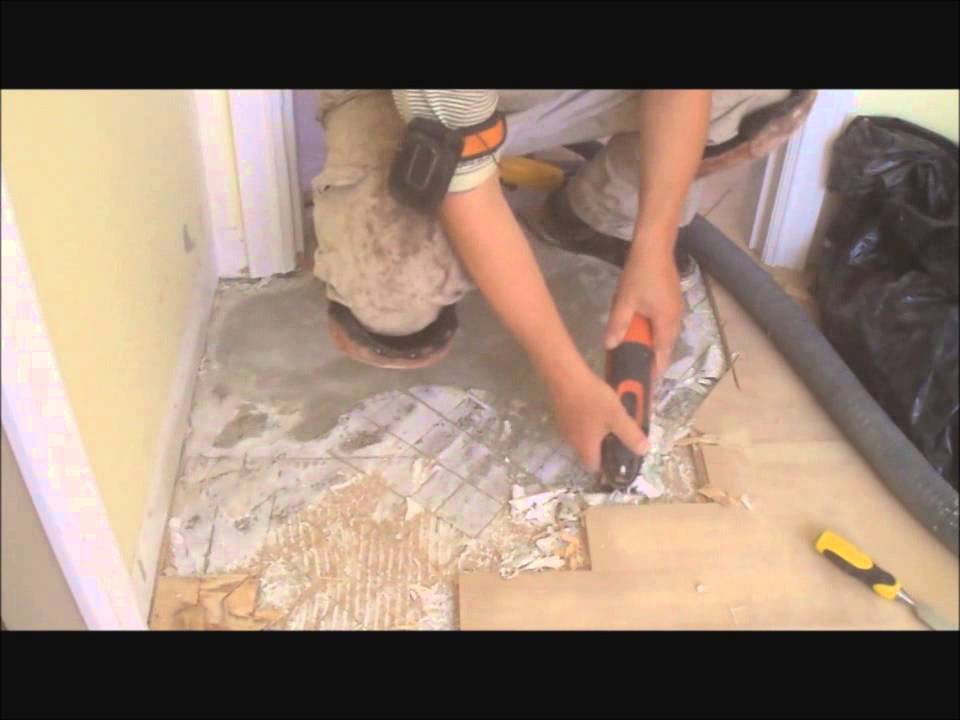
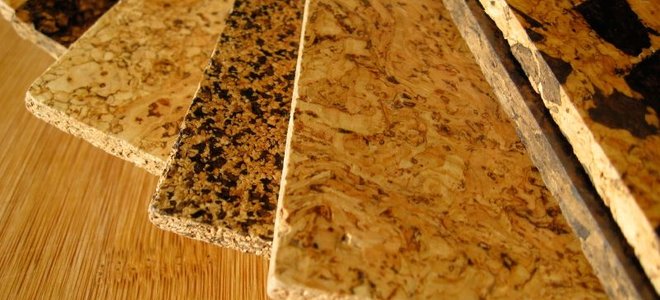
How To Remove Cork Floor Tiles
Installation costs differ from $3-1dolar1 4 per square foot for a large space, with smaller rooms costing even more contingent on location of residence. First, its beauty matches virtually any other hardwood floor; with a large number of pattern variations, colors and natural shades. In case you would still love to know more be at liberty to follow the links at the end of this article.
Removing Cork Tiles from Floors and Walls DIY Doctor

Overall, the cellular composition of cork can be quite dense. Cork floor surfaces are still extremely popular, like most flooring options, they both have benefits and drawbacks related to them. Cork is an all natural, eco friendly flooring option for those who would like a greener home or perhaps who are dealing with allergies.
How to Remove Cork Floor Tiles DoItYourself.com
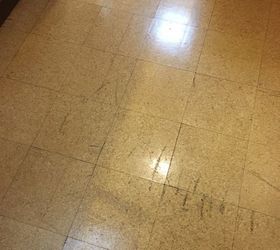
How do I repair an old cork floor or remove it? Hometalk
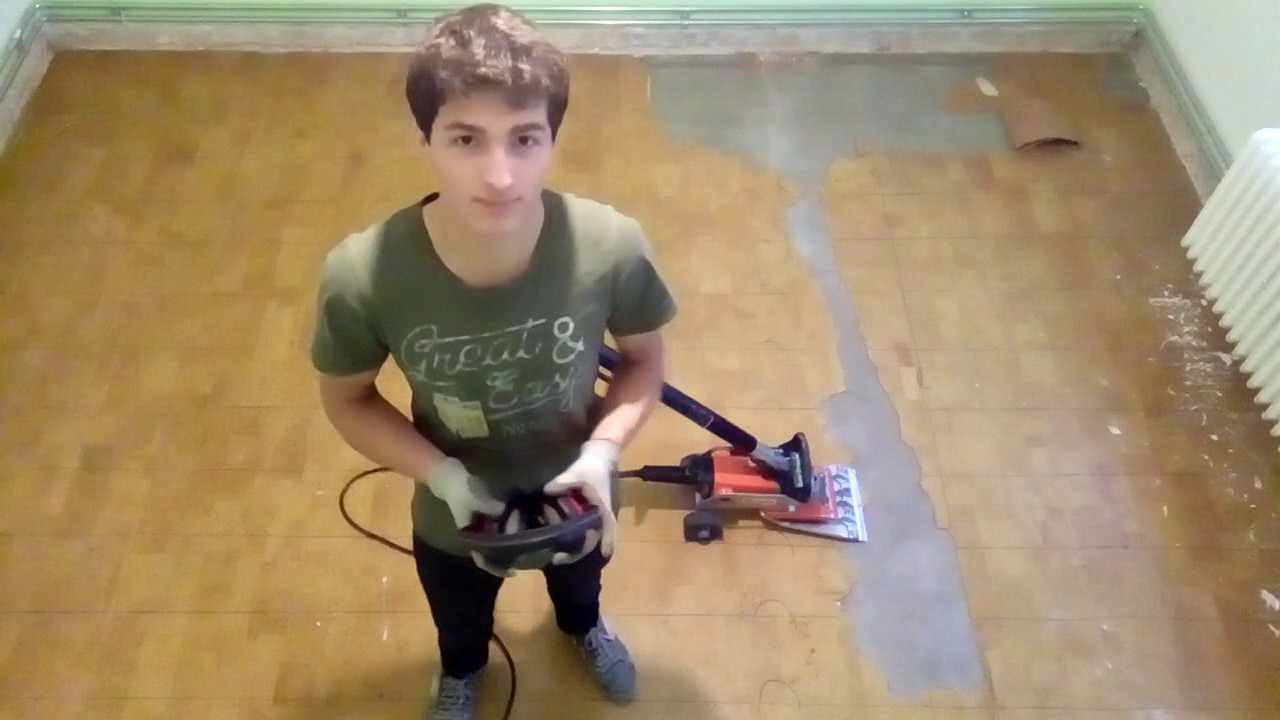
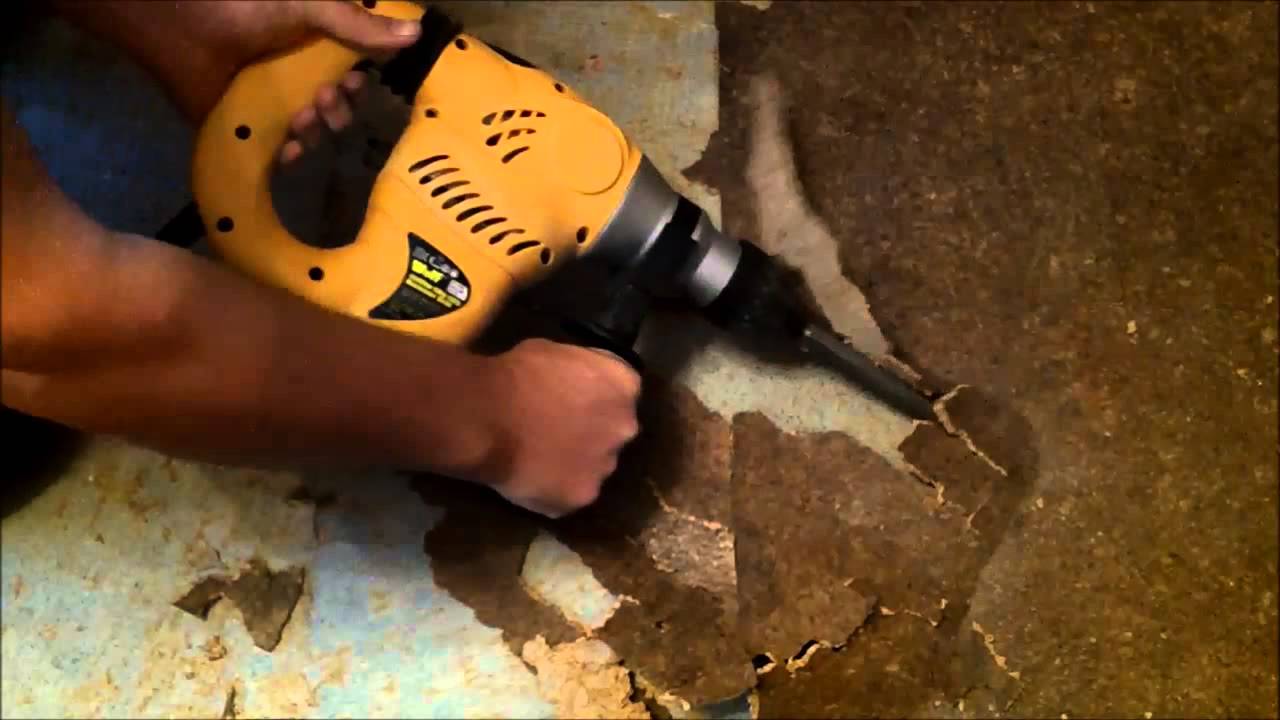
Cork Floor Demolition – YouTube
Wolf Craft 1500w SDS impact drill removing bonded cork tiles
How to Remove Cork Floor Tiles DoItYourself.com

Removing Cork Tiles from Floors and Walls DIY Doctor

taking off cork tiles – YouTube
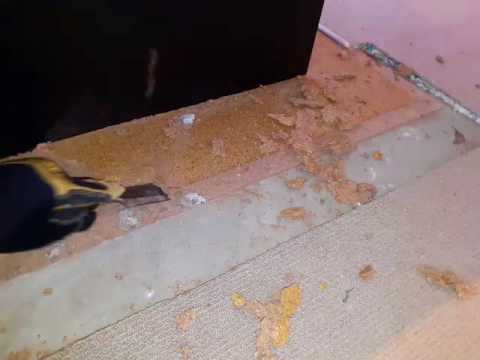
How to Remove Cork Tiles
Removing Cork Tiles from Floors and Walls DIY Doctor

Found a message while removing our cork floor tiles : r

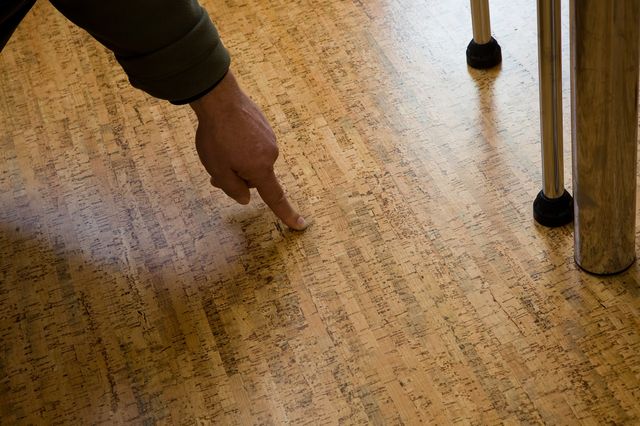
3 easy steps to restore a cork floor

Refinishing old cork floors u2013 tips from the professionals
Related Posts:
- Cork Flooring Colors
- Cork Flooring Dining Room
- Light Cork Flooring
- Engineered Cork Flooring
- Cork Flooring In Kitchen
- Cork Flooring Modern
- Cork Flooring White
- Herringbone Cork Flooring
- Outdoor Cork Flooring
- Cork Flooring Bathroom
How To Remove Cork Floor Tiles
Cork tiles are a popular flooring option that provides a rich, warm aesthetic, along with natural sound absorption and thermal insulation. However, like any flooring material, cork tiles may eventually need to be removed and replaced. Knowing how to properly remove cork floor tiles is an important step in making sure the installation of new tiles goes smoothly and looks great.
Preparing for Removal
Before you can begin removing the cork floor tiles, there are a few preparatory steps you should take. First, make sure the area around the tile is clear of furniture or other items that may get in the way of the removal process. Once you have cleared the area, you should use a utility knife to score small cuts in the grout sealant surrounding each tile. This will make it easier to break apart the sealant when it comes time to remove it.
Removing the Tiles
Once you have prepared for removal, it is time to start taking out the cork tiles. Start by using a putty knife or flat chisel to break up the sealant in between each tile and carefully pry each tile up from its position on the floor. Use caution when removing tiles so as not to damage surrounding walls or baseboards. Once all of the tiles have been removed, use a shop vacuum to clean up any remaining debris.
Removing Adhesive Residue
When removing cork tiles, it is common for adhesive residue to remain on the subfloor. To remove this residue, start by using a putty knife or flat chisel to scrape away as much of the adhesive as possible. Once you have scraped away as much of the adhesive as possible, dampen a cloth with mineral spirits and use it to wipe away any remaining residue. If necessary, use a stronger solvent such as methylene chloride to completely remove any stubborn residue.
Replacing Cork Tiles
Now that all of your old cork floor tiles have been removed, it is time to replace them with new ones. Begin by preparing the subfloor for installation by cleaning it with a damp cloth and allowing it to dry completely before proceeding. Next, apply a thin layer of adhesive to each tile before placing them carefully onto the subfloor. Finally, use a trowel to spread grout onto each tile and allow it to dry before walking on the newly installed cork floor tiles.
FAQs About Removing Cork Floor Tiles
Q: What tools do I need for removing cork floor tiles?
A: When removing cork floor tiles, be sure to have a utility knife, putty knife or flat chisel, shop vacuum, mineral spirits or methylene chloride, and a trowel on hand.
Q: How do I clean up adhesive residue?
A: To clean up adhesive residue left behind after removing cork tiles, start by using a putty knife or flat chisel to scrape away as much of the adhesive as possible. Next, dampen a cloth with mineral spirits and use it to wipe away any remaining residue. If necessary, use a stronger solvent such as methylene chloride to completely remove any stubborn residue.
Q: How do I prepare my subfloor for replacing cork tiles?
A: Before installing new cork tiles, be sure to clean your subfloor with a damp cloth and allow it to dry completely before proceeding. Additionally, you should apply a thin layer of adhesive to each tile before placing them carefully onto the subfloor. Finally, use a trowel to spread grout onto each tile and allow it to dry before walking on the newly installed cork floor tiles.
Conclusion
Removing cork floor tiles can be an intimidating task if you are not familiar with the process; however, with proper preparation and know-how, anyone can successfully remove cork floor tiles and replace them with new ones in no time at all! Be sure you understand what tools are needed for removal and how best to clean up any adhesive residue left behind afterwards so that your installation process is successful and your floors look great!