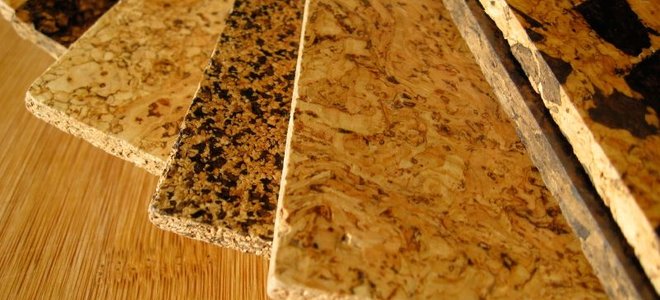
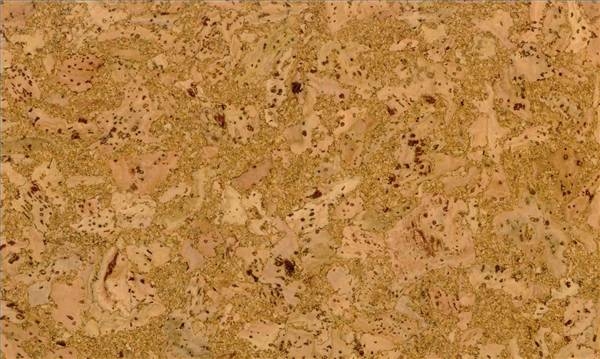
You will find a number of rewards to the green building material cork flooring. But, this article can not make you recognize precisely how durable and beautiful cork flooring really is. The bark of this cork oak tree is actually actual cork and it is harvested by getting rid of a small stratum of the bark (cork) coming from the trunk.
Images about How To Remove Cork Flooring
How To Remove Cork Flooring
Issues to have when putting down a cork floors needs to be the moisture level in that particular area will it flood, and exactly how level is actually the surface? Almost any unleveled surface will need to be rendered before installation and in case you're thinking about placing cork flooring in a basement in which the moisture level is actually high you might want to reconsider.
Removing Cork Tiles from Floors and Walls DIY Doctor

The natural color, pattern perturbation and shading are remarkable. If you would like to read more we suggest you stick to the links above. One can find loads of reputed manufacturers nowadays, offering a big variety in this renewable flooring option. Cork is a workable flooring alternative for many rooms in your house. The most perfect example is actually imagining a cork stopper in a champagne bottle.
How to Remove Cork Floor Tiles DoItYourself.com
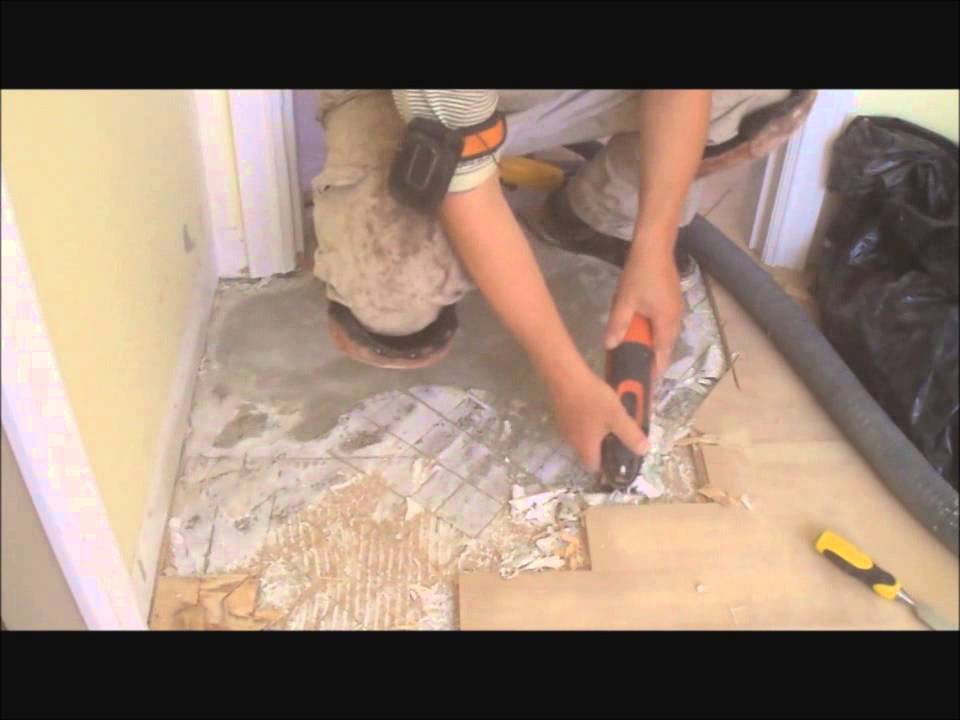
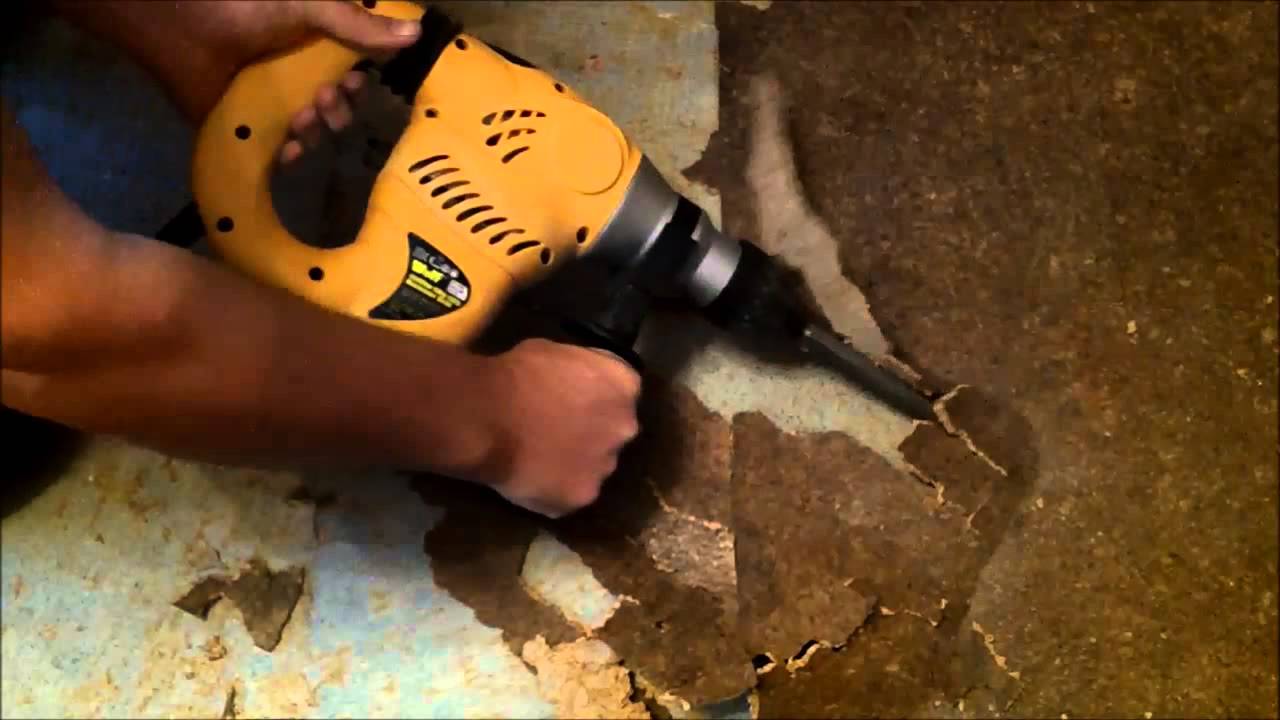
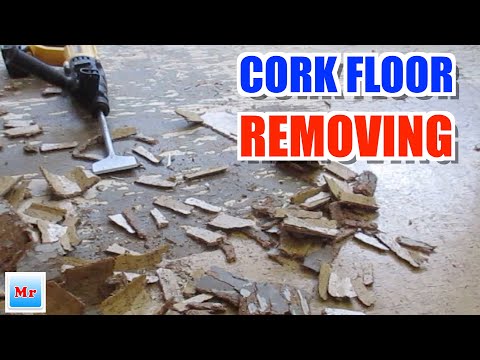
Cork Floor Demolition – YouTube
How do I repair an old cork floor or remove it? Hometalk
Wolf Craft 1500w SDS impact drill removing bonded cork tiles
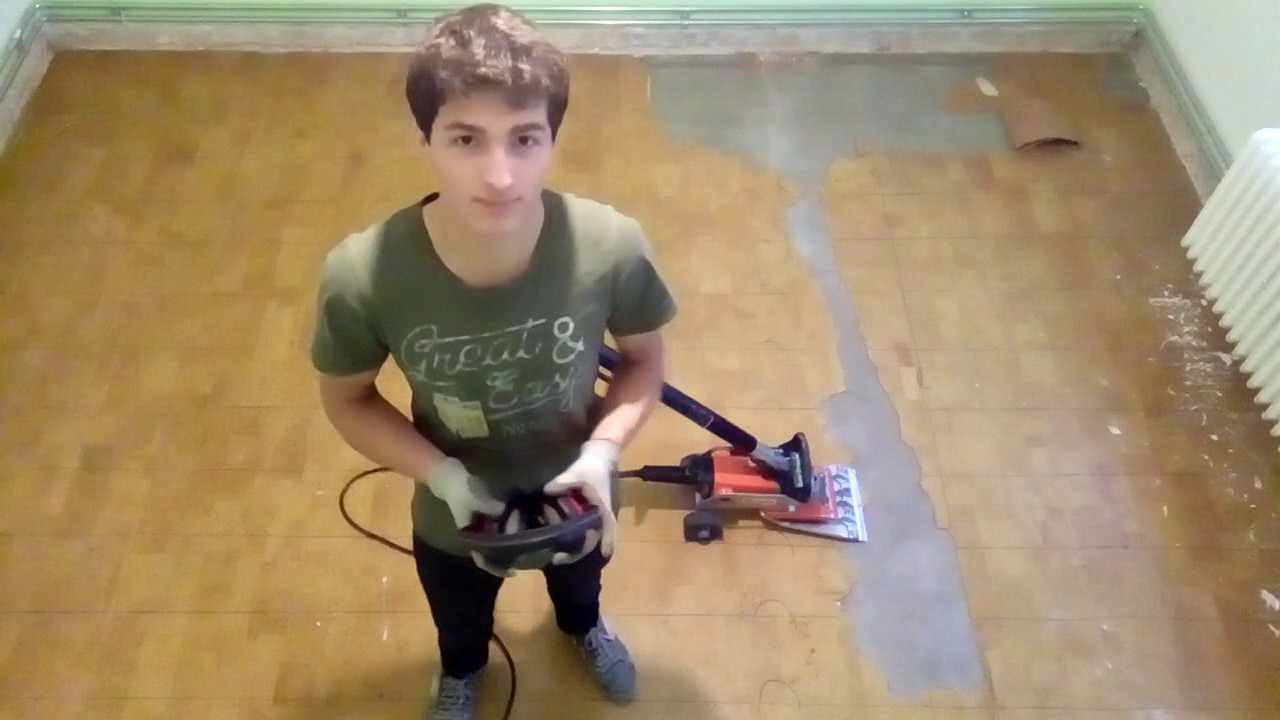
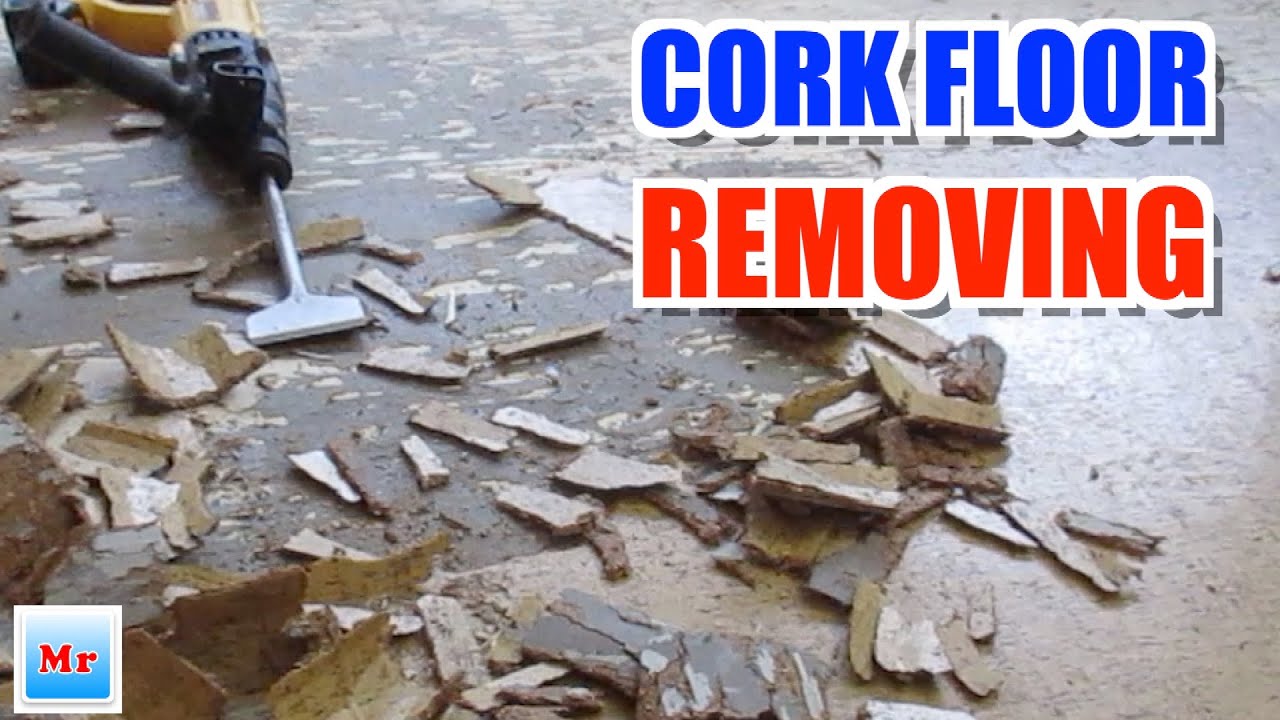
How To Remove Old Cork Floor MrYoucandoityourself – YouTube
Removing Cork Tiles from Floors and Walls DIY Doctor

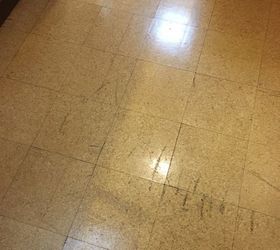
How to Remove Cork Tiles
taking off cork tiles – YouTube
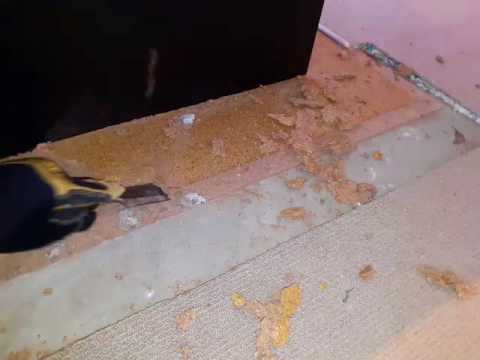
Removing Cork Tiles from Floors and Walls DIY Doctor

How to Remove Cork Floor Tiles DoItYourself.com
How To Remove Old Cork Floor MrYoucandoityourself
Found a message while removing our cork floor tiles : r

Related Posts:
- Cork Flooring Colors
- Cork Flooring Dining Room
- Light Cork Flooring
- Engineered Cork Flooring
- Cork Flooring In Kitchen
- Cork Flooring Modern
- Cork Flooring White
- Herringbone Cork Flooring
- Outdoor Cork Flooring
- Cork Flooring Bathroom
How To Remove Cork Flooring
Removing cork flooring can be a difficult task, but it is possible to do it with the right tools and knowledge. In this article, we will take a deep dive into the process of removing cork flooring and provide you with some helpful tips and tricks that can make the job a lot easier.
What You Will Need
Before you start removing your cork flooring, there are a few tools and supplies that you will need to have on hand. These include:
– Protective gear – This includes eye protection, protective gloves, and masks to prevent dust from entering your lungs.
– A crowbar – This will be used to help pry up pieces of cork flooring.
– A hammer – This will help to break apart large pieces of cork flooring.
– A flat-head screwdriver – This will help to remove any nails or screws that may be holding the cork flooring in place.
– A flathead chisel – This will help to break apart stubborn pieces of cork flooring.
– A vacuum cleaner – This will be used to clean up any debris that is left behind after the removal of the cork flooring.
– A scraper – This will be used to remove any glue or adhesive that may be left behind after the removal of the cork flooring.
Preparing The Area
Once you have all of the necessary tools and supplies ready, it’s time to begin preparing the area for removal. Begin by removing any furniture or other items that may be in the way. Next, inspect the area for any nails or screws that may be holding the cork flooring in place. If you find any, use the flathead screwdriver to remove them. Finally, use the vacuum cleaner to remove any dirt or debris that may be present in the area.
Removing The Cork Flooring
Now that you have prepared the area, it’s time to begin removing the cork flooring. Start by using the crowbar to pry up one side of a section of cork flooring. Once you have one side lifted up, use your hammer to break apart larger pieces of cork flooring. Use your flathead chisel as needed to break apart stubborn pieces of cork flooring. Continue this process until all of the cork flooring has been removed from the area.
Cleaning Up The Area
Once all of the cork flooring has been removed from the area, it’s time to begin cleaning up. Use your vacuum cleaner again to remove any remaining dirt or debris from the area. Use your scraper to remove any glue or adhesive that may have been left behind after the removal of the cork flooring. Finally, inspect the area one last time before beginning installation of your new flooring material.
FAQs
Q: Is it difficult to remove cork flooring?
A: Removing cork flooring can be a difficult task, but it is possible with the right tools and knowledge. It is important to ensure that you have all of the necessary tools and supplies on hand before beginning removal and that you take your time during each step of the process in order to do it correctly and safely.
Q: What kind of protective gear should I use when removing cork flooring?
A: When removing cork flooring, it is important to use protective gear such as eye protection, protective gloves, and a mask to prevent dust from entering your lungs. It is also important to ensure that you are wearing comfortable clothing so that you can move around easily during the removal process.
Q: What kind of tools do I need for removing cork flooring?
A: In order to remove cork flooring properly, you will need a few tools such as a crowbar, hammer, flathead screwdriver, flathead chisel, vacuum cleaner, and scraper. These tools will help you pry up pieces of cork flooring, break apart larger pieces, remove nails or screws holding them in place, clean up debris left behind after removal, and remove any glue