For starters, we need to go over where cork comes from. Consult the flooring manufacturer to find out what limits and also recommendations they put forth when installing more than an existing floor. Due to the millions of tiny cellular air containments in cork, this flooring has the ability to serve as cushions and are really soft they're able to absorb sound and vibrations.
Images about How To Repair Cork Flooring
How To Repair Cork Flooring
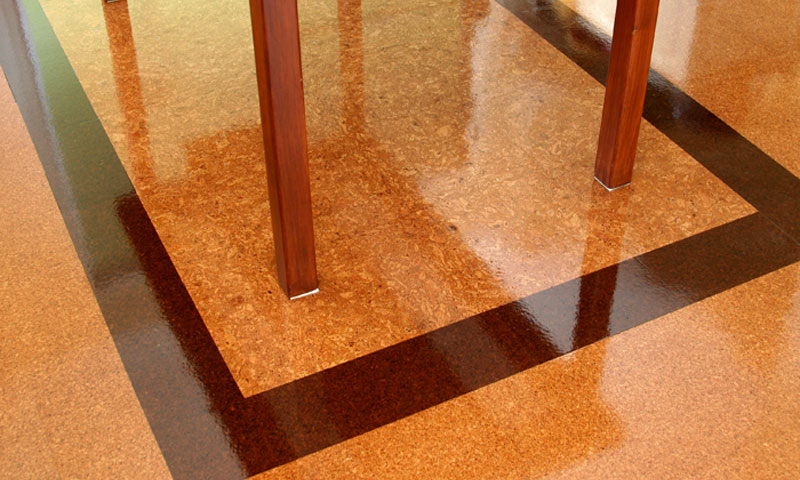
Such natural qualities make the cork floors healthy as well as secure for babies, adults, and pets also. If you have a hallway or a space in your house where there's rare heavy traffic, consider installing cork flooring. The manufacturer captures flooring material from the bark, while the tree keeps growing and shedding more. The fact is cork is among the most sustainable wood materials offered to date.
Repair Cork Floor – How To Patch A Cork Floor – Cancork
The ensuing thing we ought to point out is all of corks 100 % natural resistances. One positive attribute of cork floors is that they're antimicrobial. That decorative standing lamp may not look heavy, however, it's best to put a thick furniture pad under it to protect the integrity of the cork flooring. Hardwood floors are listed for their ability to absorb as well as store warmth.
Repair Cork Floor – How To Patch A Cork Floor – Cancork

Should You Refinish Or Replace Your Cork Floors? – Aspen Wood Floors

Refinishing old cork floors u2013 tips from the professionals
Refinishing old cork floors u2013 tips from the professionals
Resanding and Resurfacing by Cork Interiors

3 easy steps to restore a cork floor

Repair Cork Floors: A How-To Guide Hunker

Refinishing old cork floors u2013 tips from the professionals
How to Repair a Cork Tile Floor Cork Floor Repair Guide
How to Repair a Floating Cork Floor Floating Cork Floor Repair

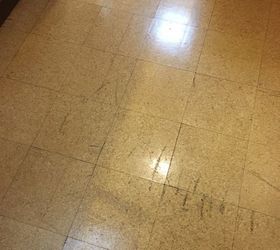
WeCork brand Cork Floors – Denting? All cork floors dent?

WeCork brand Cork Floors – Denting? All cork floors dent?
Related Posts:
- Cork Flooring Colors
- Cork Flooring Dining Room
- Light Cork Flooring
- Engineered Cork Flooring
- Cork Flooring In Kitchen
- Cork Flooring Modern
- Cork Flooring White
- Herringbone Cork Flooring
- Outdoor Cork Flooring
- Cork Flooring Bathroom
How To Repair Cork Flooring
Cork flooring is a great option for homeowners looking for sustainable flooring. It has a unique look and feel, is comfortable to walk on and is relatively easy to install and maintain. However, cork flooring can suffer from wear and tear and may need to be repaired from time to time. Whether you are repairing a damaged cork floor or simply want to freshen up the look of your existing cork floor, here is how to repair cork flooring.
Preparing the Area for Repair
The first step in repairing cork flooring is to prepare the area for repair. Start by clearing the area of any furniture and other items that could interfere with the repair process. Vacuum the area thoroughly to remove dust, dirt and debris. If there are any loose pieces of cork, remove them. Once the area has been cleared and vacuumed, use a putty knife to scrape away any remaining dirt or debris. Once the area has been prepped, it’s time to begin the repair process.
Cleaning the Cork Flooring
Before beginning any repairs on a cork floor, it’s important to ensure that it is as clean as possible. To do this, use a vacuum cleaner with a soft brush attachment to remove any dirt or debris that may be lodged in the cork. Then, use a damp mop to clean the surface of the cork flooring. Allow the floor to dry completely before proceeding with any repairs.
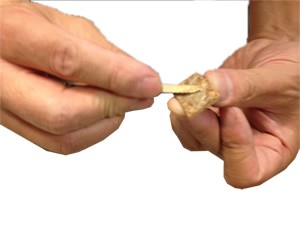
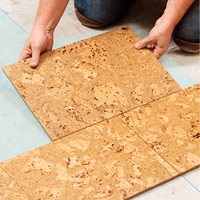
Replacing Damaged Pieces
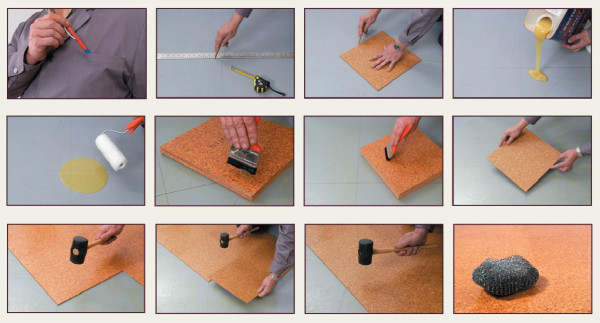
If there are any damaged pieces of cork that need to be replaced, start by carefully removing them with a putty knife. Once all of the damaged pieces have been removed, use a template or pattern of the same size, shape and color as your existing cork flooring to cut out new pieces from a sheet of replacement cork. Place each piece into position and secure it with glue or adhesive tape. Use a putty knife to smooth out any air bubbles and ensure that the pieces fit together properly.
Filling Gaps
If there are gaps between pieces of cork or around corners in the floor, you will need to fill them in order to complete your repair job. To do this, mix together some wood filler with some water until you have a paste-like consistency. Use a putty knife to fill in any gaps between pieces of cork or around corners. Allow the wood filler to dry completely before sanding down any excess filler with fine-grit sandpaper.
Finishing Touches
Once all repairs have been completed and gaps filled in, it’s time to finish up your cork floor repair project. Use a damp cloth to wipe away any excess dust and dirt that may have accumulated during the repair process. Allow the floor to dry completely before applying a coat of polyurethane sealant or wax polish. This will help protect your cork floor from future damage and keep it looking its best for years to come.
FAQs about Cork Flooring Repair
Q: How do I know if my cork floor needs repairing?
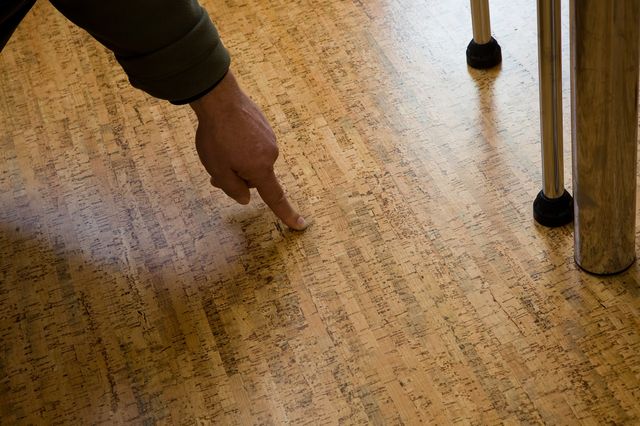
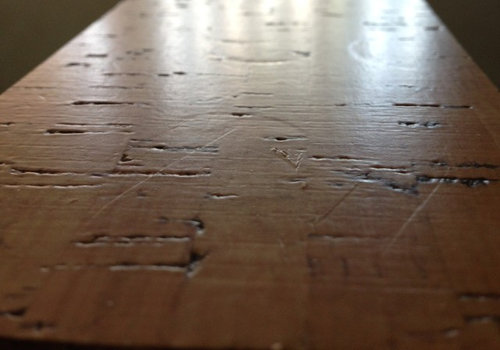
A: If you notice any cracks, chips or other signs of damage on your cork floor, it may need repairing. Additionally, if you notice that certain areas of your cork floor are beginning to look dull or worn out, then it could be time for a repair job.
Q: Can I repair my own cork floor?
A: Yes! With some basic tools and materials, you can easily repair your own cork floor at home without having to hire a professional contractor. Just remember to take proper safety precautions when performing any type of repair work on your flooring.
Q: How often should I seal my cork floor?
A: To keep your cork floor looking its best and protect it from future damage, we recommend applying a coat of polyurethane sealant or wax polish at least once every year or two.