Last summer, I stared at my worn linoleum kitchen floor and decided it was time for a complete transformation. After researching countless options, I settled on ceramic tile for its durability and easy maintenance. What started as a weekend project turned into a two-week learning experience that taught me valuable lessons about preparation, patience, and precision. Through mistakes, successes, and plenty of trial and error, I discovered that tiling a kitchen floor requires more planning than I initially expected, but the results are worth the effort when done correctly.
Planning and Measuring Your Space
Before purchasing a single tile, I spent hours measuring and re-measuring my kitchen to avoid costly mistakes and material shortages. I learned to account for irregular spaces around cabinets, appliances, and doorways that required careful calculation. Drawing a detailed floor plan helped me visualize tile placement and identify potential problem areas before starting the actual installation process.
Calculating tile quantities proved more complex than simple square footage calculations, as I needed to factor in waste from cuts and potential breakage during installation. I added 15% extra tiles to my order, which saved me from multiple trips to the store when several tiles cracked during cutting. This buffer also ensured color matching, as tile dye lots can vary significantly between production runs and purchasing dates.
Layout planning became crucial for achieving professional-looking results, particularly around kitchen islands and cabinet toe kicks that create challenging angles. I used chalk lines and dry-laid tiles across the entire floor to test different starting points and patterns. This preview process revealed spacing issues and helped me adjust the layout to minimize awkward cuts along visible edges and high-traffic areas.
Selecting the Right Materials
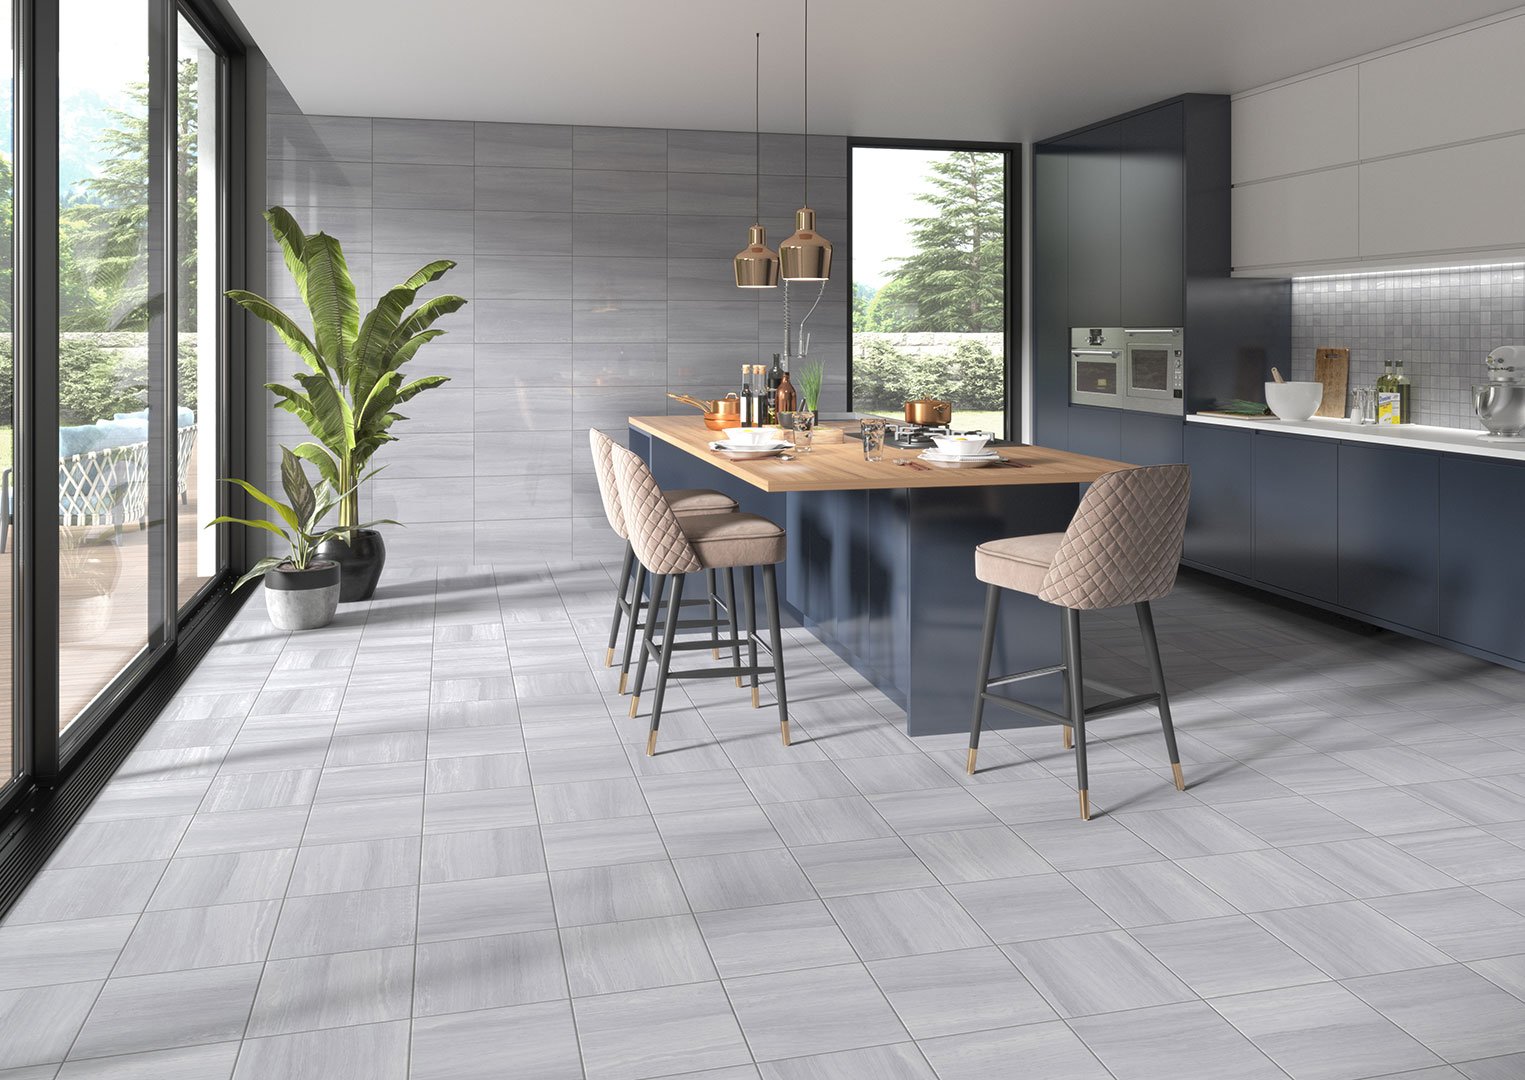
Choosing appropriate tile materials for kitchen environments requires balancing aesthetics, durability, and maintenance requirements based on your family’s cooking and lifestyle habits. I researched slip resistance ratings, stain resistance properties, and thermal expansion characteristics before selecting porcelain tiles with textured surfaces. These features proved essential for safety and longevity in my busy kitchen with frequent spills and temperature changes.
Grout selection significantly impacts both appearance and long-term maintenance requirements, something I underestimated during my initial planning phase. I opted for epoxy grout in high-traffic areas and standard sanded grout elsewhere, creating a system that balances cost with performance. Color matching between grout and tiles affects the overall visual impact, with contrasting grout highlighting tile patterns while matching grout creates seamless appearances.
Underlayment and adhesive choices determine installation success and long-term durability more than any other single factor in the tiling process. I installed cement backer board over my existing subfloor to create a stable, moisture-resistant foundation. Quality tile adhesive with appropriate working time allowed me to maintain consistent spacing and alignment throughout the installation without rushing through complex areas around appliances and corners.
Preparing Your Kitchen Floor
Removing existing flooring revealed several subfloor issues that required attention before tile installation could begin successfully. I discovered loose boards, squeaky areas, and minor water damage near the dishwasher that needed repair. Addressing these problems added time to my project but prevented future tile failures and created a solid foundation for the new flooring system.
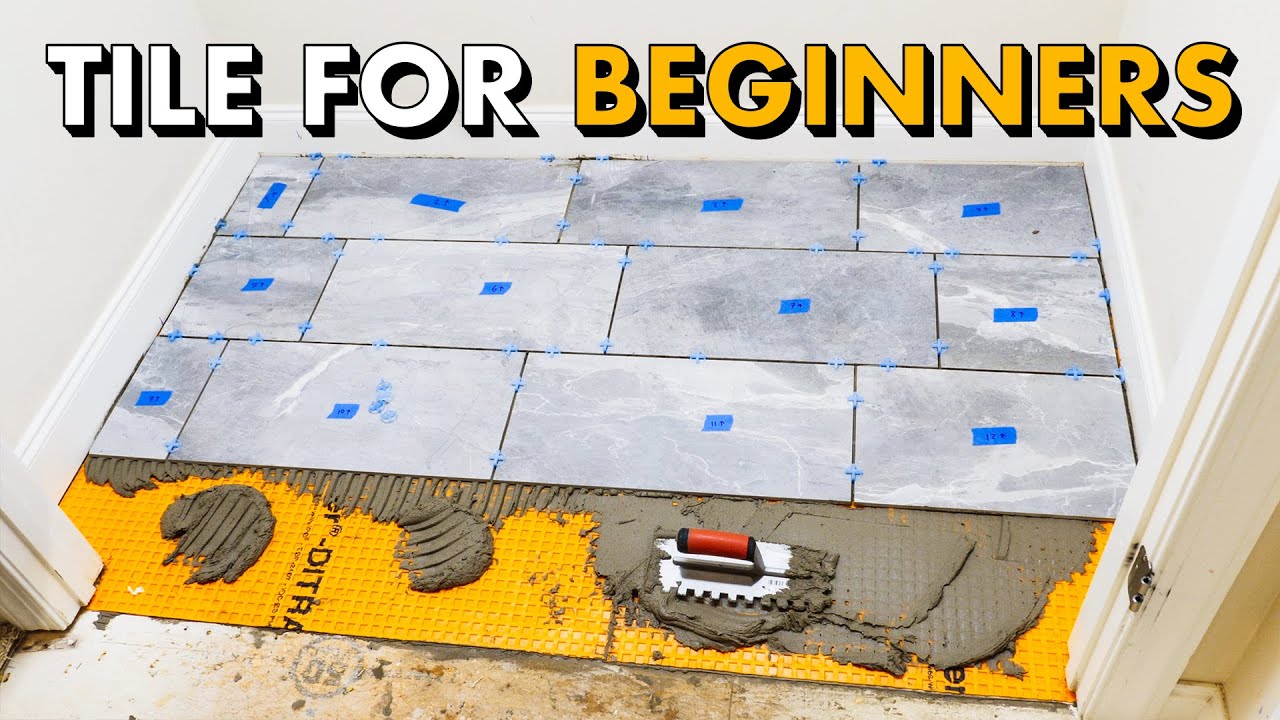
Subfloor preparation involved checking for level surfaces using a long straightedge and identifying high and low spots that could cause tile lippage. I used floor leveling compound to smooth minor irregularities and sanded down high spots that exceeded manufacturer tolerances. This meticulous preparation proved essential for achieving the professional appearance and proper tile alignment I wanted throughout the kitchen space.
Installing underlayment required precise cutting around cabinet toe kicks, appliance spaces, and room transitions that challenged my measuring and cutting skills. I learned to leave appropriate expansion gaps while ensuring complete coverage under all tile areas. Proper fastening with recommended screws at specified intervals created a rock-solid foundation that prevents flexing and cracking in the finished tile installation.

Installation Techniques That Work
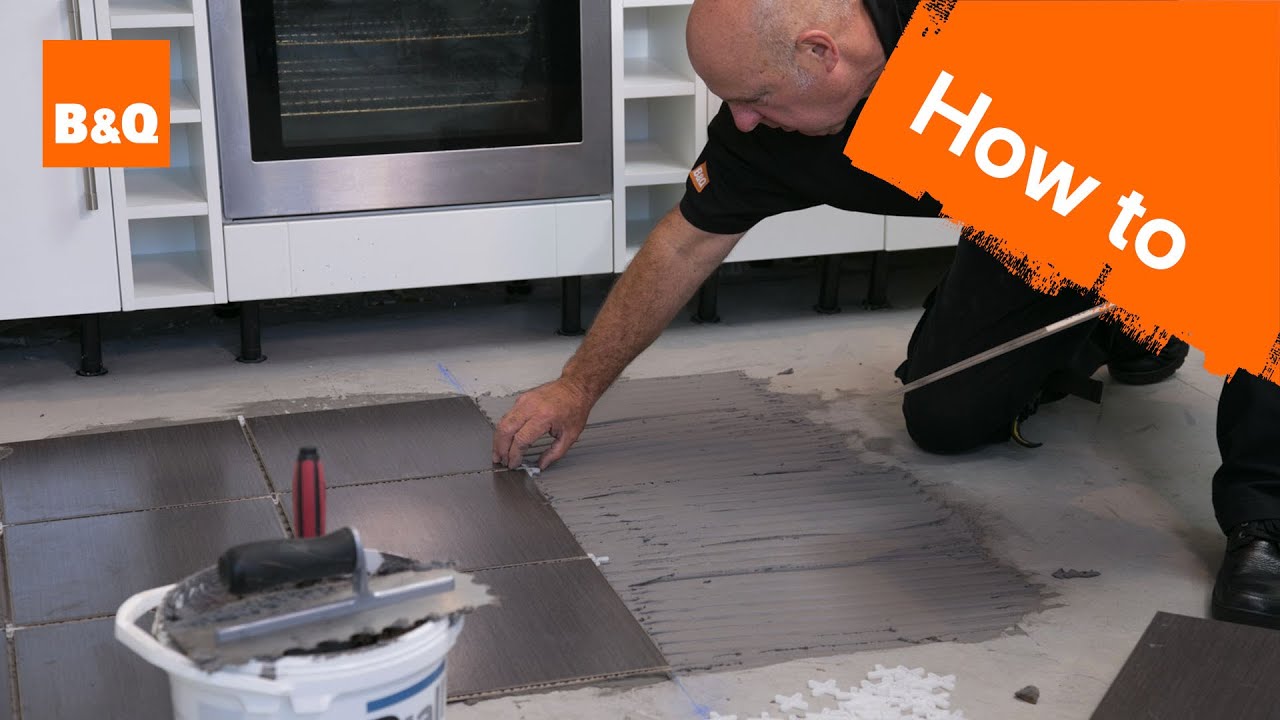
Starting tile installation from the center of the room outward ensured balanced layouts and equal cuts along opposite walls throughout the kitchen space. I established perpendicular reference lines using a chalk box, checking square measurements multiple times before beginning adhesive application. This methodical approach prevented compounding errors that could have resulted in noticeably crooked rows or uneven spacing patterns.
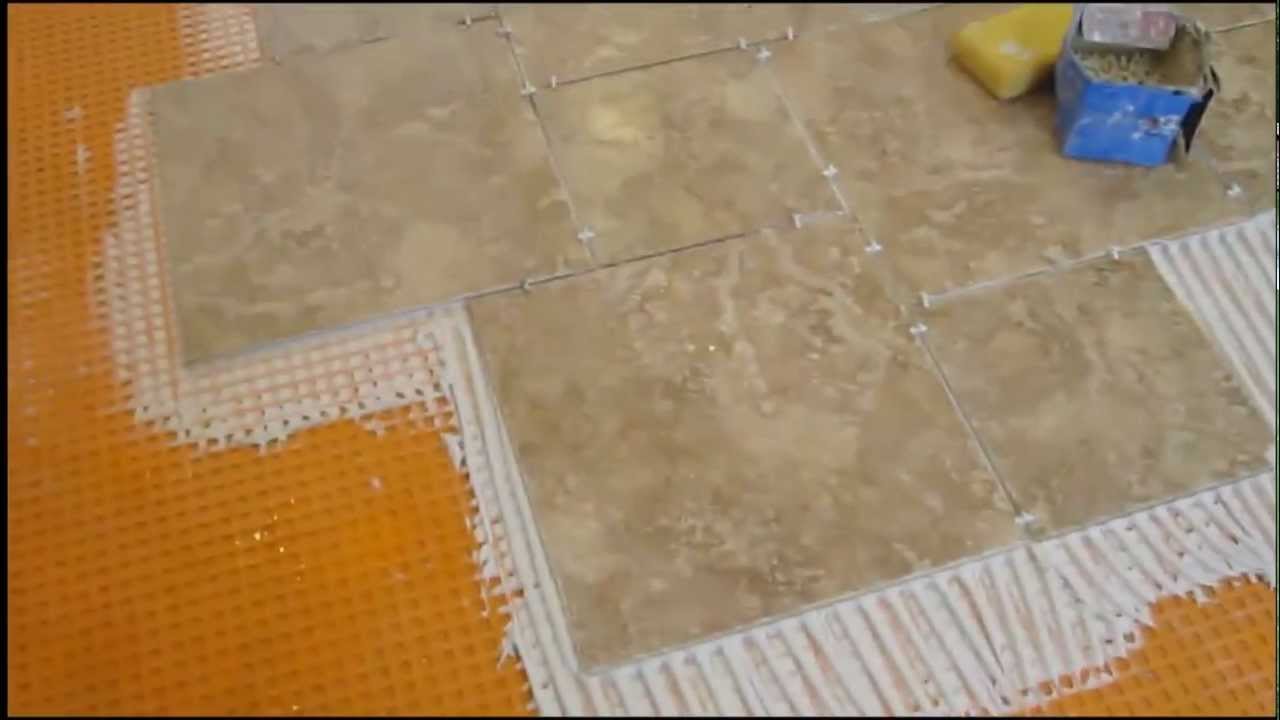
Working in manageable sections allowed me to maintain consistent adhesive texture and tile spacing without rushing through complex areas around obstacles. I applied adhesive with a notched trowel at 45-degree angles, creating uniform ridges that ensured proper tile contact and prevented air pockets. Back-buttering larger tiles provided additional adhesion security in areas subject to temperature changes and heavy foot traffic.
Maintaining consistent grout joints required constant attention to spacing and alignment as each tile was set into the adhesive bed. I used tile spacers and checked alignment frequently with straightedges to prevent drift that becomes magnified across large areas. Removing excess adhesive from grout lines immediately prevented cleanup problems later and ensured proper grout adhesion when that phase of installation began.

Grouting and Finishing Details
Grouting proved more challenging than tile installation, requiring careful timing and technique to achieve professional-looking results throughout the kitchen floor. I waited 24 hours after tile installation before beginning grout application, ensuring adequate adhesive cure time. Working diagonally across tiles with a rubber float, pushed grout deep into joints while removing excess material from tile surfaces before it hardened completely.
Cleaning grout haze from tile surfaces required multiple passes with clean water and sponges, changing water frequently to prevent redepositing residue. I discovered that different tile textures required different cleaning approaches, with smooth surfaces cleaning easily while textured tiles needed more aggressive scrubbing. Patient, methodical cleaning produced the crisp, professional appearance I wanted for my kitchen floor project.
Sealing grout lines protects against stains and moisture penetration that can cause discoloration and deterioration over time in kitchen environments. I applied penetrating sealer with a small brush, avoiding contact with tile surfaces while ensuring complete coverage of all grout joints. This final step requires patience but provides essential protection that maintains the floor’s appearance and performance for years of kitchen use.
Maintenance and Long-term Care
Establishing proper cleaning routines immediately after installation helps preserve tile appearance and prevents damage from accumulated dirt and cooking residues. I learned to sweep daily and mop weekly with pH-neutral cleaners that won’t damage grout or tile surfaces. Prompt cleanup of spills prevents staining and maintains the fresh appearance that makes the installation effort worthwhile for busy kitchen environments.
Regular grout maintenance prevents deterioration and costly repairs that can compromise the entire tile installation over time. I inspect grout lines monthly for cracks, discoloration, or missing sections that need attention. Annual resealing protects against moisture penetration and staining while maintaining the crisp appearance that defines quality tile work in kitchen applications where cleanliness matters most.
Long-term tile care involves protecting the installation from damage while maintaining its functional and aesthetic properties through years of kitchen use. I use furniture pads under appliances and avoid dropping heavy objects that could crack tiles. Understanding proper repair techniques for minor damage helps maintain the floor’s integrity and appearance without requiring professional intervention for every small issue that occurs.
How long should I expect a complete kitchen floor tiling project to take from start to finish?
My kitchen tiling project took two full weeks working evenings and weekends, including preparation, installation, and curing time. Complex layouts, extensive prep work, or challenging room shapes can extend timelines significantly. I learned that rushing any phase compromises quality, so planning for adequate time ensures better results. Professional installers typically complete similar projects in 3-5 days, but DIY timelines should account for learning curves and careful attention to detail.
What tools are absolutely essential for successful DIY kitchen floor tiling, and which ones can I rent versus purchase?
Essential tools for my project included tile spacers, notched trowels, rubber floats, a level, a chalk line, and a wet tile saw for cutting. I purchased hand tools but rented the expensive wet saw and mixing equipment, saving hundreds while getting professional-quality results. Quality knee pads and safety equipment proved invaluable for comfort and protection. Investing in good measuring tools and levels pays dividends in achieving professional-looking installations.
How do I handle tiling around kitchen appliances and should I tile under them or around them?
I chose to tile around my appliances rather than moving them, using transition strips and careful measurements for clean edges. Tiling under appliances provides the most professional look but requires disconnecting and moving heavy equipment. For built-in appliances like dishwashers, I tiled underneath for easier future replacement. The decision depends on appliance types, your comfort level with disconnections, and long-term kitchen plans.
What’s the biggest mistake beginners make when tiling kitchen floors, and how can I avoid it?
Inadequate floor preparation caused my biggest initial problems, including uneven tiles and cracking grout joints that required partial replacement. I learned that time spent on proper subfloor preparation, leveling, and underlayment installation prevents most future problems. Rushing through layout planning also creates costly mistakes that become obvious only after installation is complete. Taking time for careful preparation and planning prevents frustration and ensures professional-quality results.

How do I choose the right grout color and type for my kitchen floor tile installation?
Grout selection significantly impacts the final appearance and maintenance requirements of tiled floors in kitchen environments. I chose neutral gray grout that hides dirt while complementing my tile color, avoiding white grout that shows stains easily. Epoxy grout costs more but resists stains and requires less maintenance in high-traffic areas. Consider your cleaning habits, tile color, and desired visual effect when making grout decisions for optimal long-term satisfaction.
What should I do if I discover subfloor problems after removing the old kitchen flooring?
Discovering subfloor issues during my project initially felt overwhelming, but addressing them properly prevented future tile failures and safety hazards. I replaced damaged sections, secured loose boards, and leveled uneven areas before proceeding with installation. While these repairs added time and cost, they created a solid foundation essential for tile longevity. Consulting professionals for structural concerns ensures proper repairs that support your tile investment for years.

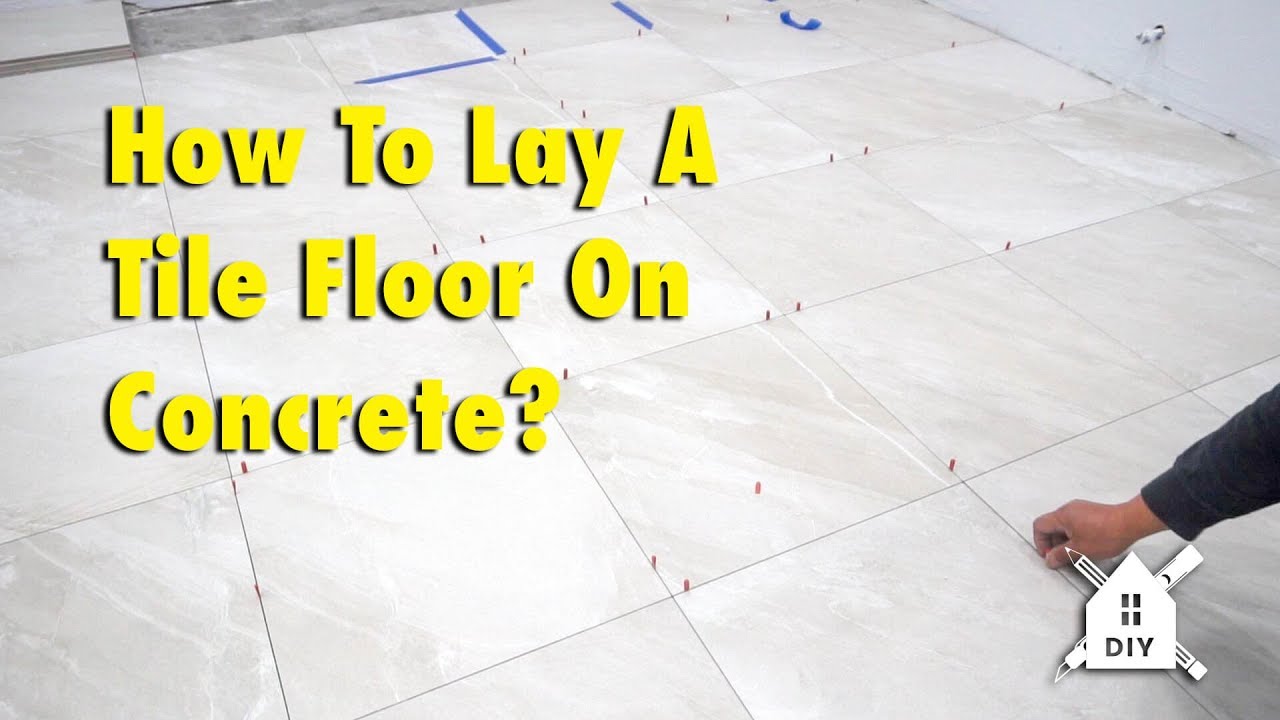
How To Lay A Tile Floor On Concrete #DIY #Homeimprovement
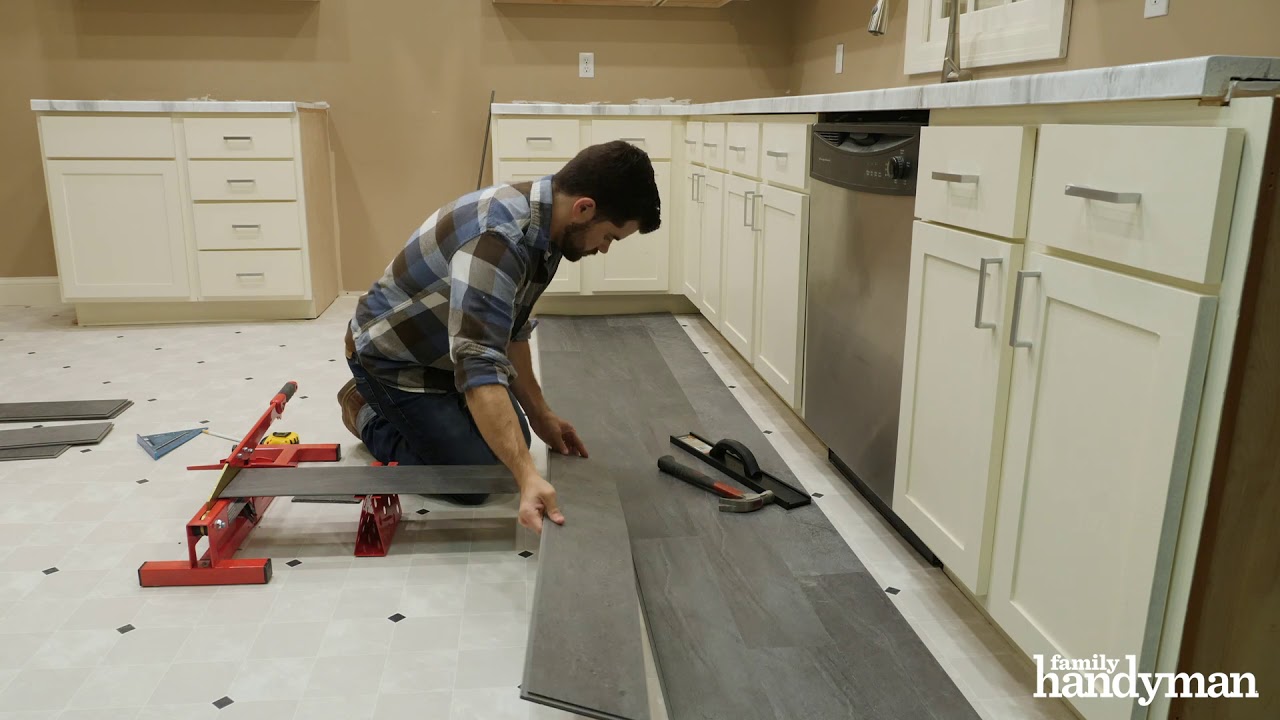
How to Install Luxury Vinyl Plank Flooring
Installing Your Peel-and-Stick Vinyl Tile Floor

How to lay vinyl tiles u0026 carpet tiles part 2: laying the tiles

Tile Kitchen floor with border
Related Posts: