Laying cork floor tiles is a straightforward process that can be completed by DIY enthusiasts with some basic tools and know-how. Cork floor tiles are a popular choice for homeowners seeking a sustainable, durable, and comfortable flooring option for their homes. Cork tiles are made from the bark of cork oak trees, which are harvested without causing harm to the trees, making them an environmentally friendly choice. Additionally, cork tiles offer excellent thermal and acoustic insulation properties, helping to keep rooms warm in the winter and reducing noise transmission between floors. With proper preparation and installation techniques, laying cork floor tiles can be a rewarding and cost-effective home improvement project.
Images about Laying Cork Floor Tiles
Laying Cork Floor Tiles

Before laying cork floor tiles, it’s essential to ensure that the subfloor is clean, dry, and level. Any debris, dust, or uneven spots on the subfloor can affect the adhesion and appearance of the cork tiles, so it’s crucial to thoroughly clean and prepare the surface beforehand. If the subfloor is uneven, it may be necessary to use a self-leveling compound to create a smooth and level surface for the cork tiles to adhere to. Once the subfloor is prepared, the cork tiles can be laid out in the desired pattern and orientation to achieve the desired look.

When laying cork floor tiles, it’s essential to leave a small gap between the tiles and the walls to allow for expansion and contraction due to changes in temperature and humidity. This gap can be filled with a flexible caulk or molding once the tiles are in place. Additionally, cork floor tiles should be installed using a high-quality adhesive specifically designed for cork flooring. The adhesive should be applied evenly to the subfloor using a trowel, and the tiles should be pressed firmly into place to ensure proper adhesion. It’s essential to work in small sections and avoid walking on the tiles until the adhesive has fully cured to prevent shifting or movement.

After the cork floor tiles are installed, it’s essential to allow them to acclimate to the room’s temperature and humidity for at least 48 hours before walking on them or moving furniture back into the room. Once the tiles are fully acclimated, they can be sealed with a polyurethane or water-based sealer to protect them from moisture, stains, and scratches. With proper care and maintenance, cork floor tiles can provide years of durable and comfortable flooring that enhances the beauty and functionality of any home.

How to Install a Cork Floor

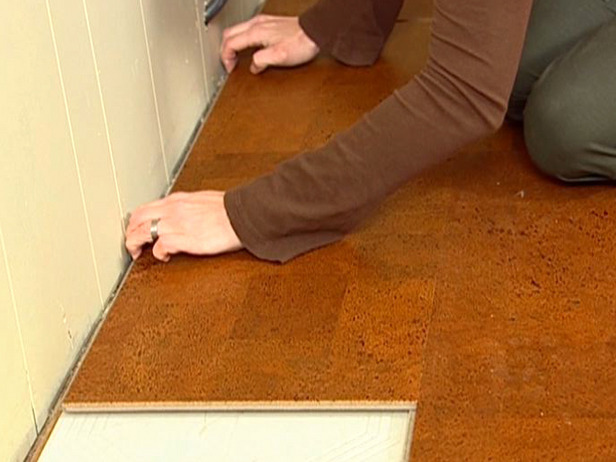
How to Install Cork Tile Flooring (DIY)

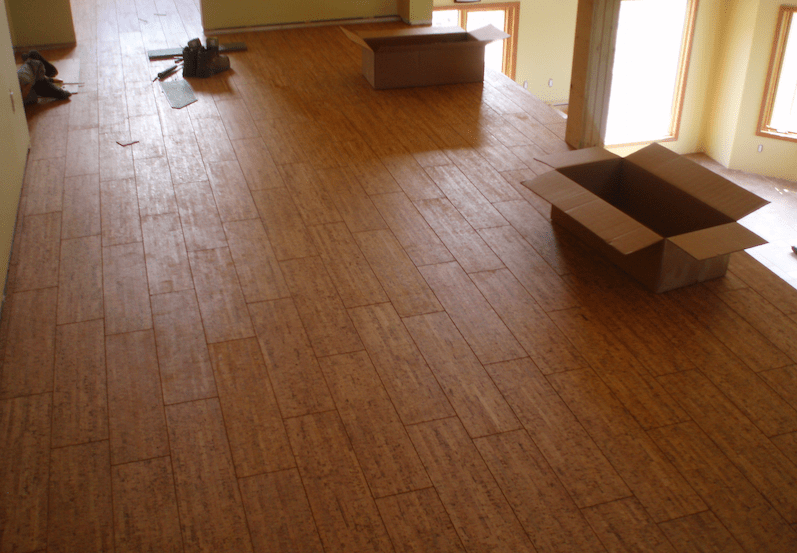
Cork Floor Install – How to install a cork glue down floor.

How to Install Cork Flooring- Cork Flooring Installation Made Easy

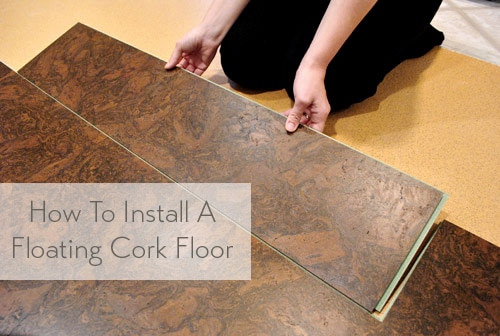
How To Install A Floating Cork Floor Young House Love
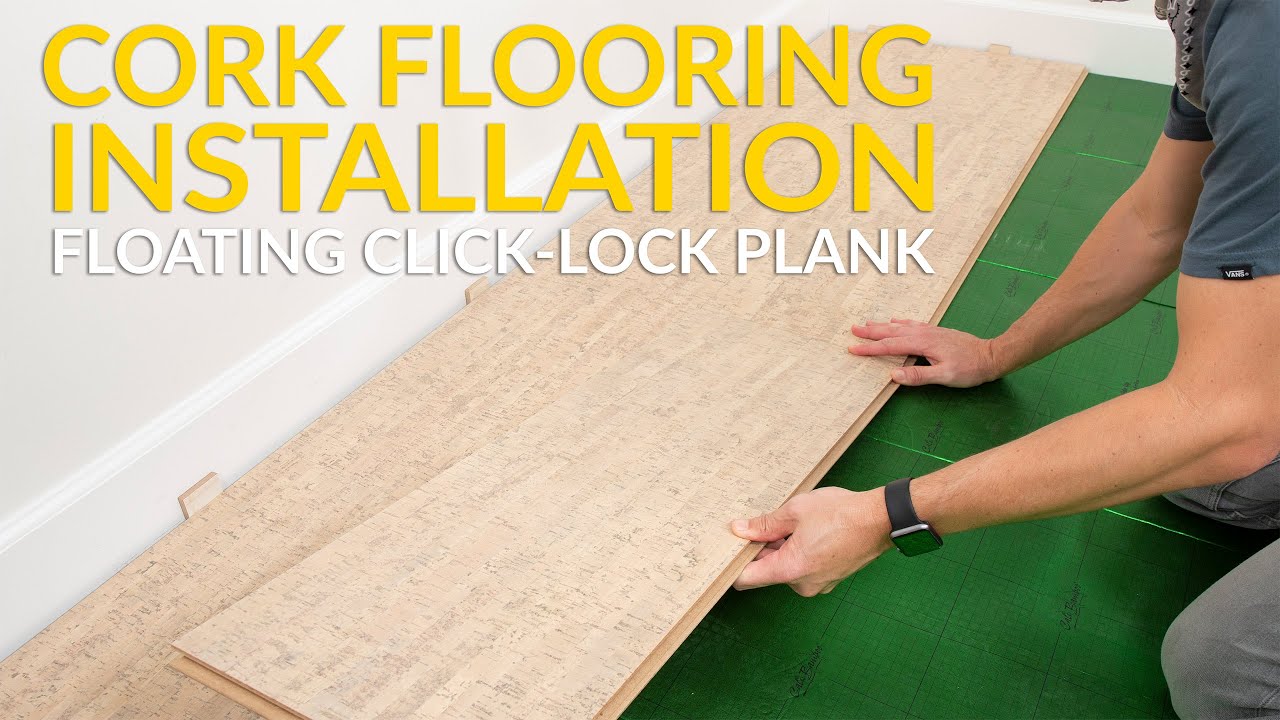
Cali Cork Flooring Floated Click-lock Installation
Cork Works: Installing Cork Flooring – Mother Earth Living Cork

Cork Flooring Installation – How to Do It DIY Home Improvement
How to install cork flooring without any help
Related Posts:
- Cork Flooring Colors
- Cork Flooring Dining Room
- Light Cork Flooring
- Engineered Cork Flooring
- Cork Flooring In Kitchen
- Cork Flooring Modern
- Cork Flooring White
- Herringbone Cork Flooring
- Outdoor Cork Flooring
- Cork Flooring Bathroom
Laying Cork Floor Tiles: An In-Depth Guide
Cork flooring is a popular flooring option for homeowners and businesses alike due to its durability and comfort. Cork tiles are also a great choice for those looking to add a touch of style to their space. Whether you’re looking to spruce up your home or business, laying cork floor tiles is a relatively simple process that will give any room an elegant and comfortable feel. This guide will provide you with an in-depth look at the process of laying cork floor tiles.
Preparation
Before you begin laying cork floor tiles, there are some steps you must take to ensure that the installation goes as smoothly as possible. The first step is to make sure that the subfloor is clean and level. If there are any bumps or lumps in the subfloor, they may cause the tiles to lay unevenly and can cause them to crack or break. It’s also important to make sure that the subfloor is completely dry before beginning installation.
The next step is to measure the area where you plan on installing the tiles and calculate how many tiles you will need. It’s important to buy a few extra tiles in case of breakage or if you need to cut any of them to fit into the area. Once you have all of your materials, it’s time to start laying your cork floor tiles.
Layout
The first step in laying cork floor tiles is to lay out the tiles in the desired pattern to get an idea of how they will look when finished. This is especially important if you are using a patterned tile or if you plan on doing any kind of cutting. It’s important to make sure that all of the tiles fit properly and that there won’t be any gaps between them once they are installed. Once you have determined the layout, it’s time to start installing the tiles.
Installation
When installing cork floor tiles, it’s important to use a high-quality adhesive specifically designed for cork floors. Before applying the adhesive, make sure that the subfloor is completely dry and free of any debris or dirt. Once the adhesive has been applied, place the cork tile into position and press down firmly until it is completely secured. Make sure that there are no air bubbles underneath the tile as this can cause it to become loose over time. Continue this process until all of the tiles have been installed.
Finishing Touches
Once all of the tiles have been installed, it’s time to finish up the project with some finishing touches. Start by caulking any seams between the tiles and the walls for a professional look. You may also want to use grout between any patterned tiles for a more polished look. Once all of these steps have been completed, your cork flooring should be ready for use!
What type of adhesive should I use for cork floor tiles?
When installing cork floor tiles, it’s important to use a high-quality adhesive specifically designed for cork floors. Make sure that the subfloor is completely dry before applying the adhesive for it to properly adhere to the subfloor.
How do I ensure that my cork flooring looks professional?
Once all of the tiles have been installed, it’s important to finish up with some finishing touches for your cork flooring to look its best. Start by caulking any seams between the tiles and walls for a professional look. You may also want to use grout between any patterned tiles for a more polished look.
Can I install cork flooring in my bathroom?
Yes, cork flooring can be installed in bathrooms as long as certain precautions are taken. Make sure that all seams are sealed with caulk and grout so that no water can seep underneath and damage your floors. Additionally, make sure that your bathroom is well-ventilated so as not to cause mold or mildew issues.