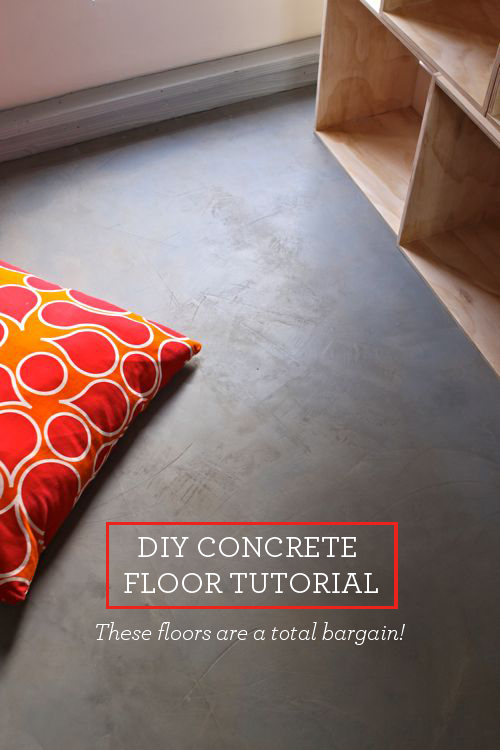
When I first saw stained concrete floors in a friend’s loft apartment five years ago, I was instantly captivated by their sophisticated, industrial beauty. The rich, variegated colors and glossy finish looked like expensive natural stone, but my friend revealed she’d transformed her plain concrete basement floor herself for under $300. That weekend visit sparked my concrete staining journey, and I’ve since completed projects in my garage, basement, and even my kitchen. What started as a budget-friendly flooring solution has become my favorite DIY project because of the dramatic transformations possible and the incredible durability of the finished product. The process requires patience and attention to detail, but the results rival floors costing thousands more.
Understanding Concrete Stain Types and Color Options
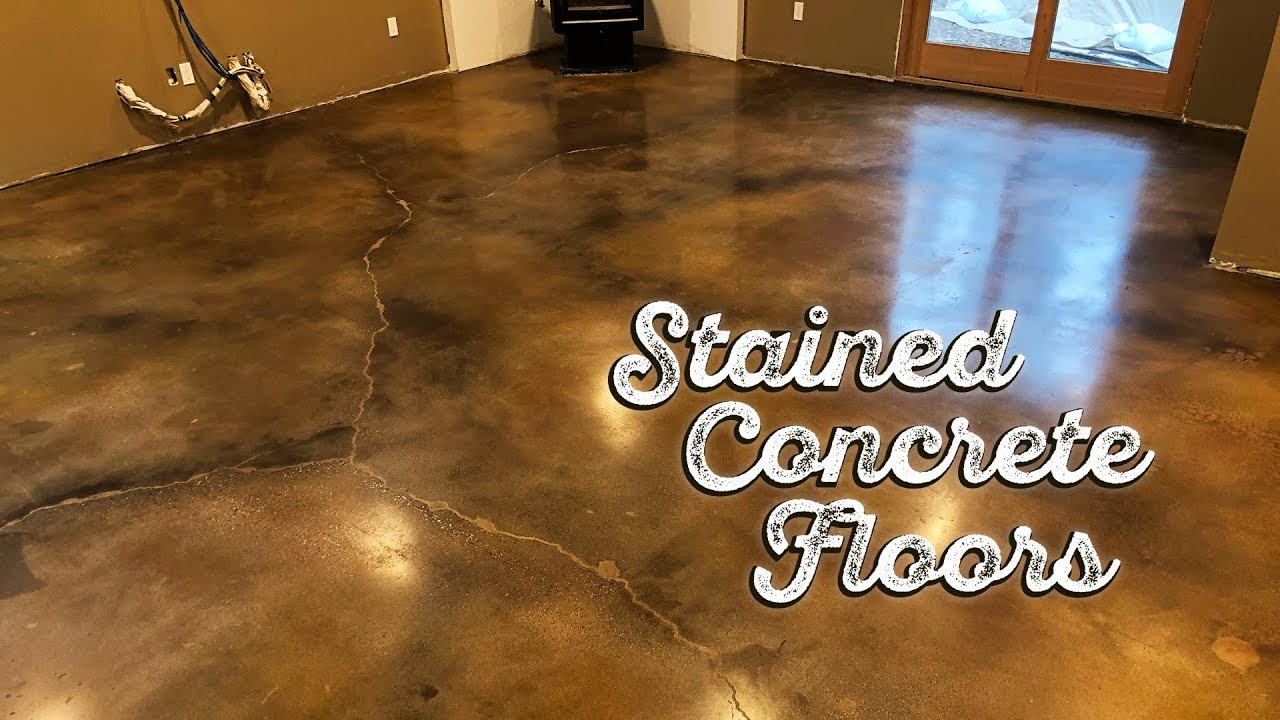
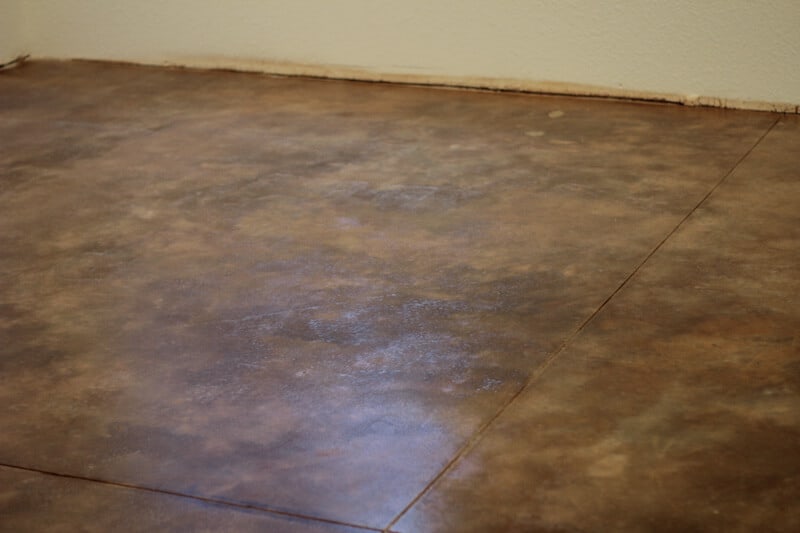
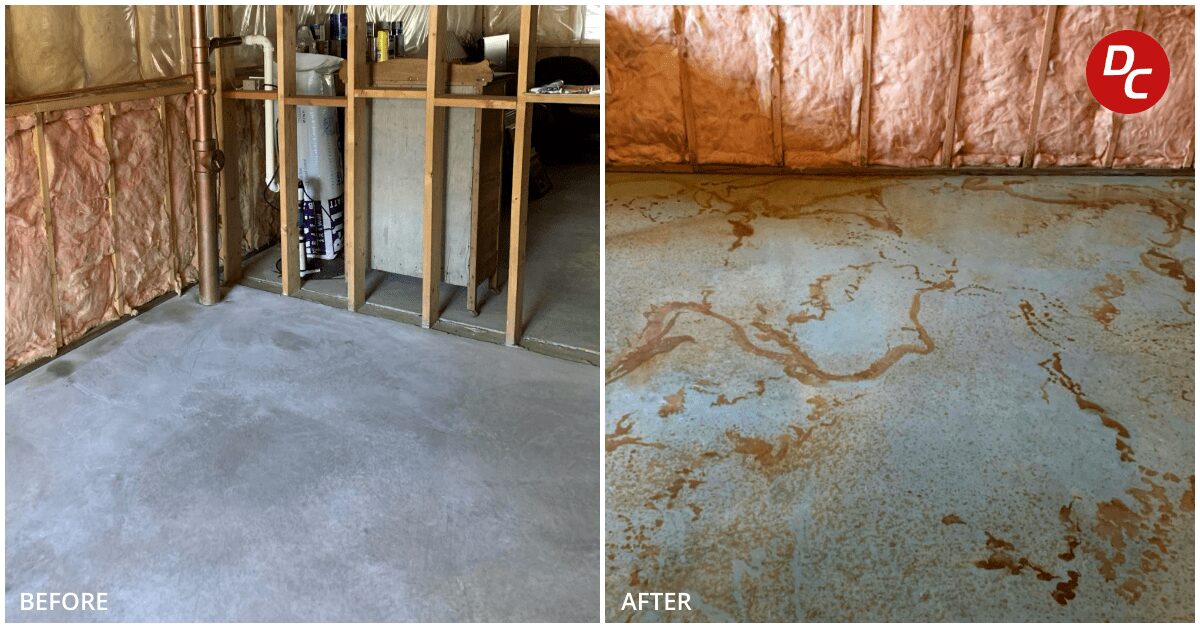
The first decision I had to make was choosing between acid-based and water-based concrete stains, and understanding the difference completely changed my approach to the project. Acid stains create the most dramatic and unique results because they chemically react with the minerals in concrete, producing organic, variegated patterns that look like natural stone. When I used acid stain in my basement, the final result had beautiful mottled colors and natural-looking variations that were impossible to predict or replicate. The chemical reaction means each application is truly one-of-a-kind, with colors ranging from earthy browns and warm terra cottas to deep blues and rich greens.
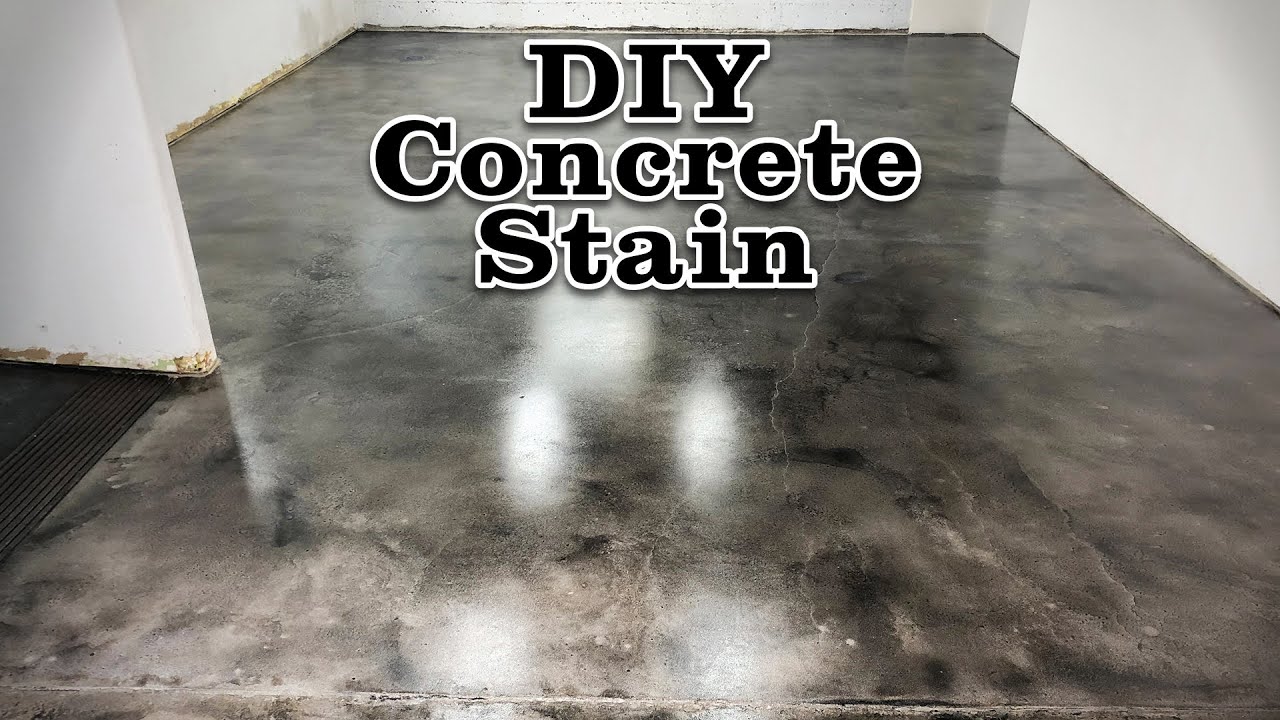
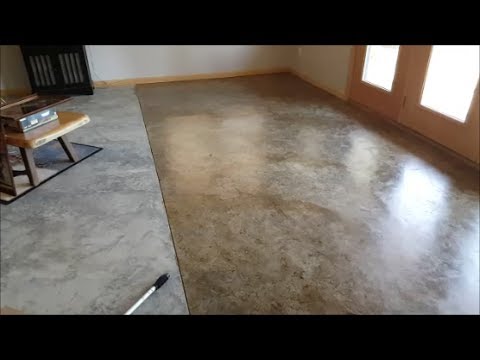
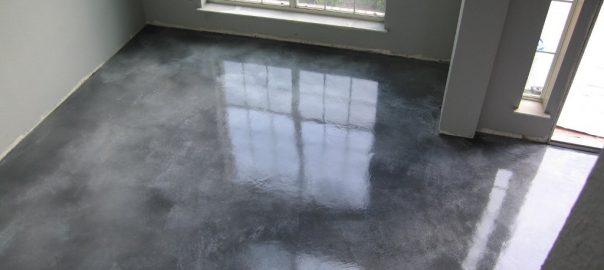
Water-based stains offer more predictable results and a wider range of color options, which makes them perfect for my garage project, where I wanted consistent coverage. These stains penetrate the concrete surface without a chemical reaction, allowing for more control over the final appearance. I was able to achieve a uniform charcoal gray that perfectly complemented my modern aesthetic. Water-based stains also dry faster and produce less odor during application, making them ideal for interior projects where ventilation might be limited. The color options seem endless, from vibrant blues and reds to subtle earth tones that mimic natural materials.
Choosing colors requires considering both the existing concrete condition and your desired final look. Newer concrete typically accepts stain more evenly, while older concrete with oil stains or surface irregularities creates more varied results. I learned to embrace these variations as character rather than flaws; they add to the organic, natural appearance that makes stained concrete so appealing. When selecting colors, I always test small, inconspicuous areas first because the concrete’s age, composition, and previous treatments all affect how stain penetrates and develops. What looks like a light tan in the bottle might become a rich caramel on your particular concrete.
Essential Tools and Materials for DIY Success
Gathering the right tools and materials before starting made the difference between professional-looking results and a frustrating amateur attempt. My essential tool list includes a pump sprayer for even stain application, though I’ve also had success with foam brushes for smaller areas and detail work. A concrete grinder or floor buffer with various grit pads is crucial for proper surface preparation. I initially tried to skip this step and learned the hard way that stain won’t penetrate properly on sealed or polished concrete. Safety equipment is non-negotiable. I always wear chemical-resistant gloves, safety glasses, and a respirator when working with acid stains.
The quality of your stain makes a dramatic difference in both the application process and final results. I’ve used both budget and premium brands, and the higher-end products consistently provide better coverage, more even penetration, and richer color development. For my 400-square-foot basement, I used about two gallons of stain, but coverage varies significantly based on concrete porosity and desired color intensity. I always order extra stain because running out mid-project can create visible color variations that are impossible to blend seamlessly later.
Surface preparation materials are just as important as the stain itself. I use muriatic acid for cleaning and etching the concrete surface, followed by a thorough neutralizing solution to stop the acid action. Plastic sheeting and painter’s tape protect walls and adjacent surfaces from overspray and splashing. For the final steps, I invest in high-quality concrete sealer, usually a two-part epoxy or polyurethane system that provides durability and enhances the color depth. The sealer application requires foam rollers, lambswool applicators, or specialized concrete coating brushes that won’t leave marks in the finish.
Step-by-Step Surface Preparation Techniques
Proper surface preparation determines whether your stained concrete project looks professional or amateur, and I learned this through some early mistakes. The concrete must be completely clean, free of oils, existing sealers, and any surface contaminants that would prevent stain penetration. I start by sweeping and vacuuming thoroughly, then inspect for oil stains, paint drips, or other spots that need special attention. Oil stains require degreasing with specialized concrete cleaners or a TSP substitute, while paint and adhesive residue need mechanical removal with a scraper or grinder.
Etching the concrete surface with muriatic acid is essential for proper stain penetration, but it requires careful safety precautions. I mix one part muriatic acid with ten parts water in a plastic sprayer, always adding acid to water, never the reverse. The acid solution removes surface laitance and opens the concrete pores for better stain absorption. I apply the acid wash evenly across the entire surface, allowing it to bubble and foam for about ten minutes before scrubbing with a stiff brush. The key is working in manageable sections to ensure even coverage and timing.
Neutralizing the acid and thoroughly rinsing the concrete is crucial before stain application. I use a baking soda solution (one pound per five gallons of water) to neutralize the acid, followed by extensive rinsing with clean water. The surface must be completely dry before staining, which typically takes 24 hours in good ventilation conditions. I use fans and dehumidifiers to speed drying if necessary. Any standing water or damp spots will prevent proper stain penetration and create blotchy, uneven results that are very difficult to correct later.
Application Methods for Professional-Looking Results
Applying concrete stain evenly requires technique and patience, and I’ve refined my method through several projects to achieve consistent, professional results. I start by dampening the concrete surface with clean water using a pump sprayer. The concrete should be damp but not wet, similar to how it looks after morning dew. This helps the stain spread more evenly and prevents rapid drying that can create harsh lines or uneven color development. I work in sections small enough to maintain a wet edge, typically 4×4-foot squares, which prevents visible overlap marks.
The actual stain application technique varies depending on whether I’m using acid or water-based products. For acid stains, I use a plastic pump sprayer in overlapping circular motions, allowing the chemical reaction to develop for the recommended time before moving to the next section. The stain continues working for several hours, and I resist the urge to add more product during this time. With water-based stains, I can use a sprayer, roller, or brush depending on the desired texture and coverage. Multiple thin coats always produce better results than trying to achieve full color in a single heavy application.
Managing the chemical reaction and timing is critical for acid stain success. The stain needs to remain wet on the surface for proper penetration, so I mist lightly with water if areas start drying too quickly. The reaction typically takes 4-8 hours to fully develop, during which the surface bubbles and foams as the acid works on the concrete minerals. I avoid walking on the surface during this time and ensure adequate ventilation to handle the acid fumes. The final color continues developing for up to 24 hours, and I’ve learned patience during this waiting period always pays off with richer, more even results.

Creative Design Patterns and Artistic Techniques
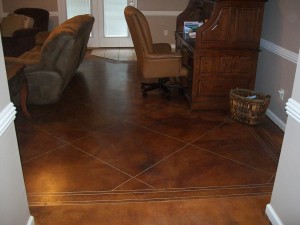
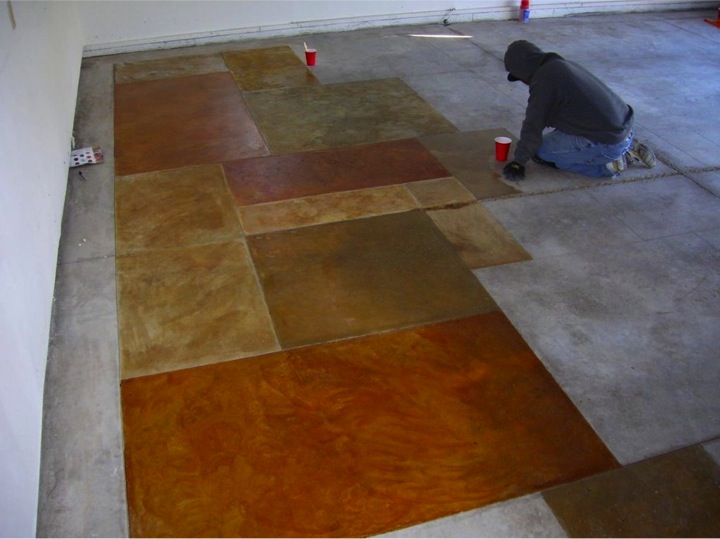
Once I mastered basic stain application, I started experimenting with decorative techniques that transform plain concrete into artistic focal points. One of my favorite methods is using stencils to create geometric patterns or borders. I made custom stencils from heavy cardboard or purchased commercial patterns, applying them after the base stain had fully reacted and dried. A contrasting stain color through the stencil creates defined patterns that add visual interest and can help define different areas within a large space.
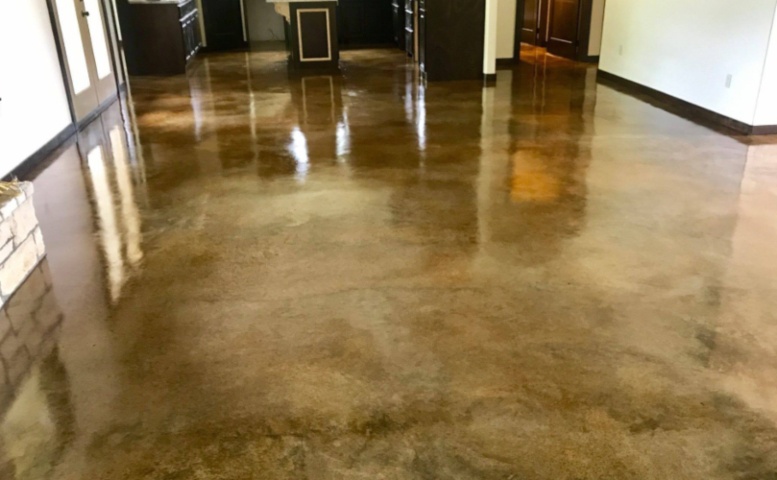
Layering different stain colors creates depth and complexity that mimics expensive natural stone. In my kitchen project, I applied a base coat of light brown acid stain, allowed it to fully develop, then added strategic applications of darker brown and rust colors to create a variegated marble-like appearance. The key is allowing each layer to fully cure before adding the next color, and using light applications that build up gradually. I also discovered that diluting stains with water creates subtle color variations and softer transitions between different areas.
Masking techniques allow for precise color placement and clean lines between different stain colors. I use painter’s tape and plastic sheeting to create sharp boundaries, though I’ve learned that acid stain can seep under tape if not carefully managed. For curved designs, I cut templates from heavy paper or cardboard and weigh them down during application. Antiquing techniques using darker stains in cracks and low areas create an aged, weathered look that adds character to newer concrete. These artistic approaches require more time and materials, but they transform utilitarian concrete into truly custom flooring that rivals expensive designer options.
Sealing and Long-Term Maintenance Strategies
Sealing stained concrete is essential for protecting your investment and maintaining the beautiful appearance over time. I learned this lesson when I initially skipped sealing my garage floor and watched the stain fade and wear away within months. The type of sealer you choose affects both the appearance and durability of your floor. I prefer penetrating sealers for a natural, matte finish that doesn’t change the stain color, while topical sealers like polyurethane or epoxy provide a glossy finish and superior protection against stains and abrasion.
Application technique for sealing requires the same attention to detail as staining itself. I ensure the stained surface is completely clean and dry, typically waiting at least 24 hours after the final stain application. Using a high-quality roller with proper nap length prevents bubbles and ensures even coverage. I work in overlapping sections, maintaining a wet edge to prevent lap marks. Most sealers require two coats for optimal protection, with light sanding between coats using fine-grit sandpaper to ensure proper adhesion.
Long-term maintenance of sealed, stained concrete is surprisingly simple and keeps costs minimal over the years. I sweep or dust mop regularly to prevent abrasive dirt from scratching the sealer surface. For deeper cleaning, I use pH-neutral cleaners specifically designed for sealed concrete, avoiding harsh chemicals that can damage the sealer. Every few years, depending on traffic levels, I apply a maintenance coat of sealer to refresh the protection and appearance. High-traffic areas might need touch-up staining before resealing, but overall maintenance requirements are much lower than other flooring options like hardwood or carpet.

How long does a DIY concrete staining project typically take to complete?
My typical 400-square-foot project takes about 4-5 days total, including surface prep, staining, and sealing with proper curing time between steps. Surface preparation usually takes a full day, stain application takes 4-6 hours with overnight curing, and sealing requires another day with 24-48 hours of final curing time. Weather and humidity affect drying times significantly.
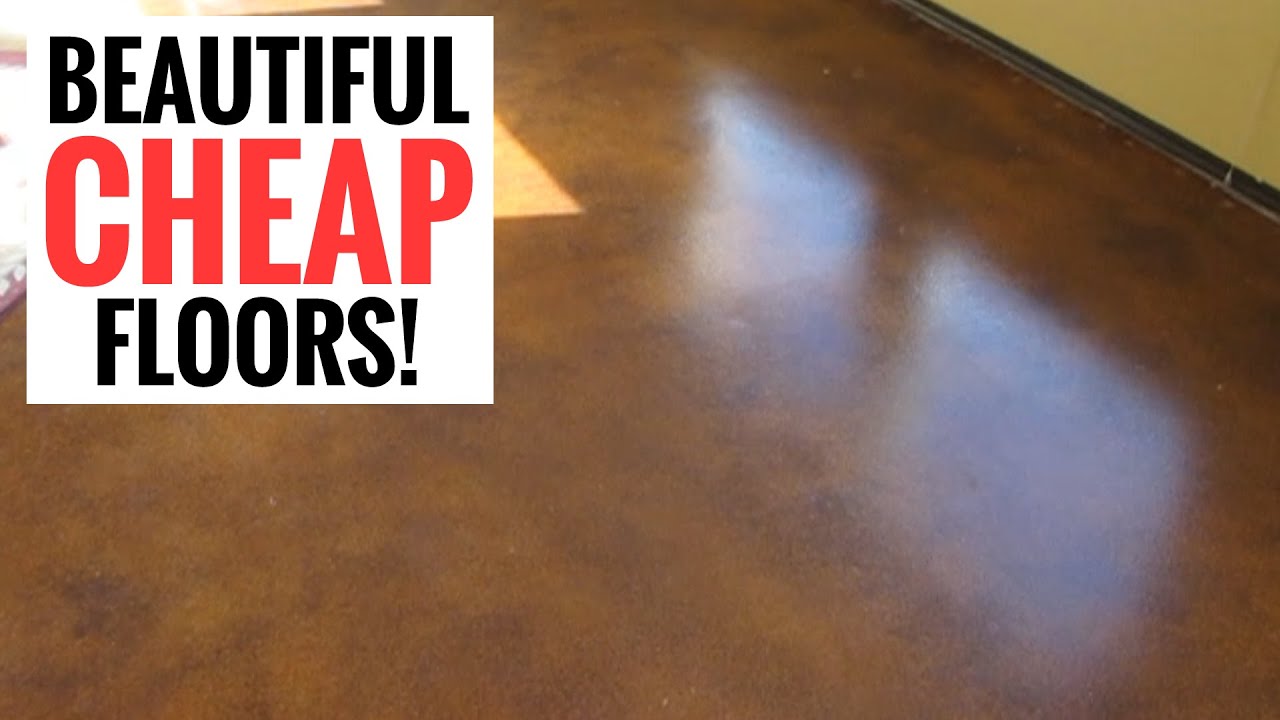
What’s the total cost for DIY stained concrete floors compared to other options?
I spent about $2-3 per square foot for materials on my projects, including stain, sealer, and prep supplies. This compares to $8-15 per square foot for professional installation or $5-12 per square foot for tile or hardwood materials alone. The dramatic cost savings make it worthwhile even factoring in your labor time and learning curve.
Can I stain concrete that already has paint or existing coatings?
Stain won’t penetrate through existing paint or sealers, so complete removal is necessary for proper results. I’ve had to grind off old paint and coatings, which adds time and rental equipment costs to the project. Testing in an inconspicuous area helps determine if existing coatings will interfere with stain penetration and color development.
Is stained concrete suitable for high-moisture areas like basements?
I’ve successfully stained basement floors, but moisture control is crucial for long-term success. Concrete must be completely dry during application, and proper sealing prevents moisture issues. I always test for moisture problems before starting and address any water infiltration issues first. A good vapor barrier sealer is essential in below-grade applications.

How durable is stained concrete for everyday family use with pets and kids?
My stained floors have held up beautifully to family life, including dogs and active teenagers. The key is using a quality sealer and maintaining it properly. Sealed stained concrete resists stains, scratches, and impacts better than many traditional flooring options. Pet accidents clean up easily, and the surface doesn’t harbor allergens like carpet or show scratches like hardwood.
What mistakes should I avoid during my first concrete staining project?
The biggest mistakes I made early on were rushing surface preparation and not testing stain colors first. Inadequate cleaning or etching prevents proper stain penetration, while skipping test areas can lead to unexpected color results. Don’t apply stain to damp concrete, and resist adding extra coats before the chemical reaction completes. Patience during each step prevents costly do-overs.
How to Acid Stain Concrete Floors
DIY Concrete Stained flooring – A Thrifty Mom – Recipes, Crafts
DIY Basement Floor Stain and finish, 2 colors, Without Etching!
Stained Concrete Floors: Cost, How to Stain DIY, Maintenance Tips
DIY Stained Concrete – How To Revitalize Any Concrete Surface – Do
Acid Stained Hard Troweled Concrete Floor Direct Colors
How to Acid Stain a Concrete Floor – Plank and Pillow

Related Posts: