This is in reality not really that bad of a thing as this's what many people expect whenever they walk right into a home. Finally, there is the choice to cover the downstairs room with carpet. It is a type of special polymer which has usually been utilized as covering for pipes, drinking water plants, and anywhere that needs strong, moisture resistant coating.
Images about Staining Concrete Basement Floor DIY
Staining Concrete Basement Floor DIY
Or perhaps you would like having a guest room readily available for when business drops by. Any drafts and leaks are going to have an impact on the basement floor's endurance. These might be those kinds that do not need to be maintained as frequently as carpet or wood. There are a variety of things you ought to bear in mind just before you purchase for supplies.
The Ultimate Guide to Staining a Basement Floor – Semigloss Design

Water issues in the home of yours can be very stressful since they can harm the development of the building and they may in addition impact the overall health of yours. Nonetheless, if the dampness is a continuous problem, it's only a question of time before it begins to bloom under the carpet.
Staining A Concrete Floor Is Easy, Just Follow Our Step By Step
The Best Concrete Stain Designs for Your Basement

Acid Stained Basement Floor
Basement with a Stained Concrete Floor Basement stained concrete

How To Stain Concrete Floors: Comprehensive Step-By-Step DIY Guide

Acid Stained Concrete Floors – Stained Concrete Outdoors or Indoors
Stained Concrete Basement Floor – Modern – Indianapolis – by
How to Acid Stain Concrete Floors u2022 The Prairie Homestead
Please hold tight Basement flooring, Concrete stained floors

How To Stain Concrete Floors: Comprehensive Step-By-Step DIY Guide
How Much Does it Cost to Stain Concrete Floors Yourself?
Concrete Stain
Related Posts:
- Vinyl Plank Flooring Basement Installation
- Basement Floor Insulation
- Tile Basement Flooring
- Concrete Basement Floor
- Cleaning Concrete Basement Floor
- Wood Basement Floor
- Basement Laminate Flooring Ideas
- Basement Floor Coating
- Luxury Basement Floor
- Epoxy Paint Basement Floor
– https://www.pinterest.com/pin/54746012836780150/ – https://www.pinterest.com/pin/54746012836780150/ – https://www.pinterest.com/pin/54746012836780150/ – https://www.pinterest.com/pin/54746012836780150/ – https://www.pinterest.com/pin/54746012836780150/ – https://www.pinterest.com/pin/54746012836780150/ – https://www.pinterest.com/pin/54746012836780150/ – https://www.pinterest.com/pin/54746012836780150/ – https://www.pinterest.com/pin/54746012836780150/ – https://www.pinterest.com/pin/54746012836780150/ – https://www.pinterest.com/pin/54746012836780150/ – https://www.pinterest.com/pin/54746012836780150/ – https://www.pinterest.com/pin/54746012836780150/ – https://www.pinterest.com/pin/54746012836780150/ – https://www.pinterest.com/pin/54746012836780150/ – https://www.pinterest.com/pin/54746012836780150/ – https://www.pinterest.com/pin/54746012836780150/ – https://www.pinterest.com/pin/54746012836780150/ – https://www.pinterest.com/pin/54746012836780150/ – https://www.pinterest.com/pin/54746012836780150/ – https://www.pinterest.com/pin/54746012836780150/ – https://www.pinterest.com/pin/54746012836780150/ – https://www.pinterest.com/pin/54746012836780150/ – https://www.pinterest.com/pin/54746012836780150/ – https://www.pinterest.com/pin/54746012836780150/ – https://www.pinterest.com/pin/54746012836780150/ – https://www.pinterest.com/pin/54746012836780150/ – https://www.pinterest.com/pin/54746012836780150/ – https://www.pinterest.com/pin/54746012836780150/ – https://www.pinterest.com/pin/54746012836780150/ – https://www.pinterest.com/pin/54746012836780150/ – https://www.pinterest.com/pin/54746012836780150/ – https://www.pinterest.com/pin/54746012836780150/ – https://www.pinterest.com/pin/54746012836780150/ – https://www.pinterest.com/pin/54746012836780150/ – https://www.pinterest.com/pin/54746012836780150/ – https://www.pinterest.com/pin/54746012836780150/ – https://www.pinterest.com/pin/54746012836780150/ – https://www.pinterest.com/pin/54746012836780150/ – https://www.pinterest.com/pin/54746012836780150/ – https://www.pinterest.com/pin/54746012836780150/ – https://www.pinterest.com/pin/54746012836780150/ – https://www.pinterest.com/pin/54746012836780150/ – https://www.pinterest.com/pin/54746012836780150/ – https://www.pinterest.com/pin/54746012836780150/ – https://www.pinterest.com/pin/54746012836780150/ – https://www.pinterest.com/pin/54746012836780150/ – https://www.pinterest.com/pin/54746012836780150/ – https://www.pinterest.com/pin/54746012836780150/ – https://www.pinterest.com/pin/54746012836780150/ – https://www.pinterest.com/pin/54746012836780150/ – https://www.pinterest.com/pin/54746012836780150/ – https://www.pinterest.com/pin/54746012836780150/ – https://www.pinterest.com/pin/54746012836780150/ – https://www.pinterest.com/pin/54746012836780150/ – https://www.pinterest.com/pin/54746012836780150/
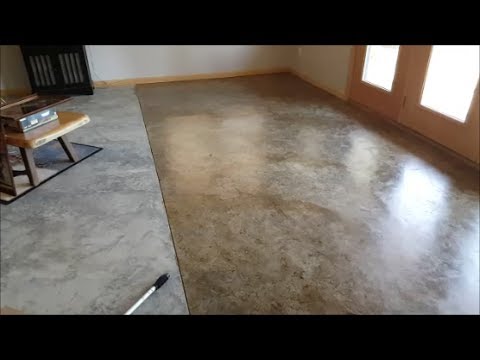
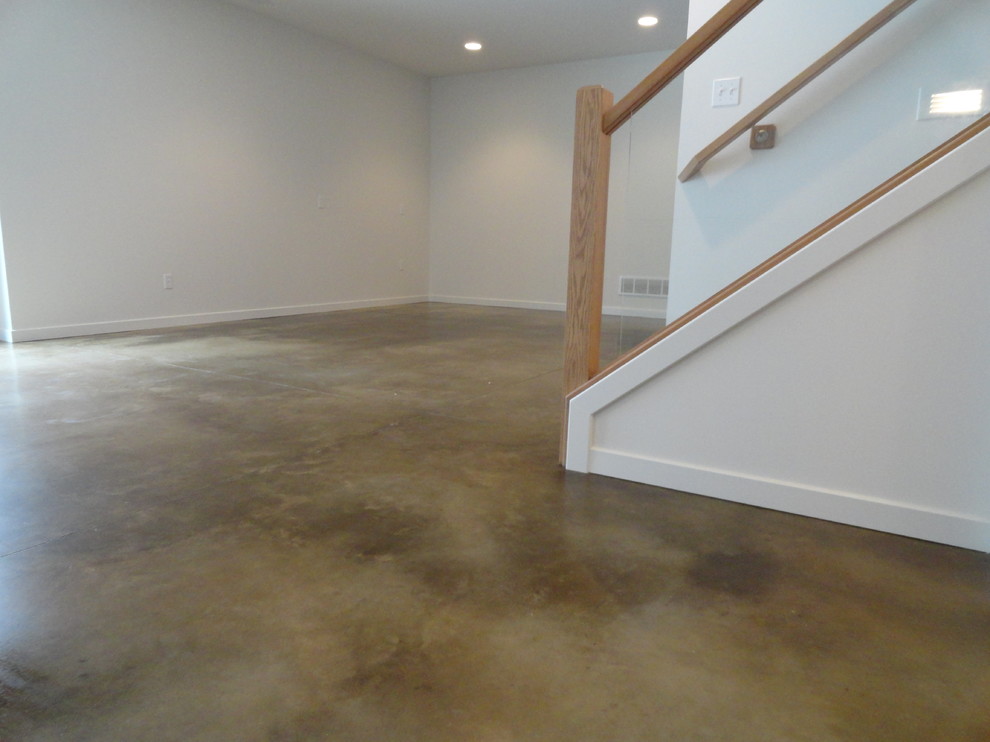
If you’re planning on improving the look of your concrete basement floor, staining it is a great option. DIY staining concrete basement floors is a relatively simple and cost-effective way to spruce up your space. With the right supplies and a bit of elbow grease, you can transform your dull basement floor into something that looks more modern and inviting. In this article, we’ll discuss the steps needed to stain a concrete basement floor, as well as some tips and tricks on how to make sure your project turns out looking great.What You Will Need
Before you begin your staining project, make sure you have the necessary supplies on hand. You will need:
-Concrete etching solution
-Chemical resistant gloves
-Painter’s tape
-Paint roller
-Paint tray
-Concrete sealer
-Stain of your choice
-Paintbrush
-Clean cloths
Etching the Concrete Floor
The first step in staining your concrete basement floor is etching the surface. You will need an etching solution designed specifically for concrete surfaces. Put on your chemical resistant gloves and use the paint roller to spread a thin layer of etching solution onto the floor. Let it sit for five minutes and then use a clean cloth to wipe away any excess solution. Allow it to completely dry before proceeding with the next step.
Applying Painter’s Tape
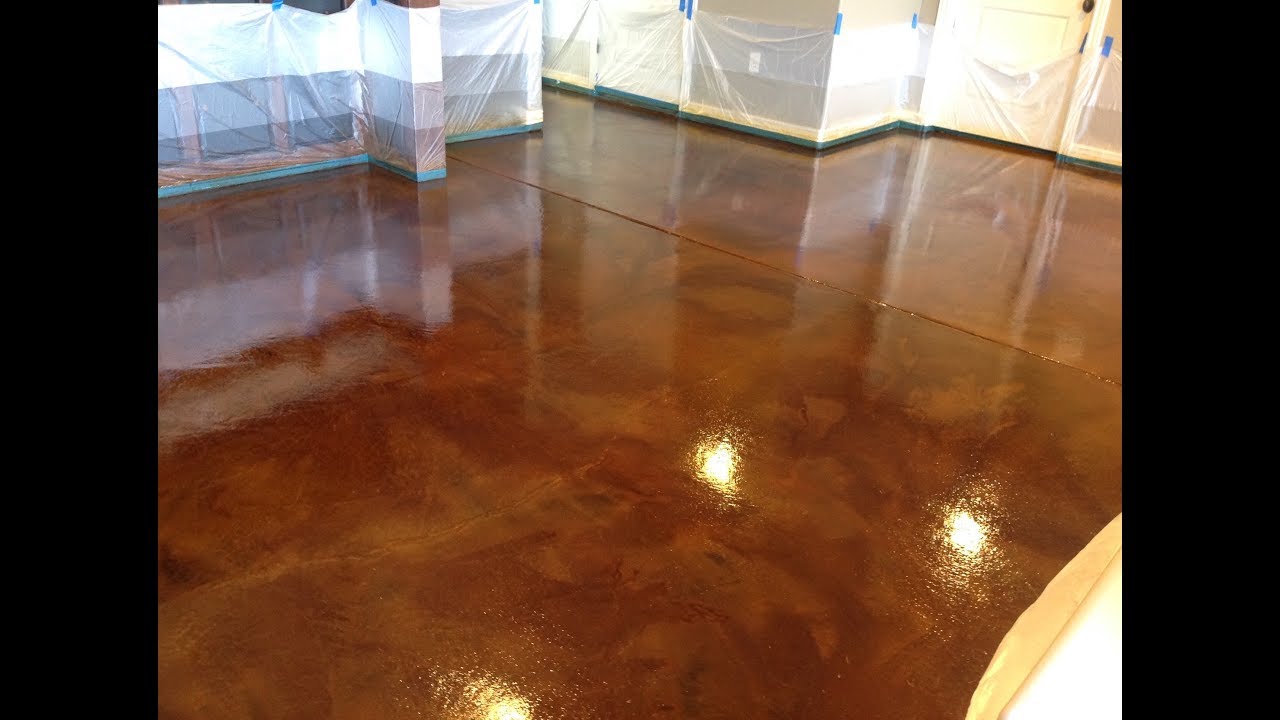
Once your floor has been etched, it’s time to apply painter’s tape around the perimeter of the room. This will help ensure that you don’t get stain on any walls or other surfaces while you’re working. Make sure that all edges are firmly sealed with the tape so that no stain can seep through.
Applying Concrete Sealer
The next step is to apply a concrete sealer. This will help protect the concrete from any future damage or discoloration and also help lock in the color of the stain you’ll be applying later. Put on your gloves and pour a small amount of sealer into a paint tray. Using a paint roller, spread a thin layer of sealer over the entire floor until it’s completely covered. Let it dry for at least 24 hours before proceeding.
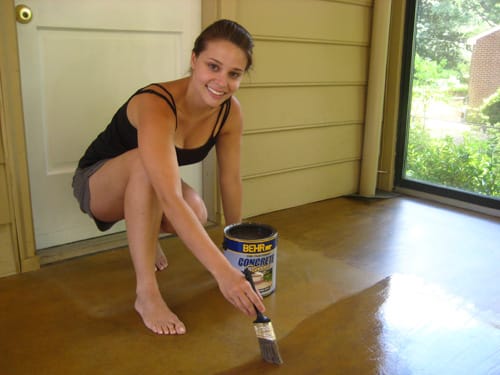
Applying Stain
Now it’s time to apply the stain! Pour some stain into a paint tray and use a paintbrush to spread an even layer of stain over the entire floor. Allow it to sit for 10 minutes before wiping off any excess with a clean cloth. Once all excess has been removed, let the stain dry for at least 24 hours before sealing it with another layer of concrete sealer (optional).
FAQs About Staining Concrete Basement Floors DIY
Q: What type of stain should I use for my basement floor?
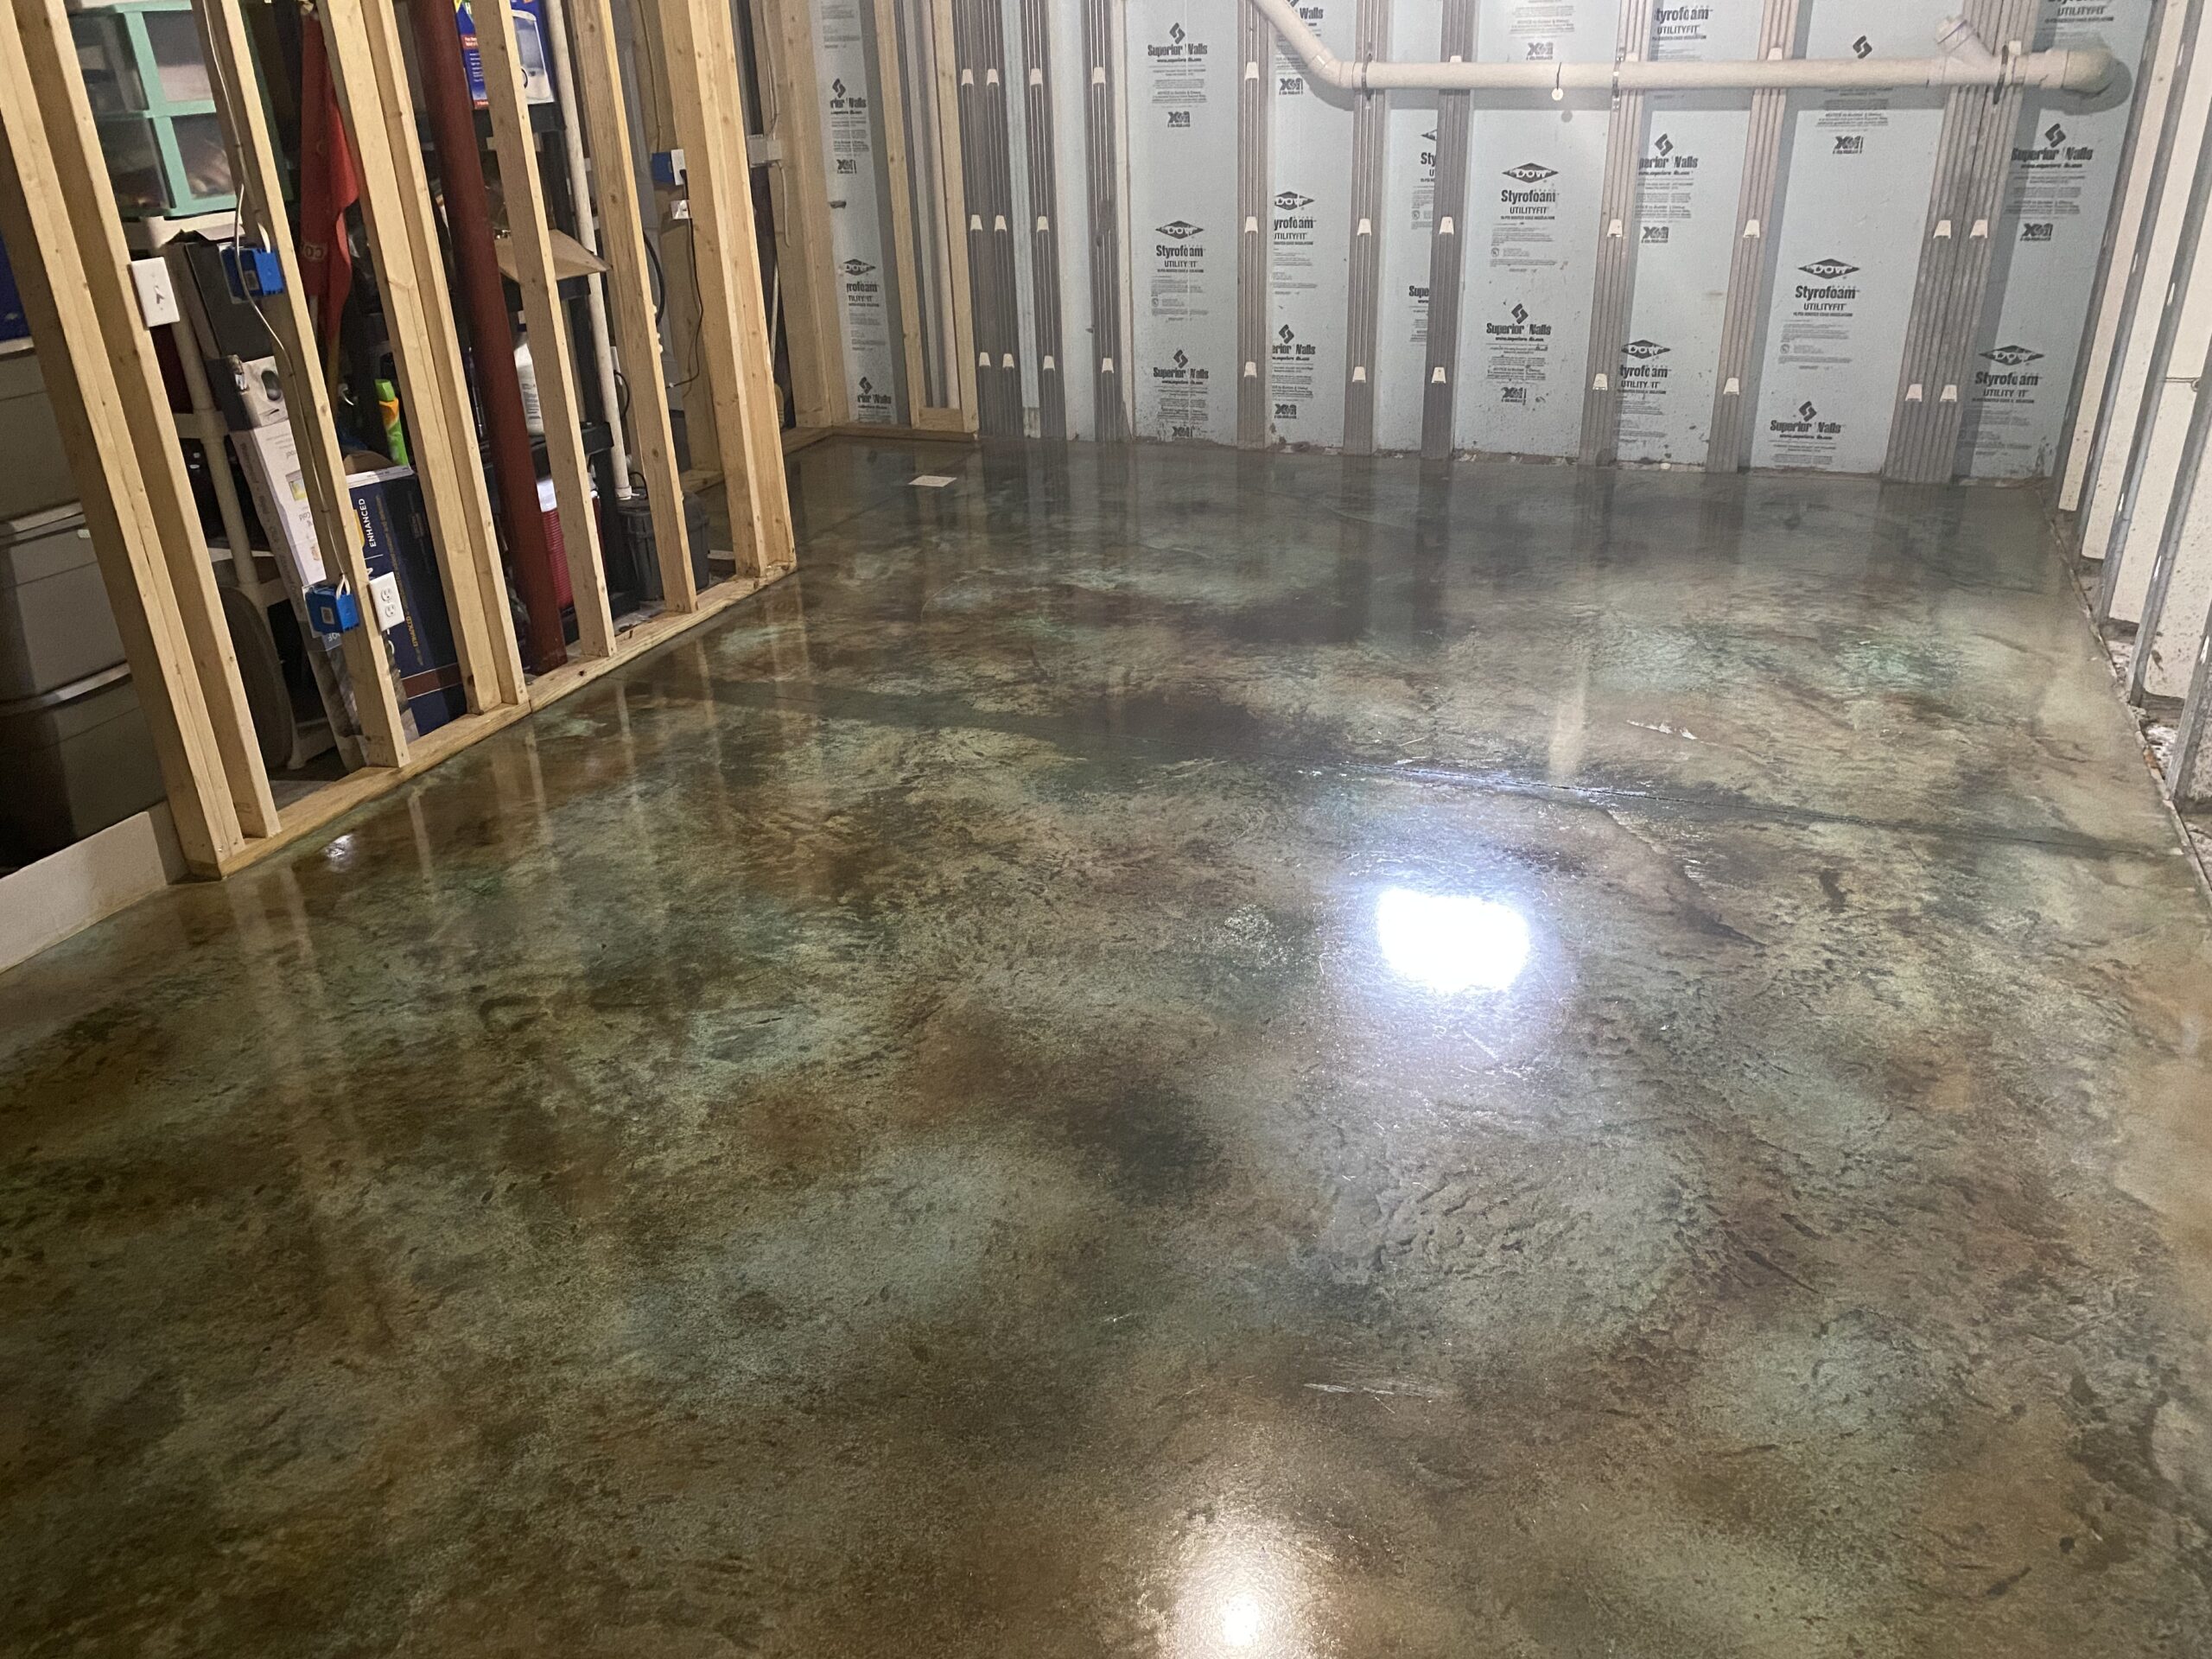
A: The type of stain you choose will depend on what look you’re trying to achieve. Different types of stains offer different colors and finishes, so be sure to research different options before making a decision. If you want a natural look, water-based stains are typically best as they don’t contain any harsh chemicals like oil-based stains do. For more vibrant colors, however, an acid-based stain may be preferable.
Q: How long should I wait before applying sealer?
A: After applying the stain, wait at least 24 hours before applying sealer. This will give the stain ample time to dry completely so that it won’t be affected by the sealer’s application process.
Q: How often should I reseal my concrete basement floor?
A: It’s recommended that you reseal your concrete basement floor every one to two years for optimal protection and long-lasting results. This can easily be done with a simple coat of sealer applied directly onto the stained surface.