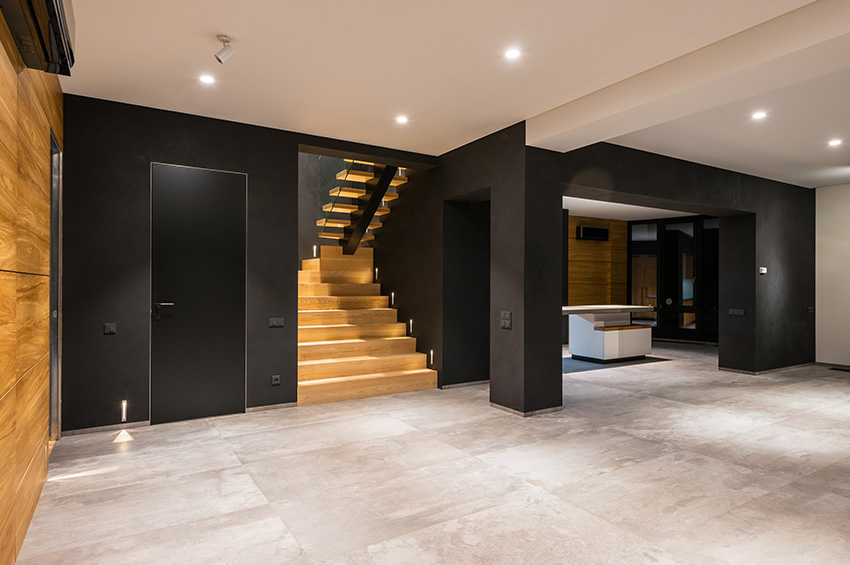
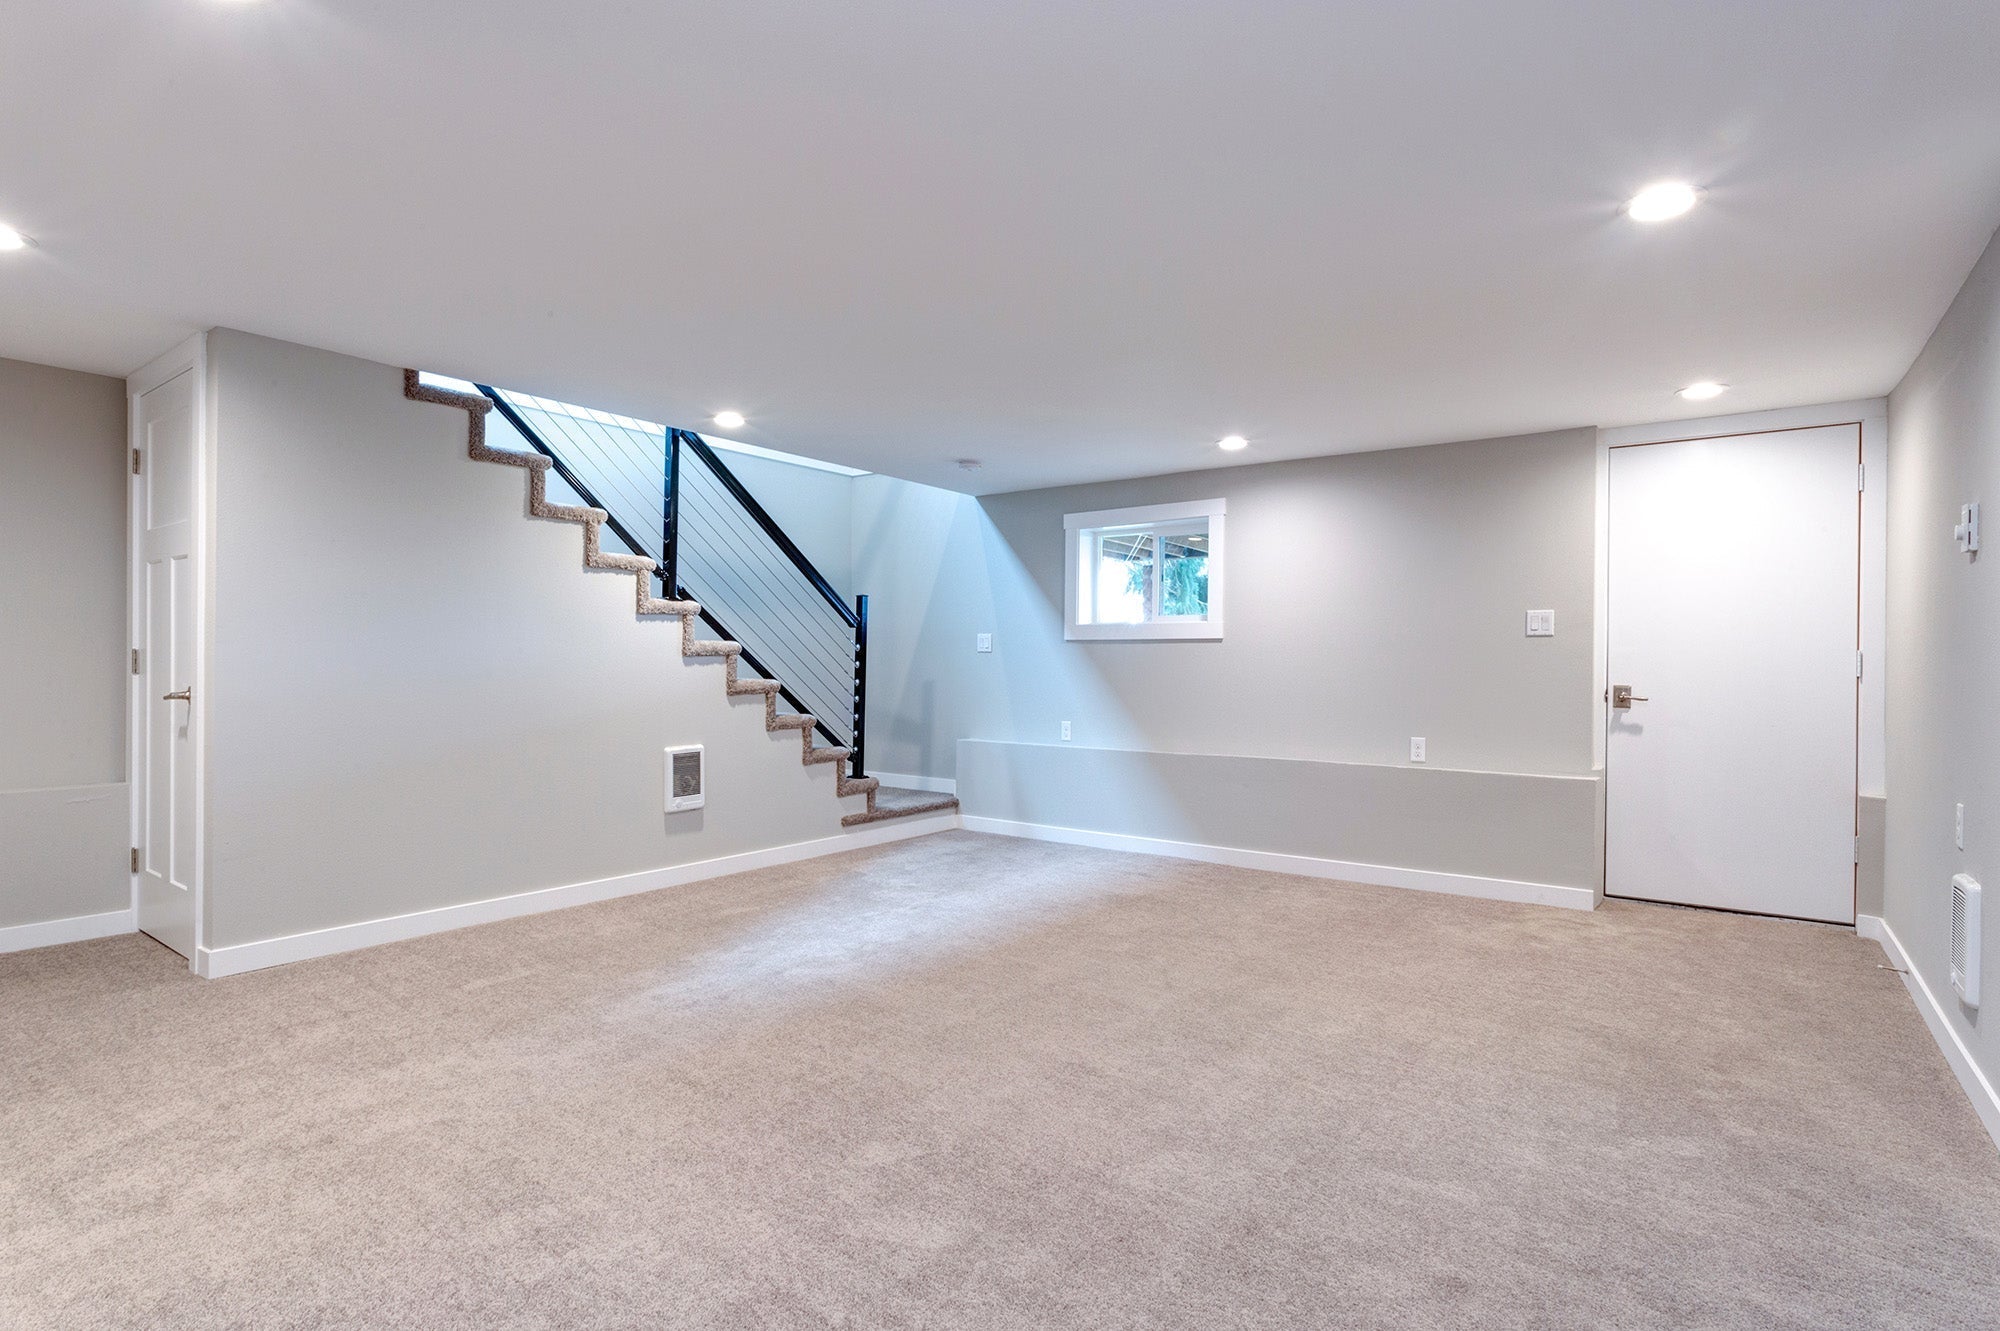
When I first looked at my unfinished basement three years ago, I saw potential for a family room and home office. Still, the concrete floor was cold, uninviting, and definitely not budget-friendly to renovate. After researching countless options and making some costly mistakes early on, I discovered that creating a comfortable basement space doesn’t have to break the bank. I’ve tried everything from peel-and-stick tiles to interlocking foam mats, and I’ve learned which affordable options actually hold up to moisture, temperature changes, and daily family life. My basement is now a cozy retreat that cost a fraction of what I initially thought I’d need to spend, and I’m excited to share the budget-friendly solutions that really work.
Luxury Vinyl Plank: The Sweet Spot Solution
My first major success came with luxury vinyl plank (LVP) flooring, which I initially dismissed as too expensive until I realized it offers incredible value for basement applications. The waterproof construction handles my basement’s occasional humidity spikes without warping, buckling, or developing mold like traditional laminate would. I found quality LVP options for $2-$ 4 per square foot at big-box stores, especially during clearance sales. The click-lock installation saved me hundreds in labor costs since I could install it myself over a weekend.
The comfort factor surprised me most about LVP in my basement. Unlike cold concrete, the vinyl provides insulation and warmth underfoot, making the space actually pleasant to walk on barefoot. I chose a wood-look pattern that gives the basement a cozy, upscale appearance without the maintenance headaches of real hardwood. The built-in underlayment in many LVP products adds cushioning and sound dampening, which helps reduce the echo that plagued my concrete floors.
Durability has exceeded my expectations after two years of heavy family use. My kids use the basement for everything from toy car races to art projects, and the LVP shows minimal wear despite the abuse. Spills wipe up easily, and I don’t worry about moisture damage from wet boots or occasional flooding. The 20-year warranty gave me confidence in the investment, and the realistic wood grain patterns still look fresh and attractive. For the money, LVP delivered the best combination of looks, comfort, and practicality.
Peel-and-Stick Vinyl Tiles: Budget Champion
Peel-and-stick vinyl tiles became my go-to recommendation for friends on tight budgets after I used them successfully in my basement workshop area. At under $1 per square foot, these tiles offer the lowest upfront cost for a finished floor appearance. The adhesive backing makes installation incredibly simple. I completed 300 square feet in one afternoon with just a utility knife and measuring tape. The variety of patterns available means you can achieve surprisingly sophisticated looks without spending much money.
Quality varies dramatically between brands, so I learned to invest in slightly better tiles that cost $1.50 per square foot rather than the cheapest options. The higher-quality tiles have stronger adhesive and thicker vinyl that resists curling and peeling. I tested several brands in small areas before committing to full installation, which saved me from costly mistakes. The better tiles also have more realistic textures and patterns that don’t look obviously cheap.
Moisture resistance proved adequate for my basement’s typical conditions, though I wouldn’t recommend peel-and-stick tiles for areas prone to flooding. The seams can allow minor moisture penetration, but proper subfloor preparation and immediate spill cleanup prevent most problems. I sealed the edges with clear caulk in areas near the water heater and laundry connections. After 18 months, most tiles remain firmly attached with only minor lifting in high-traffic doorways that I easily re-adhered.
Interlocking Foam Tiles: Comfort on a Shoestring
Interlocking foam tiles transformed my basement exercise area for less than $200, providing cushioned flooring that’s perfect for workouts and play areas. These puzzle-piece tiles snap together without adhesive, making installation and removal incredibly easy. I can reconfigure the layout anytime or remove sections for deep cleaning. The 24-inch squares cover large areas quickly, and the interlocking design creates a stable surface that doesn’t shift during use.
The comfort level makes foam tiles ideal for areas where people spend time sitting or lying on the floor. My kids love playing on the soft surface, and it’s much more comfortable than concrete for yoga and stretching. The foam provides excellent insulation from cold concrete, keeping the area warm enough for barefoot activities year-round. The cushioning also reduces fatigue when standing for extended periods in my workshop area.
Moisture management requires attention with foam tiles since water can collect underneath if not properly addressed. I learned to use a vapor barrier and ensure good ventilation to prevent mold growth. The tiles themselves clean easily with mild soap and water, and individual damaged tiles can be replaced without affecting the entire installation. While not as durable as hard surface options, foam tiles offer unmatched comfort and value for specific basement applications like playrooms and exercise areas.

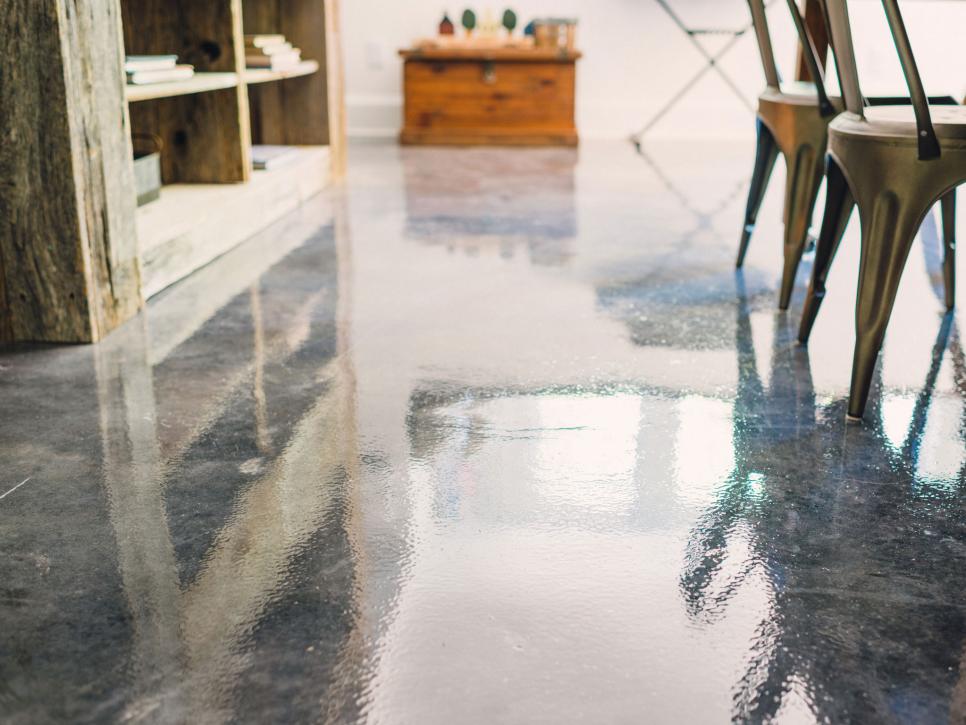
Concrete Paint and Epoxy Coatings
Painting my concrete floor became the most economical solution for areas that didn’t need extra warmth or comfort. Quality concrete paint costs about $0.50 per square foot and provides a clean, finished appearance that’s perfect for workshops, storage areas, and utility spaces. I chose light gray paint that brightens the basement and hides dirt better than darker colors. The preparation work is crucial; I spent a full day cleaning, etching, and priming the concrete for optimal adhesion.
Epoxy coatings offered a more durable upgrade for high-traffic areas at roughly $1 per square foot for DIY kits. The two-part epoxy creates a hard, glossy surface that resists stains, chemicals, and moisture better than paint alone. I applied decorative flakes during installation that add texture and visual interest while helping hide imperfections. The professional appearance rivals expensive flooring options at a fraction of the cost.
Durability varies significantly with surface preparation and application quality. My properly prepared epoxy floor has held up perfectly for two years, while areas where I rushed the prep work show premature wear. The key is following the manufacturer’s instructions precisely and allowing proper cure time between coats. Both paint and epoxy provide excellent moisture barriers that help prevent humidity problems while giving the basement a finished, intentional appearance.

Carpet Tiles: Warmth and Flexibility
Carpet tiles surprised me with their practicality and affordability for basement applications. Commercial-grade tiles designed for below-grade installation cost $2-3 per square foot but provide warmth and comfort that hard surfaces can’t match. The modular design allows me to replace individual damaged tiles rather than entire rooms of carpeting. I chose tiles with moisture-resistant backing that won’t support mold growth in basement conditions.
Installation flexibility makes carpet tiles perfect for basement layouts with obstacles like support posts and utility lines. I can cut tiles to fit around irregular shapes and easily access utilities underneath by removing tiles temporarily. The self-adhesive backing eliminates the need for tack strips or professional installation. I completed my 400-square-foot family room over two evenings, working around furniture and other obstacles.
Maintenance proved easier than expected with quality carpet tiles. Individual stained or damaged tiles pop out for deep cleaning or replacement without affecting surrounding areas. I keep spare tiles for quick repairs and rotation to even out wear patterns. The low-profile construction doesn’t create tripping hazards or interfere with door clearances. While not completely waterproof, moisture-resistant backing and quick-drying fibers handle typical basement humidity without problems.

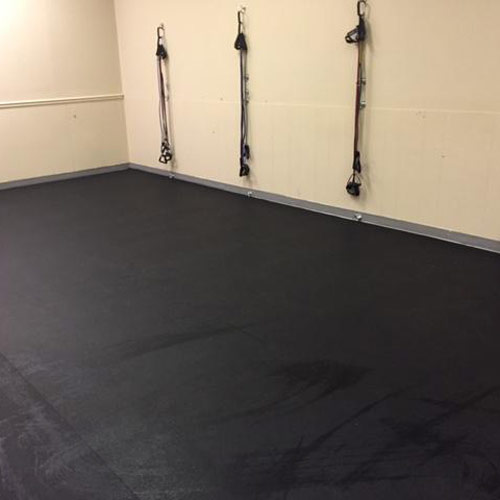
Rubber Flooring: Industrial Strength Value
Rubber flooring became my choice for the basement gym area after researching options that could handle heavy equipment and intense workouts. Roll-out rubber costs $3-5 per square foot but provides unmatched durability and shock absorption. The dense material won’t dent under heavy weights and provides excellent traction for safety during exercises. Installation involves simply rolling out the material and trimming to fit with a sharp knife.
Interlocking rubber tiles offer more flexibility for smaller areas or mixed-use spaces. The puzzle-piece design allows easy reconfiguration and individual tile replacement when needed. I chose 2×2-foot tiles with beveled edges that create smooth transitions and prevent tripping. The variety of colors and textures available means rubber flooring doesn’t have to look industrial; many options complement residential décor beautifully.
Maintenance requirements are minimal with rubber flooring, which appeals to my busy lifestyle. Simple sweeping and occasional mopping with mild detergent keep the surface clean and hygienic. The non-porous surface resists stains, moisture, and bacteria naturally. Rubber’s inherent antimicrobial properties make it excellent for exercise areas and playrooms. The long lifespan and virtually indestructible nature make rubber flooring an excellent value despite higher upfront costs.

DIY Installation Tips and Cost Savings
Planning became crucial for maximizing savings on my basement flooring projects. I measured everything twice and created detailed layouts before purchasing materials, which prevented costly overages and returns. Shopping sales and clearance sections at multiple retailers saved me 30-50% on materials. I also found excellent deals on slightly damaged boxes that had cosmetic packaging issues but perfect contents. Timing purchases around major sales events maximized my purchasing power.
Tool requirements vary by flooring type, but I found that basic tools handled most installations. A good utility knife, measuring tape, and chalk line were essential for almost every project. I borrowed specialized tools like tile saws from friends or rented them for single-day use rather than purchasing. Many home improvement stores offer free tool lending programs for customers, which saved me hundreds on tools I’d rarely use again.
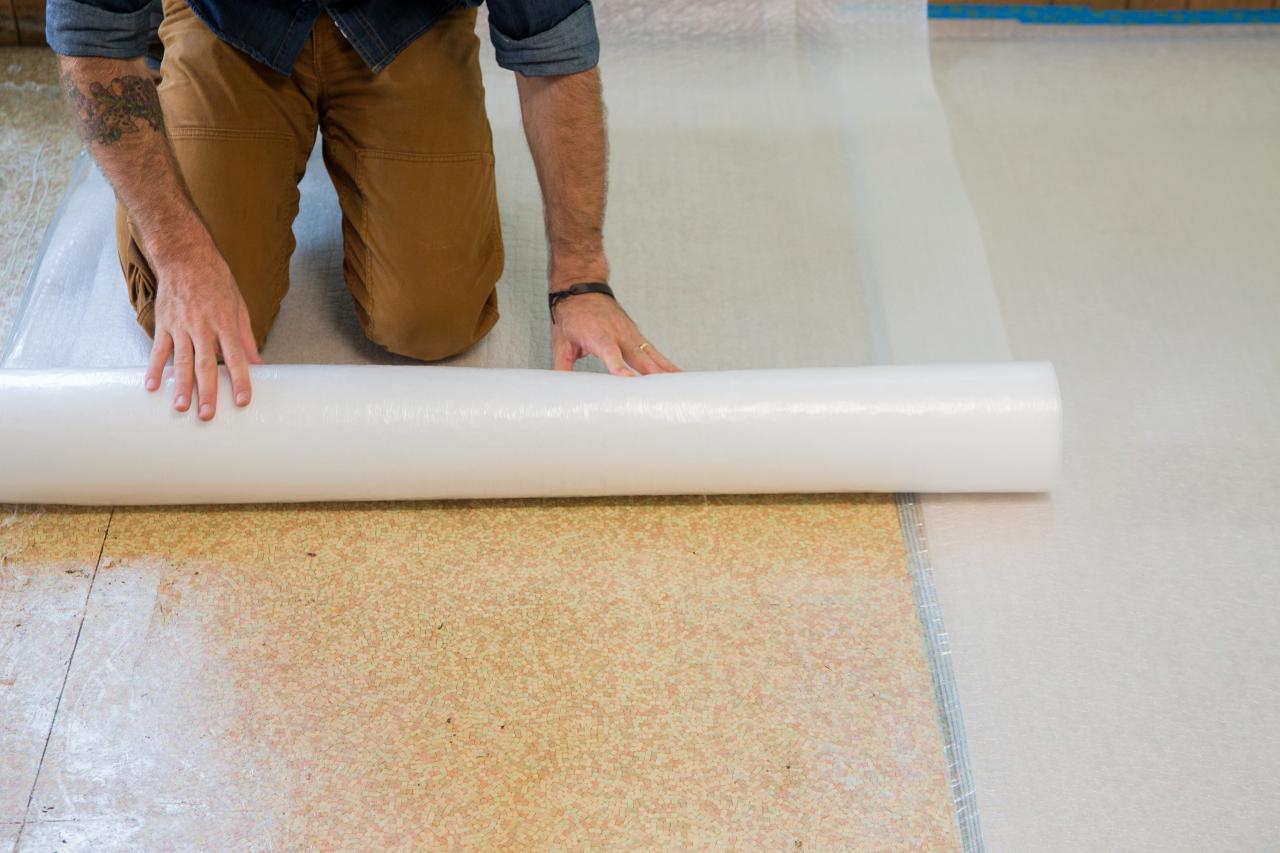
Subfloor preparation made the biggest difference in final results regardless of flooring choice. I invested time in thorough cleaning, crack repair, and moisture testing before installation. A concrete grinder rental for one weekend smoothed rough areas that would have telegraphed through thin flooring materials. Proper preparation prevented callbacks and repairs that would have cost more than the initial rental fee. Taking time up front saved money and headaches later.
What’s the most moisture-resistant affordable basement flooring option?
Luxury vinyl plank has been my best performer for moisture resistance at a reasonable price. The waterproof construction handles humidity and minor flooding without damage. Peel-and-stick tiles work well too but can have seam issues. I avoid laminate and engineered wood in basements due to moisture sensitivity. Proper vapor barriers help any flooring choice perform better.
Can I install basement flooring myself to save money?
Most affordable options are DIY-friendly! I installed LVP, peel-and-stick tiles, and foam tiles myself with basic tools. The click-lock systems are foolproof, and online tutorials guide you through each step. Professional installation typically doubles the project cost, so DIY saves significant money. Start with smaller areas to build confidence before tackling large spaces.

How do I handle moisture issues before installing basement flooring?
I tested for moisture using plastic sheet tests and addressed issues before flooring installation. Concrete sealers, vapor barriers, and improved ventilation solved most problems. Dehumidifiers help maintain proper humidity levels year-round. Never install flooring over known moisture problems; address the source first to prevent costly failures and health issues.
What’s the cheapest basement flooring option that still looks good?
Peel-and-stick vinyl tiles at under $1 per square foot offer the best value for appearance. Quality varies widely, so invest in slightly better tiles for better looks and durability. Concrete paint at $0.50 per square foot works for utility areas. I found that spending a bit more upfront usually provides much better long-term satisfaction and appearance.
How long do affordable basement flooring options typically last?
My LVP is going strong after two years with 15-20 year expected life. Peel-and-stick tiles typically last 5-10 years with proper installation. Foam tiles need replacement every 3-5 years depending on use. Concrete paint lasts 3-5 years before needing touch-ups. Quality installation and proper maintenance significantly extend lifespan for all options.
Are there health concerns with affordable basement flooring materials?
I research VOC emissions and choose low-emission products when possible. Most modern vinyl and foam products are much safer than older materials. Good ventilation during and after installation helps dissipate any initial odors. I avoid products with strong chemical smells and always allow proper cure time before heavy use. Quality products from reputable manufacturers generally meet safety standards.

Cheap Flooring Ideas (That Are Beautiful!)

Explore Basement Flooring Options, Costs and Ideas
Best Basement Flooring Options – The Flooring Girl

Basement Flooring Ideas – Basement Flooring
Related Posts: