When I decided to install bamboo flooring in my home office two years ago, I thought I was making a simple, eco-friendly choice that would be straightforward to install. How wrong I was! While I absolutely love the final result and would choose bamboo again, the installation process taught me more about patience, preparation, and problem-solving than I ever expected. From dealing with humidity issues to learning the quirks of working with grass-based planks, every step had its challenges. The good news is that with the right knowledge and preparation, bamboo can be a fantastic DIY project that saves you thousands in labor costs while giving you gorgeous, sustainable floors.
Understanding Different Bamboo Types and Their Installation Requirements
The first surprise in my bamboo flooring journey was discovering just how many different types of bamboo flooring exist, each with its own installation quirks. I initially assumed all bamboo was created equal, but strand-woven bamboo behaves very differently during installation compared to horizontal or vertical grain bamboo. The strand-woven variety I chose is incredibly dense and hard, almost like working with engineered hardwood, while traditional bamboo planks felt more flexible and forgiving.
Horizontal bamboo, with its classic bamboo node pattern, required different cutting techniques than I expected. The natural joints and varying grain density meant my saw blade dulled much faster than with regular wood flooring. I learned to use a fine-tooth carbide blade and make slower, more deliberate cuts to prevent splintering. The vertical-grain bamboo samples I tested were easier to cut but showed scratches more readily during installation, so I had to be extra careful with my tools.
Engineered bamboo versus solid bamboo made a huge difference in my installation approach. The engineered planks I used had a click-lock system that was generally user-friendly, but the bamboo top layer was thinner and more prone to damage from my flooring nailer. I had to adjust the pressure settings multiple times and use protective blocks to prevent denting. Solid bamboo would have been more forgiving for nail-down installation, but the engineered version was perfect for my concrete subfloor situation.
Pre-Installation Preparation and Subfloor Requirements
Preparing my concrete subfloor for bamboo turned out to be more critical than I realized when I started this project. Bamboo is extremely sensitive to moisture, much more so than traditional hardwood, so I spent nearly a week testing moisture levels with a concrete moisture meter. My basement office subfloor was reading higher than the recommended 3 pounds per 1,000 square feet, so I had to apply a moisture vapor barrier before proceeding.
The flatness requirements for bamboo also caught me off guard. While wood floors can handle minor subfloor irregularities, bamboo planks seemed to telegraph every little bump or dip. I ended up using a self-leveling compound over about 40% of my floor area to achieve the required flatness of 1/4 inch over 6 feet. This added two days to my timeline and about $200 to my material costs, but it was necessary for a professional-looking result.
Acclimation proved to be even more important with bamboo than with traditional wood flooring. I brought the boxes into my office space a full 10 days before installation and opened them to allow air circulation around each plank. The manufacturer recommended 72 hours, but I’d read enough horror stories about bamboo movement that I wanted to be extra cautious. During this time, I also ran my dehumidifier to get the room humidity down to the ideal 45-55% range.

Tools and Materials: What Actually Works for Bamboo
My regular hardwood flooring tools needed some adjustments to work well with bamboo’s unique properties. The biggest change was switching to a higher-quality saw blade specifically designed for engineered products. My standard wood blade was leaving rough, splintered cuts that required extensive sanding to clean up. The carbide-tipped blade designed for bamboo gave me clean cuts from day one and lasted through the entire 300-square-foot installation.
The flooring nailer settings took some trial and error to get right. Bamboo’s density meant I needed more pressure than with pine subfloors, but too much pressure would overdrive the cleats and damage the plank surface. I ended up practicing on scraps until I found the sweet spot, then marked my compressor gauge so I could maintain consistent pressure throughout the installation. A manual nail set became essential for areas where the pneumatic nailer couldn’t reach.
Moisture barriers and underlayment choices were more limited with bamboo than I expected. Not all underlayments are compatible with bamboo’s expansion characteristics, so I had to source a specific product recommended by my flooring manufacturer. The cost was about 50% higher than generic underlayment, but it included both moisture protection and sound dampening. I also invested in transition strips made specifically for bamboo, as the expansion rates are different from wood and require specially sized expansion joints.

Installation Techniques and Common Pitfalls to Avoid
Starting the first row correctly was absolutely crucial with bamboo flooring, and I learned this lesson the hard way after having to restart twice. Bamboo planks seem less forgiving of slight angle errors than wood planks, and small mistakes in the first row compound quickly. I eventually used a chalk line and double-checked measurements every few planks to ensure I maintained a straight line parallel to my longest wall.
The clicking mechanism on engineered bamboo requires a different technique than other click-lock floors I’ve installed. The bamboo planks need to be angled more steeply and require firmer pressure to engage properly. I damaged several tongue edges by trying to force planks together at the wrong angle before I figured out the correct technique. Taking time to practice the clicking motion on scrap pieces saved me from ruining expensive planks later in the installation.
Cutting bamboo around obstacles like heating vents and doorways required more patience than I initially planned for. The material tends to chip if you rush the cuts, so I learned to score lightly first, then make several progressively deeper passes. For curved cuts around pipes, I found that drilling relief holes and using a coping saw worked better than trying to make one continuous cut with a jigsaw. The extra time spent on clean cuts paid off in the professional appearance of the finished floor.
Managing Expansion Gaps and Transitions
Bamboo’s expansion characteristics surprised me with their intensity compared to traditional hardwood floors. The quarter-inch expansion gaps I left around the perimeter weren’t quite enough during the first summer, and I noticed some slight buckling near the sliding door where heat and humidity were highest. I ended up trimming my baseboards to allow for slightly larger gaps, which solved the problem completely.
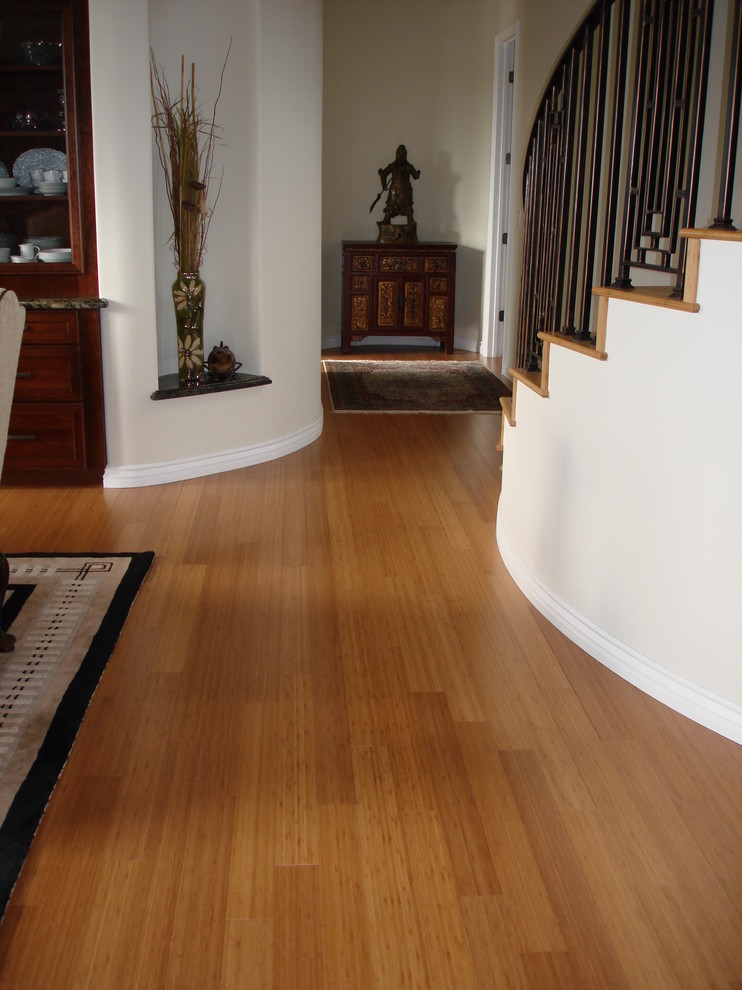
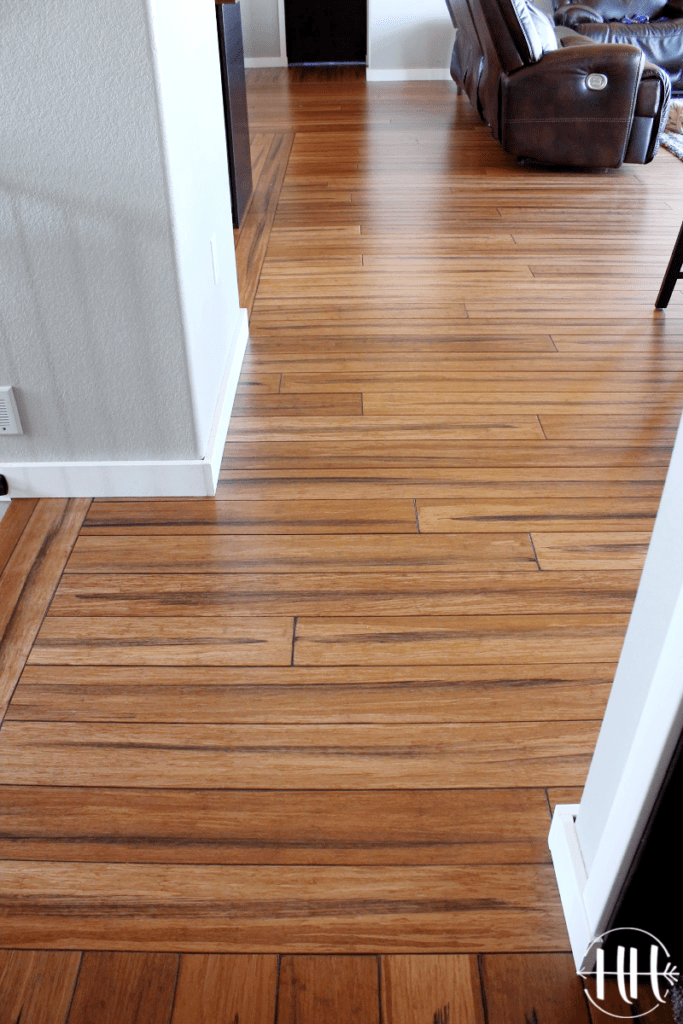
Transition strips between my bamboo office and the adjacent tile hallway required careful planning and precise measurements. Bamboo moves differently from ceramic tile, so the transition strip needed to accommodate movement on one side while remaining fixed on the other. I used adjustable transition strips that could be fine-tuned after installation, which was incredibly helpful as the floor settled over the first few months.
Doorway transitions were particularly tricky because bamboo’s thickness didn’t match my existing flooring in adjacent rooms. I had to use ramped transition strips in some areas and adjust door jambs in others. The most challenging spot was transitioning to carpet, where I needed a tack strip that could handle bamboo’s expansion without creating gaps. Professional-grade transition accessories cost more than generic options, but they made a noticeable difference in the finished appearance.
Post-Installation Care and Long-Term Performance
The first month after installation required more attention than I expected, as the bamboo continued to adjust to my home’s environment. I noticed small gaps opening and closing as humidity levels fluctuated, which was normal but initially concerning. Keeping detailed records of temperature and humidity helped me understand the patterns and adjust my climate control accordingly. A good hygrometer became an essential tool for monitoring conditions.
Cleaning bamboo floors during the break-in period required a gentler approach than my previous hardwood floors. The factory finish was more susceptible to water damage in the first few weeks, so I avoided damp mopping and stuck to dry cleaning methods. After about six weeks, when the finish had fully cured, I was able to establish a normal cleaning routine with bamboo-specific cleaners that don’t leave residue or cause dulling.
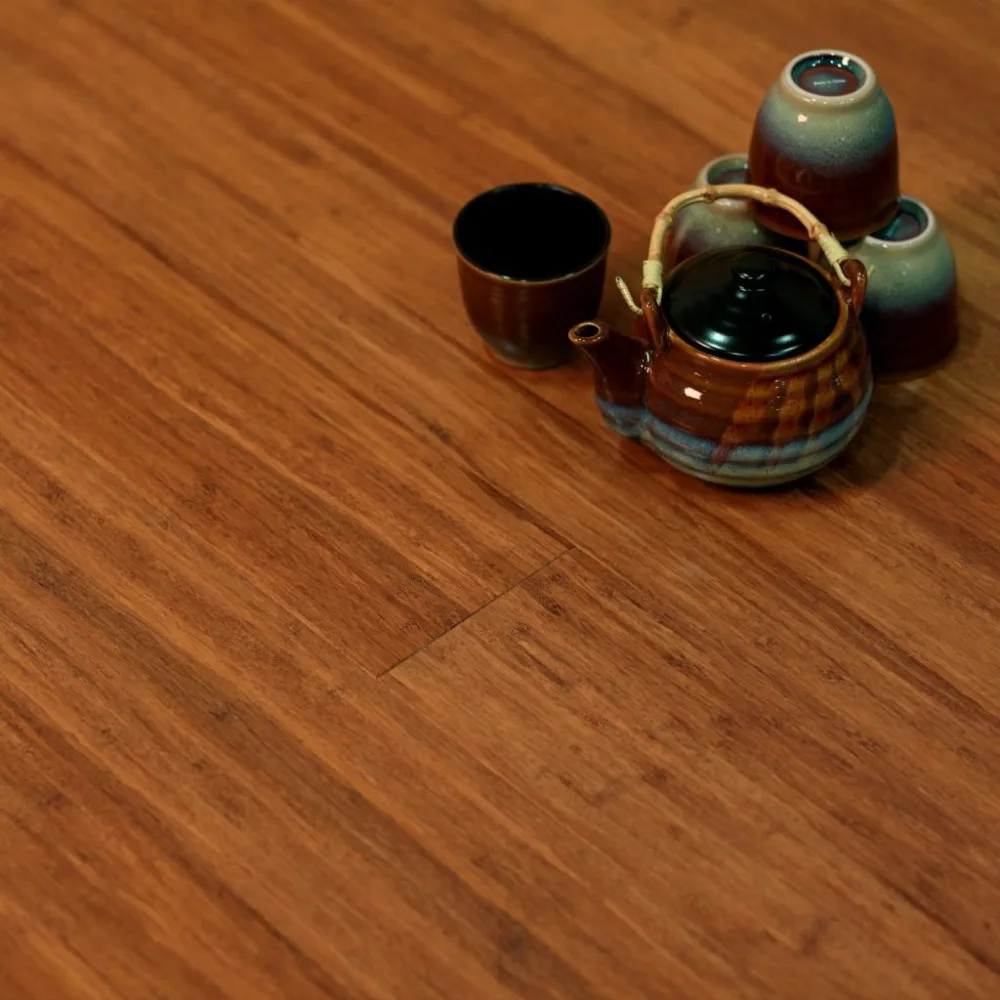
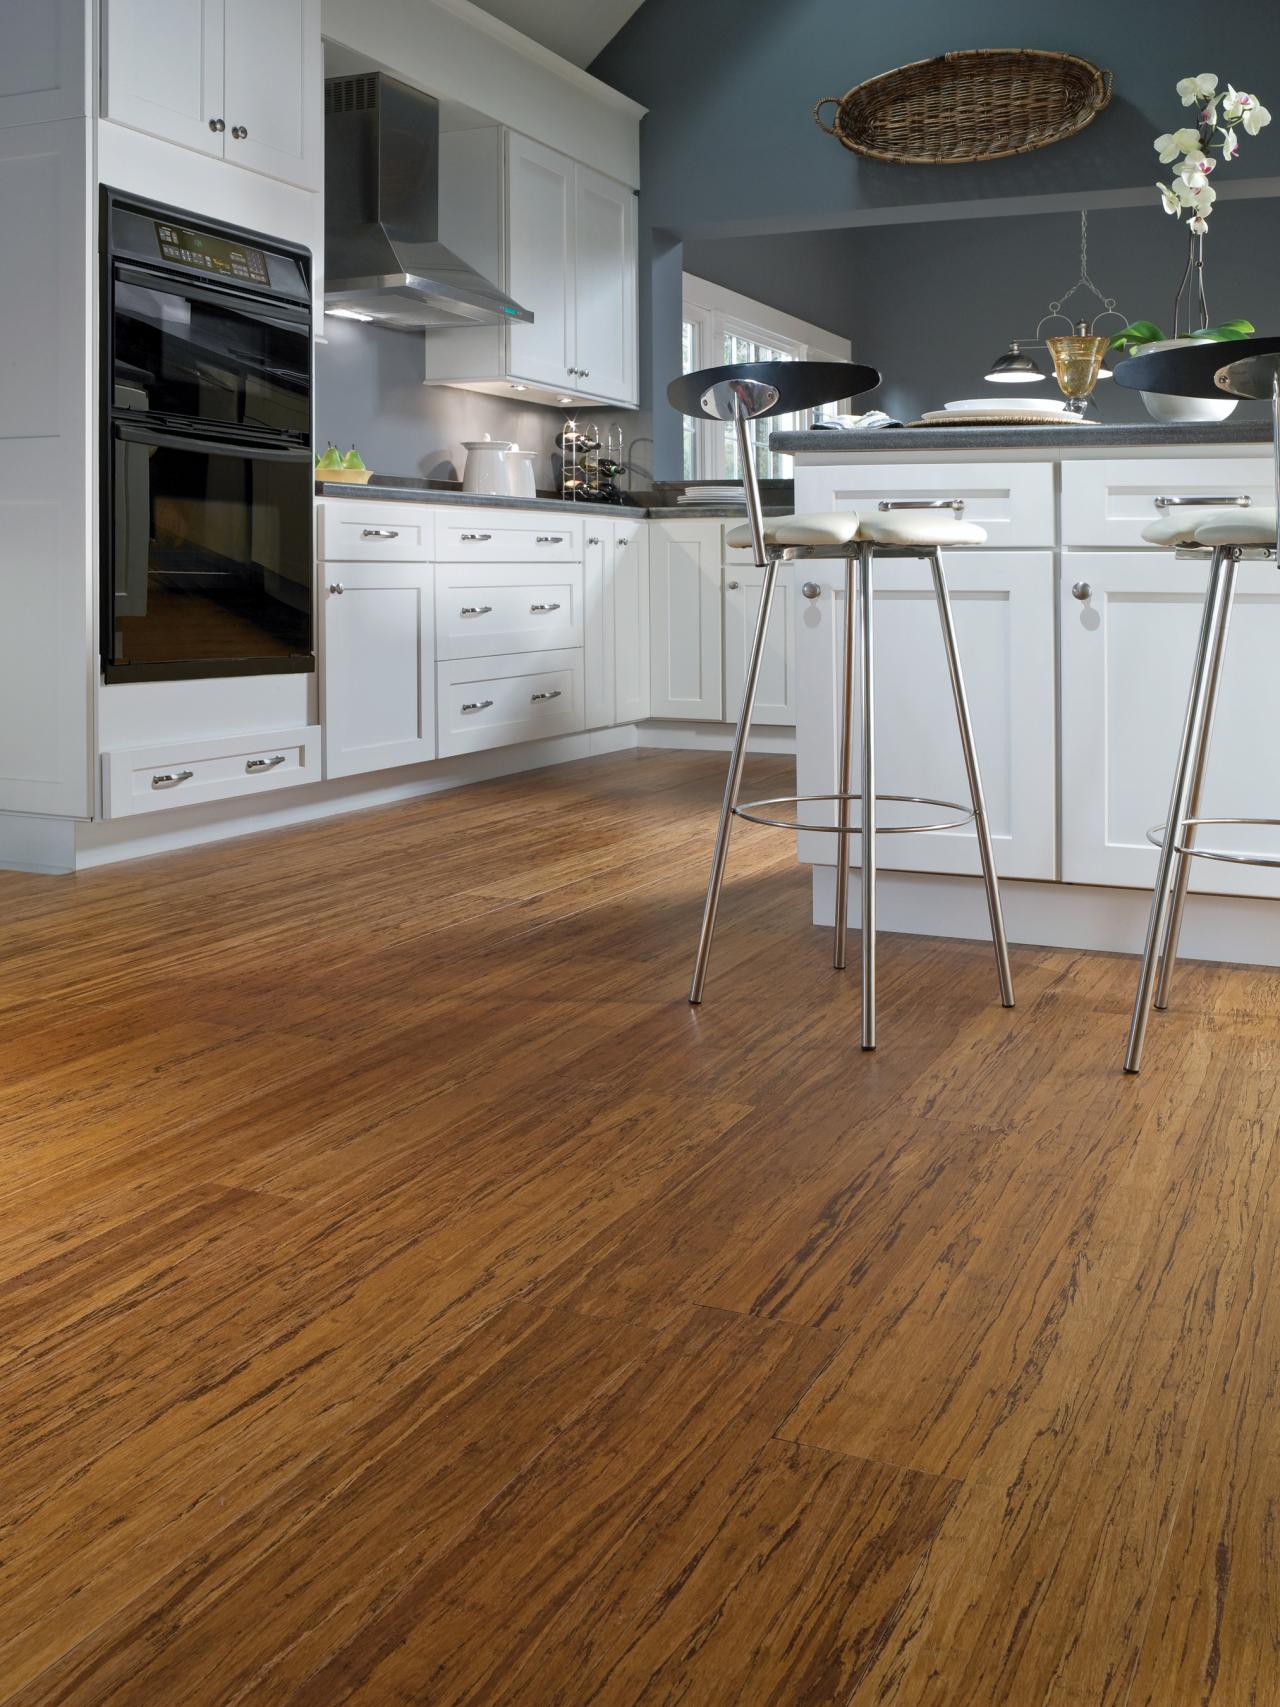
Two years later, my bamboo floors still look fantastic and have developed a beautiful patina that adds character to the space. The natural color variations that initially worried me have become one of my favorite features, giving the room a warm, organic feel. Minor scratches from office chair wheels are barely visible in the strand-woven surface, and the floors have remained stable through multiple seasonal changes. The installation effort was definitely worth the long-term satisfaction I get from these beautiful, sustainable floors.

How difficult is bamboo flooring installation compared to hardwood for a DIYer?
Bamboo is moderately more challenging than traditional hardwood due to its density and expansion characteristics. The cutting requires sharper blades and more patience, and the moisture sensitivity means preparation is crucial. I’d rate it as intermediate difficulty, definitely doable for someone with basic flooring experience, but maybe not ideal for a first-time floor installer.
What tools do I absolutely need beyond basic flooring installation equipment?
A high-quality carbide blade for clean cuts is essential, plus a moisture meter for subfloor testing. I also recommend a pneumatic nailer with adjustable pressure settings, quality transition strips, and bamboo-specific underlayment. Don’t skimp on the blade quality; it makes a huge difference in cut quality and reduces splintering significantly.

How long should I allow for bamboo acclimation before installation?
I allowed 10 days and was glad I did. The manufacturer suggested 72 hours, but bamboo seems more sensitive to humidity changes than wood. Stack the planks with spacers between them in the installation room, and monitor humidity levels. In very humid or dry climates, consider extending acclimation time even longer for best results.
What’s the biggest mistake DIYers make with bamboo flooring installation?
Underestimating moisture preparation and expansion gap requirements. I see people skip vapor barriers on concrete or leave inadequate expansion space around the perimeter. Bamboo moves more than most people expect, especially in climates with significant humidity swings. Proper preparation prevents expensive problems later.

How does bamboo installation cost compare to hiring professionals?
DIY installation saved me about $4 per square foot in labor costs, but I spent extra on premium tools and materials. Professional installation runs $6-8 per square foot in my area, while my material and tool costs were about $2 per square foot beyond the flooring itself. The time investment was significant, though, about 4 full days for 300 square feet.
Can bamboo flooring be installed over radiant heating systems?
Yes, but with strict temperature and humidity controls. I consulted with both my flooring manufacturer and heating system installer before proceeding. Maximum subfloor temperature should stay below 85°F, and humidity must be carefully controlled. The installation requires special underlayment and more expansion gaps than standard installations require.

Bamboo floor installation cost

Bamboo Floors Installation Service

Usual Bamboo Floor Covering Troubles and also ways to conquer

Strand Woven Bamboo Flooring
Pros and Cons of Bamboo Flooring
Related Posts: