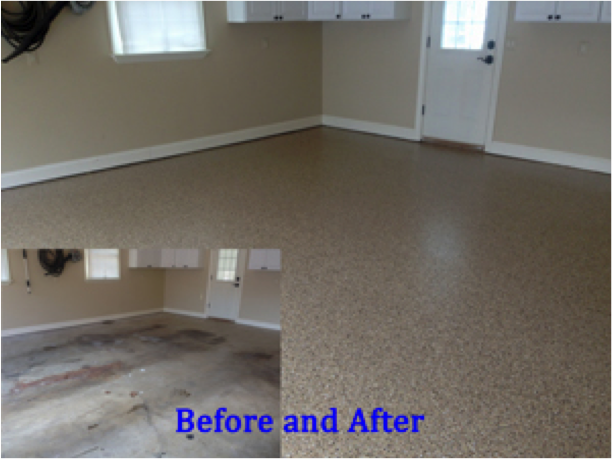
Standing in my dingy garage last spring, staring at oil-stained concrete that had seen better decades, I knew something had to change. The cracked, porous surface collected dirt, absorbed spills, and made the entire space feel neglected despite housing my prized classic car. After researching professional installation costs that exceeded three thousand dollars, I decided to tackle an epoxy floor coating myself. What seemed like an intimidating project turned into one of the most rewarding home improvements I’ve ever completed. My garage now boasts a showroom-quality floor that’s easy to clean, chemical-resistant, and stunning under LED lighting.
Understanding Epoxy Floor Systems
My research into epoxy systems revealed significant differences between products that dramatically affect both application and long-term performance results. Single-component epoxies from big box stores seemed convenient but lacked the durability I needed for my garage that houses heavy vehicles and equipment. Two-part epoxy systems require mixing but provide superior adhesion, chemical resistance, and longevity that justify the extra complexity during application.
Solid epoxy coatings offer the ultimate in durability and chemical resistance, while water-based versions provide easier cleanup and lower odor during application. I chose a 100% solids epoxy after considering my garage’s exposure to automotive fluids, road salt, and temperature fluctuations throughout harsh winters. The higher cost seemed reasonable when compared to potential recoating expenses with inferior products over time.
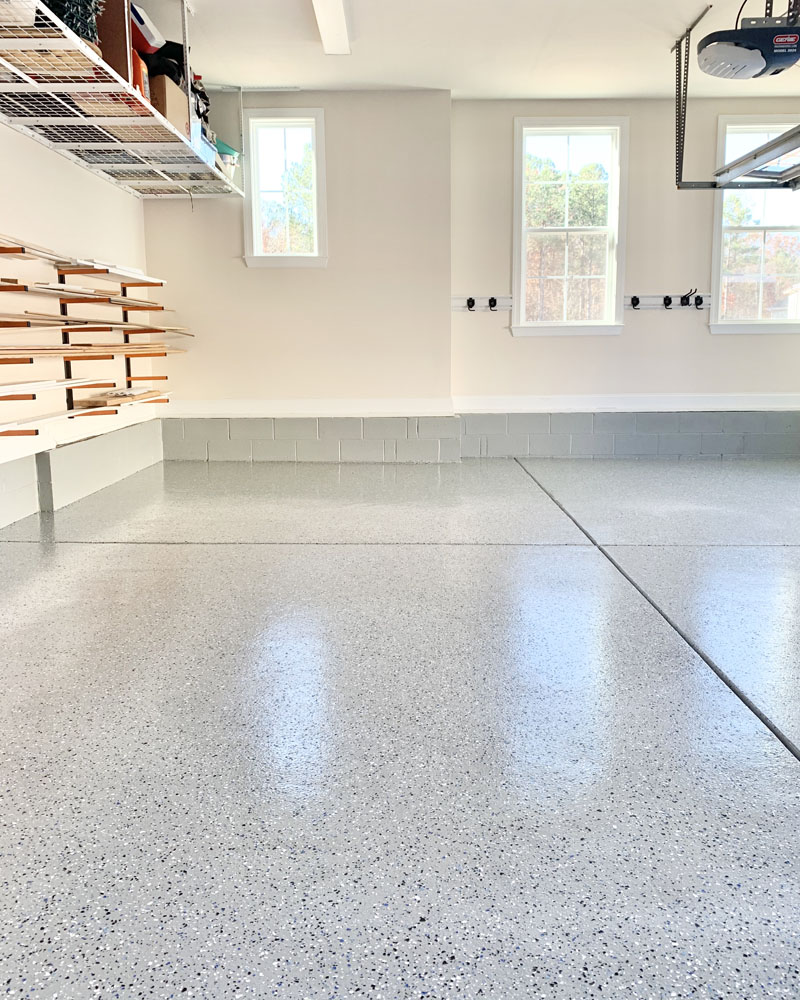
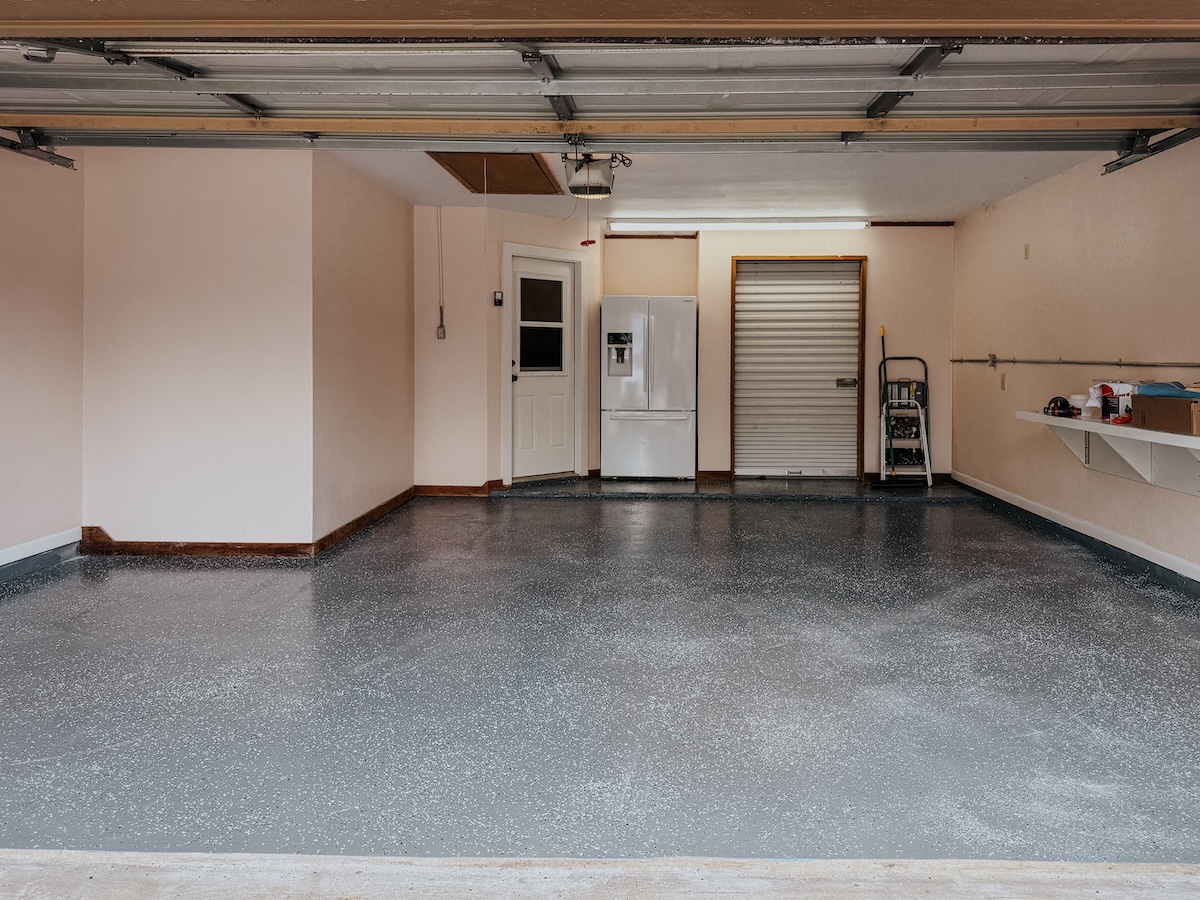
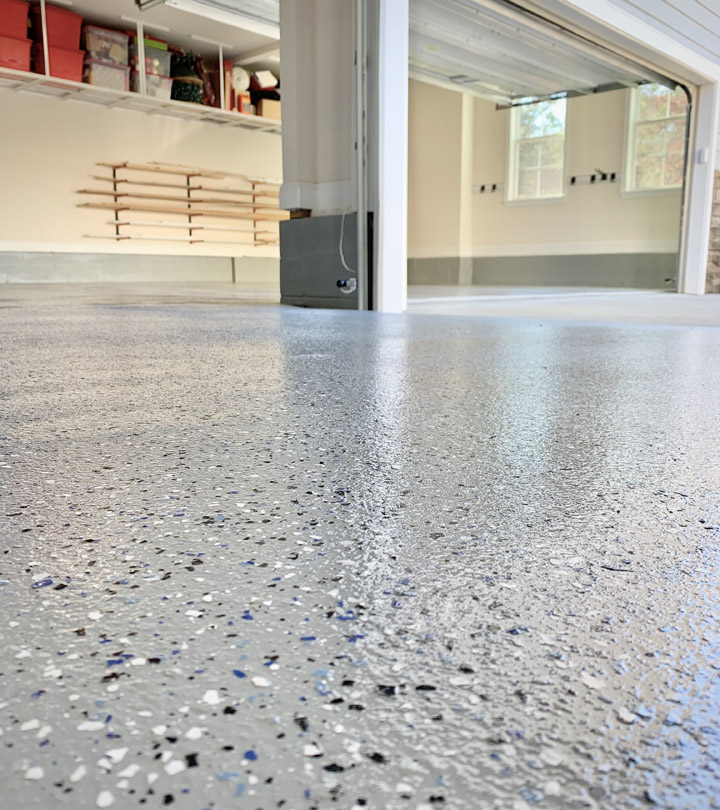
Decorative options excited me once I understood the possibilities available with modern epoxy floor systems for residential applications. Color flakes, metallic pigments, and quartz aggregates can transform plain concrete into stunning surfaces that rival commercial installations. I selected a gray base coat with blue and black flakes that complemented my garage’s color scheme while hiding minor imperfections and providing subtle texture underfoot.
Preparation and Surface Assessment
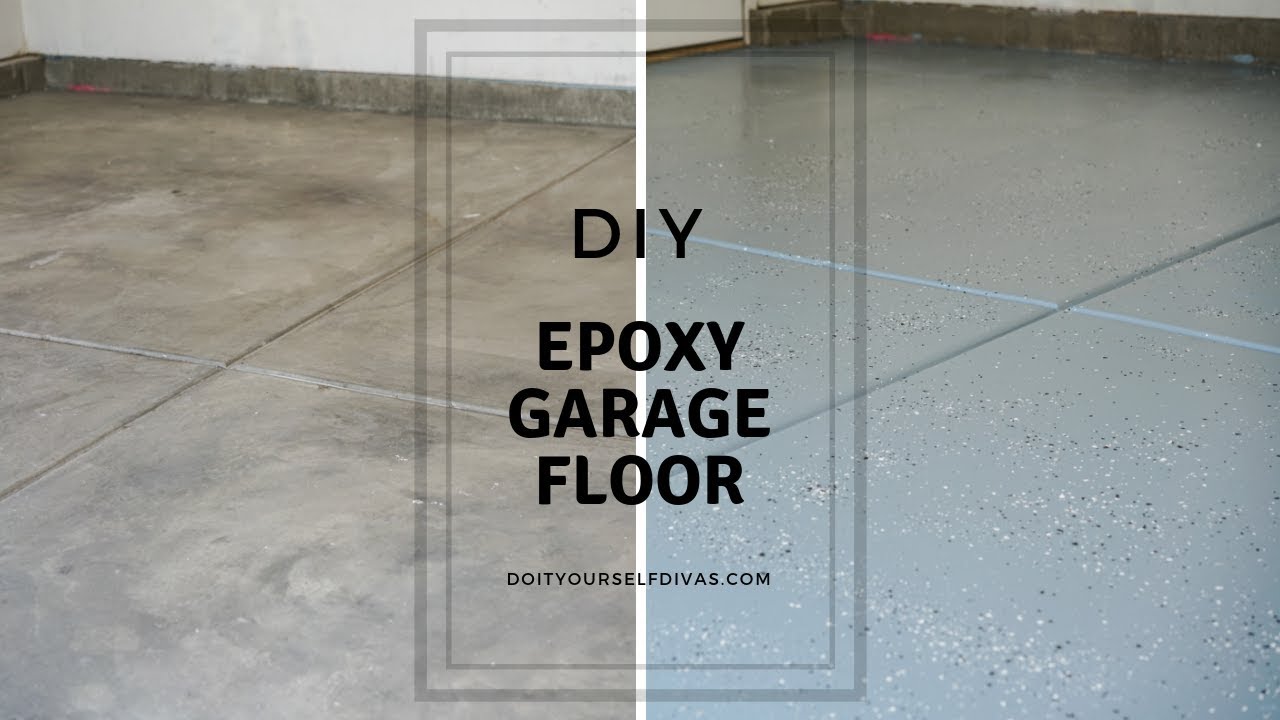
Concrete preparation became the most critical factor determining my epoxy floor’s long-term success and overall appearance quality. I learned that proper adhesion requires opening the concrete’s pores through mechanical or chemical etching, removing all contaminants, and ensuring the surface is completely dry before application. Skipping preparation steps guarantees premature failure regardless of epoxy quality or application technique used during installation.
My garage floor exhibited typical issues, including oil stains, efflorescence, and minor cracks that required specific treatment approaches before coating. I used a concrete degreaser for oil spots, muriatic acid for efflorescence removal, and flexible crack filler for larger gaps. Each treatment required adequate curing time and thorough rinsing to prevent chemical interactions with the epoxy coating during application.
Moisture testing revealed surprising humidity levels in my concrete despite the floor appearing completely dry to casual observation. I used plastic sheeting taped to the floor for 24 hours, checking for condensation that would indicate moisture problems requiring additional drying time. This simple test prevented potential adhesion failures that would have ruined my entire project after significant time and money investment.

Tools and Materials Shopping List
My equipment list grew beyond initial expectations as I researched proper techniques for achieving professional-quality results with DIY application. Basic tools included paint rollers, brushes, and mixing buckets, but specialized items like spiked shoes for walking on wet epoxy and proper respirators for safe application became essential additions. Investing in quality tools prevented application problems and ensured my safety throughout the multi-day process.
Material calculations required careful measurement and consideration of waste factors during the mixing and application phases of the project. I ordered 20% more epoxy than theoretical coverage calculations suggested, accounting for absorption into porous concrete and inevitable spillage during mixing. Running short of material during application would have created visible seam lines and compromised the final appearance I worked hard to achieve.
Quality differences between suppliers became apparent when comparing product specifications and customer reviews from actual users. Professional-grade epoxies cost more initially but provide better coverage, easier application, and superior durability compared to consumer versions available at retail stores. I purchased from a specialty coating supplier who provided technical support and guaranteed product performance for my specific application requirements.
Step-by-Step Application Process
Surface preparation consumed three full days of intensive work before I could even open the first epoxy container for application. I pressure-washed the entire floor, applied acid etch solution according to the manufacturer’s specifications, and spent hours scrubbing with stiff brushes to achieve the proper surface profile. The concrete needed to feel like medium-grit sandpaper when dry, indicating adequate etching for proper epoxy adhesion throughout the coating system.
Mixing epoxy required precise measurements and thorough blending to ensure proper curing and performance characteristics in the final coating. I used a drill-mounted paddle mixer for two minutes, scraped the container sides, then mixed for another minute to eliminate streaks. Working time limitations meant I could only mix quantities that could be applied within 20 minutes, requiring careful planning and efficient execution throughout the application process.
The application technique significantly affected the final appearance and performance of my epoxy garage floor coating system. I started in the corner farthest from the exit, working in manageable sections while maintaining wet edges to prevent visible lap marks. Rolling in multiple directions ensured even coverage, while back-rolling eliminated bubble formation that would create surface imperfections in the cured coating.

Decorative Techniques and Color Options
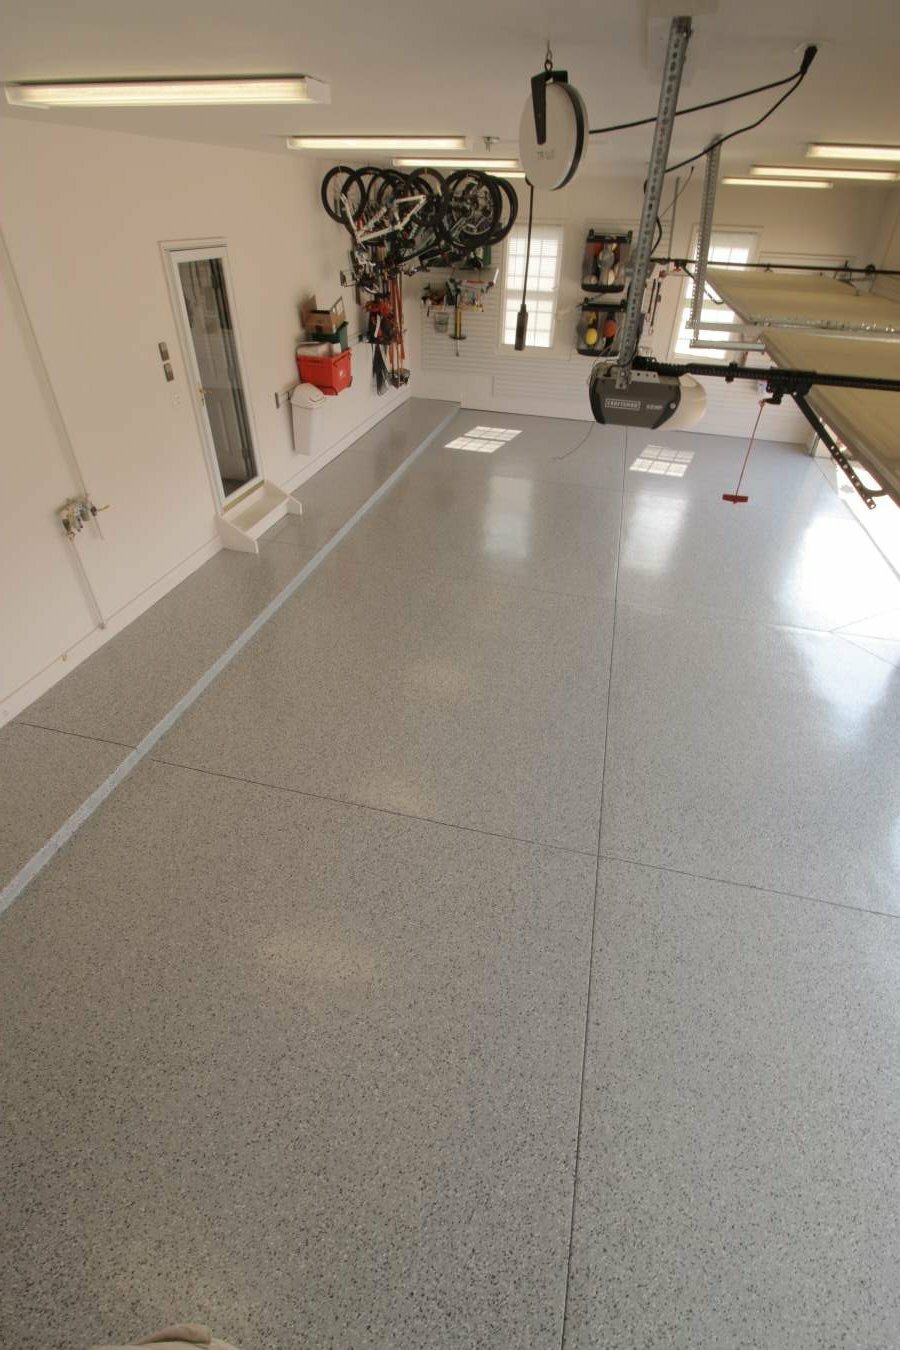
Broadcast flakes transformed my plain epoxy floor into an attractive surface that rivals professional installations found in commercial settings. I scattered the decorative flakes while the base coat remained tacky, achieving even distribution through controlled throwing motions across the entire surface area. The flakes not only provided visual interest but also added texture that improves slip resistance and helps hide minor surface imperfections.
Color combinations required careful consideration to achieve the aesthetic I envisioned for my garage space while ensuring the floor would complement future changes. I tested different flake ratios on sample boards, discovering that lighter colors made the space feel larger while darker combinations hid dirt more effectively. The final blend included three complementary colors that provided visual depth without appearing busy or overwhelming.
Metallic pigments offered another creative option that I considered for accent areas or borders around my main garage floor space. These additives create stunning visual effects that shift and change under different lighting conditions, though they require specific application techniques for optimal results. I ultimately chose flakes for their durability and easier application, saving metallic effects for potential future projects in other areas.
Curing, Maintenance, and Long-Term Care
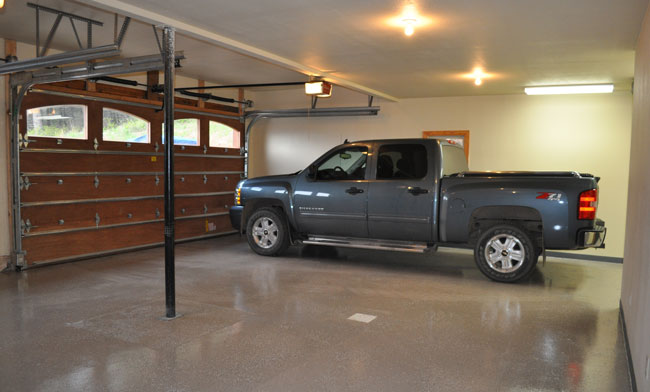
Curing time proved more critical than I initially understood for achieving maximum durability and chemical resistance in my epoxy floor coating. While the surface felt dry after eight hours, full chemical cure required seven days before I could park vehicles or place heavy equipment on the new floor. I used this time to organize my garage and plan the layout for maximum functionality and visual appeal.
Initial maintenance required gentle treatment during the first month while the epoxy continued hardening to its final properties and performance levels. I avoided harsh chemicals, dragging heavy objects, and hot tire contact that could damage the still-curing surface. After the full cure period, my floor could handle normal garage activities, including automotive work, storage, and regular vehicle traffic without special precautions.
Long-term care involves simple cleaning routines that maintain the floor’s appearance and protect my significant investment in materials and labor. I sweep regularly to prevent abrasive debris from scratching the surface, mop with mild detergent monthly, and inspect for any developing issues that might require attention. Annual recoating isn’t necessary, but I plan to apply a sacrificial topcoat every five years to maintain optimal appearance and protection.
How long does a DIY epoxy garage floor project take from start to finish, including preparation and curing time?
My complete epoxy garage floor project took ten days from initial cleaning to full cure, though active work occurred on only four of those days. Preparation consumed three days including degreasing, etching, rinsing, and drying time between steps. Application took one full day for my 500 square foot garage, followed by six days of curing before I could use the space normally. Weather conditions significantly affect timing, as humidity and temperature impact both preparation and curing phases. I recommend planning around favorable weather and having alternative arrangements for vehicle storage during the process.
What’s the realistic cost comparison between DIY epoxy application and professional installation for a typical garage?
My DIY epoxy project cost approximately $800 for a 500 square foot garage, including high-quality materials, tools, and decorative flakes for professional appearance. Professional installation quotes ranged from $2800 to $4200 for the same space and similar materials, representing significant savings through personal labor investment. However, professionals provide warranties, experience with problem-solving, and guaranteed results that DIY projects cannot match. Consider your skill level, available time, and comfort with potential mistakes when evaluating the true cost difference between approaches.
Can I apply epoxy coating over existing painted or sealed concrete floors, or must I remove previous coatings?
Epoxy requires direct contact with concrete for proper adhesion, so previous coatings must be completely removed before application for reliable results. I discovered this requirement during my research phase and spent extra time grinding off old paint and sealer remnants. Chemical strippers work for some coatings, but mechanical removal through grinding or shot blasting provides the most reliable surface preparation. Testing adhesion with small sample patches helps determine if existing coatings are compatible, though complete removal remains the safest approach for long-term success.
What temperature and humidity conditions are ideal for DIY epoxy garage floor application?
I learned that temperature and humidity significantly affect epoxy application success and final appearance quality throughout the process. Ideal conditions include temperatures between 65-85°F with relative humidity below 85% during application and initial curing phases. High humidity can cause surface defects like blushing or poor adhesion, while extreme temperatures affect working time and curing characteristics. I monitored weather forecasts carefully and chose a stable weather period for my project. Garage doors remained closed during application to control environmental conditions and prevent dust contamination.

How do I handle cracks, oil stains, and other concrete imperfections before applying epoxy coating?
Proper defect repair became crucial for achieving professional-looking results in my garage floor transformation project. I used concrete crack filler for gaps wider than hairline cracks, following manufacturer recommendations for depth and curing time. Oil stains required degreasing with specialized cleaners followed by etching to ensure proper adhesion in contaminated areas. Shallow spalls and surface damage needed patching with concrete repair compound that cured completely before etching the entire floor. Each repair added time to my project but prevented visible defects in the finished coating.
What safety precautions should I take when working with epoxy materials and preparation chemicals during application?
Safety became my top priority throughout the epoxy application process due to chemical exposure risks and ventilation requirements. I wore appropriate respirators rated for organic vapors, chemical-resistant gloves, and eye protection during all phases of the project. Adequate ventilation through open doors and fans prevented vapor accumulation in the enclosed garage space. Skin contact with uncured epoxy can cause sensitization reactions that worsen with repeated exposure, making protective equipment essential. I kept emergency contact information readily available and informed family members about potential risks during the application period.

Myths about Garage Floor Coatings
DIY Epoxy Garage Floor
What Are the Differences Between DIY Garage Floor Coating and

DIY Epoxy Garage Floor Coating Repair – Casper, WY

DIY Epoxy Garage Floors
Related Posts: