Garage floors face a lot of wear and tear, from oil stains to tire marks and everyday dirt. When I decided to upgrade mine, I wanted something durable, easy to clean, and visually striking. After researching options, I settled on a DIY garage floor coating, which promised to transform my space without breaking the bank. In this article, I’ll walk you through my experience, sharing tips and tricks for a successful garage floor makeover.
Planning and Preparation
Before I picked up any tools or materials, I took time to plan out my project. I measured my garage, researched different coating types, and made a list of everything I’d need. I learned that preparation is the most important step, as skipping it can lead to peeling or bubbling later on. I cleared out all the items stored in my garage, giving myself plenty of room to work.
Next, I inspected the floor for cracks, stains, and moisture issues. I used a moisture test kit to make sure the concrete was dry enough for coating. I filled any cracks with a concrete patcher and let it cure according to the instructions. I also checked for oil stains, as these can prevent the coating from adhering properly. If you find any, a degreaser and a stiff brush are essential for a thorough clean.
Finally, I gathered all the necessary supplies: a broom, shop vac, degreaser, etching solution, concrete filler, and painter’s tape for masking. I made sure to wear protective gear, including gloves and safety glasses, especially when working with chemicals. Taking these steps upfront saved me a lot of headaches and ensured my project started on the right foot.
Cleaning and Etching the Concrete
With the garage empty and the floor inspected, I began the cleaning process. I swept thoroughly, then used a shop vac to remove all dust and debris. For stubborn dirt and oil, I mixed a degreaser with water and scrubbed the floor with a stiff-bristled broom. I rinsed everything off with a hose, making sure not to leave any soap residue behind.
Once the floor was clean, I moved on to etching. Etching opens up the pores of the concrete, helping the coating bond better. I used an acid-based etching solution, mixed it according to the instructions, and applied it with a sprayer. I scrubbed the solution into the concrete and let it sit for about 15 minutes before rinsing thoroughly. It’s crucial to let the floor dry completely before proceeding, as any moisture can cause problems with adhesion.
After etching, I gave the floor one last sweep and vacuum to ensure it was spotless. I checked for any remaining oil or grease spots and repeated the cleaning process if necessary. A clean, dry surface is the foundation for a long-lasting garage floor coating, so I didn’t rush this step.
Repairing and Masking
With the floor prepped and cleaned, I addressed any remaining imperfections. I used a concrete patcher to fill cracks and holes, smoothing it out with a trowel. For expansion joints, I applied a self-leveling filler, which helped create a seamless surface for the coating. I let all repairs cure fully before moving on, following the product instructions for best results.
Next, I masked off the walls, baseboards, and any areas I didn’t want to coat. I used painter’s tape and plastic sheeting to protect against accidental splatters. I also taped around the garage door opening to ensure a clean edge for the finished product. Taking the time to mask properly made cleanup much easier and gave my project a professional look.
Before mixing the coating, I double-checked that the floor was completely dry and free of dust. I also made sure my workspace was well-ventilated, as some coating products have strong fumes. With everything in place, I was ready to start the fun part: applying the garage floor coating.

Mixing and Applying the Coating
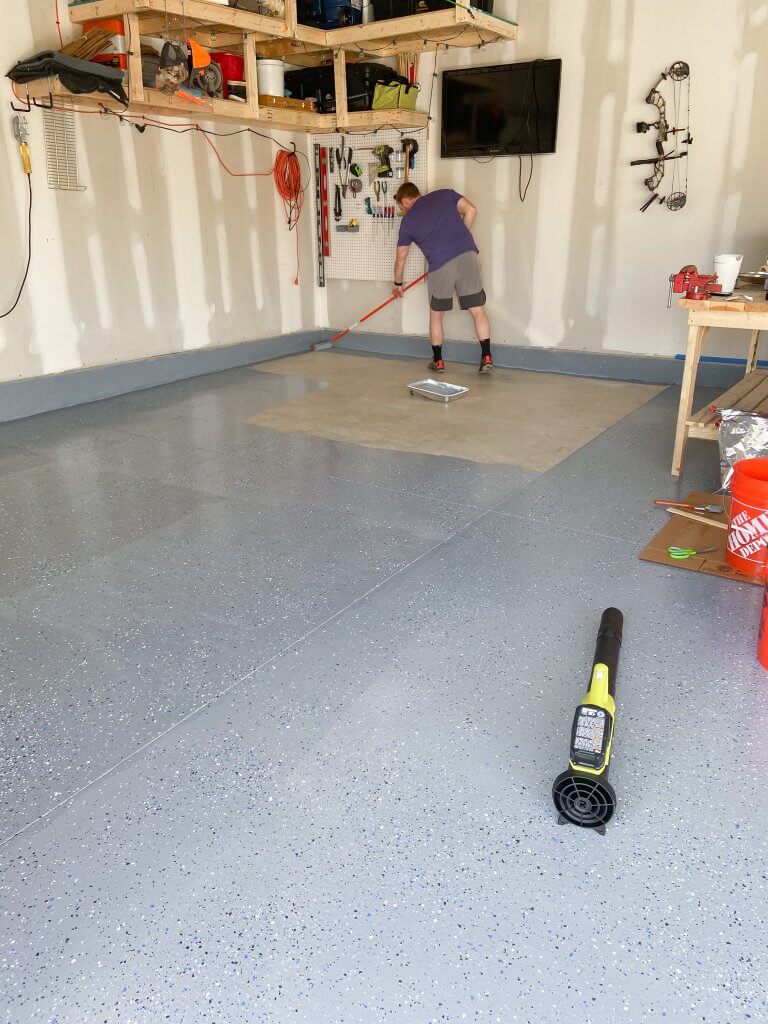
Mixing the coating was straightforward but required attention to detail. I used a two-part epoxy kit, combining the resin and hardener in a clean bucket. I stirred the mixture thoroughly with a drill and mixing paddle, making sure there were no lumps. It’s important to mix only as much as you can apply within the pot life, as the product starts to cure quickly.
I started by cutting in around the edges with a paintbrush, then used a roller with a long handle to apply the coating in thin, even layers. I worked in small sections, rolling in an M or W pattern to ensure consistent coverage. For decorative effects, I sprinkled color flakes onto the wet coating, creating a speckled look that hid imperfections and added texture.
After finishing the first coat, I let it cure according to the manufacturer’s instructions. Some kits recommend a second coat for extra durability and a smoother finish. I made sure to remove any masking tape before the coating started to cure, and I kept the garage well-ventilated throughout the process.
Adding Decorative Touches and Topcoats
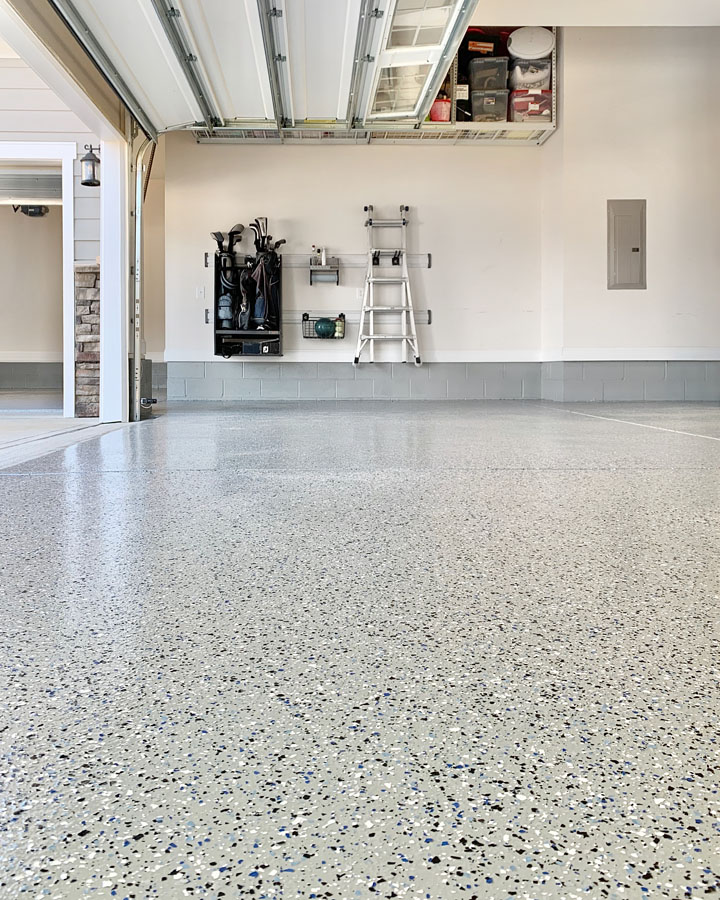
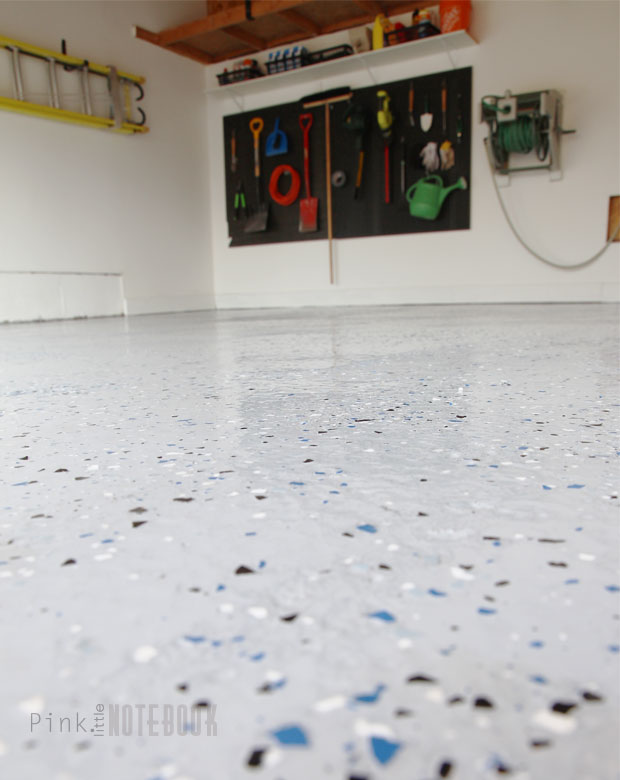
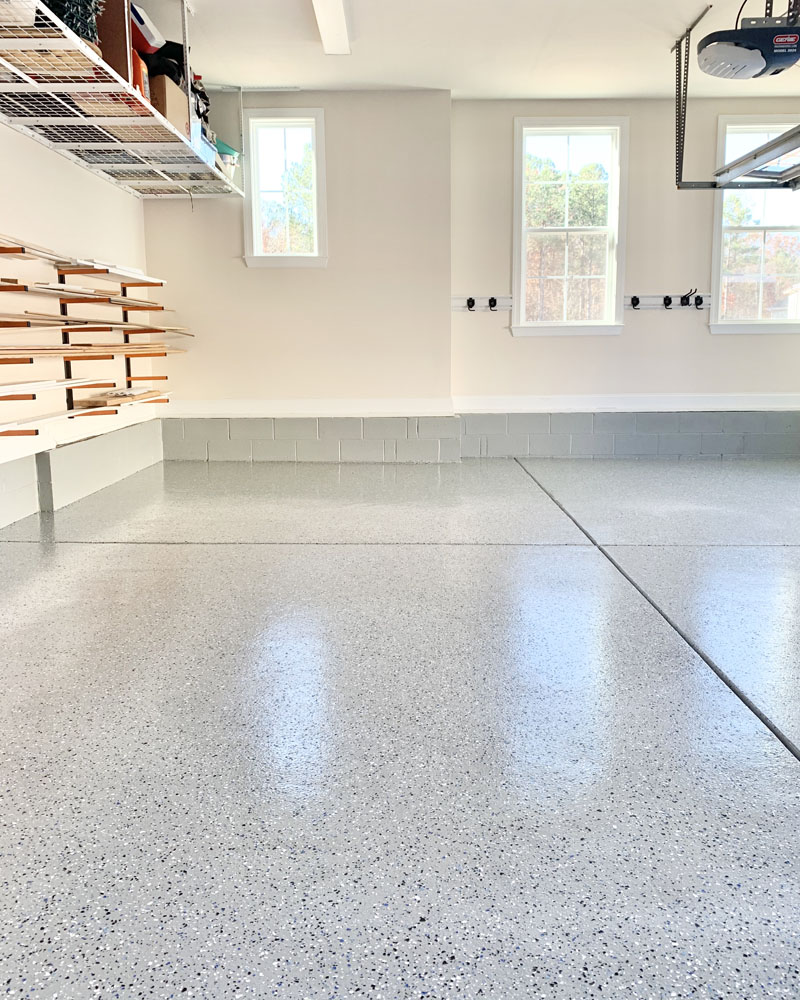
Once the base coat was dry, I considered adding decorative elements to personalize my garage floor. I experimented with metallic pigments and different flake colors, creating unique patterns and designs. For a more industrial look, I used larger flakes, while smaller flakes gave a subtle, elegant finish. The options are endless, and it’s a great way to make your garage stand out.
After the decorative layer, I applied a clear topcoat for added protection and shine. The topcoat seals in the color flakes and provides extra resistance to stains, chemicals, and abrasion. I used a squeegee to spread the topcoat evenly, then back-rolled it for a smooth finish. I let the topcoat cure for the recommended time before allowing any foot or vehicle traffic.
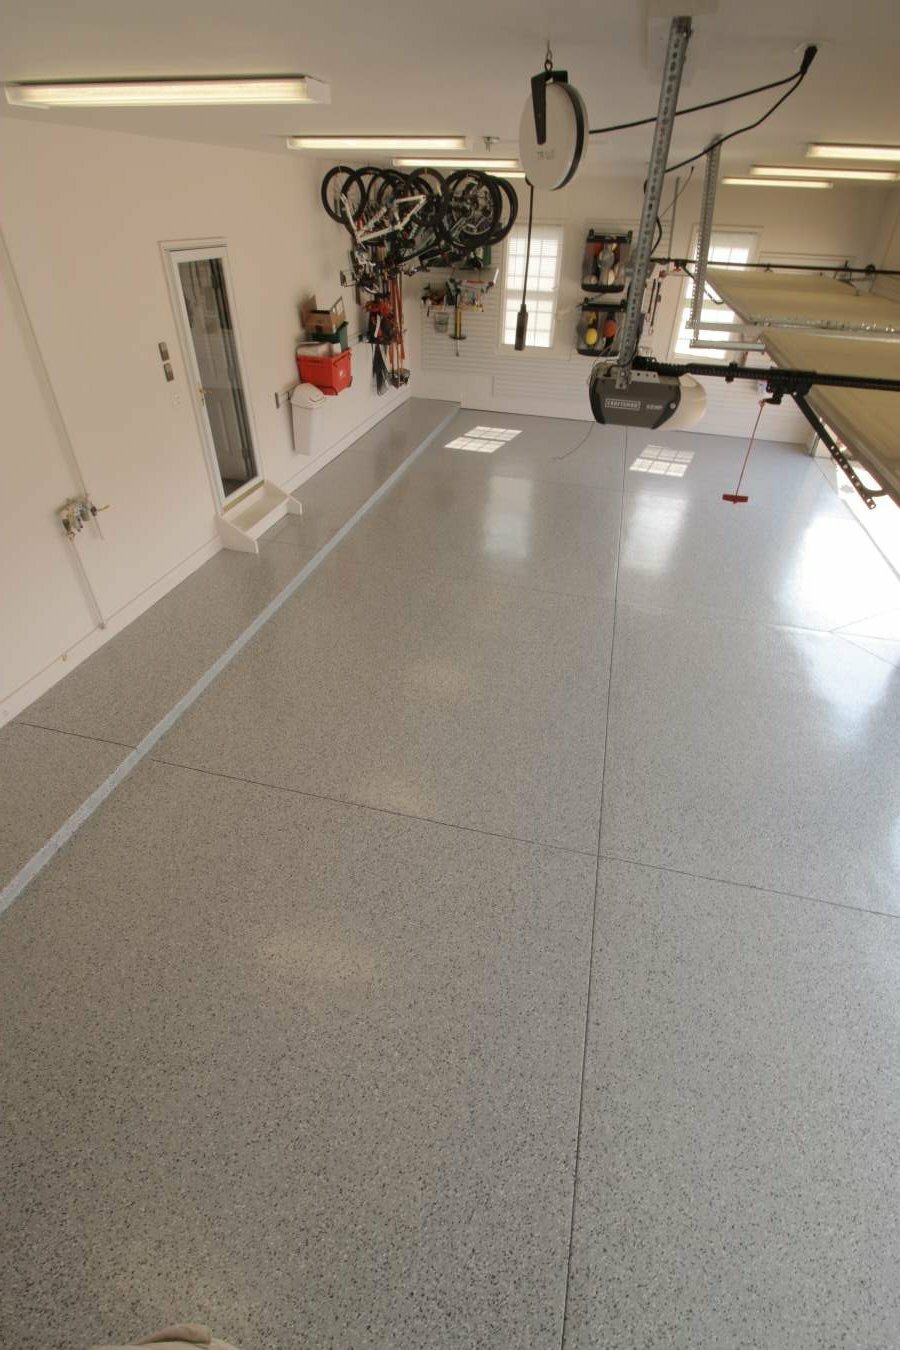
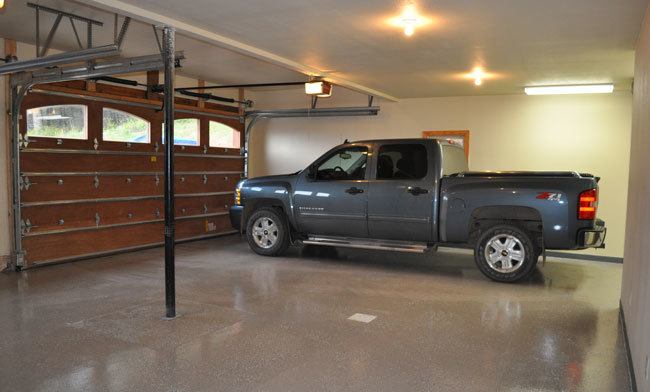
With the coating complete, I took a step back to admire my work. The transformation was impressive, and I knew my garage floor would be easier to clean and maintain for years to come. The added texture from the flakes also made the floor less slippery, which was a nice bonus.
Maintenance and Long-Term Care
Maintaining a coated garage floor is simple but important for preserving its appearance and durability. I sweep or vacuum regularly to remove dirt and debris, and I clean up spills promptly to prevent staining. For tougher stains, I use a mild soap solution and a soft brush, avoiding harsh chemicals that could damage the coating.
Over time, the coating may show signs of wear, especially in high-traffic areas. I plan to reapply a clear topcoat every few years to keep the floor looking fresh and protected. Some manufacturers recommend resealing every 10 to 15 years, depending on use and environmental conditions. Regular maintenance ensures my investment lasts and continues to look great.
I also avoid dragging heavy objects across the floor, as this can scratch the surface. I use felt pads under furniture legs and mats in high-traffic zones to minimize wear. With a little care, my DIY garage floor coating will stay beautiful and functional for a long time.
How do I prepare my garage floor for coating?
Preparing your garage floor is the most important step for a successful coating. Start by clearing the space and sweeping or vacuuming thoroughly. Use a degreaser to remove oil stains, then etch the concrete with an acid-based solution to open its pores. Repair any cracks or holes with a concrete filler, and make sure the floor is completely dry before applying the coating. Proper prep ensures the coating adheres well and lasts for years.
What type of coating should I use for my garage floor?
There are several options, including epoxy, polyurea, and polyaspartic coatings. Epoxy is affordable and widely available, making it a popular choice for DIY projects. Polyurea and polyaspartic coatings are more durable and faster drying, but often require professional installation. Choose a product based on your budget, desired durability, and the level of traffic your garage receives.

How long does it take to coat a garage floor?
The entire process usually takes two to three days, including prep, application, and curing time. Cleaning and etching can take several hours, followed by overnight drying. Applying the coating and topcoat may take a few hours, depending on the size of your garage. Allow at least 24 to 48 hours for the coating to cure before using the garage again.
Can I apply a garage floor coating myself, or should I hire a professional?
You can apply a garage floor coating yourself using a DIY kit. However, professional installations often yield longer-lasting results, especially with high-quality materials like polyurea or polyaspartic. If you’re comfortable with home improvement projects and follow the instructions carefully, a DIY approach can be very rewarding.
How do I maintain my coated garage floor?
Maintenance is simple: sweep or vacuum regularly, clean up spills immediately, and use mild soap for stubborn stains. Avoid harsh chemicals and abrasive cleaners. Consider reapplying a clear topcoat every few years to maintain protection and shine. With proper care, your garage floor will stay looking new for a long time.
What are the benefits of coating my garage floor?
Coating your garage floor protects it from stains, chemicals, and moisture. It makes cleaning easier, improves the appearance of your garage, and can increase the value of your home. Coated floors are also less slippery and more resistant to cracking and scaling, which helps extend the life of your concrete.
✅Garage Floor: Best Garage Floor (Buying Guide)
DIY Epoxy Garage Floors
Related Posts: