A cracked or damaged garage floor can be an eyesore and a safety hazard. Over time, oil stains, cracks, and surface wear can make the space look neglected. Fortunately, many garage floor issues can be fixed without hiring a professional. With the right tools, materials, and patience, you can restore your garage floor to a clean, durable surface. This guide covers some key steps to DIY garage floor repair, from assessing damage to applying a protective coating.
Assessing the Damage
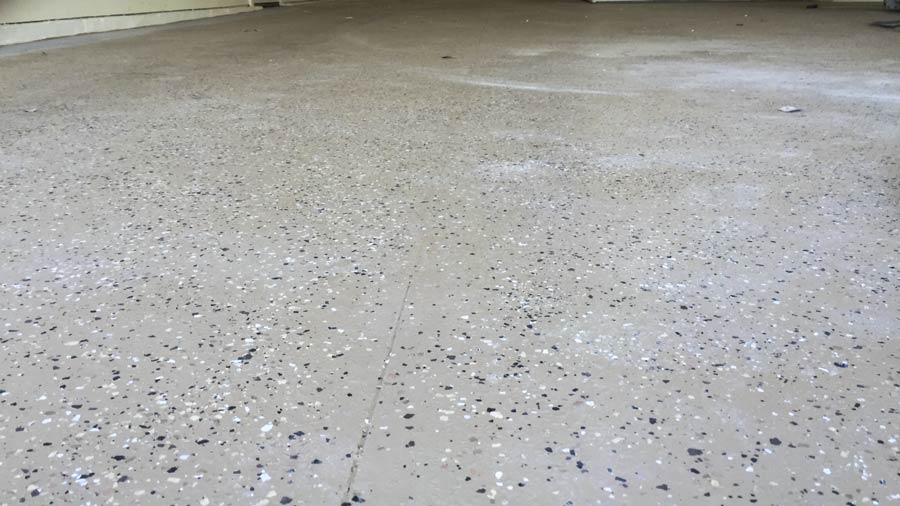
Before starting any repairs, carefully inspect your garage floor. Look for cracks, chips, stains, or areas where the concrete has crumbled. Small hairline cracks may only need a simple filler, while larger gaps might require more extensive work. Pay attention to uneven surfaces, as these could indicate underlying structural problems.
Next, determine the cause of the damage. Water seepage, freeze-thaw cycles, or heavy loads can weaken concrete over time. Oil and chemical spills can also degrade the surface. Identifying the root cause helps prevent future damage. If you notice major structural issues, such as deep cracks or sinking sections, consult a professional before proceeding.
Once you’ve assessed the damage, gather the necessary materials. Common supplies include concrete patching compound, epoxy filler, a wire brush, a pressure washer, and protective gear. Having everything ready before starting ensures a smoother repair process. Proper preparation saves time and helps achieve better results.
Cleaning the Surface
A clean surface is essential for effective repairs. Start by removing all debris, dust, and loose concrete chips with a stiff brush or broom. For oil stains, use a degreaser or a mixture of dish soap and warm water. Scrub the stained areas thoroughly, then rinse with clean water. Stubborn stains may require a specialized concrete cleaner.
After sweeping, use a pressure washer to deep-clean the floor. This removes dirt, grease, and old paint that could interfere with adhesion. Allow the floor to dry completely before moving to the next step. Moisture can weaken repair materials, so patience is key. If you don’t have a pressure washer, a garden hose with a high-pressure nozzle can work.
For heavily stained or damaged floors, consider etching the concrete. A mild acid solution, like muriatic acid, opens the pores of the concrete, ensuring better bonding for patching compounds or coatings. Always follow safety instructions when handling chemicals and wear protective gloves and eyewear. Rinse the floor thoroughly after etching.

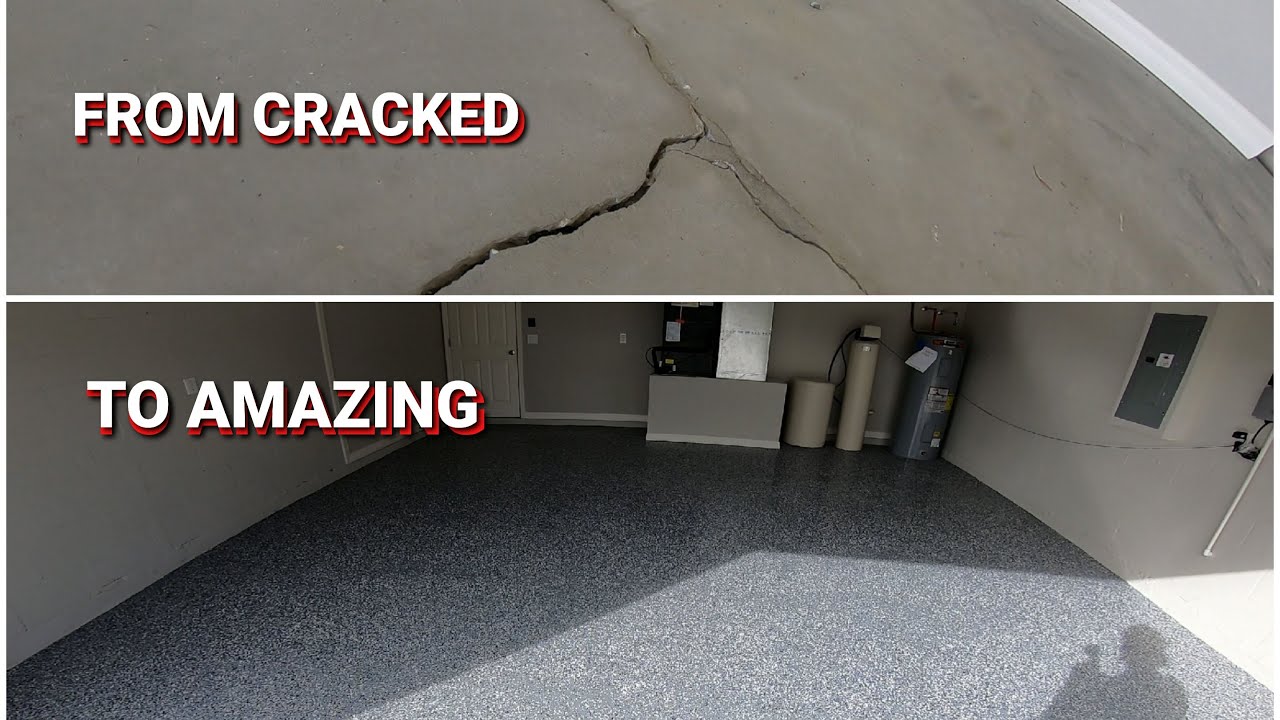
Repairing Cracks and Chips
Small cracks can be fixed with a liquid concrete filler or epoxy injection. Clean the crack with a wire brush and blow out dust with compressed air. Apply the filler according to the manufacturer’s instructions, smoothing it with a putty knife. For deeper cracks, use a backer rod to support the filler before sealing.
Larger cracks or holes require a concrete patching compound. Mix the compound as directed, then press it firmly into the damaged area. Level it with a trowel, feathering the edges to blend with the surrounding floor. Some compounds dry quickly, so work in small sections. Allow the patch to cure fully before sanding or applying a topcoat.
If the edges of the crack are uneven, use a grinder to create a smooth surface. This prevents tripping hazards and improves the final appearance. For extensive damage, consider resurfacing the entire floor with a thin layer of concrete overlay. This creates a fresh, uniform surface without replacing the entire slab.
Leveling Uneven Areas
Uneven garage floors can cause water pooling or trip hazards. Self-leveling concrete is an effective solution for minor dips and slopes. Mix the compound as instructed and pour it over low spots. The material spreads naturally, creating a smooth, level surface. Work quickly, as it sets fast.
For larger uneven areas, a concrete grinder can help. This tool removes high spots, creating a more uniform floor. If the unevenness is due to settling or foundation issues, consult a structural engineer before attempting repairs. Ignoring underlying problems can lead to recurring damage.
After leveling, let the surface cure completely before applying any coatings or sealants. Walking or driving on it too soon can ruin the repair. Follow the manufacturer’s recommended drying time, which can range from a few hours to several days depending on the product used.

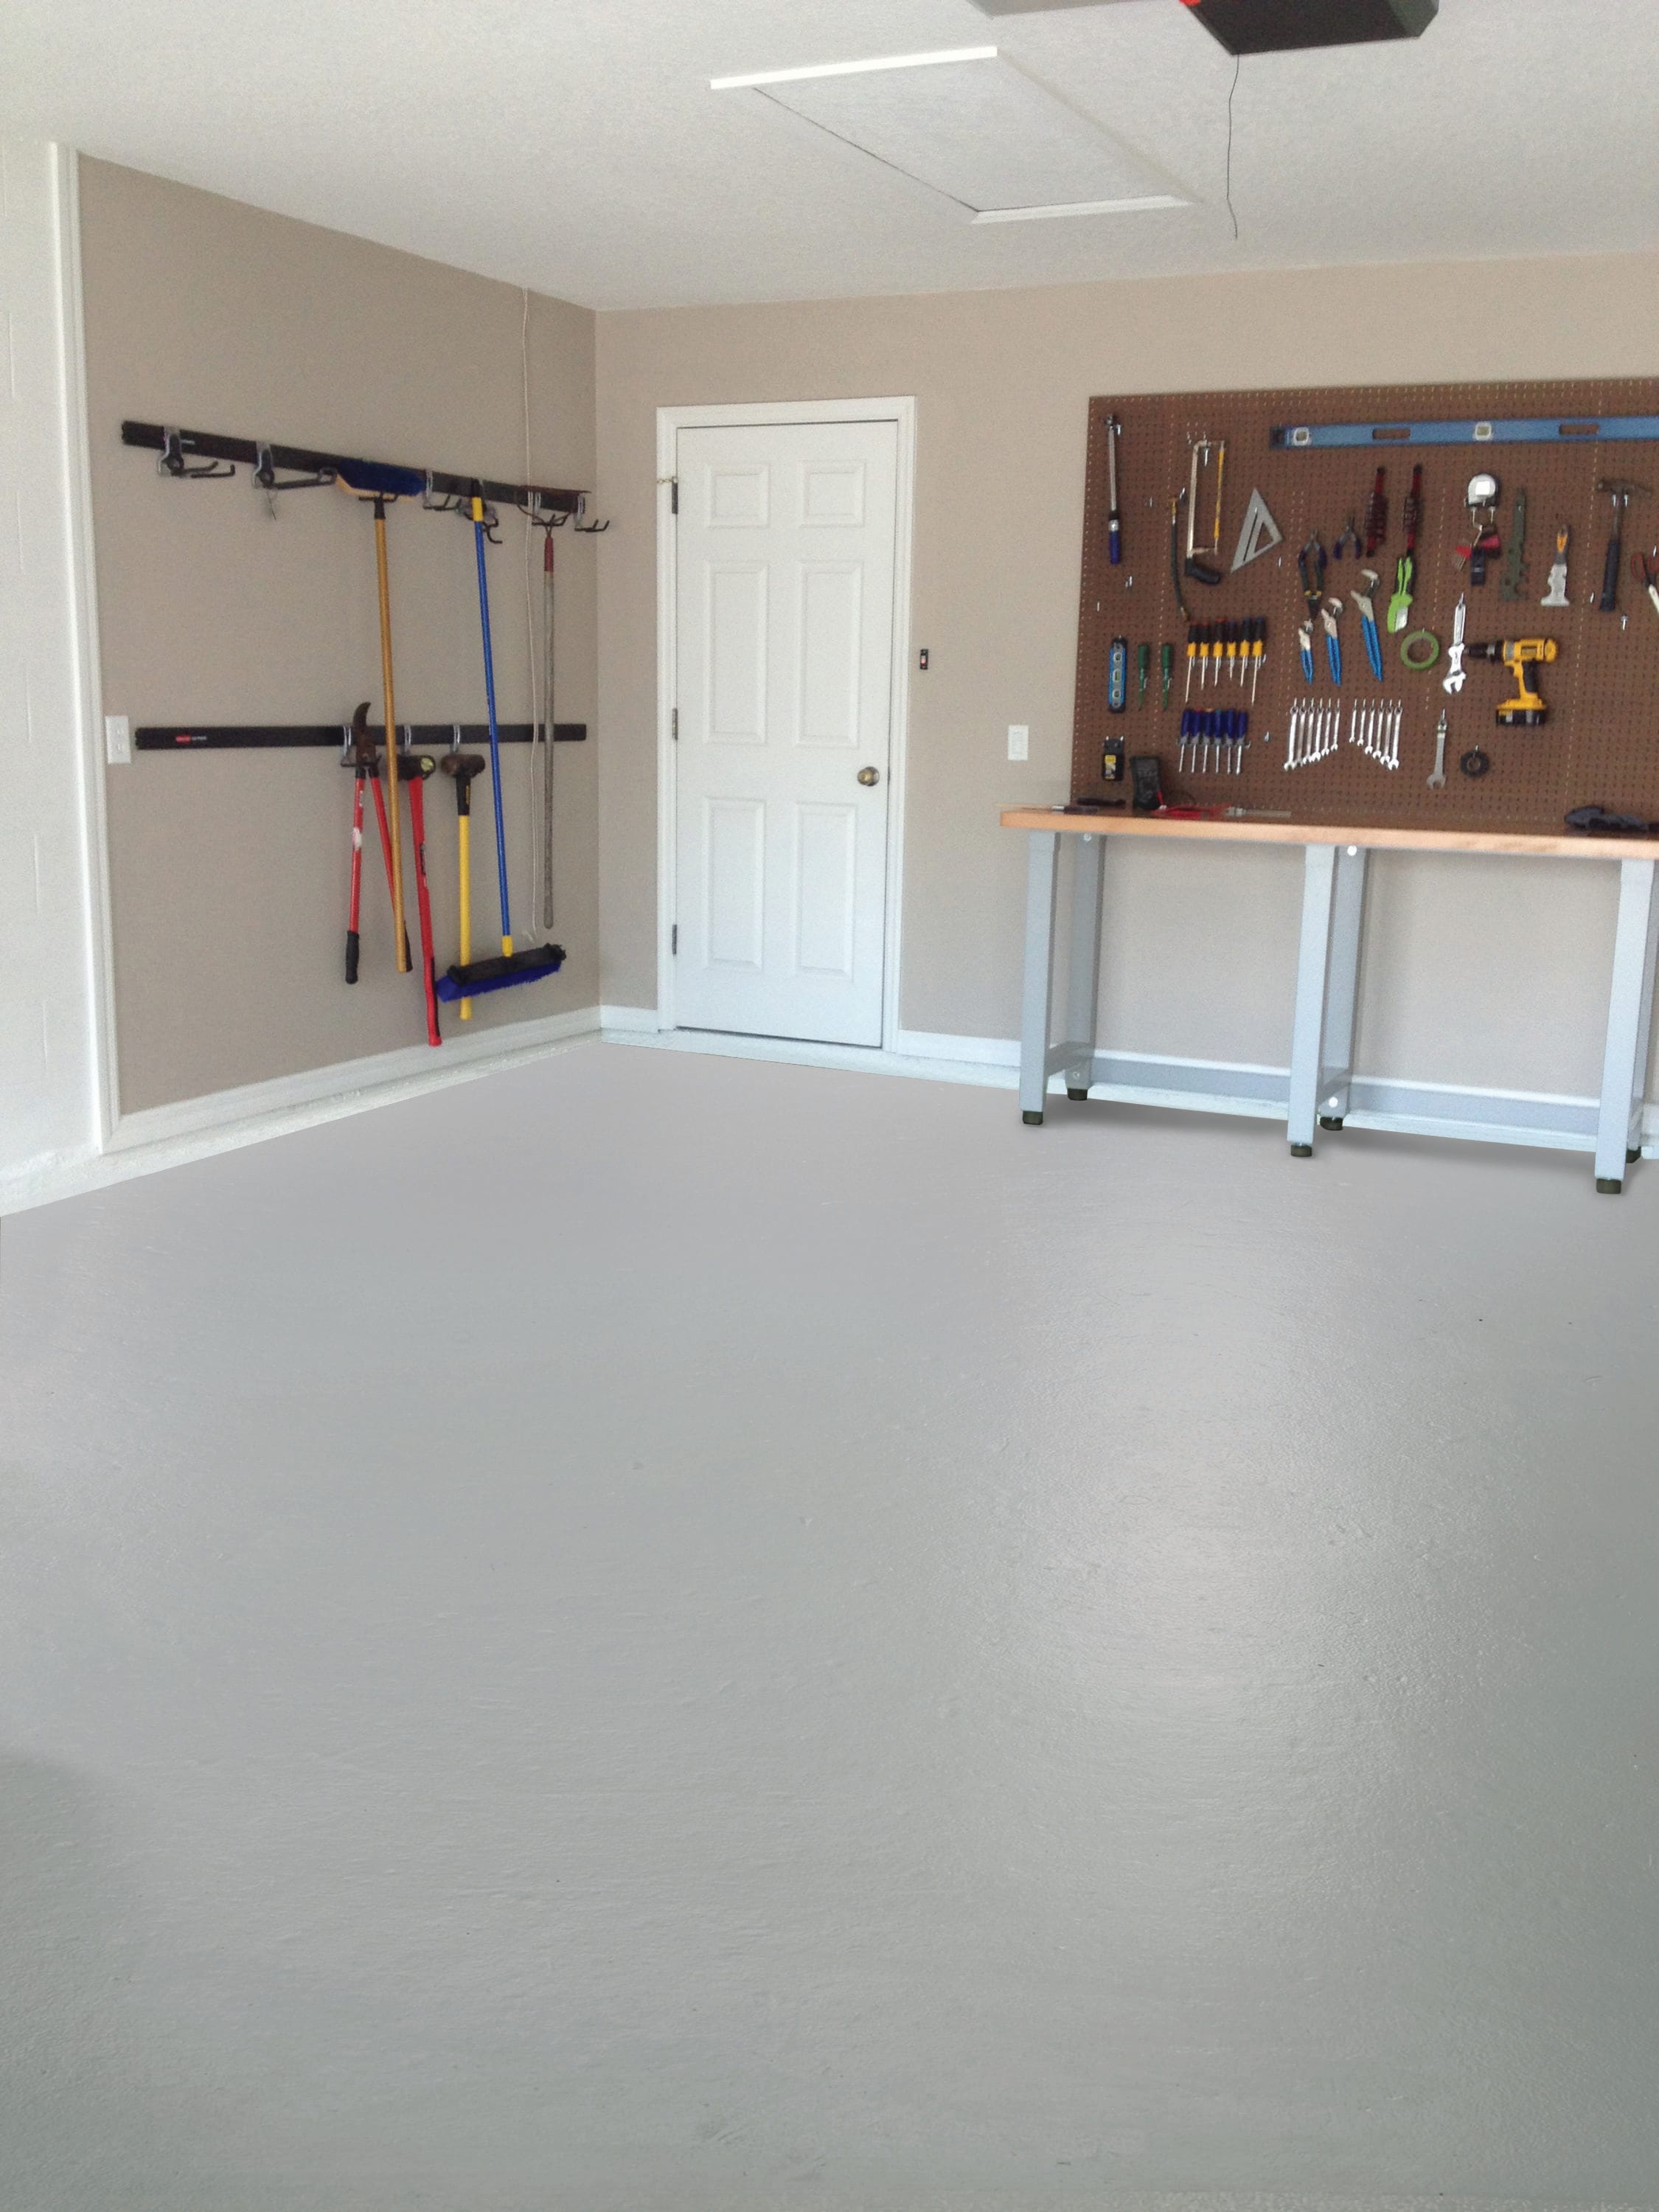
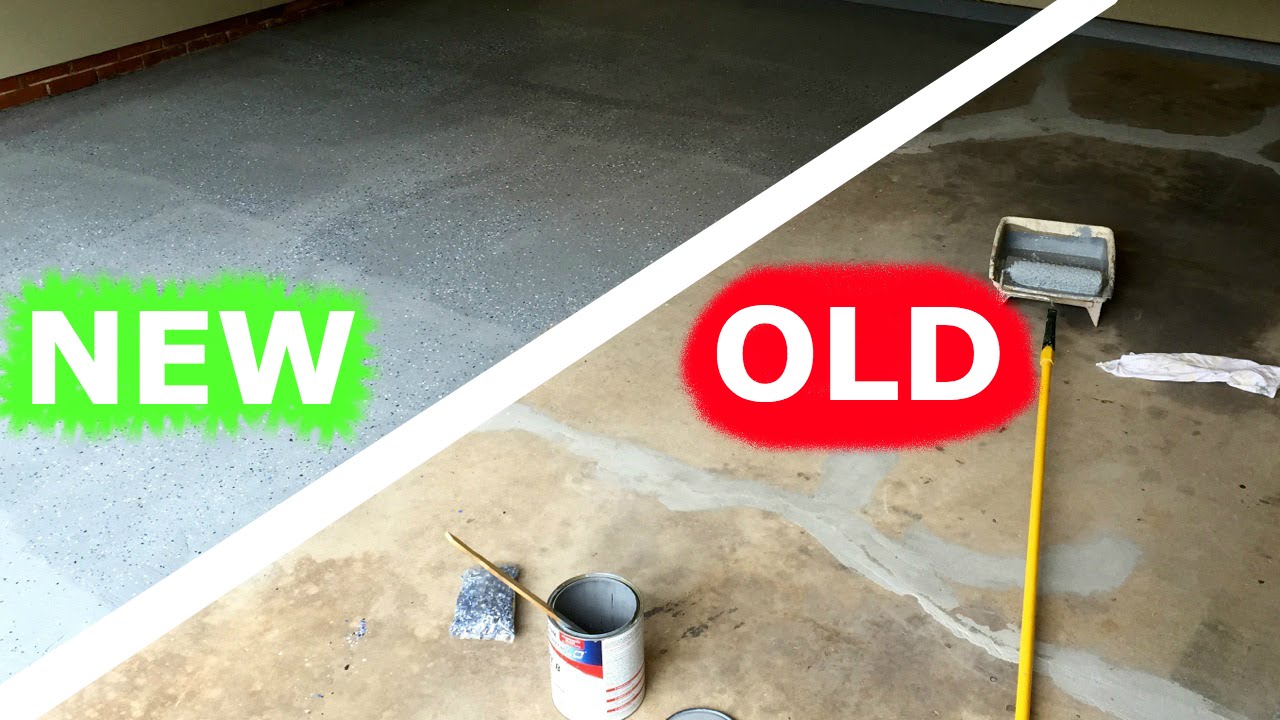
Applying a Protective Coating
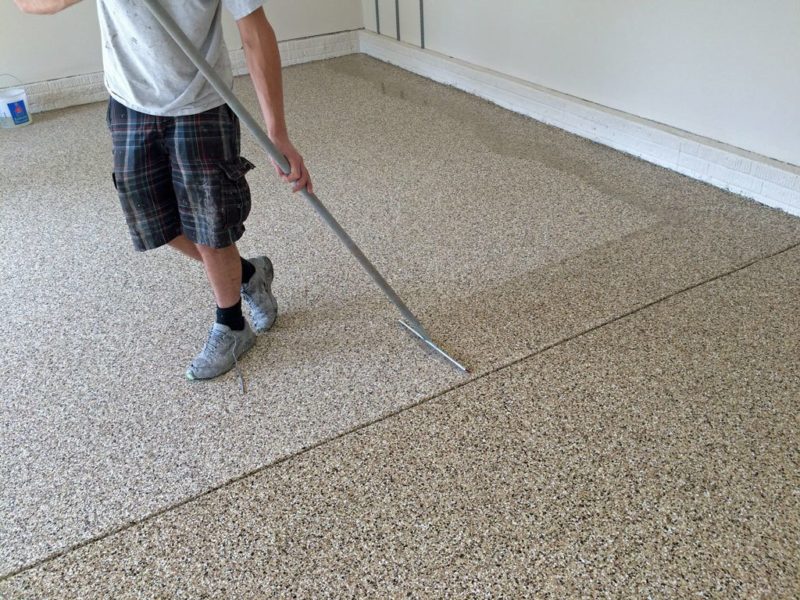
A protective coating extends the life of your garage floor and improves its appearance. Epoxy is a popular choice due to its durability and resistance to stains and chemicals. Before applying, ensure the floor is clean, dry, and free of cracks. Some epoxy kits include decorative flakes for a customized look.
Concrete sealers are another option, offering protection against moisture and stains. Acrylic sealers are easy to apply with a roller, while penetrating sealers soak into the concrete for long-lasting results. Choose a product based on your garage’s usage and climate conditions.
Apply the coating in thin, even layers, following the manufacturer’s instructions. Avoid overworking the material, as this can cause bubbles or streaks. Allow proper drying time between coats. Once cured, the floor will resist oil spills, tire marks, and everyday wear.

Maintaining Your Repaired Garage Floor
Regular maintenance keeps your garage floor in good condition. Sweep or vacuum frequently to prevent dirt and debris from scratching the surface. Clean spills immediately, especially oil or chemicals, to avoid staining or deterioration.
Reapply sealant or epoxy every few years, depending on wear. High-traffic areas may need touch-ups sooner. Inspect the floor periodically for new cracks or damage, addressing them early to prevent costly repairs later.
Place mats or rugs in high-use zones to reduce wear. Avoid dragging heavy objects across the floor, as this can chip the surface. With proper care, your DIY garage floor repair can last for years.

How long does it take to repair a garage floor?
The time required depends on the extent of damage and the products used. Small crack repairs can take a few hours, while larger projects like resurfacing or epoxy coating may need several days, including drying time. Always follow the manufacturer’s instructions for curing before using the garage.
Can I paint my garage floor instead of using epoxy?
While paint is cheaper, it’s less durable than epoxy. Paint chips and peels under heavy use, while epoxy bonds chemically to concrete, resisting stains and abrasion. If you choose paint, opt for a high-quality concrete paint and apply a sealant for better longevity.
What’s the best way to remove oil stains?
Degreasers or a paste made from baking soda and water can lift oil stains. Scrub the area with a stiff brush, then rinse. For stubborn stains, use a commercial concrete cleaner or a pressure washer. If the stain remains, consider etching the area before repairs.
Do I need special tools for garage floor repair?
Basic tools like a wire brush, trowel, and pressure washer are sufficient for most repairs. Self-leveling compounds and epoxy coatings require minimal equipment. For grinding or extensive repairs, renting a concrete grinder may be necessary.
How much does DIY garage floor repair cost?
Costs vary based on materials. Patching compounds and sealers are affordable, while epoxy kits range from $50 to $200, depending on garage size. Professional-grade materials cost more but offer better durability. Compare prices and read reviews before purchasing.
Can I repair a garage floor in cold weather?
Extreme temperatures affect curing. Ideal conditions are between 50°F and 90°F. If working in cold weather, choose products designed for lower temperatures and allow extra drying time. Avoid repairs if freezing is expected within 24 hours.
Easy Epoxy Garage Floor Repair » The Money Pit
DIY Epoxy Garage Floor Coating Repair

Related Posts: