Installing hardwood floors over concrete can be a rewarding project that adds warmth and value to your home. While concrete slabs are not the most traditional base for hardwood, modern techniques and materials make it entirely possible. Proper preparation, material selection, and installation methods are key to ensuring a long-lasting, beautiful floor. We will discuss everything you need to know, from assessing your concrete slab to finishing your new hardwood floors.
Preparing the Concrete Subfloor
Before installing hardwood, the concrete slab must be clean, dry, and level. Start by removing any existing flooring, adhesive residues, or debris. A thorough cleaning ensures proper adhesion for moisture barriers or underlayment. Next, check for cracks or uneven spots, as these can cause problems later. Use a concrete patching compound to fill gaps and a grinder to smooth high spots.
Moisture is a major concern when installing wood over concrete. Excess moisture can warp the flooring or encourage mold growth. Conduct a moisture test by taping a plastic sheet to the slab for 24 hours. If condensation forms underneath, you’ll need a moisture barrier. A vapor retarder or epoxy sealer can prevent moisture from reaching the wood.
Finally, ensure the slab is completely level. Use a long straightedge to identify low or high areas. Self-leveling compound can fix minor imperfections, while significant unevenness may require professional grinding. A flat surface prevents gaps, squeaks, and premature wear in your hardwood floors. Proper preparation now saves costly repairs later.
Choosing the Right Hardwood
Not all hardwood flooring is suitable for concrete installations. Engineered hardwood is the best choice because it resists moisture-related expansion and contraction better than solid wood. It consists of a real wood veneer over plywood layers, providing stability. Look for products specifically rated for concrete subfloors.
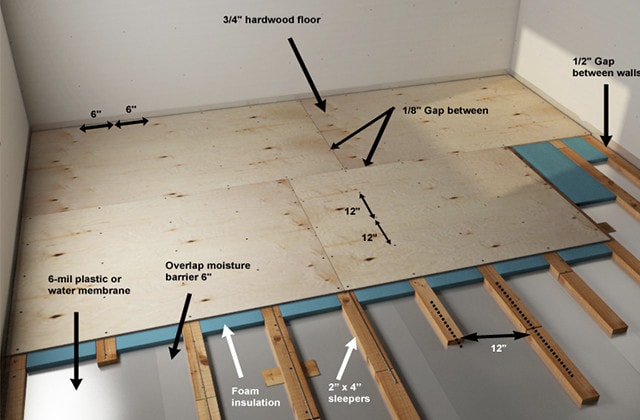
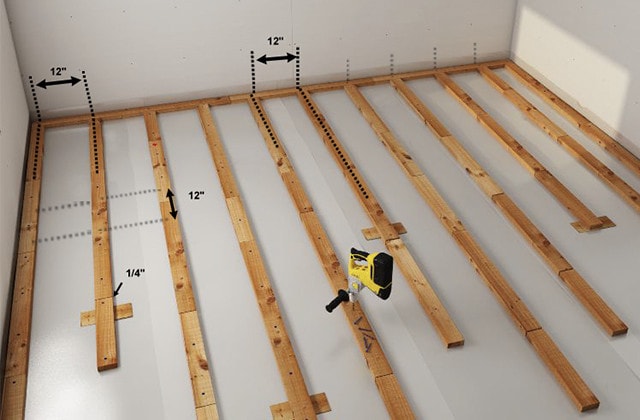
Solid hardwood can be used, but only with a proper plywood subfloor or sleepers. This adds height and complexity to the project, so engineered wood is often more practical. Consider the wood species as well—oak, maple, and hickory are durable options. Avoid softer woods like pine if your floor will see heavy traffic.
Finish type also matters. Prefinished hardwood saves time and offers a tough protective layer. Unfinished wood allows for custom staining but requires sanding and sealing after installation. Weigh the pros and cons based on your skill level and desired look. The right choice ensures both beauty and durability.
Installing a Moisture Barrier
A moisture barrier is essential to protect hardwood from concrete’s natural dampness. Polyethylene sheeting (6 mil or thicker) is a common option. Roll it out across the entire floor, overlapping seams by 6 inches and taping them securely. Extend the barrier slightly up the walls, trimming excess after installation.
Alternatively, use a specialized underlayment with a built-in vapor barrier. These products combine cushioning and moisture protection in one layer. Some even include soundproofing benefits, ideal for multi-level homes. Follow the manufacturer’s instructions for proper placement and seam sealing.
In high-moisture areas, consider a two-part epoxy moisture barrier. This liquid-applied system creates an impermeable seal but requires precise mixing and application. While more expensive, it offers superior protection in basements or humid climates. Never skip this step—moisture damage can ruin your investment.
Acclimating the Hardwood
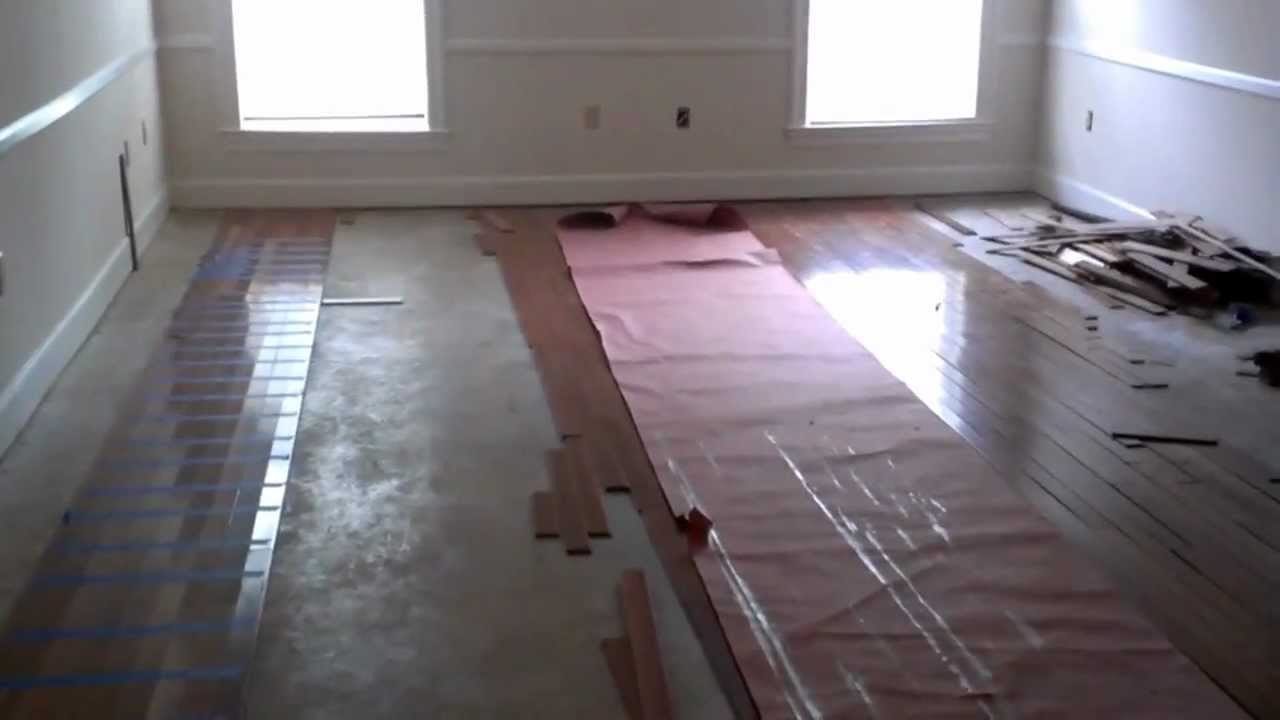
Wood needs time to adjust to your home’s humidity and temperature before installation. Place the flooring in the room where it will be installed for at least 48-72 hours. Keep the space at normal living conditions (around 60-80°F and 30-50% humidity). This prevents excessive expansion or contraction after installation.
Stack the planks flat with spacers between them to allow air circulation. Avoid storing them in garages or basements where conditions fluctuate. Check the manufacturer’s guidelines for specific acclimation times—some products may require longer. Rushing this step leads to gaps, buckling, or warped floors.
Use a moisture meter to compare the wood’s moisture content with the subfloor. They should be within 2-4% of each other. If the difference is too great, extend the acclimation period. Proper acclimation ensures stable, gap-free flooring that lasts for years.
Installing the Hardwood Floor
Begin by laying the first row along the longest straight wall, using spacers to maintain a ½-inch expansion gap. This gap allows the wood to expand with humidity changes. Face-nail or blind-nail the first row since the wall side won’t allow for a standard tongue-and-groove fit.
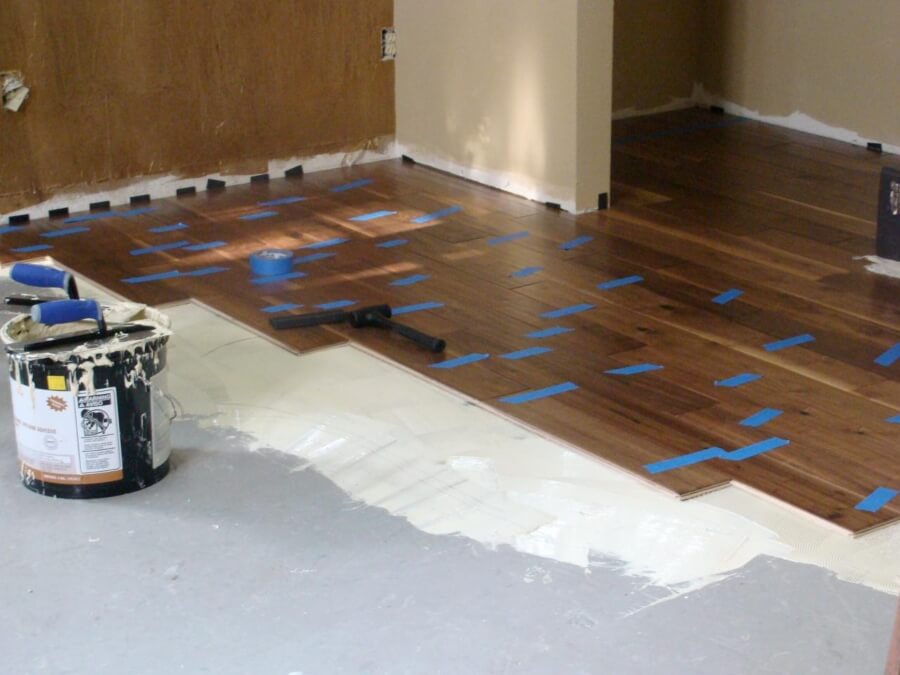
For glue-down installations, apply adhesive in small sections as you work to prevent drying. Press each plank firmly into place, using a tapping block to close gaps. For floating floors, ensure the tongue-and-groove connections are secure but avoid forcing planks, which can damage edges.
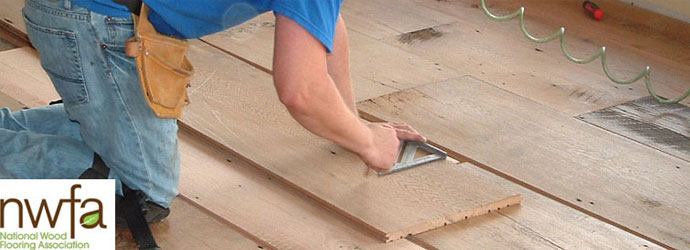
Stagger end joints by at least 6 inches for stability and visual appeal. Use a pull bar to tighten the final row against the spacers. Cut planks as needed to fit, ensuring the expansion gap remains consistent. Proper installation techniques prevent movement and noise over time.

Finishing and Maintenance
After installation, remove spacers and install baseboards or quarter-round molding to cover expansion gaps. For unfinished floors, sand lightly before applying your chosen stain and sealant. Water-based polyurethane dries quickly and has low odor, while oil-based offers greater durability.
Regular maintenance keeps hardwood floors looking their best. Sweep or vacuum frequently to prevent dirt buildup. Use a damp mop with a hardwood-specific cleaner—excess water can damage the wood. Place rugs in high-traffic areas and felt pads under furniture legs to prevent scratches.
Refinishing may be needed every few years depending on wear. Light sanding and a fresh coat of finish restore the floor’s luster. Avoid waxing unless your finish type allows it, as some modern sealants are incompatible. Proper care extends the life of your DIY hardwood floor.
Can solid hardwood be installed directly on concrete?
No, solid hardwood should not be installed directly on concrete due to moisture sensitivity. It requires a plywood subfloor or sleepers to create an air gap. Engineered hardwood is a better choice for concrete slabs because its layered construction resists warping. Always use a moisture barrier to protect the wood from ground moisture.
How long does hardwood need to acclimate before installation?
Hardwood should acclimate for at least 48-72 hours in the installation area. Keep the room at normal living conditions and stack planks with spacers for airflow. Check moisture levels with a meter—wood and subfloor should be within 2-4% of each other. Rushing acclimation leads to gaps or buckling.
:no_upscale()/cdn.vox-cdn.com/uploads/chorus_asset/file/19493784/howto_tilefloor_04.jpg)
What type of moisture barrier is best for concrete?
A 6 mil polyethylene sheeting is a reliable and affordable moisture barrier. Overlap seams by 6 inches and tape them securely. Alternatively, use an underlayment with a built-in vapor barrier for added convenience. In damp areas, a liquid epoxy barrier provides superior protection.
Can I install hardwood flooring in a basement?
Yes, but basements have higher moisture risks. Choose engineered hardwood and use a high-quality moisture barrier. A dehumidifier helps maintain stable humidity levels. Avoid solid hardwood, as basement moisture fluctuations can cause significant expansion and contraction.
What tools are needed for DIY hardwood installation?
Essential tools include a moisture meter, tapping block, pull bar, spacers, saw, hammer, and nail gun (for nail-down installations). For glue-down floors, you’ll need a trowel for adhesive. A level and straightedge ensure the subfloor is even before installation.
How do I fix gaps or squeaks after installation?
Seasonal gaps are normal due to humidity changes. If gaps persist, use wood filler matched to your floor color. Squeaks often come from loose planks—secure them with additional nails or adhesive. Avoid over-tightening, which can cause further issues.

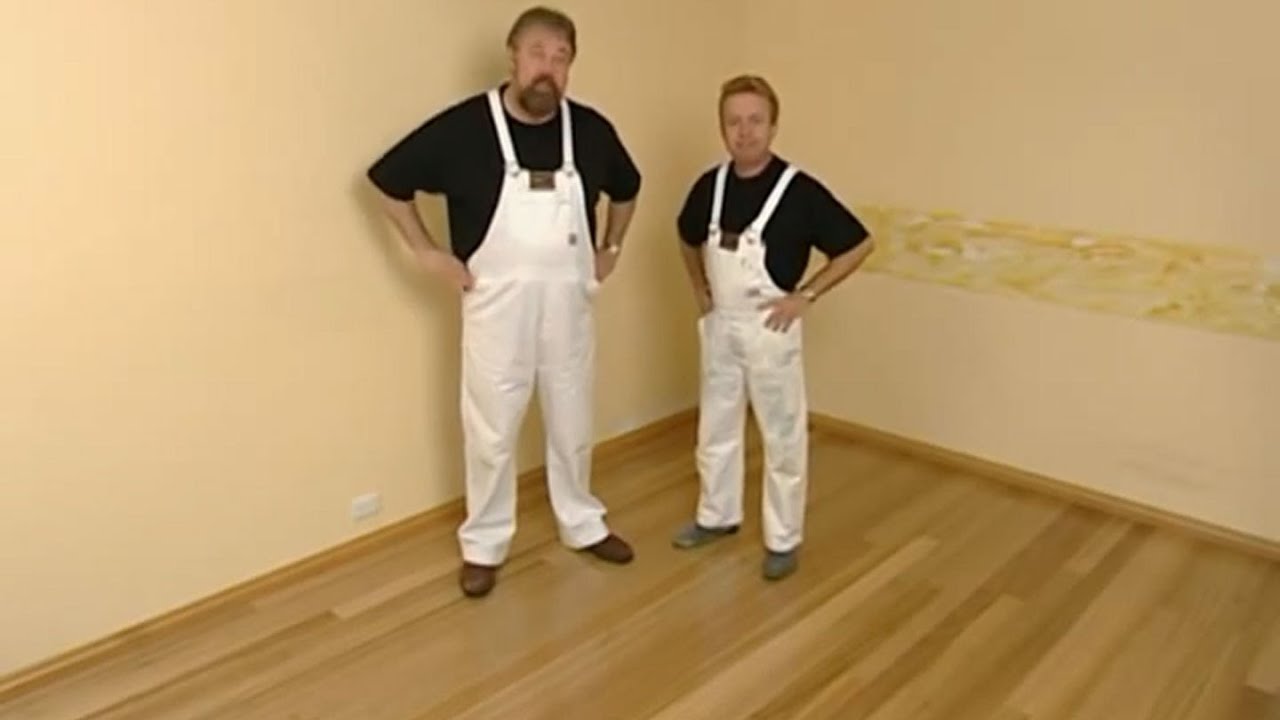
Installing Hardwood Floors on Concrete
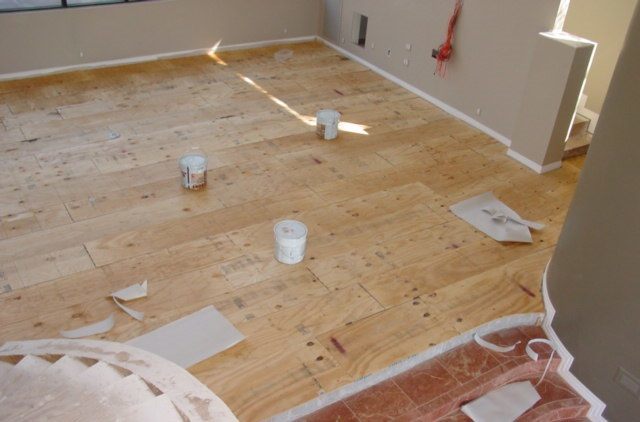
Installing Plywood Flooring Over Concrete ⋆ 🌲 ThePlywood.com
Related Posts: