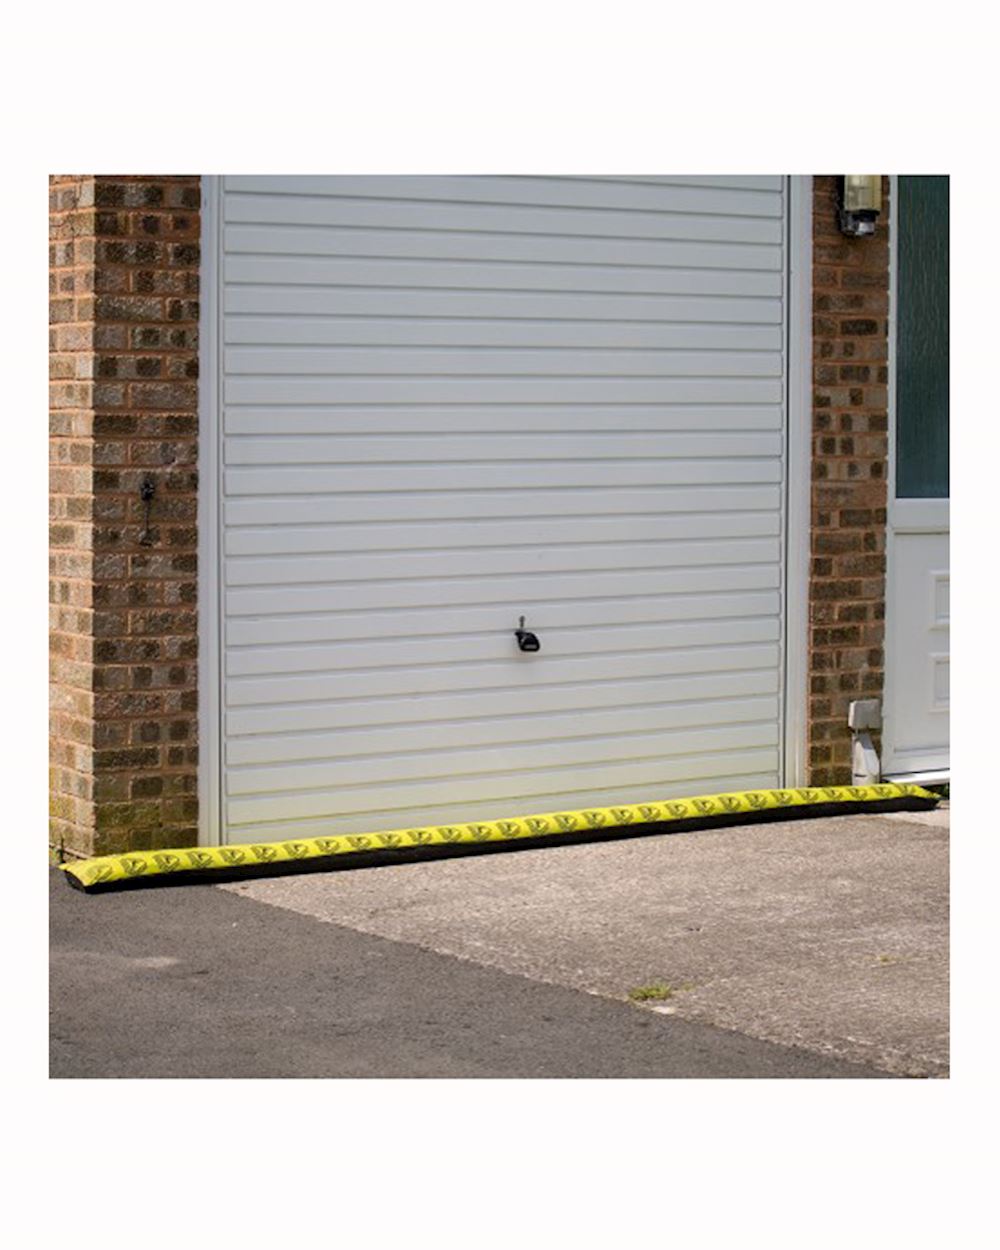
Standing in my flooded garage three winters ago, I realized how much I’d underestimated the importance of proper water barriers. What started as a small puddle during heavy rains had become a recurring nightmare that threatened my tools, stored belongings, and even my car’s undercarriage. Through trial, error, and countless hours of research, I’ve learned that protecting your garage floor from water intrusion isn’t just about convenience; it’s about preserving your investment and maintaining a functional space year-round.
Understanding the Root Causes of Water Problems
I never imagined how many ways water could find its way into my garage until I started experiencing problems firsthand. Ground moisture, poor drainage, and seasonal freeze-thaw cycles create the perfect storm for water infiltration. During spring melts, I noticed water seeping through microscopic cracks in my concrete floor that I hadn’t even known existed. The hydrostatic pressure from saturated soil pushes moisture through porous concrete like a slow-motion flood.
Temperature fluctuations exacerbate the issue by causing concrete to expand and contract, thereby creating new pathways for water entry. I learned this lesson when winter temperatures dropped below freezing for weeks, only to be followed by an unexpected warm spell. The rapid temperature change opened hairline fractures that became major water entry points during the next heavy rainfall, teaching me that prevention requires understanding these natural cycles.
Poor construction practices from decades past often contribute to modern water problems, a phenomenon I discovered when examining the foundation of my garage. Many older garages lack proper vapor barriers beneath the concrete slab, making them vulnerable to ground moisture migration. My 1980s garage fell into this category, explaining why I could never seem to keep the floor completely dry, no matter how much I mopped or used fans.
Evaluating Your Current Situation
Before implementing any solutions, I spent considerable time assessing my garage’s specific vulnerabilities and moisture patterns. I mapped out where water appeared first during storms, noting that certain corners consistently showed dampness while other areas remained dry. This pattern revealed that my problems stemmed from both exterior drainage issues and interior moisture migration, requiring a multi-faceted approach to address all sources effectively.
Testing concrete porosity became my next priority, using a simple water absorption test that involved placing plastic sheets over different floor sections. Areas where condensation formed quickly underneath the plastic indicated high moisture transmission through the concrete. This simple diagnostic tool helped me identify the most problematic zones and prioritize my repair efforts where they would have the greatest impact on overall moisture control.
I also examined the garage’s relationship to surrounding landscape features, discovering how subtle grading issues directed rainwater toward my foundation. My driveway’s slight slope, combined with a poorly positioned downspout, created a direct pathway for water to pool against the garage’s exterior walls. These observations taught me that effective moisture control requires addressing both interior protection and exterior water management strategies.

Selecting the Right Barrier Materials
After researching countless options, I learned that choosing appropriate barrier materials depends heavily on your specific moisture problems and budget constraints. Epoxy coatings offer excellent protection against surface moisture but won’t solve problems caused by hydrostatic pressure from below. I initially tried this approach, achieving beautiful results that lasted only until the next major storm when underlying pressure caused the coating to bubble and peel in several areas.
Penetrating sealers provide a different approach by chemically altering concrete’s structure to reduce porosity while maintaining the surface’s natural appearance. I found these products particularly effective in areas with minor moisture issues, though they require regular reapplication every few years. The investment proved worthwhile in sections of my garage where aesthetic considerations mattered more than maximum protection levels.
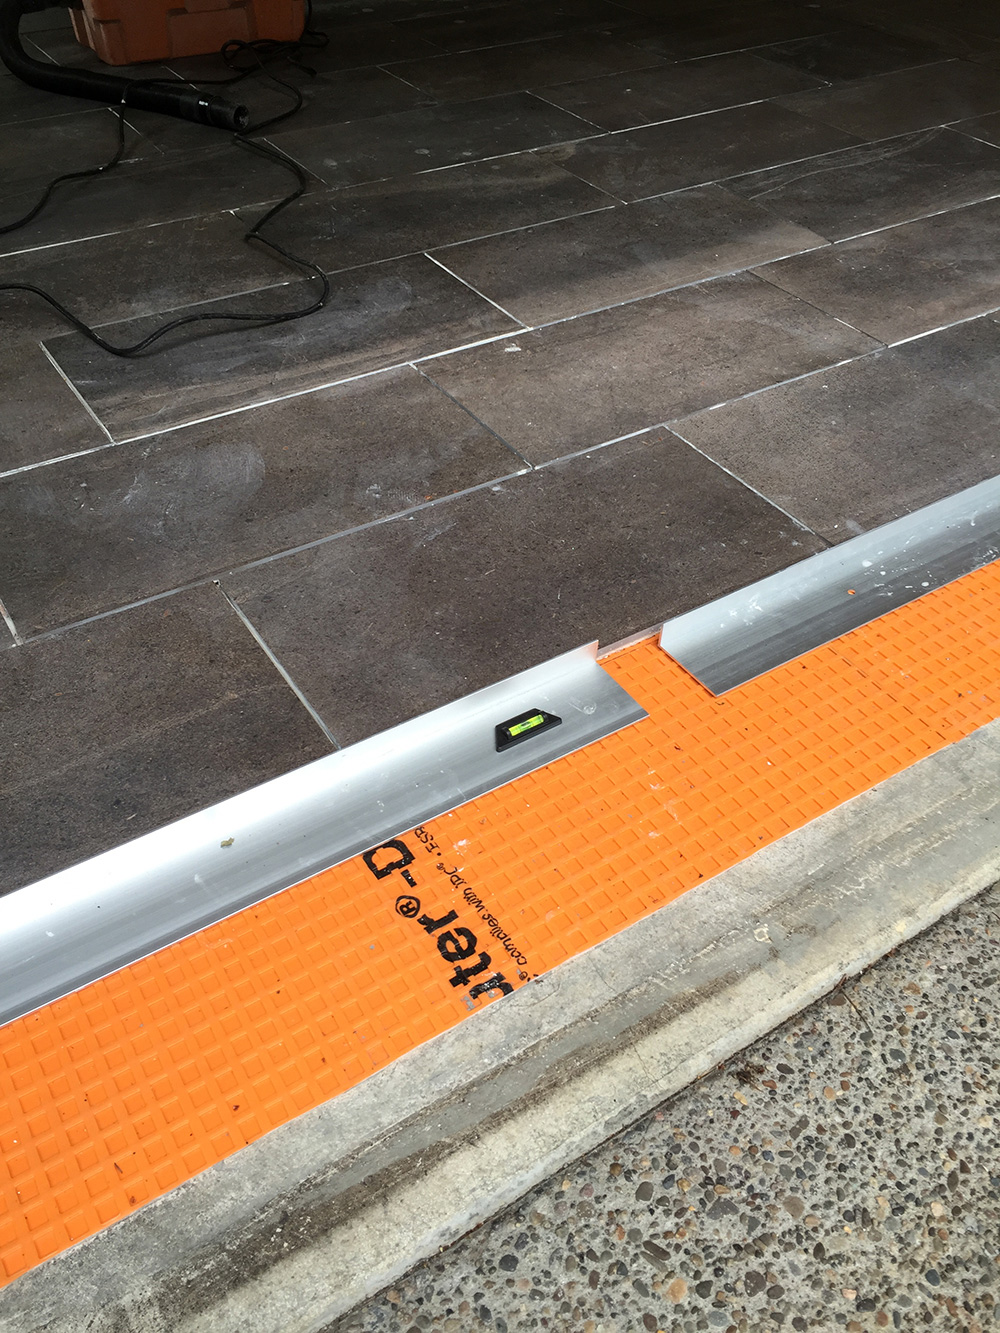
For severe moisture problems, I discovered that membrane systems offer the most comprehensive protection, though they require more extensive installation procedures. These systems create a continuous barrier that prevents both surface water and ground moisture from penetrating the floor. While initially intimidating, I found that modern membrane products come with detailed instructions that make professional-quality installation achievable for determined homeowners willing to invest the necessary time and effort.
Installation Techniques That Work
My first attempts at barrier installation taught me that surface preparation determines success more than any other single factor. I spent an entire weekend grinding down high spots, filling cracks, and thoroughly cleaning the concrete surface with degreasing agents. Skipping these preparation steps, even partially, compromises the entire project by preventing proper adhesion between the barrier material and the concrete substrate beneath.
Temperature and humidity control during installation proved equally critical to achieving lasting results in my experience. I learned to schedule installation during periods of stable weather, avoiding extreme temperatures and high humidity that interfere with curing processes. Working in sections allowed me to maintain optimal conditions for each area while preventing the overwhelming task of treating the entire garage floor simultaneously.
Proper mixing ratios and application techniques require patience and attention to detail that I initially underestimated. Following manufacturer instructions precisely, including specified coverage rates and curing times, made the difference between a professional-looking result and a disappointing failure. I invested in quality application tools and took time to practice techniques on small test areas before tackling the main floor surface.
Maintenance and Long-term Success
Regular inspection and maintenance have kept my garage floor water barrier performing effectively for over two years now. I check for signs of wear, damage, or moisture intrusion every season, paying particular attention to high-traffic areas and spots where I previously experienced problems. Early detection of minor issues allows for simple repairs that prevent major failures requiring complete reinstallation of barrier systems.
Cleaning protocols specifically designed for sealed surfaces help preserve the barrier’s integrity while maintaining its appearance and functionality. I avoid harsh chemicals and abrasive cleaning methods that could damage the protective coating, instead using pH-neutral cleaners and soft-bristled brushes for routine maintenance. This gentle approach has kept my floor looking professional while extending the barrier’s useful life significantly.
Environmental factors continue to affect barrier performance, requiring ongoing attention to exterior drainage and moisture sources. I maintain proper grading around the garage, keep gutters clean and functional, and address any landscaping changes that might redirect water toward the foundation. This holistic approach recognizes that interior barriers work best when supported by effective exterior moisture management strategies.

Troubleshooting Common Problems
Despite careful installation, I encountered several issues that required creative problem-solving approaches during my first year with the new barrier system. Bubbling occurred in one corner where I hadn’t eliminated moisture before installation, teaching me the importance of allowing adequate drying time even when schedules feel tight. Careful removal and reinstallation of the affected area resolved the problem without compromising the entire floor.
Edge failures along walls presented another challenge that I solved by improving surface preparation and using appropriate primer products. The junction between the floor and the wall creates stress points where movement and moisture can compromise barrier integrity. I learned to treat these transition areas with extra care, using flexible sealants and ensuring complete coverage of all vulnerable surfaces.
Wear patterns in high-traffic areas required periodic touch-up applications that I initially viewed as failures but now understand as normal maintenance requirements. Heavy equipment, frequent vehicle traffic, and dropped tools create localized stress that no barrier system can withstand indefinitely. Planning for periodic maintenance and keeping matching materials on hand allows for quick repairs that maintain system integrity.

How long do garage floor water barriers typically last before requiring replacement or major maintenance?
In my experience, properly installed barriers last 5-7 years with regular maintenance, though this varies significantly based on garage usage, climate conditions, and installation quality. High-traffic areas may need touch-ups every 2-3 years, while protected sections can go much longer without attention. I’ve found that investing in quality materials and proper installation extends lifespan considerably compared to budget options that may fail within 2-3 years under similar conditions.
Can I install a water barrier over an existing garage floor coating that’s starting to fail?
I learned this lesson the hard way when attempting to apply new barrier material over deteriorating epoxy coating in my garage. The results were disappointing because the new material bonded to the failing coating rather than the concrete substrate, leading to widespread adhesion problems within months. Complete removal of failing coatings, though labor-intensive, provides the solid foundation necessary for long-term success of any new barrier system.

What’s the difference between interior barriers and exterior waterproofing solutions for garage moisture problems?
Interior barriers protect against surface moisture and minor seepage, while exterior solutions address hydrostatic pressure and major water intrusion at the source. In my situation, I needed both approaches because interior barriers alone couldn’t handle the volume of water entering during heavy storms. Exterior drainage improvements, combined with interior protection, created a comprehensive system that has kept my garage dry through multiple severe weather events.
How do I determine if my moisture problems are severe enough to require professional installation versus DIY approaches?
I spent considerable time evaluating my situation before deciding to tackle the project myself, considering factors like moisture severity, available time, and skill level. Standing water, widespread concrete damage, or recurring problems despite previous repair attempts typically indicate professional intervention is necessary. However, minor moisture issues, surface condensation, or localized problems often respond well to carefully executed DIY solutions when proper materials and techniques are used.

What tools and equipment are essential for successful garage floor water barrier installation?
My tool collection grew significantly during this project, but certain items proved absolutely essential for professional-quality results. Concrete grinder, high-quality brushes and rollers, mixing equipment, and proper safety gear formed the foundation of my toolkit. I also invested in moisture testing equipment and concrete crack repair materials that helped identify and address underlying problems before installing the barrier system, preventing costly failures later.
How much should I budget for materials and potential professional help for a typical two-car garage?
Material costs for my approximately 600 square foot garage ranged from $300-800 depending on barrier type and quality level, with premium membrane systems at the higher end. I allocated additional budget for surface preparation materials, tools, and potential professional consultation when problems exceeded my expertise. Planning for 20-30% contingency costs proved wise when unexpected issues required additional materials or repair work during installation.
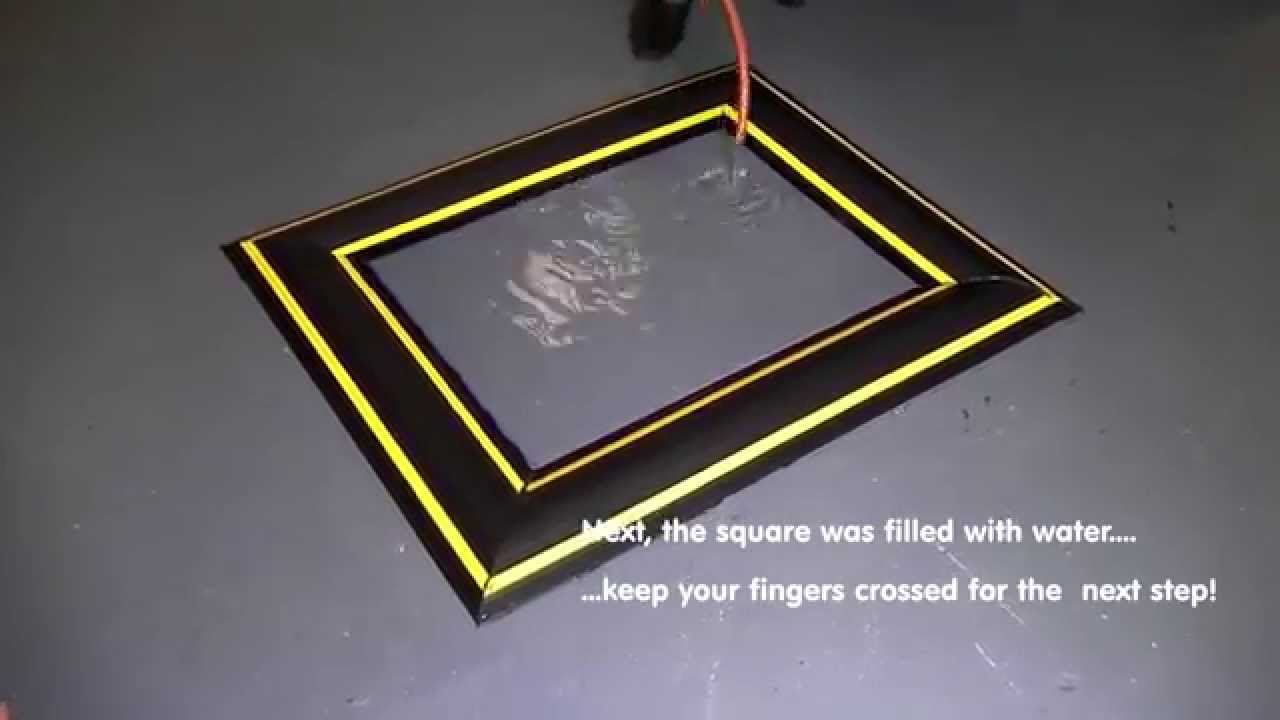
Wearther Stop 40mm high flood barrier seal experiment
Vapor Barrier For Garage Floor (10 Important Things You Need To Know)
5 Ways to Deal with Snow Runoff in the Garage – Lifehack
How to set concrete to keep water out of garage – Baton Rouge – Overhead Door

Related Posts:
- 4 Car Garage Floor Plans
- DIY Garage Floor Paint
- Concrete Garage Floor Paint
- Garage Floor Treatments
- How To Paint Garage Floors
- Rustoleum Garage Floor Paint
- Garage Flooring Tiles Ideas
- Rubber Garage Flooring
- Inexpensive Garage Floor
- Industrial Garage Floor
I understand the importance of protecting your garage floor from moisture and water damage. This can lead to unsightly stains, foul odors, and even the growth of mold and mildew. Fortunately, a water barrier for your garage floor can help prevent these issues, ensuring your flooring stays in top condition for years to come. In this article, I will discuss everything you need to know about water barriers for garage floors.
What is a Water Barrier for Garage Floors?
A water barrier for garage floors is a layer of material installed between your garage floor and the concrete slab. This layer acts as a barrier to prevent water, moisture, and other liquids from seeping into the concrete and causing damage.
Benefits of Installing a Water Barrier
Installing a water barrier in your garage offers numerous benefits, including:
- Protects against moisture and water damage: A water barrier protects your garage floor from moisture and water damage, keeping it in top condition for years to come.
- Prevents mold and mildew growth: By preventing moisture from seeping into the concrete, a water barrier also helps prevent the growth of mold and mildew, which can cause foul odors and harm your health.
- Enhances the appearance of your garage: A clean, dry garage floor looks better and is easier to clean than a damp, stained floor.
Common Types of Water Barriers for Garage Floors
There are several common types of water barriers for garage floors, including:
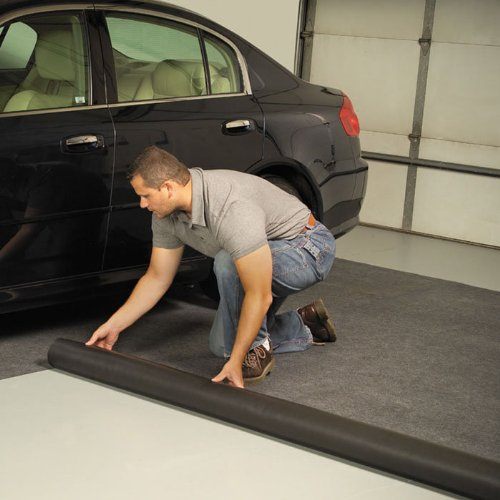
- Plastic sheets: Plastic sheets are a popular and affordable option for water barriers. They are easy to install and are highly effective at preventing water from seeping into the concrete.
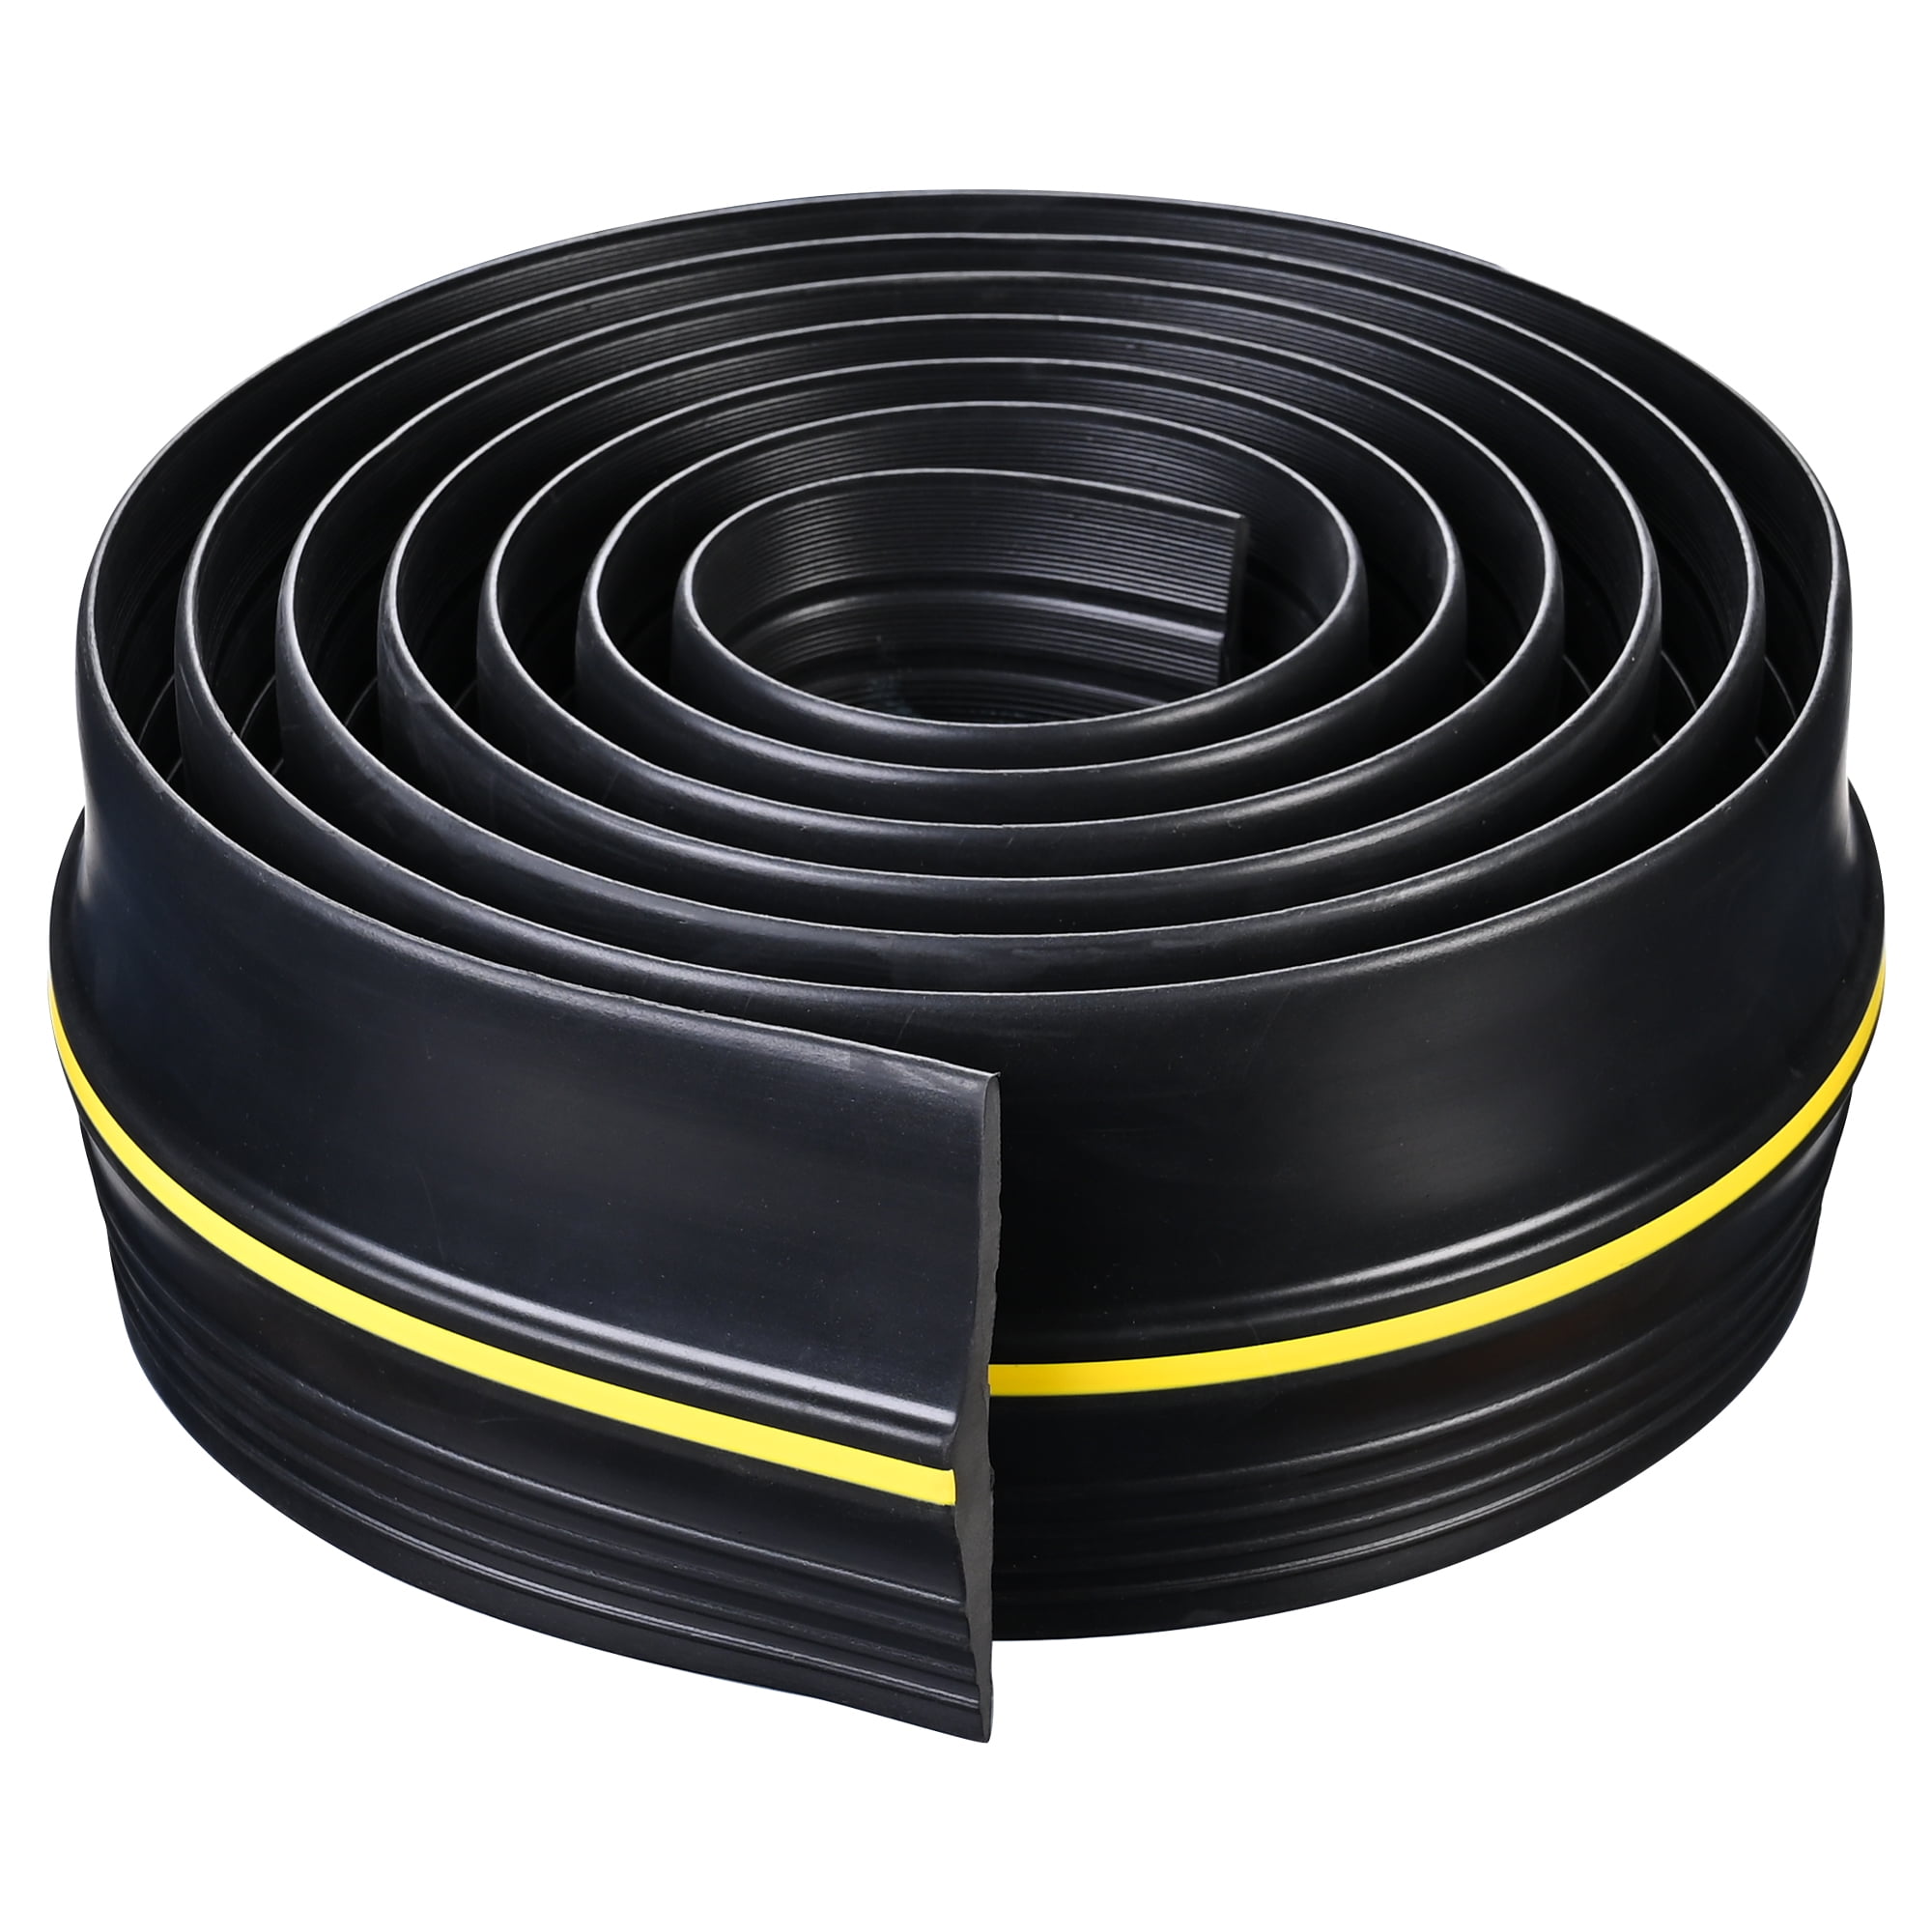
- Rubber mats: Rubber mats are another popular choice for water barriers. They are durable and long-lasting and offer excellent protection against moisture and water damage.
- Epoxy coatings: Epoxy coatings are a more permanent solution for water barriers. They provide a seamless barrier that is highly effective at preventing water from seeping into the concrete.
Choosing the Right Water Barrier for Your Garage Floor
When choosing a water barrier for your garage floor, it is important to consider your specific needs and the type of flooring you have installed. Consider factors such as the amount of moisture your garage is exposed to, the type of flooring you have installed, and your budget.
Cost of Installing a Water Barrier
The cost of installing a water barrier for your garage floor will depend on the type of barrier you choose and the size of your garage. On average, you can expect to pay between $200 and $800 for a water barrier, including materials and installation.
A water barrier for your garage floor is an important investment that can help protect your flooring from moisture and water damage, prevent the growth of mold and mildew, and enhance the appearance of your garage. With several options available, you are sure to find a water barrier that fits your needs and budget. Contact a professional flooring specialist today to learn more about water barriers and how they can benefit your garage floor.