Transforming my garage from a cluttered storage space into a functional workshop and entertainment area began with addressing the cracked, oil-stained concrete floor that had haunted me for years. What started as a simple cleanup project evolved into a comprehensive flooring makeover that completely changed how I use and feel about this space. Through extensive research, multiple failed attempts, and eventual success, I discovered that garage flooring design involves much more than just covering ugly concrete. The right flooring choice can turn your garage into a true extension of your living space.
Assessing Your Garage’s Current Condition and Needs
Before selecting any flooring solution, I spent several weeks evaluating the existing conditions and future usage requirements of my garage. The concrete slab had numerous oil stains, minor cracks, and areas where the surface had spalled due to freeze-thaw cycles. Moisture issues became apparent during spring thaws, with water seeping through expansion joints and accumulating in low-lying areas. Understanding these challenges helped me eliminate flooring options that wouldn’t address my specific problems or would fail prematurely under these conditions.
Traffic patterns and intended uses significantly influence flooring choice, something I learned after initially choosing the wrong system. My garage serves as a workshop, car storage, and occasional party space, requiring flooring that handles heavy equipment, chemical spills, and foot traffic from guests in dress shoes. I mapped out zones for different activities, noting where heavy machinery would sit, where cars would drip fluids, and where people would gather. This analysis guided my material selection and layout planning.
Budget considerations forced me to prioritize needs versus wants during the planning phase. Premium systems like polished concrete or high-end tiles exceeded my budget, while basic paint systems wouldn’t provide the durability I needed. I settled on a phased approach, addressing the most problematic areas first with quality materials, then expanding the treatment as budget allowed. This strategy let me achieve professional results within financial constraints while learning from each phase before tackling larger areas.
Exploring Different Flooring Material Options
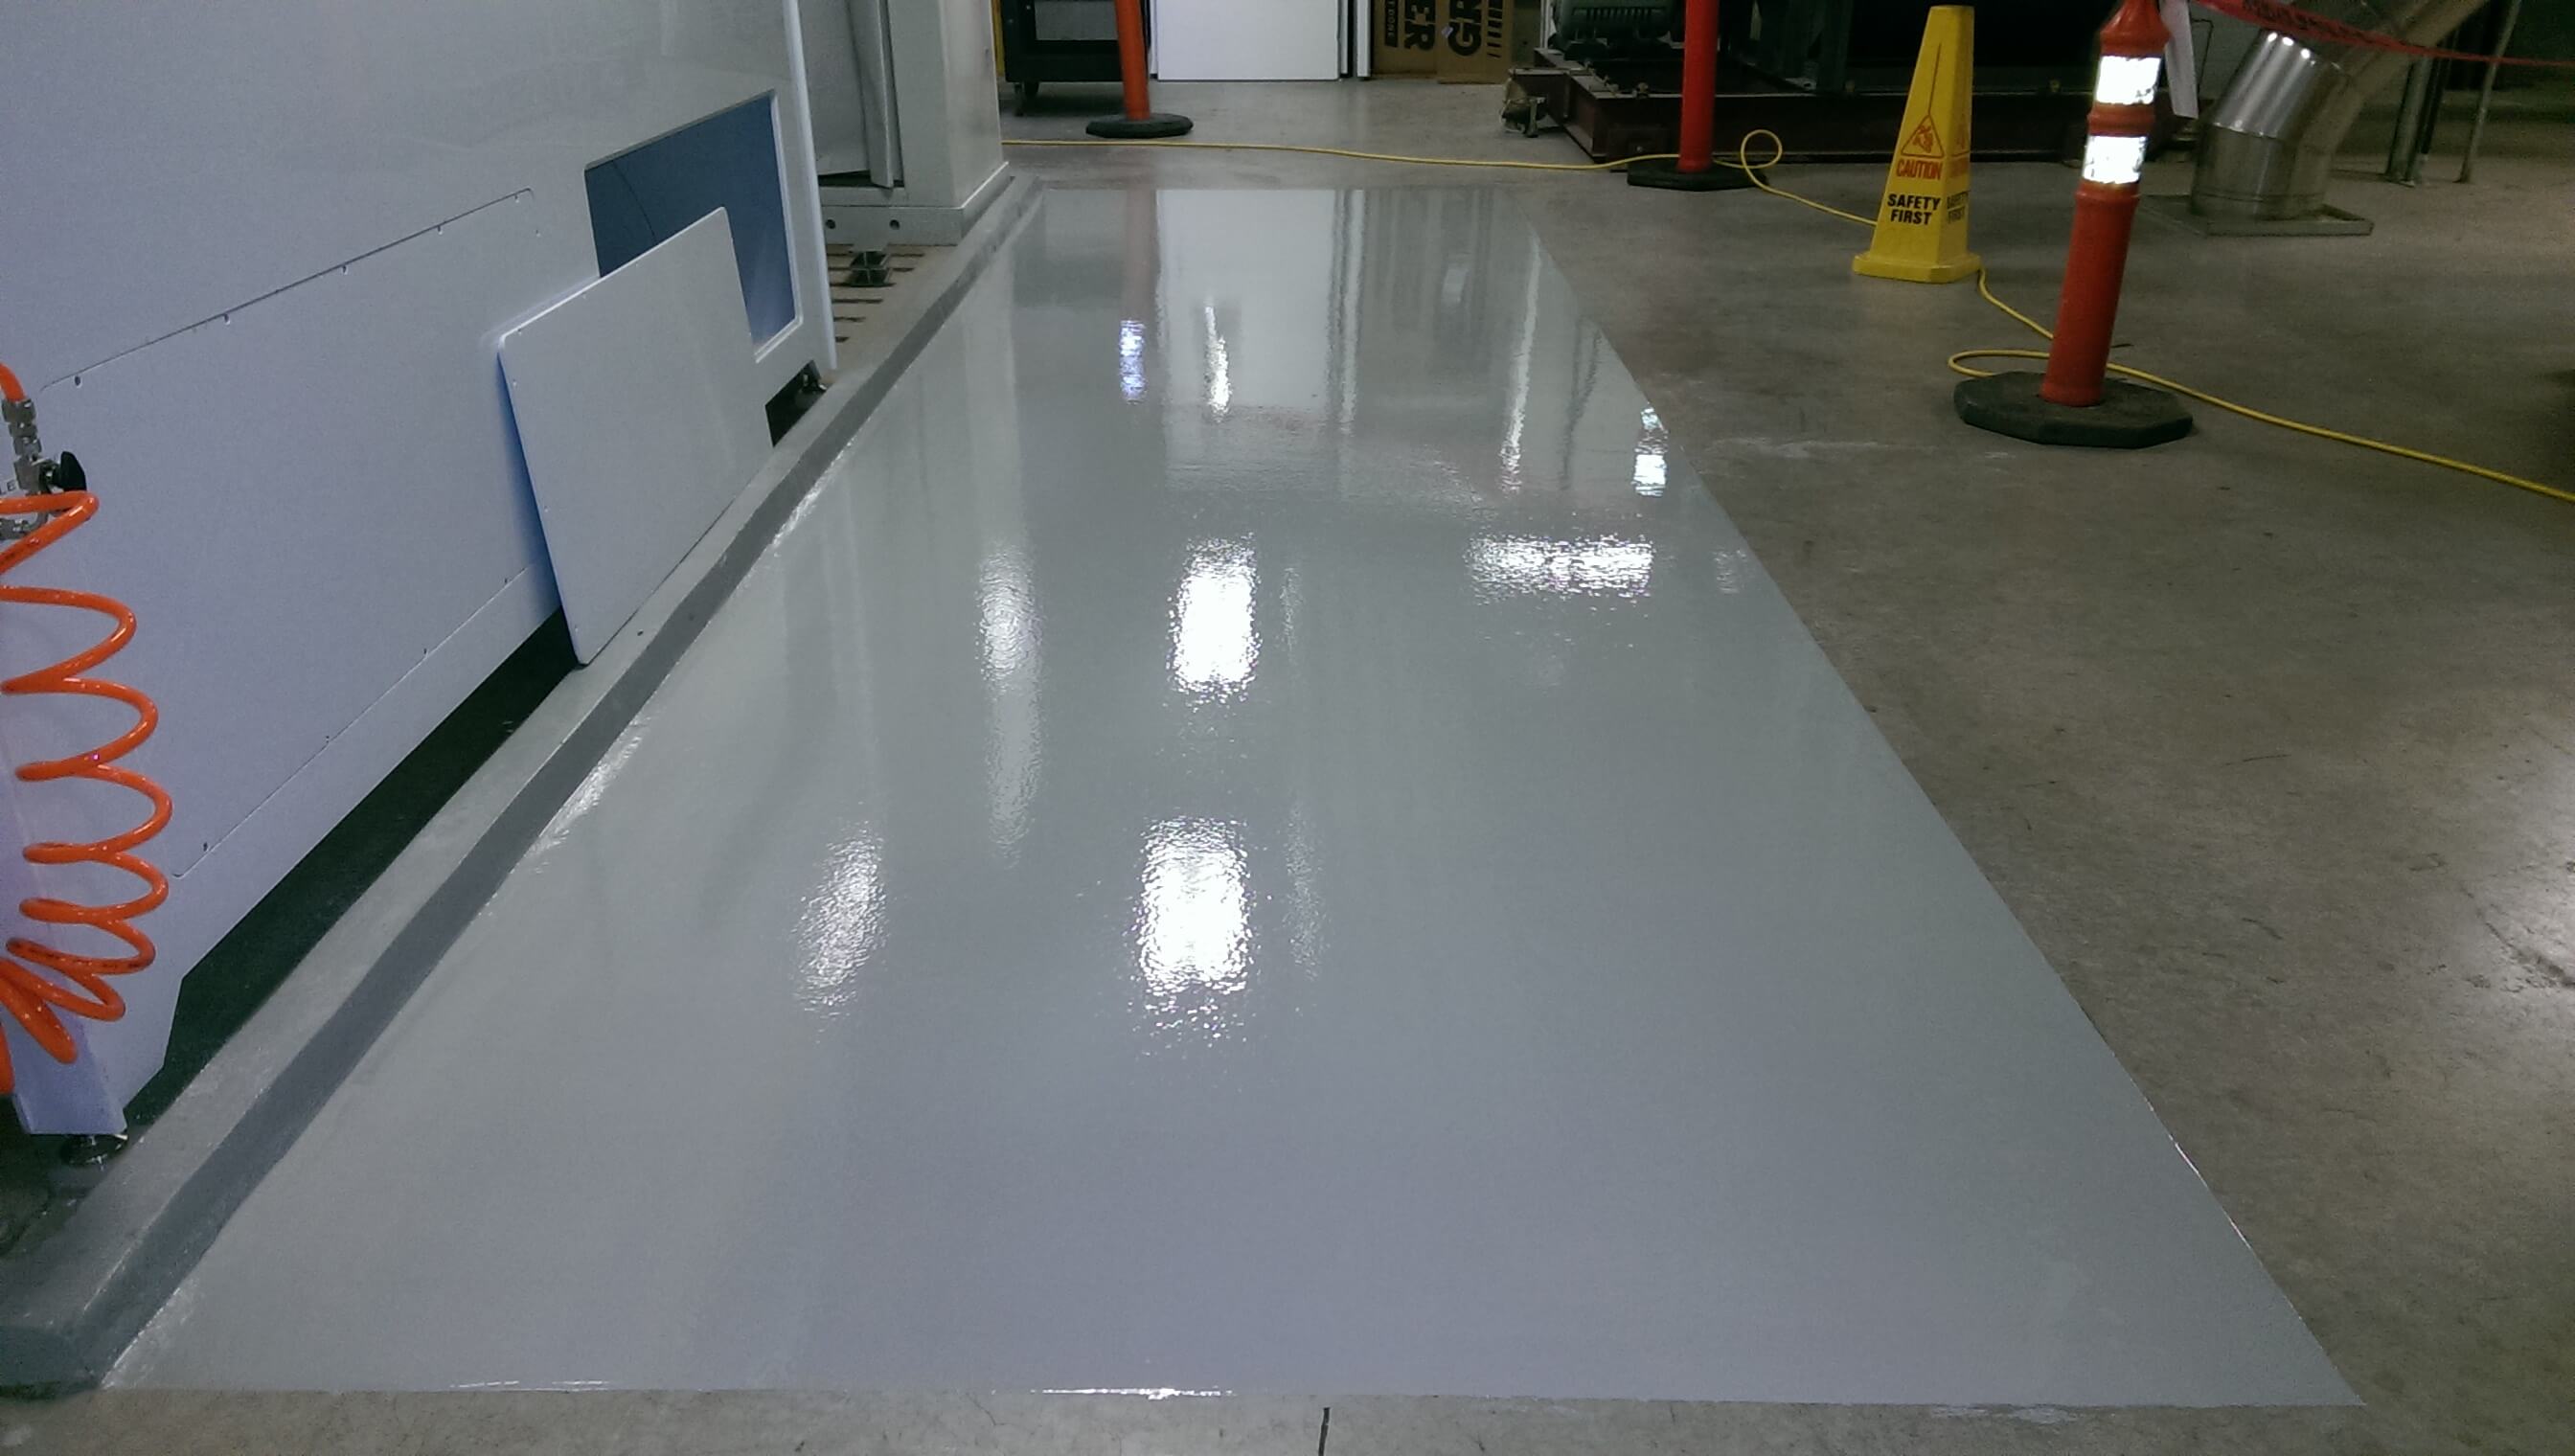
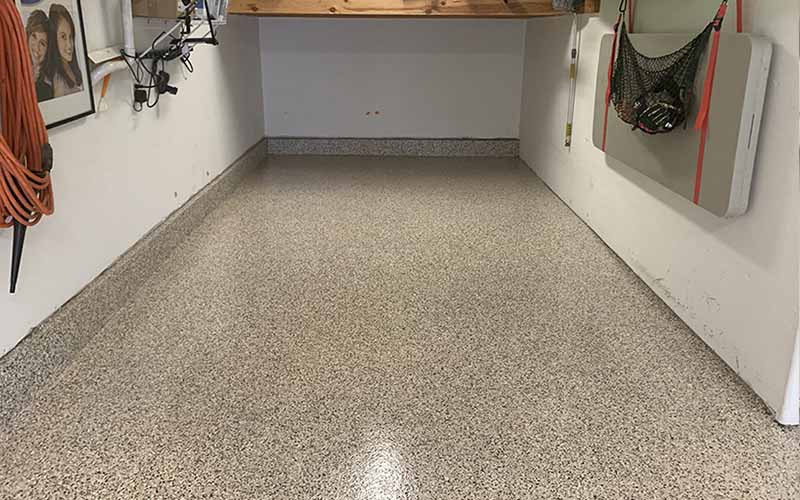
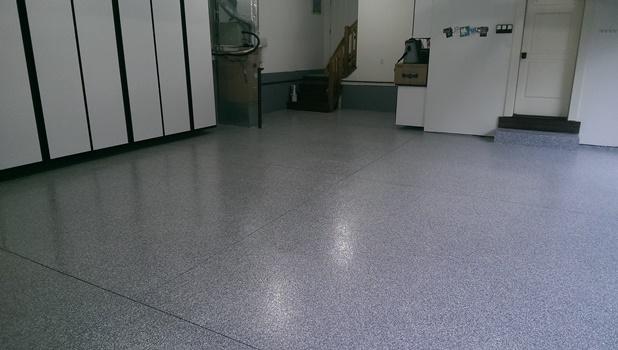
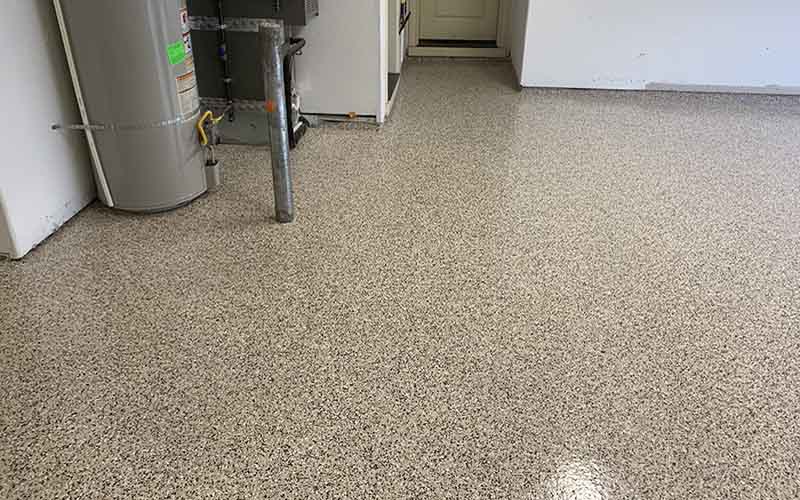
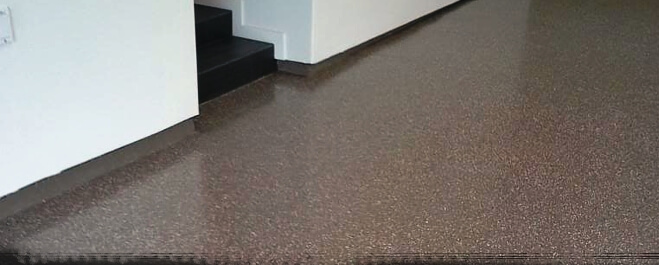
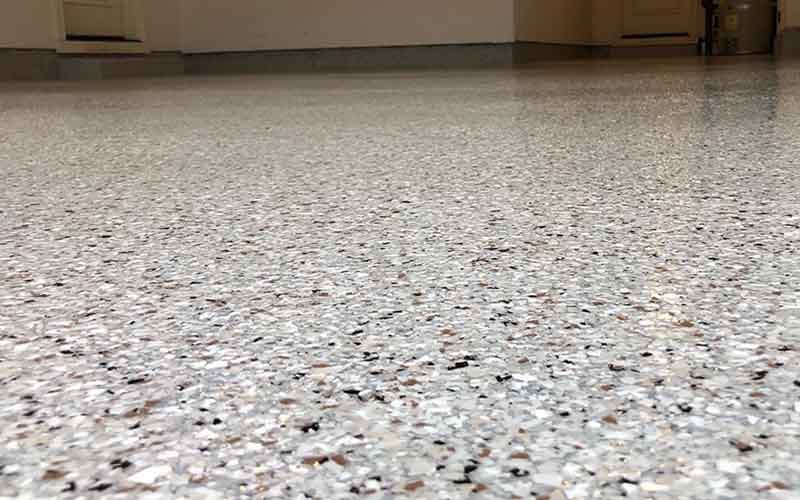
Epoxy coatings dominated my initial research due to their reputation for durability and chemical resistance. I tested several systems, from basic two-part epoxies to premium garage floor kits with decorative flakes. The application process proved more challenging than expected, requiring meticulous surface preparation and perfect timing during installation. Temperature and humidity significantly affected curing and final appearance. While successful installations look fantastic, the preparation requirements and potential for failure made me consider alternatives for some areas.
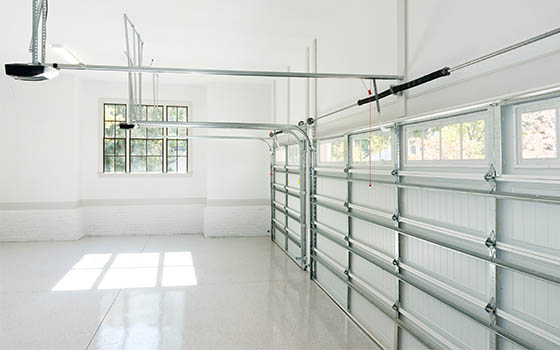
Interlocking tile systems offered the easiest installation experience in my garage flooring journey. These modular systems snap together without adhesives, allowing for easy replacement if damaged and simple removal if needed. I installed porcelain tiles in my main work area and polypropylene tiles in storage zones. The raised base design allows air circulation and drainage, addressing moisture concerns naturally. However, debris can accumulate between tiles, and heavy point loads may cause individual tiles to flex or crack over time.
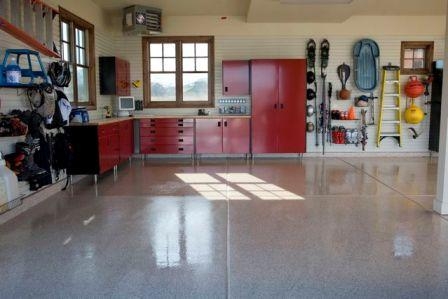
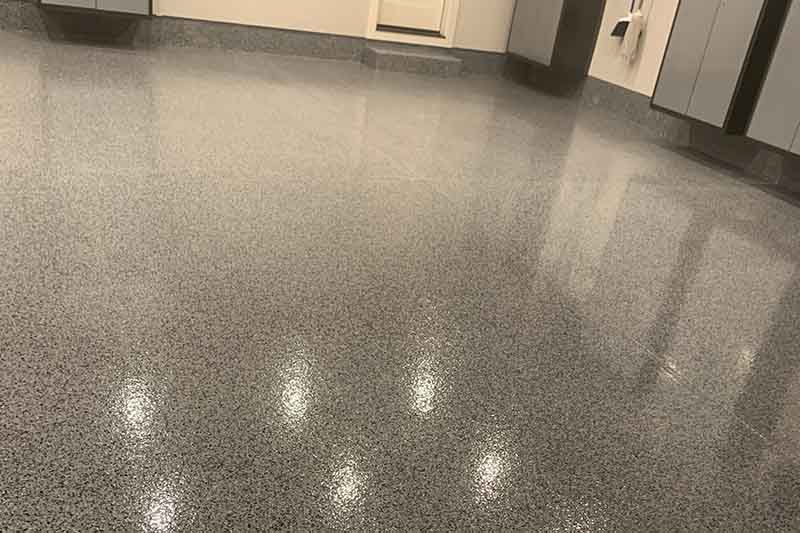
Polished concrete emerged as my favorite option after witnessing a neighbor’s professional installation. The process involves mechanically grinding the existing slab to remove imperfections, then progressively polishing to achieve the desired sheen levels. Chemical densifiers strengthen the surface while reducing dusting and improving stain resistance. The seamless, easy-to-clean surface looks sophisticated and handles all my garage activities beautifully. Professional installation costs more initially but provides unmatched durability and low maintenance requirements.
Design Elements That Transform Ordinary Garages
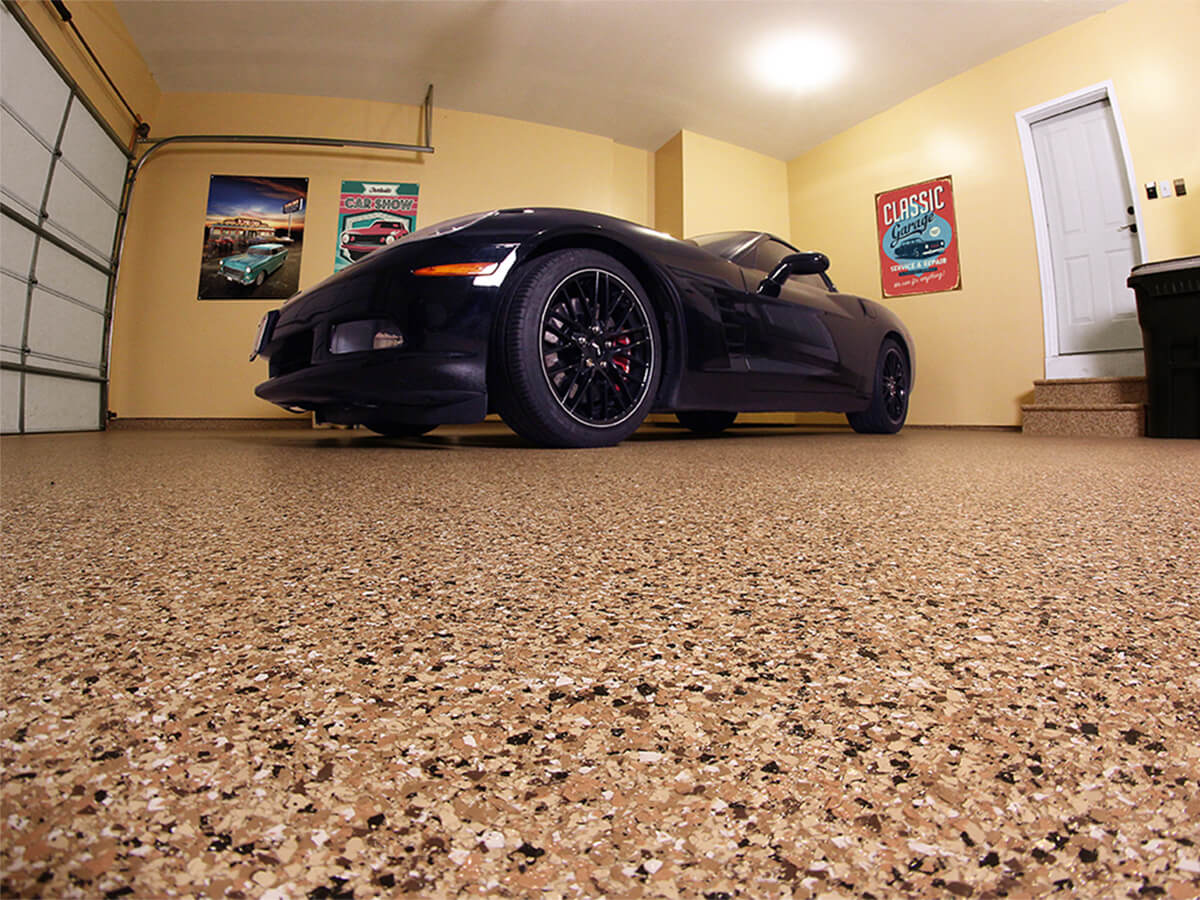
Color schemes dramatically impact how spacious and welcoming your garage feels, something I underestimated during my first renovation attempt. Light colors reflect more light and make spaces appear larger, while darker colors hide dirt and stains more effectively. I chose a medium gray base with white borders and accent colors that complement my home’s exterior. This neutral palette provides flexibility for changing decor and equipment while maintaining a clean, professional appearance that impresses visitors.
Pattern and texture options can create visual interest while serving functional purposes like defining work zones or hiding imperfections. I incorporated subtle geometric patterns using different colored epoxy sections to designate parking areas, workspace, and storage zones. Textured finishes provide better traction in potentially slippery areas, while smooth surfaces facilitate easy cleaning and equipment movement. The key is balancing aesthetics with practicality for your specific needs and usage patterns.
Lighting integration with flooring design creates cohesive, functional spaces that rival indoor living areas. I planned my flooring pattern to complement overhead lighting placement, ensuring even illumination without harsh shadows or glare spots. Reflective flooring surfaces like polished concrete or high-gloss epoxy amplify available light, reducing the need for additional fixtures. Strategic placement of floor-level LED strips along walls or between different flooring zones adds dramatic accent lighting while improving safety during evening activities.
Installation Challenges and Solutions I’ve Encountered
Surface preparation proved to be the most critical and time-consuming aspect of every garage flooring project I’ve completed. Oil stains required multiple treatment cycles with specialized cleaners and degreasers before achieving proper surface cleanliness. Crack repair involved routing out damaged areas, cleaning thoroughly, and filling with appropriate repair compounds that cure harder than the surrounding concrete. I learned that rushing preparation phases always results in premature failure, regardless of the quality of materials used above.
Temperature and humidity control during installation affects curing and final performance significantly. I monitor conditions carefully and adjust application timing accordingly, sometimes postponing work when conditions aren’t optimal. Garage doors must remain closed during curing periods to maintain stable conditions, requiring careful planning around normal vehicle usage. Ventilation becomes crucial when using solvent-based products, necessitating fans and open windows while maintaining temperature control for proper curing.
Tool requirements and technique development took multiple projects to master completely. Basic installations require standard cleaning and preparation tools, while advanced systems need specialized equipment like concrete grinders, mixing paddles, and application tools. I invested in quality tools gradually, starting with essential items and adding specialized equipment as skills and project complexity increased. Rental options work well for occasional use, but ownership becomes cost-effective for multiple projects or professional applications.
Maintenance Strategies for Long-Term Success
Daily and weekly maintenance routines preserve the appearance and performance of garage flooring investments significantly. I sweep regularly to prevent abrasive debris from scratching surfaces and mop spills immediately to prevent staining or chemical damage. Different flooring materials require specific cleaning products and techniques, so I maintain appropriate supplies for each area. Preventive maintenance takes minimal time but extends flooring life dramatically while preserving the professional appearance that makes garages feel like finished spaces.
Seasonal maintenance addresses specific challenges like salt damage from winter road treatments and moisture issues during spring thaws. I apply protective treatments before winter and inspect for damage afterward, addressing any issues promptly. Floor mats at entrances reduce tracked-in debris and chemicals while protecting high-traffic areas. Regular inspection identifies potential problems early, when repairs are simpler and less expensive than major renovations or replacements.
Long-term care planning includes budgeting for periodic deep cleaning, resealing, or refinishing, depending on the flooring system chosen. I track wear patterns and plan maintenance accordingly, addressing high-use areas more frequently. Some systems, like polished concrete, require minimal ongoing care, while others need regular attention to maintain optimal performance. Understanding long-term requirements helps make informed decisions during initial installation and prevents surprises later.

Budget-Friendly Approaches That Don’t Compromise Quality
Phased installation strategies allow achieving professional results within limited budgets by prioritizing the most visible or problematic areas first. I started with the main traffic area using premium materials, then expanded using compatible but less expensive options in storage areas. This approach spreads costs over time while allowing learning from early phases to improve later installations. Each phase builds on previous experience, resulting in better overall results than attempting everything at once with insufficient budget.
DIY versus professional installation decisions significantly impact project costs and final quality. I handle preparation work myself to reduce labor costs but hire professionals for complex installations requiring specialized tools or techniques. This hybrid approach maximizes budget efficiency while ensuring critical steps are completed properly. Some flooring systems are genuinely DIY-friendly, while others require professional expertise for optimal results. Honest assessment of skills and available time guides these decisions effectively.
Material sourcing strategies can reduce costs substantially without compromising quality if approached carefully. I buy directly from manufacturers when possible, avoiding distributor markups on large orders. End-of-season sales and contractor discounts provide significant savings on quality materials. However, I never compromise on critical components like surface preparation materials or structural elements. The key is identifying where savings are possible without affecting long-term performance or appearance of the finished installation.
What’s the best garage flooring option for cold climates with freeze-thaw cycles?
Interlocking tile systems perform exceptionally well in cold climates because they allow natural concrete movement without cracking. I’ve installed polypropylene tiles that handle temperature extremes beautifully while providing drainage channels for melting snow and ice. Flexible systems accommodate concrete expansion and contraction better than rigid coatings. Proper drainage and moisture management become critical in these environments. Avoid brittle materials like basic paint or thin epoxy systems that crack under thermal stress.
How do I deal with oil stains before installing new garage flooring?
Oil stain removal requires aggressive treatment with specialized degreasers and sometimes mechanical grinding to reach clean concrete. I use TSP substitutes, concrete cleaners, and commercial degreasers in multiple treatment cycles. Stubborn stains may require poultice treatments that draw oils from deep within the concrete pores. Testing with water drops helps verify complete removal, as remaining oils prevent proper adhesion of most flooring systems. Patience during this phase prevents premature coating failure later.
Can garage flooring handle hot tire pickup from summer driving?
Quality garage flooring systems handle hot tire contact without issues when properly installed and cured. I’ve never experienced tire pickup problems with polished concrete, high-quality epoxy systems, or ceramic tiles. However, fresh installations need full curing time before vehicle contact. Some decorative flake systems may have softer surface properties that could be affected by extremely hot tires. Testing in inconspicuous areas and following manufacturer recommendations prevents potential problems with specific systems.
What’s the realistic timeline for a typical garage flooring project?
Most garage flooring projects require 3-7 days from start to finish, depending on system complexity and surface conditions. Surface preparation takes 1-2 days, including cleaning, repairs, and etching as needed. Installation typically requires 1-2 days, followed by a curing time before vehicle traffic. Epoxy systems need a 24-72-hour cure time, while tiles can handle traffic immediately. Weather conditions and concrete moisture levels may extend timelines. Planning for unexpected delays prevents rushed installation that compromises quality.
How do I choose flooring that handles both cars and workshop activities?
Multi-use garages need flooring systems that resist automotive fluids, tool drops, and heavy equipment loads simultaneously. I recommend polished concrete or high-quality epoxy systems with appropriate thickness for your specific loads. Chemical resistance matters for automotive fluids, while impact resistance handles dropped tools. Smooth surfaces facilitate cleanup while textured areas provide traction where needed. Zoning different areas with appropriate materials optimizes performance while controlling costs across the entire space.
What maintenance should I expect with different garage flooring types?
Maintenance requirements vary significantly between flooring systems, affecting long-term ownership costs and satisfaction. Polished concrete needs only regular sweeping and occasional damp mopping, with periodic repolishing every 5-10 years. Epoxy systems require gentle cleaning and may need touch-ups in high-traffic areas every few years. Tile systems need grout cleaning and occasional tile replacement. I maintain cleaning supply kits specific to each flooring type, following manufacturer recommendations for optimal longevity and appearance preservation.
Garage Floor Epoxy Concrete Floor Coating Installers
Same Day Garage Floor Refinishing, Epoxy Coatings, Tiles Rolls and
One Day Garage Floor Coatings
Related Posts: