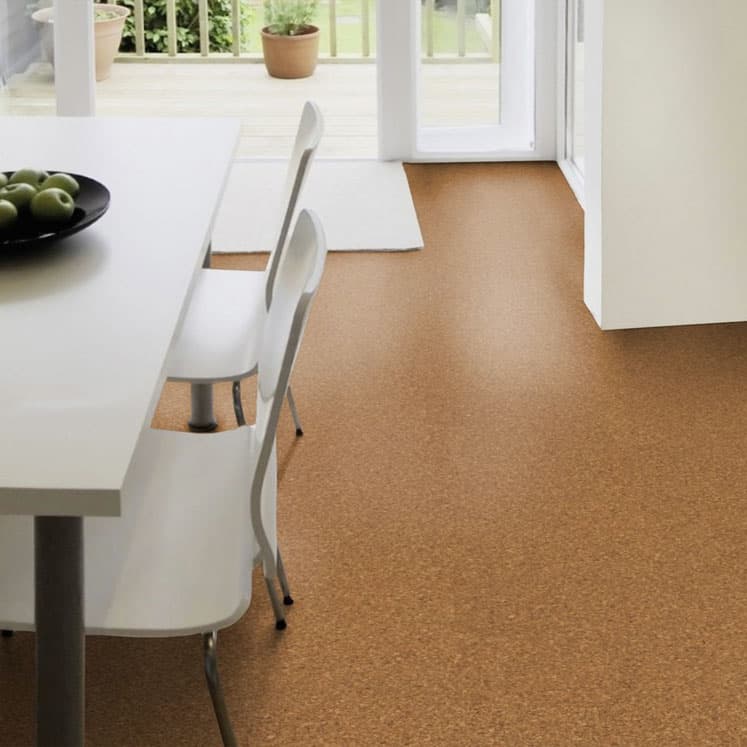
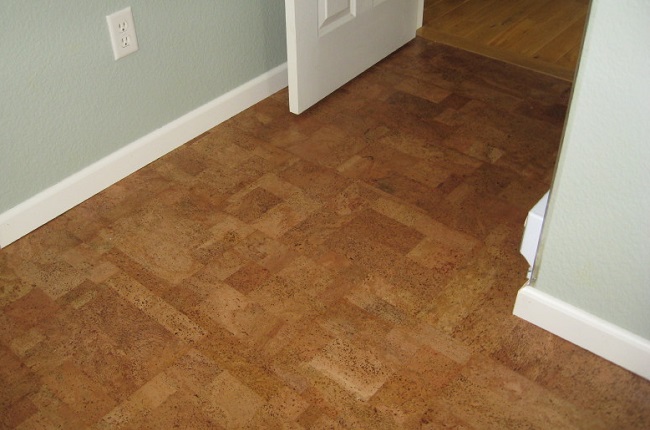
What is cork flooring? Or more precisely, what's cork? Nearly all sixth grade pupils can most likely inform you that cork is their teacher's best buddy with regards to hanging up signs and birthday calendars in the classroom of theirs. Cork flooring is very likely not a thing you would prefer for the living room of yours or maybe dining space, though it may be highly appropriate for use various other rooms in your house.
Images about How To Install Glue Down Cork Flooring
How To Install Glue Down Cork Flooring
Concerns to possess when laying down a cork floor must be the fluid level in that specific room does it flood, and exactly how amount is actually the surface? Almost any unleveled surface is going to need to be rendered before installation and in case you are thinking about placing cork flooring surfaces in a basement where the moisture level is high you might want to reconsider.
Cork Floor Install – How to install a cork glue down floor.
Not only will it have the beauty as well as durability of regular wood flooring products and solutions however, it is also an eco-friendly floor strategies. You are going to want to avoid installing cork as your flooring of choice in areas which are prone to flood or perhaps drainage troubles. These resistant properties generate cork utilizable in just about any area of the home of yours.
How to Install Glue Down Cork Flooring Over Concrete Subfloor in Bathroom and Kitchen
Cork Glue Down Floors u2014 Jelinek Cork Group®

How to Prepare a Cork Flooring SubfloorLearning Center

Advantages Of A Cork Floating Floor Over Glue-Down Cork Tiles

How to Install a Cork Floor – This Old House
/cdn.vox-cdn.com/uploads/chorus_asset/file/19495909/h1006handbook08.jpg)
How To Best Install Cork Glue Down In Your Home – ICork Floor
Wicanders Cork PURE – UNFINISHED Glue Down Cork Flooring in Light
Cork Flooring 101: Cost, Types, u0026 Installation – This Old House
:no_upscale()/cdn.vox-cdn.com/uploads/chorus_asset/file/23088021/0421_NB_All_About_Cork_Floors_Cork_flooring_iStock_950010876.jpg)
How to Install Cork Flooring – (Tips and Guidelines For Your DIY

Cork Flooring Installation: PRO or DIY?Learning Center

Install u0026 Maintenance Guides u2014 Jelinek Cork Group®
Cork Flooring Installation Guide: Essential Things Need to Know

Related Posts:
- Cork Flooring Colors
- Cork Flooring Dining Room
- Light Cork Flooring
- Engineered Cork Flooring
- Cork Flooring In Kitchen
- Cork Flooring Modern
- Cork Flooring White
- Herringbone Cork Flooring
- Outdoor Cork Flooring
- Cork Flooring Bathroom
How To Install Glue Down Cork Flooring
Cork flooring is a natural, sustainable, and attractive option for many homes. It can be installed in a variety of ways, but one of the most popular methods is glue down cork flooring. Glue down cork flooring provides a secure fit that lasts for years and is fairly easy to install. In this article, we’ll explain how to install glue down cork flooring in your home.
Materials Needed for Installation
Before you start the installation process, make sure you have all the necessary materials. You will need cork flooring planks, adhesive, wood glue, a putty knife, a measuring tape, a circular saw or jigsaw, and a hammer. You may also want to rent or purchase a power stapler for added security.
Preparation
Before you start laying the cork planks, prepare the area where you will be installing them. Make sure that the surface is clean and free from debris. If there is any existing flooring, make sure to remove it entirely before you begin. If you are installing over concrete, make sure that it is level and free from cracks or holes.
Cutting The Planks
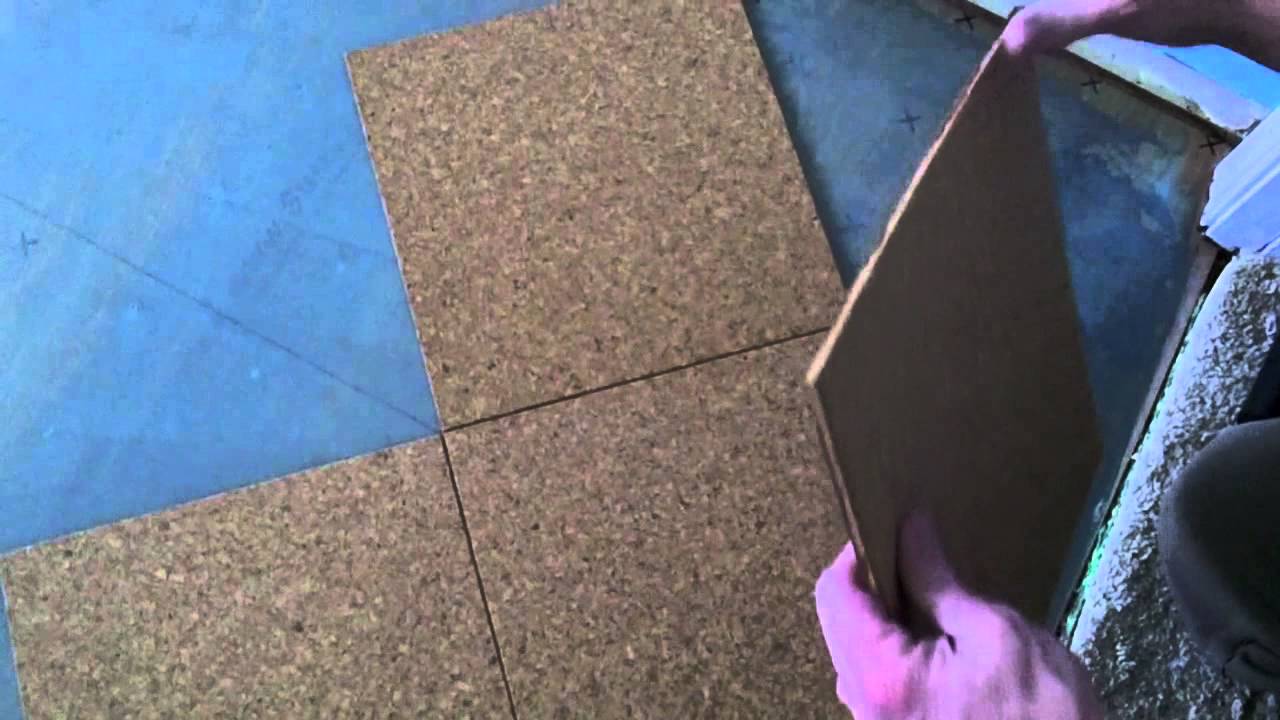
Once the area is prepared, you can begin cutting the cork flooring planks to size. To do this, measure each wall of the room and mark the measurements on each plank with a pencil. Then, use either a circular saw or jigsaw to cut each piece to size. Make sure that all pieces fit snugly together before proceeding to the next step.
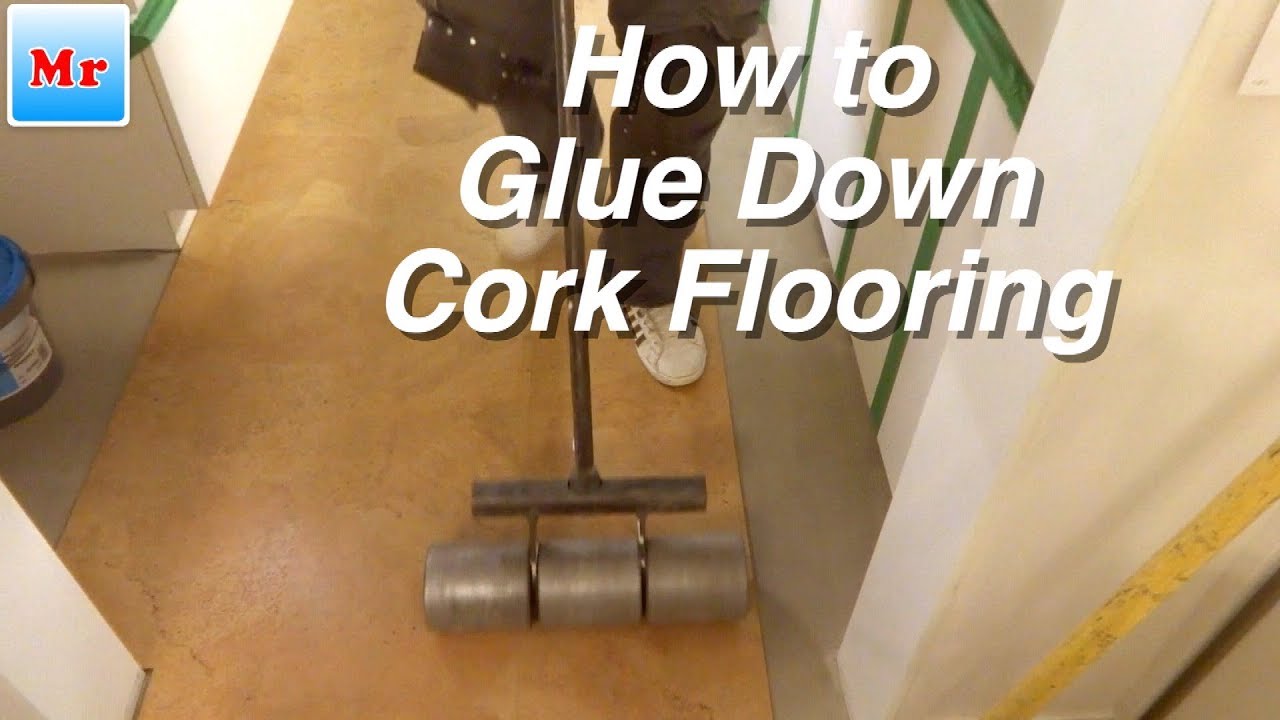
Applying The Adhesive
Now it’s time to apply the adhesive to the subfloor. Use either wood glue or an adhesive specifically designed for cork flooring. Spread a thin layer of adhesive over the entire surface using a putty knife or trowel. Make sure that there are no gaps or air bubbles in the adhesive as this could cause problems later on.
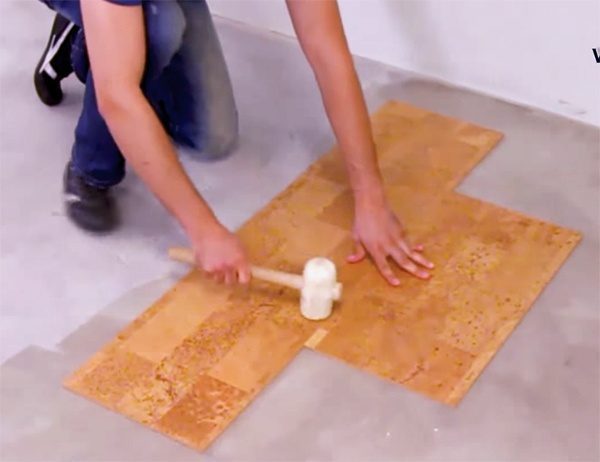
Installing The Planks
Once the adhesive has dried, it’s time to start installing the planks. Begin by laying out each piece of cork flooring in its proper place before securing it with adhesive. Make sure that all pieces fit snugly together and that there are no gaps between them. Use a hammer or power stapler to secure each piece of cork flooring into place and ensure that it is firmly secured to the subfloor.
Finishing Up
Once all of your planks are secured in place, give them one last inspection to make sure they are properly installed and there are no gaps between them. If everything looks good, you can move on to finishing up your project. Apply sealant or finish around the edges of each plank and let it dry completely before walking on it or adding furniture back into the room.
FAQs About Installing Glue Down Cork Flooring
Q: What type of adhesive should I use?
A: This depends largely on what type of subfloor you have in your home. If you are installing over concrete, use an adhesive specifically designed for concrete floors and cork flooring. If you are installing over wood subflooring, use either wood glue or an adhesive specifically designed for cork flooring.
Q: How long does it take for the adhesive to dry?
A: This depends on how thickly you applied it and what type of adhesive you used. Generally speaking, allow at least 24 hours for the adhesive to dry completely before attempting to walk on it or adding furniture back into the room.
Q: Do I need special tools for installation?
A: Not necessarily; however, having certain tools makes installation much easier and more secure. A power stapler is useful for securing each piece of cork flooring firmly into place while a circular saw or jigsaw can help you cut each plank to size before installation begins.