When I moved into my home five years ago, the laminate flooring throughout looked perfect. Fast forward to today, and I’ve dealt with scratches, chips, water damage, gaps, and even a buckled section. Rather than replacing entire rooms of flooring, I learned to repair laminate myself through trial, error, and some surprisingly effective techniques. These repairs have saved me thousands of dollars and taught me that laminate damage isn’t always the disaster it seems. Let me share the practical solutions that actually worked for me.
Fixing Scratches and Surface Damage
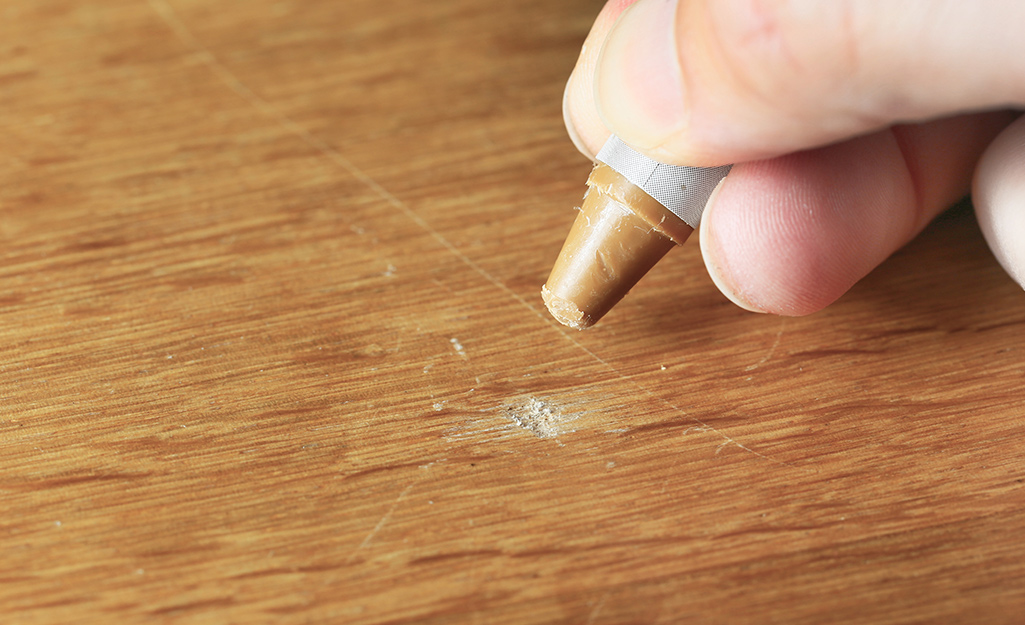
I discovered scratch repair kits at my local hardware store after my dog’s nails left visible marks across my hallway. These kits include colored wax sticks or putty that match common laminate tones. I found my floor’s color match by testing several shades on an inconspicuous area first. The wax fills the scratch, and when buffed with a soft cloth, it blends surprisingly well with the surrounding surface.
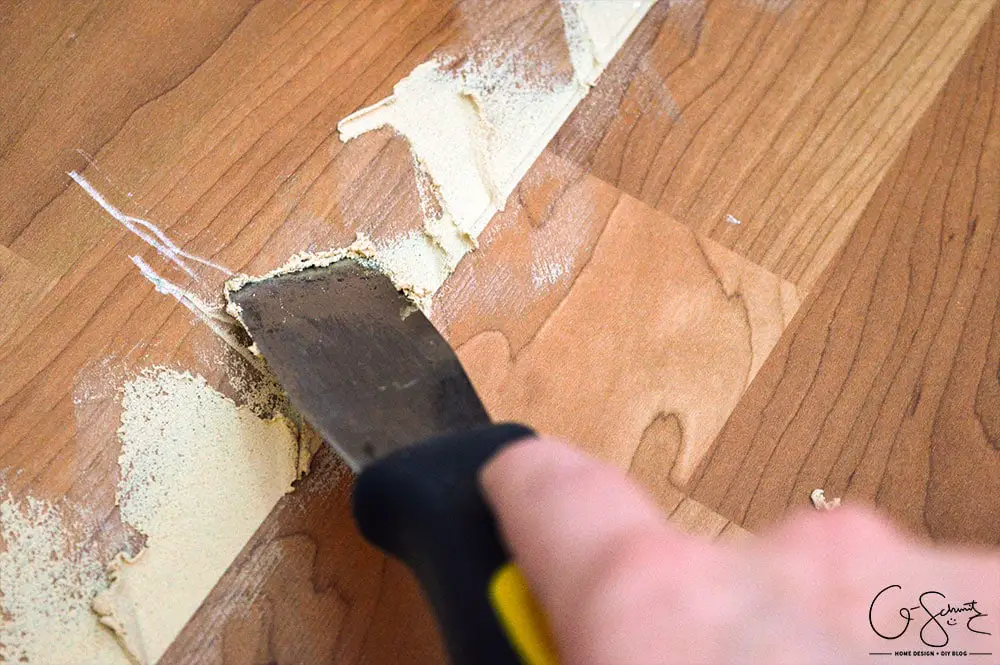
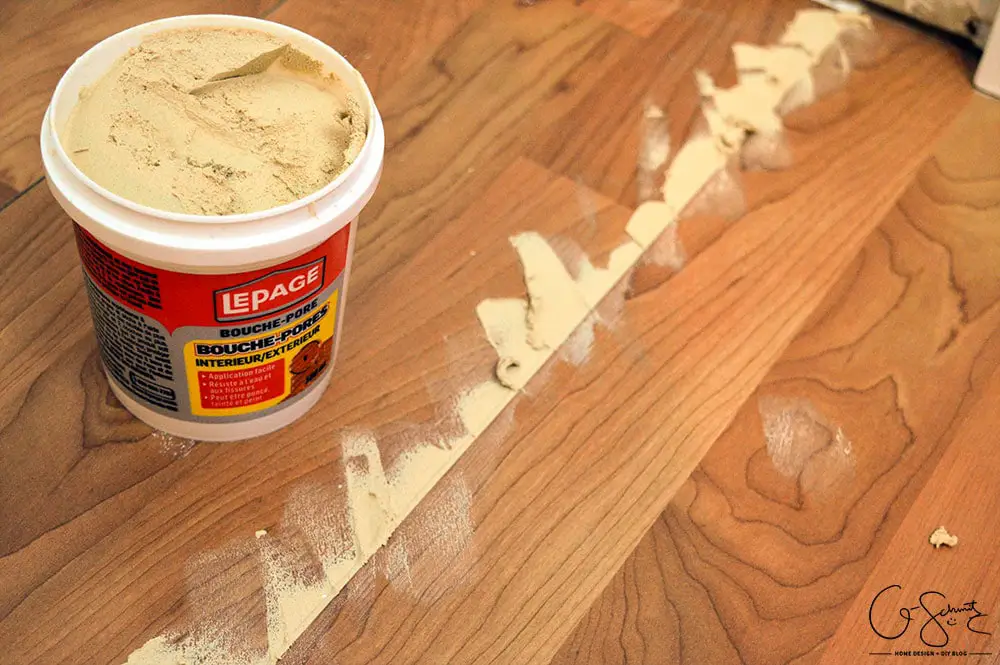
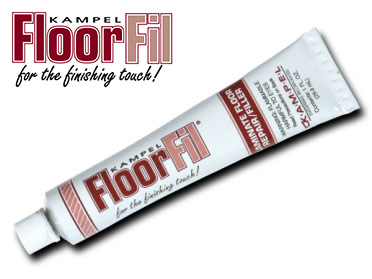
For deeper gouges that wax couldn’t fix, I used a laminate repair paste. This two-part filler comes in various wood tones and hardens to a durable finish. I applied it with a putty knife, slightly overfilling the gouge, then sanded it flush once dried. The key is patience during the drying process, rushing leads to uneven repairs. I finished with a matching stain marker to blend the repair with the floor’s grain pattern.
The most challenging scratch repair involved my kitchen where I’d dragged a heavy appliance, creating a long, deep scrape. For this extensive damage, I combined techniques: filled deep areas with repair paste, used wax for shallower sections, and finished with a laminate floor polish over the entire affected area. The repair isn’t invisible up close, but from normal standing height, you’d never notice. This taught me that perfect invisibility isn’t always achievable or necessary.
Replacing Damaged Individual Planks
When I dropped a cast iron skillet and completely shattered a plank in my kitchen, I learned that replacing individual laminate planks is possible but challenging. The first hurdle was finding matching planks. Fortunately, I’d saved leftover material from the original installation in my attic. If you don’t have extras, you can sometimes source matching planks from the manufacturer or steal a plank from inside a closet to use in visible areas.
The replacement process required cutting out the damaged plank without disturbing adjacent ones. I used a circular saw set to the exact depth of the laminate, carefully cutting the center of the damaged plank. I then used a chisel to pry out the pieces, being extremely careful not to damage the tongue-and-groove edges of surrounding planks. This precision work took over an hour and tested my patience significantly.
Installing the replacement plank required modifying it slightly. I cut off the bottom part of the groove using a utility knife so the plank could drop into place from above rather than sliding in from the side. I applied wood glue to the exposed edges and tongue, positioned the plank carefully, and weighted it down overnight. A small bead of color-matched caulk along the seams disguised the repair. The result looks nearly seamless, proving that individual plank replacement is worth the effort for significant damage.
Addressing Water Damage and Swelling
I learned about water damage the hard way when my dishwasher leaked overnight. By morning, three planks near the dishwasher had swollen and buckled dramatically. My first instinct was panic, but I discovered that catching water damage quickly can sometimes allow partial recovery. I immediately removed standing water, pulled up the affected planks, and set up fans to dry everything thoroughly over 48 hours.
The dried planks had returned to nearly their original size but showed some waviness that made them unusable. I had to replace them entirely using the technique I described earlier. However, I learned that if you catch water damage within a few hours, you can sometimes save the planks by removing them immediately, drying them flat with weighted boards on top, and reinstalling once completely dry. This worked for a smaller spill I dealt with later.
Prevention became my focus after this expensive lesson. I installed water alarm sensors near the dishwasher, washing machine, and under sinks. I also applied silicone caulk along the baseboards in moisture-prone areas, creating an additional barrier. For the kitchen, I used waterproof transition strips where laminate meets tile near the sink. These preventive measures cost under $100 but have protected my laminate from several subsequent water incidents that could have caused serious damage.
Fixing Gaps Between Planks
Gaps between laminate planks appeared in my living room during the first winter when the heat dried out the air. The gaps were small, maybe 1-2 millimeters, but noticeable and annoying. I initially tried to close them by sliding planks together, but floating floors don’t work that way. The gaps were caused by the laminate contracting in low humidity, a natural response that would reverse when humidity increased.
My solution involved addressing the root cause rather than the symptom. I bought a humidifier and maintained indoor humidity between 35-50% during winter months. Within two weeks, the gaps had closed naturally as the laminate absorbed moisture from the air and expanded back to its proper size. This taught me that environmental control is often more effective than physical repairs for gap issues.
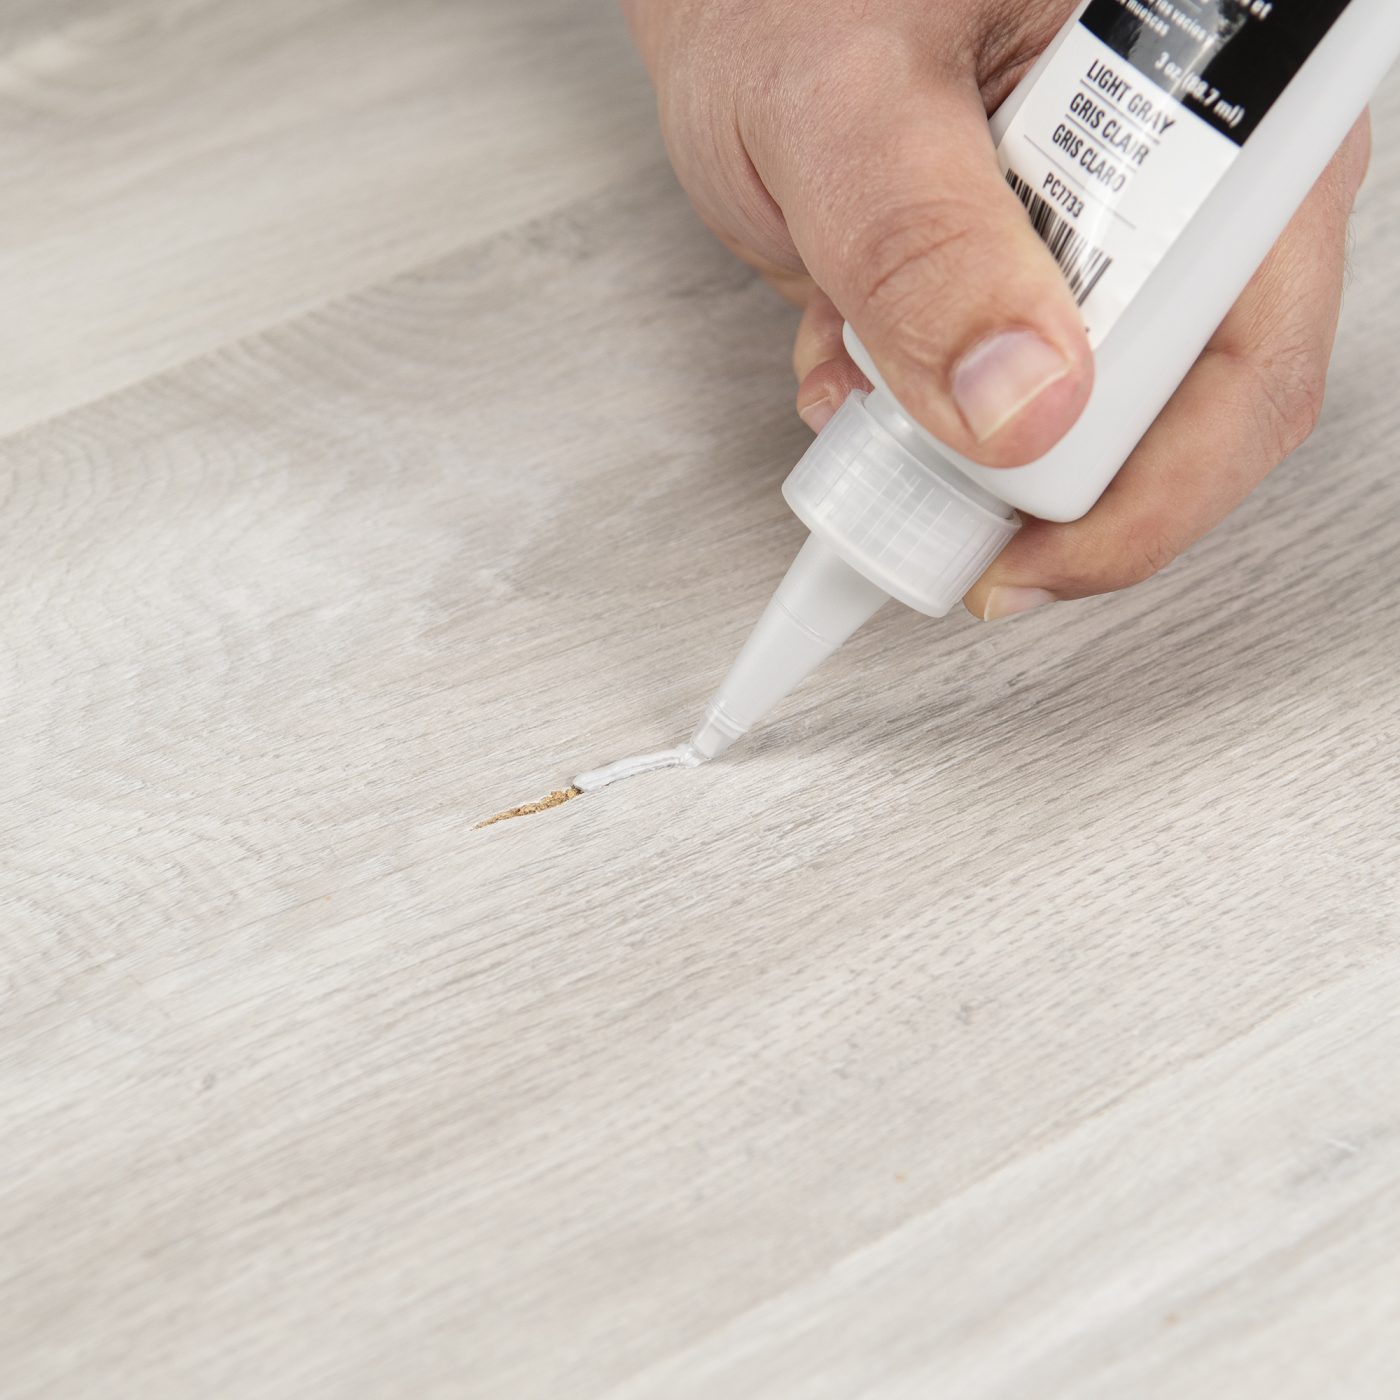
For permanent gaps that didn’t close with humidity adjustment, I used colored latex caulk matched to the floor color. I applied it sparingly with a caulking gun, smoothed it with a damp finger, and wiped away excess immediately. The flexible caulk accommodates minor movement while keeping dirt from accumulating in gaps. I only recommend this for gaps that persist year-round, as temporary seasonal gaps will close on their own and caulk would then look out of place.
Repairing Buckling and Warped Planks
My bedroom developed a buckled area near the window where afternoon sun heated the floor daily. The laminate had expanded from heat but had no room to move because the installer hadn’t left adequate expansion gaps along the walls. The buckled section created a small hill in the floor that was impossible to ignore and genuinely dangerous for tripping.
Fixing this required removing the baseboards and trimming the edges of the laminate to create proper expansion space. I used an oscillating multi-tool to cut about half an inch from the floor’s perimeter, careful not to damage the walls. Once the laminate had room to expand, the buckled area relaxed and flattened within a few days. I reinstalled the baseboards, which covered the enlarged gap, and the problem hasn’t returned.
This experience taught me to check expansion gaps in any room with buckling issues. The gaps should be at least a quarter inch and preferably closer to half an inch around the entire perimeter. If you’re installing laminate, don’t skip the spacers during installation. If you’re troubleshooting existing buckling, checking and enlarging expansion gaps should be your first step before considering more drastic repairs like plank replacement.

Preventive Maintenance to Avoid Future Repairs
After dealing with various repairs, I developed a maintenance routine that has dramatically reduced new damage. I use felt pads under all furniture legs and replace them every six months as they wear down and collect debris. This simple step has eliminated the scuff marks and indentations that used to plague my high-traffic areas. I keep spare pads in a kitchen drawer for easy access.
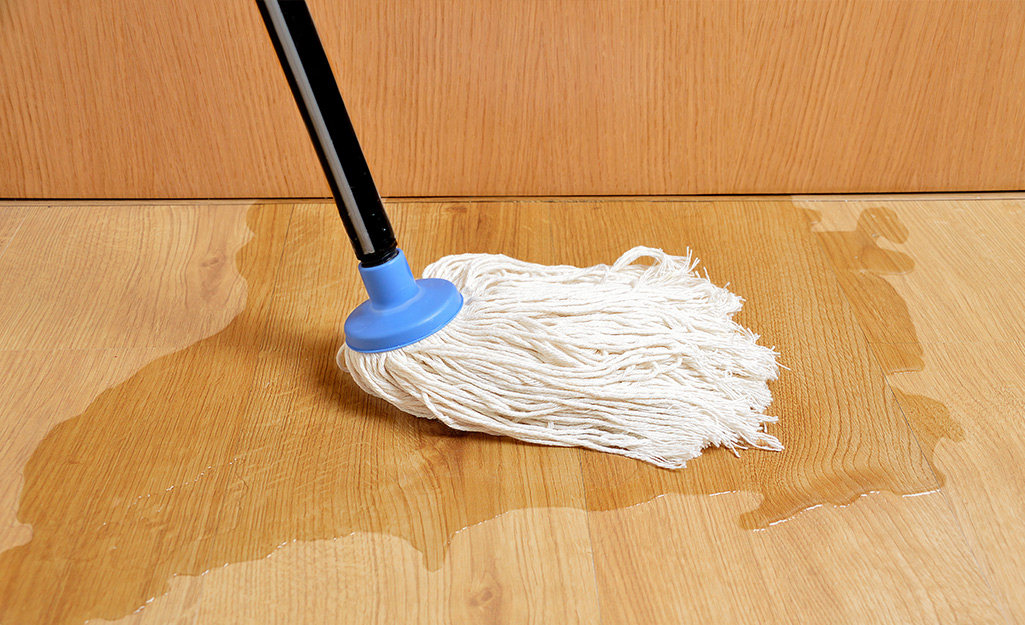
My cleaning routine evolved to protect the laminate rather than just make it look nice. I sweep or vacuum daily to remove abrasive dirt and grit that acts like sandpaper under foot traffic. I use only pH-neutral cleaners specifically designed for laminate, never all-purpose cleaners or anything oil-based that can leave residue. I also keep the mop barely damp rather than wet, wringing it out thoroughly before use.
I learned to address small issues immediately before they become major problems. A tiny chip gets wax treatment the same day rather than waiting until it grows. I trim my dog’s nails regularly to prevent scratches. I use area rugs in high-traffic zones and entry mats at all doors. These preventive measures take minimal time but have reduced my repair needs by at least 80% compared to my first year in the house. Prevention truly is easier than repair with laminate flooring.

Can I refinish laminate flooring like hardwood?
No, laminate cannot be sanded and refinished. The decorative layer is a thin printed photograph under a clear protective layer. Sanding would destroy this image, revealing the brown fiberboard core underneath. When laminate is too damaged for spot repairs, replacement is the only option. This limitation is why I’m so focused on preventive maintenance and quick repair of minor damage.
How much does professional laminate repair typically cost?
Professional plank replacement costs $200-400 per room depending on size and damage extent. Scratch and gouge repairs run $100-150 per visit. I’ve saved thousands doing repairs myself, though I’d hire a pro for extensive damage across multiple rooms. The materials for DIY repairs cost $20-50 for most projects, making it worthwhile to learn these skills.
Can water-damaged laminate be saved?
Sometimes, if caught within a few hours. I’ve successfully dried and reinstalled planks that got briefly wet. However, once swelling and warping occur, replacement is usually necessary. The key is immediate action, remove standing water, pull up affected planks, and dry everything thoroughly. Don’t reinstall until the moisture meter reads normal, typically 48-72 hours.
Will scratch repair kits really make damage invisible?
Not invisible, but much less noticeable. My repairs look great from normal viewing distance but show up close. The wax and putty products work best on minor to moderate scratches. Deep gouges, chips, and extensive damage are trickier, you can improve appearance significantly but perfect restoration is rare. Realistic expectations help, these products minimize rather than eliminate damage visibility.
How do I find matching replacement planks for old laminate?
Check your attic or garage for leftover installation materials first. If none exist, contact the manufacturer with your floor’s model number found on original packaging or warranty documents. Some retailers keep discontinued lines for a few years. As a last resort, you can steal planks from inside closets to use in visible areas. I learned to always save extra flooring.
Is laminate repair worth it or should I just replace?
Repair makes sense for isolated damage in otherwise good flooring. I’ve repaired multiple issues over five years for under $300 total versus $3,000+ to replace all laminate. However, if damage is extensive across multiple rooms or the laminate is generally worn, replacement becomes more practical. Consider the floor’s age, overall condition, and extent of damage when deciding.
Repairing damaged laminate flooring.

3 Ways to Repair Laminate Flooring – wikiHow

Related Posts: