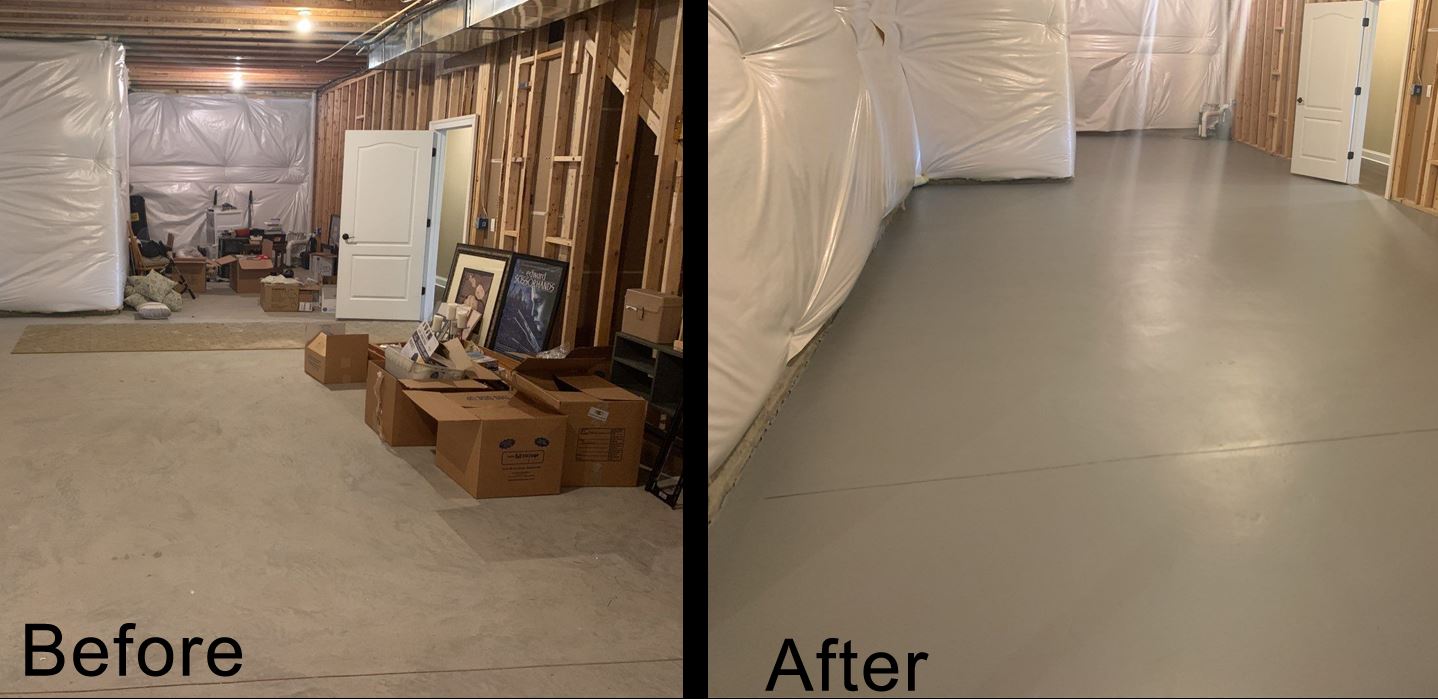
Staring at my dull gray basement floor, I felt overwhelmed by its cold, industrial appearance. The concrete surface looked more like a parking garage than part of my home. After months of avoiding the basement renovation, I finally decided to tackle the floor painting project myself. What started as a weekend task turned into a learning experience that completely transformed my basement into a welcoming space I actually enjoy spending time in.
Choosing the Right Paint for My Basement
Epoxy paint became my first consideration after researching durability options for concrete surfaces. The two-part system promised superior adhesion and resistance to moisture, foot traffic, and potential chemical spills. I learned that epoxy creates a hard, glossy finish that can withstand years of basement use. However, the application process required precise mixing and timing, making it more challenging for beginners like me.
Acrylic latex concrete paint offered a more forgiving alternative that still provided excellent results. This water-based option dried faster, cleaned up easily with soap and water, and emitted fewer fumes during application. I could apply multiple thin coats without worrying about perfect timing or complex mixing ratios. The matte finish looked natural while still protecting the concrete from stains and moisture penetration.
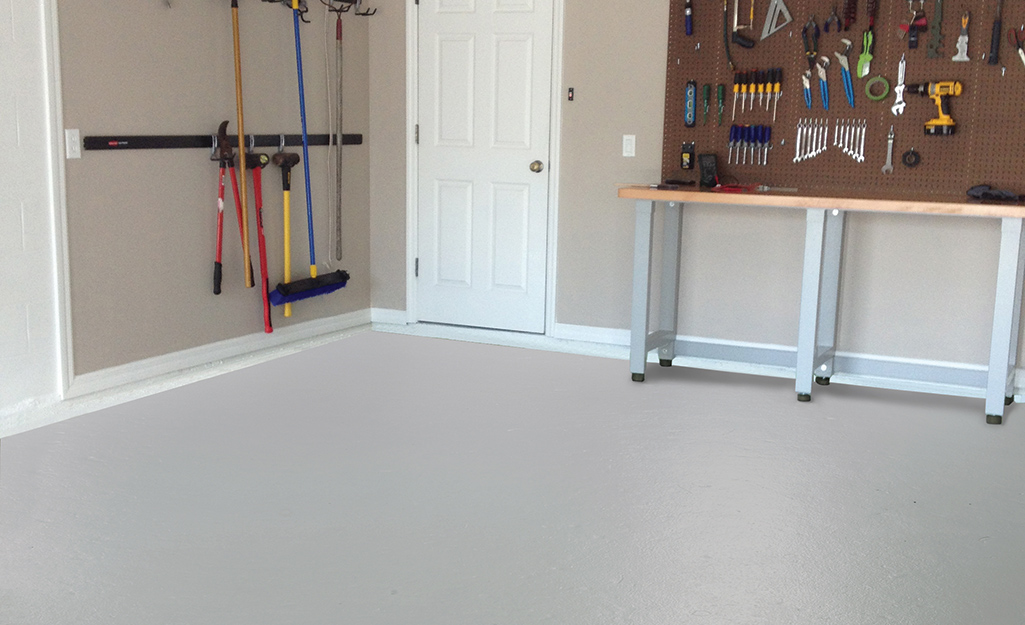
Garage floor paint specifically designed for concrete caught my attention due to its affordability and ease of use. These paints typically include additives for better adhesion and durability on concrete surfaces. Many brands offer anti-slip textures, which seemed perfect for basement stairs and high-traffic areas. The wide color selection allowed me to choose something that matched my basement’s intended purpose and overall home aesthetic.
Surface Preparation Lessons I Learned
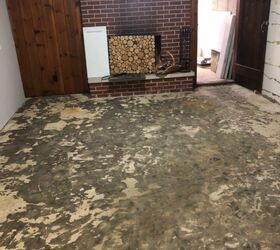
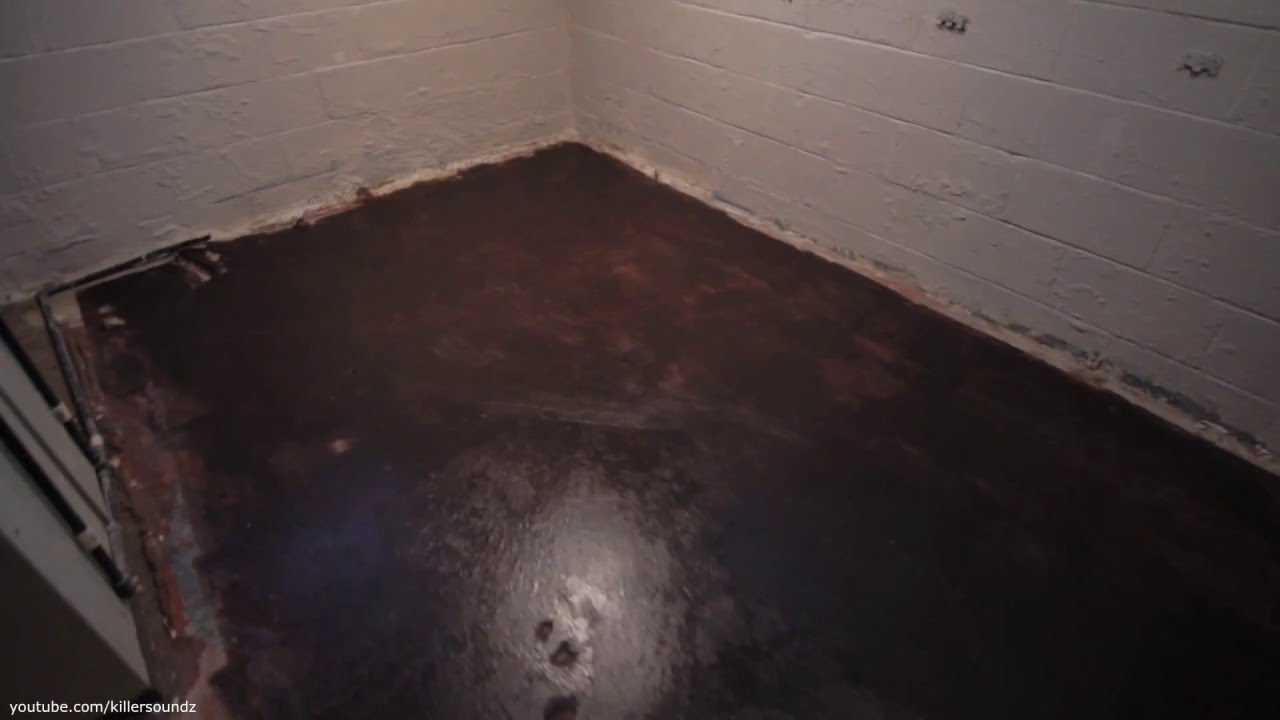
Cleaning became far more intensive than I initially expected for my basement floor project. Years of dust, oil stains, and general grime required multiple cleaning approaches before paint application. I started with a thorough sweeping, followed by degreasing with TSP solution. Stubborn stains needed scrubbing with a stiff brush and additional cleaning cycles. This preparation phase took longer than the actual painting but proved essential for proper paint adhesion.
Etching the concrete surface created the texture necessary for paint bonding. I used muriatic acid solution, following safety protocols with proper ventilation and protective equipment. The acid treatment opened the concrete pores, allowing paint to penetrate and grip the surface effectively. After etching, I neutralized the acid with a baking soda solution and allowed complete drying. This step dramatically improved my paint’s long-term durability and appearance.
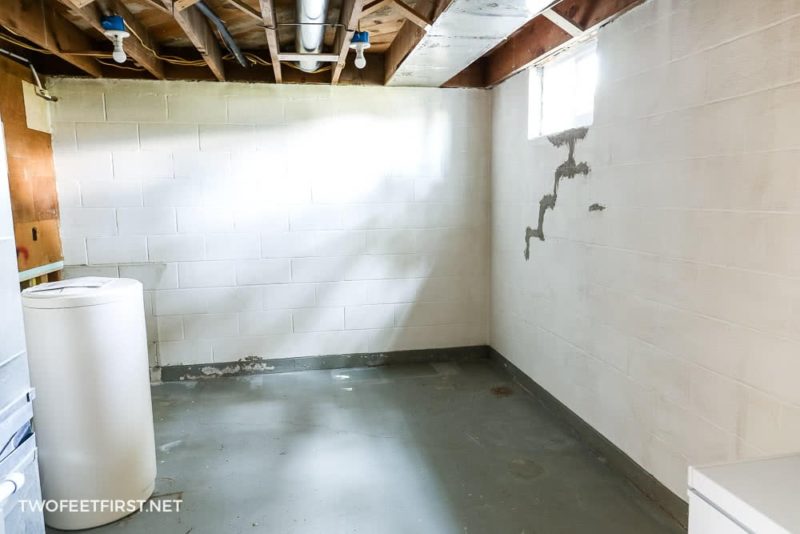
Moisture testing revealed potential problems I hadn’t considered initially. I taped plastic sheets to various floor sections and checked for condensation after 24 hours. Several areas showed moisture issues that required additional drying time and ventilation improvements. Painting over damp concrete would have caused peeling and adhesion failure. Patience during this phase saved me from costly mistakes and future repainting projects.
Tools and Materials That Made the Difference
Roller selection significantly impacted my painting efficiency and final finish quality. I discovered that standard paint rollers left streaks and didn’t distribute paint evenly on textured concrete. Phenolic core rollers with 3/8-inch nap provided optimal coverage and smoothness. High-quality roller covers cost more, but save time and produce professional-looking results. I also kept several covers on hand for quick changes during the painting process.
Brushes for cutting edges and detail work require specific characteristics for concrete painting success. Natural bristle brushes worked poorly with water-based paints, while synthetic bristles maintained their shape and flexibility throughout the project. Angled brushes helped navigate corners and transitions between the floor and walls. I learned to clean brushes frequently to prevent paint buildup that could leave streaks or clumps on the concrete surface.
Paint trays and liners streamlined my workflow while minimizing cleanup time between coats. Deep trays accommodated the thick consistency of concrete paint without spillage. Disposable liners eliminated the need for thorough tray cleaning between color changes or painting sessions. Extension poles for rollers reduced back strain during the large floor area coverage. These simple tools made the physical demands of the project much more manageable.

My Step-by-Step Painting Process
The primer application became the foundation of my successful basement floor transformation. I applied concrete primer with a roller, working in manageable sections to maintain wet edges. The primer soaked into the porous concrete, creating a uniform base for the topcoat. Some areas required two primer coats where the concrete was particularly absorbent. This extra step ensured consistent color coverage and improved the paint’s overall durability and appearance.
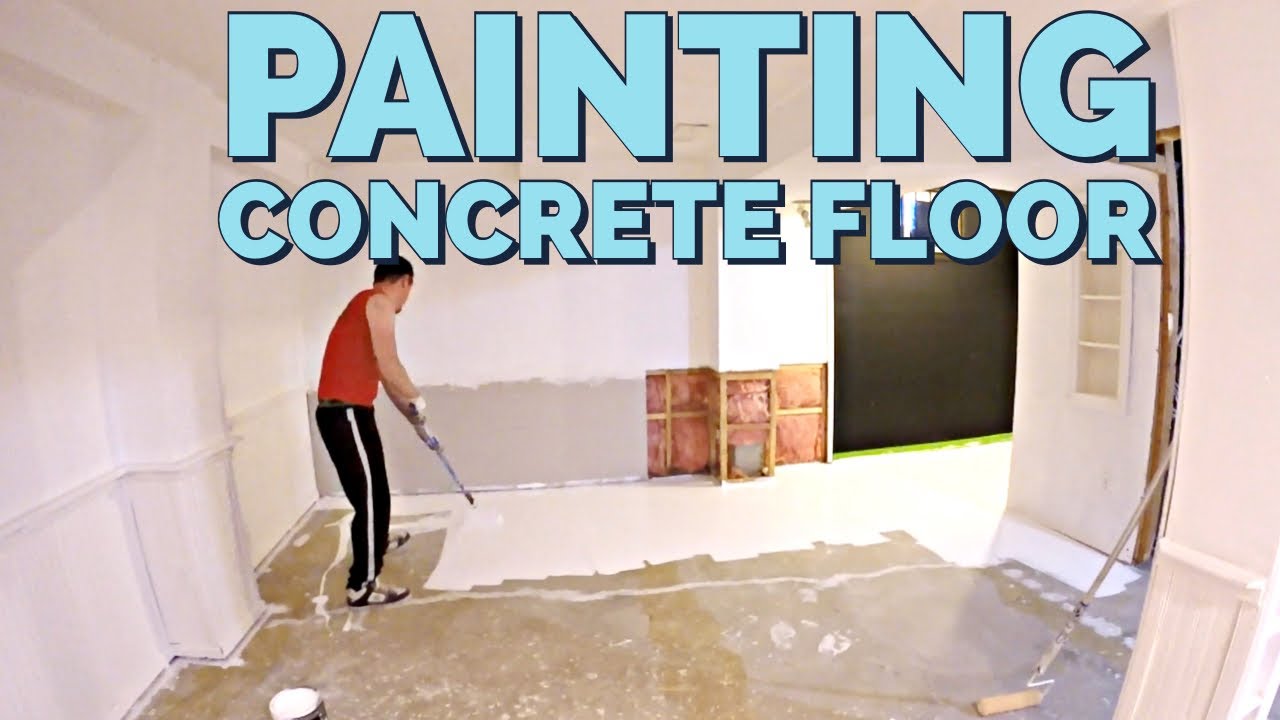
First coat application required patience and attention to detail for optimal results. I started from the farthest corner and worked toward the exit, preventing myself from painting into a corner. Maintaining a wet edge while rolling prevented lap marks and ensured smooth color transitions. The concrete’s texture required slightly more paint than smooth surfaces, so I adjusted my coverage expectations accordingly.
Second coat timing proved critical for achieving the deep, rich color I wanted. I waited for the first coat to dry completely but applied the second coat within the manufacturer’s recommended window. This timing allowed proper chemical bonding between layers while avoiding adhesion problems. The second coat filled any missed spots and created the uniform, professional appearance that made my basement floor look completely transformed.
Common Mistakes I Avoided Through Research
Temperature and humidity control became crucial factors I hadn’t initially considered for basement painting. Concrete paint performs poorly in extreme temperatures or high humidity conditions. I monitored basement conditions and used dehumidifiers when necessary to create optimal painting environments. Rushing the project during unfavorable conditions would have compromised adhesion and finish quality. Weather, patience saved me from costly do-overs and frustrating results.
Thin coat application proved more effective than attempting to cover everything in one thick layer. My initial instinct was to apply heavy coats for faster coverage, but research revealed this approach causes drips, uneven coverage, and longer drying times. Multiple thin coats created better adhesion, smoother appearance, and more durable finish. This technique required more time but produced significantly better results.
Ventilation planning prevented health issues and improved paint curing during my basement project. Even low-VOC paints benefit from air circulation to remove fumes and moisture. I set up fans to create cross-ventilation and opened windows when weather permitted. Proper ventilation also helped paint dry evenly and prevented condensation that could affect the final finish quality. Safety and quality improvements made this planning worthwhile.
Long-Term Results and Maintenance Tips
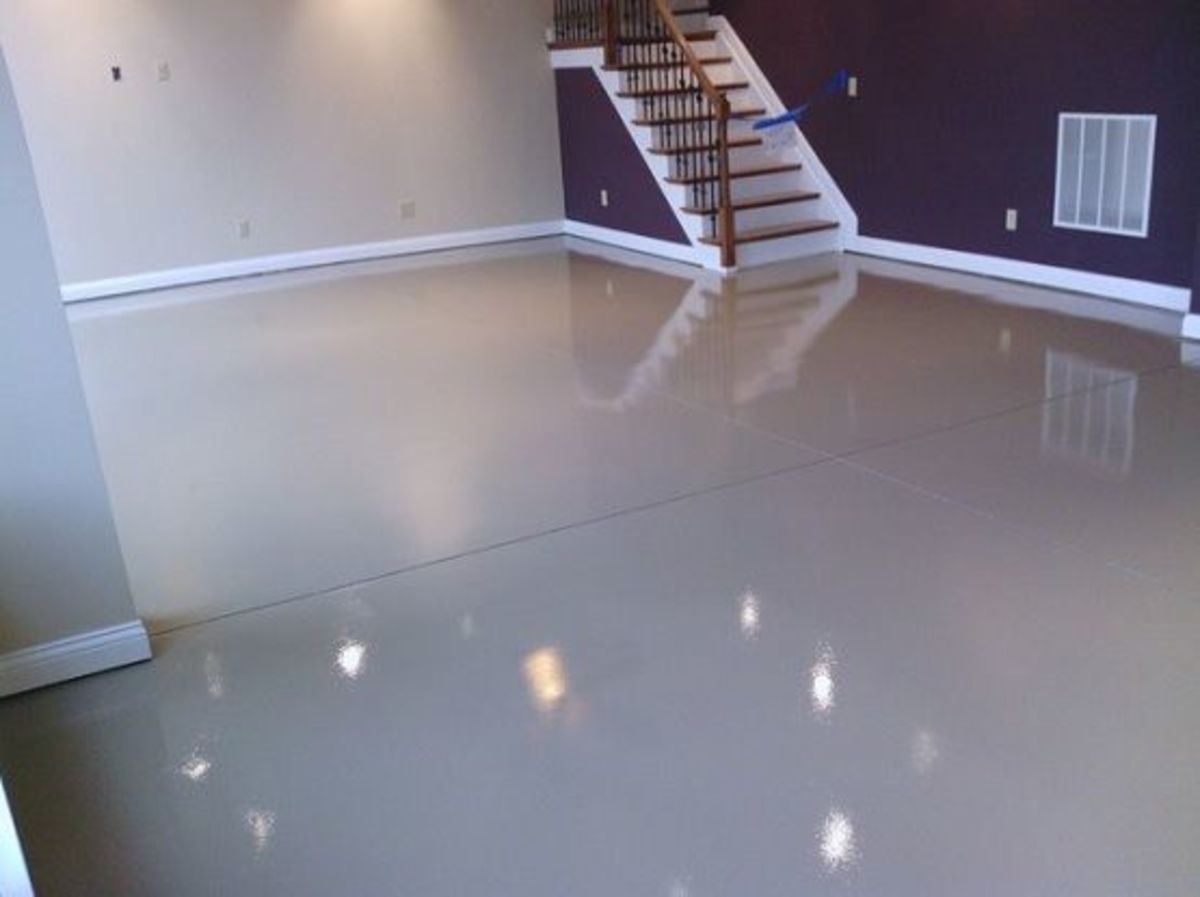
Durability exceeded my expectations after two years of regular basement use. High-traffic areas show minimal wear despite foot traffic, storage activities, and occasional water exposure. The painted surface resists stains from spills and maintains its color consistency throughout different seasons. Regular cleaning with mild detergent keeps the floor looking fresh and prevents dirt buildup that could dull the finish over time.
Maintenance requirements remain minimal compared to bare concrete or other flooring options. Monthly sweeping and occasional mopping with pH-neutral cleaners preserve the paint’s appearance and protective qualities. I avoid harsh chemicals or abrasive cleaning tools that could damage the painted surface. Touch-up paint stored from the original project handles minor scuffs or chips that occasionally occur from moving furniture or equipment.
Future planning includes monitoring for signs of wear or moisture problems that might require attention. I inspect the floor seasonally for any peeling, bubbling, or discoloration that could indicate underlying issues. Small problems addressed quickly prevent larger, more expensive repairs later. My basement floor continues looking great while providing the durable, attractive surface I wanted when starting this DIY transformation project.

How long should I wait before walking on my newly painted basement floor?
Most concrete floor paints allow light foot traffic after 24 hours, but I recommend waiting 48-72 hours for full cure strength. During my project, I avoided walking on the painted surface for two full days to ensure maximum durability. Heavy furniture or equipment should wait at least one week before placement. Temperature and humidity affect curing time, so cooler or more humid conditions may require additional waiting time. Patience during this phase protects your investment and ensures long-lasting results.
Can I paint over old concrete sealer or previous paint on my basement floor?
Painting over existing sealers or paint requires careful evaluation and preparation for successful results. I tested adhesion by applying small paint samples in inconspicuous areas and checking bonding after drying. Most sealers prevent proper paint adhesion and need removal through grinding or chemical stripping. Previous paint in good condition can often accept new paint with proper cleaning and light sanding. Always test compatibility before committing to full floor coverage.

What’s the best way to handle moisture issues before painting my basement floor?
Moisture problems must be resolved before any painting begins to prevent failure and peeling. I used plastic sheet testing to identify problem areas and addressed drainage issues around the foundation. Dehumidifiers help control ambient moisture levels during and after painting. Concrete moisture barriers or specialized moisture-blocking primers provide additional protection in persistently damp areas. Never paint over wet or continuously moist concrete surfaces, as adhesion will fail quickly.
How do I choose the right color for my basement floor painting project?
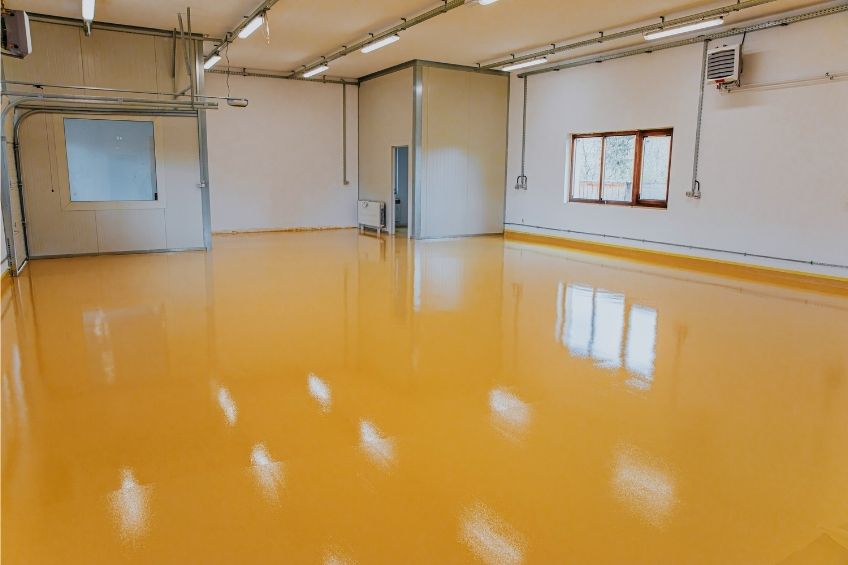
Color selection depends on your basement’s intended use, lighting conditions, and personal preferences. Lighter colors reflect more light and make spaces feel larger, which works well in darker basements. I chose a medium gray that hides dirt while still brightening the space compared to bare concrete. Consider how the floor color will coordinate with walls, furniture, and lighting. Paint samples on different floor areas help visualize the final result before purchasing full quantities.
Is it worth hiring professionals, or can I successfully paint basement floors myself?
DIY basement floor painting is achievable for most homeowners with proper preparation and patience. I saved significant money doing the work myself while gaining valuable experience and satisfaction. The key success factors include thorough surface preparation, quality materials, and following manufacturer’s instructions carefully. Professional services make sense for very large areas, complex surface conditions, or when time constraints prevent proper DIY execution. Evaluate your skills, available time, and budget priorities.
How often will I need to repaint my basement concrete floor?
Properly applied concrete floor paint typically lasts 5-10 years, depending on traffic levels and maintenance quality. My basement floor still looks excellent after two years with only routine cleaning and minor touch-ups. High-traffic areas may show wear sooner than storage or utility areas. Regular maintenance, prompt spill cleanup, and avoiding harsh chemicals extend paint life significantly. Quality paint and thorough surface preparation during initial application provide the best longevity for your investment.
Concrete Floor Painting for Basement Floors in Tysons, VA – Tysons
Painting my Concrete Basement Floor
How to paint a concrete floor in a basement TwoFeetFirst
Nothing But Paint! Laundry Room Makeover: Painted Concrete Floors

Best Basement Cement Floor Paints – Our Complete Guide
Related Posts: