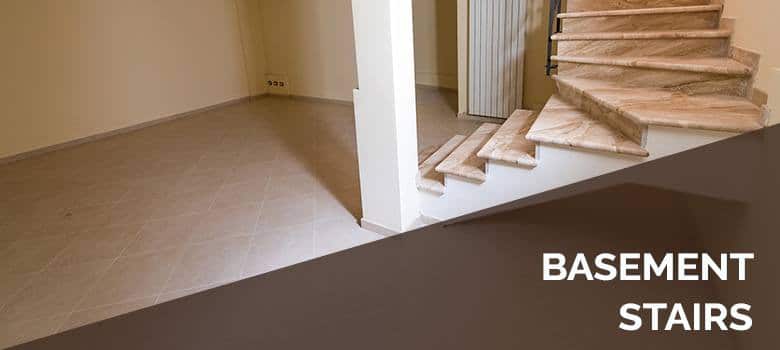
When I inherited my 1970s home three years ago, the basement stairs were honestly terrifying. The bare wooden treads were worn smooth from decades of use, creating a slip hazard that made every trip to the laundry room an adventure I didn’t want. After my mother-in-law took a tumble while helping with holiday decorations, I knew something had to change immediately. I spent months researching flooring solutions that would prioritize safety while still looking good, since these stairs are visible from my main living area. The transformation I achieved not only made my stairs infinitely safer but actually turned them into an attractive feature of my home.
Luxury Vinyl Plank: My Game-Changing Safety Solution
I’ll be honest, luxury vinyl plank wasn’t my first choice aesthetically, but it quickly became my top pick for practical reasons. The textured surface provides incredible grip, even when my kids run up and down with wet feet from the basement bathroom. I chose a rustic oak pattern that complements my main floor hardwood while offering the slip resistance I desperately needed. The installation was surprisingly straightforward, though I did learn some important lessons about measuring and cutting angles.
The key to success with vinyl plank on stairs is getting precise measurements for each tread and riser. I discovered that my stairs weren’t perfectly uniform, something common in older homes. Each step required individual templating, which I did using cardboard first. The vinyl cuts cleanly with a utility knife, but I invested in a proper vinyl cutting tool that made the job much easier. For the rounded nose edge, I used flexible vinyl stair nosing that bends around the curve beautifully.
What impressed me most was how much warmer the stairs feel underfoot compared to the bare wood. My basement stays cool year-round, but the vinyl doesn’t conduct cold the way the old wood did. The cushioned backing also makes the stairs quieter, which my teenagers appreciate when they’re sneaking snacks from the basement fridge late at night. After two years, the high-traffic areas still look perfect, and cleaning is as simple as a quick vacuum and occasional damp mop.
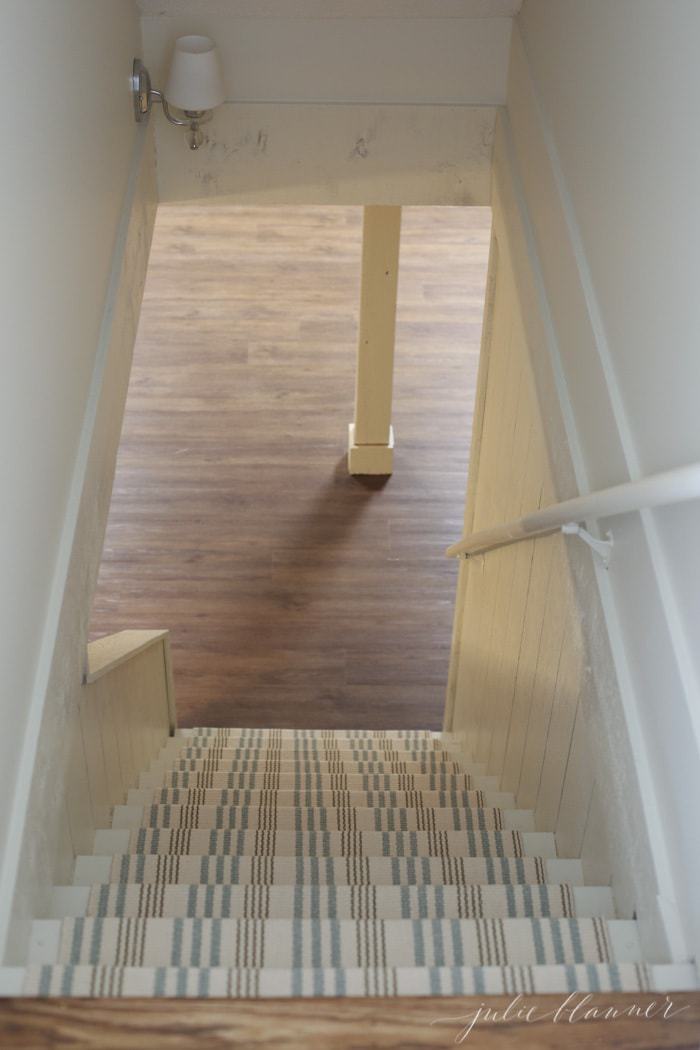
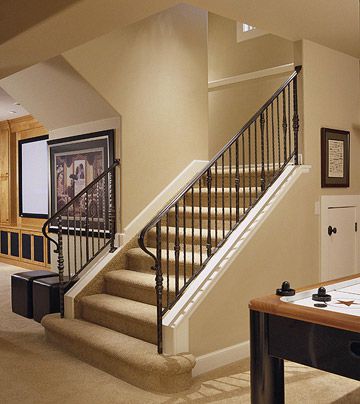
Carpet Runners: Comfort Meets Traditional Style
Before settling on vinyl, I seriously considered carpet runners, and I actually installed them on my upstairs staircase with great success. For basement stairs, the biggest challenge is moisture resistance, but I found several synthetic options designed specifically for below-grade installations. The key is choosing carpet with rubber backing and moisture-wicking fibers that won’t develop mold or mildew issues in the humid basement environment.
I experimented with removable carpet treads first, individual pieces that attach to each step with adhesive backing. These worked well for testing the concept and were easy to replace if they got damaged. However, I found that a continuous runner looked more polished and was actually easier to maintain. The installation required careful measuring and strategic placement to ensure even coverage across all steps while maintaining proper safety clearances.
The comfort factor of carpet runners cannot be overstated. Going up and down the basement stairs multiple times daily while doing laundry, the cushioning made a noticeable difference in foot fatigue. I chose a low-pile option in a dark color that hides dirt well, and the pattern I selected actually helps mask the individual step edges, creating a more cohesive look. The sound absorption was another unexpected benefit, making the basement feel less echo-prone and more welcoming.

Rubber Stair Treads: Industrial Strength for Active Families
When my brother suggested rubber stair treads, I initially dismissed the idea as too institutional-looking. However, after visiting a local commercial flooring supplier, I discovered rubber options that looked surprisingly attractive while providing unmatched safety features. The textured surfaces and beveled edges create excellent traction, and the durability is incredible. I installed them on my workshop area stairs, where I frequently carry tools and materials.
The installation process was simpler than any other option I tried. Most rubber treads come with peel-and-stick backing, though I used additional construction adhesive for extra security. The key is thorough surface preparation. I spent considerable time cleaning and slightly roughening the existing wood to ensure proper adhesion. Each tread covers the full width of the step with precise measurements, and cutting them to size requires only a sharp utility knife and a straight edge.
Living with rubber treads has been surprisingly pleasant. They’re virtually maintenance-free, requiring only occasional sweeping and mopping with mild detergent. The non-slip surface works perfectly even when wet, which matters in my basement where humidity can create condensation issues. I was concerned about the industrial appearance, but the treads I chose have a subtle texture pattern that looks intentional and professional. My kids love them because they can safely run up and down without the slipping concerns we had with bare wood.

Painted Plywood with Anti-Slip Additives: Budget-Friendly Customization
Sometimes the best solutions are the simplest ones. When I renovated my utility room stairs, I decided to try a painted plywood approach with anti-slip additives mixed directly into the paint. This method costs less than fifty dollars for the entire staircase and allows me to customize the color exactly to my preferences. I used marine-grade plywood for the treads and high-quality exterior paint with sand additives for texture and grip.
The preparation work was crucial for this approach. I had to carefully measure and cut each tread to fit perfectly, then sand all surfaces smooth before painting. I applied a primer coat first, then two coats of paint with the anti-slip additive mixed in according to the manufacturer’s instructions. The texture created by the sand additive provides excellent traction while still looking clean and intentional. I chose a medium gray color that hides scuffs and dirt well.
The results exceeded my expectations both in appearance and functionality. The painted surface is easy to clean with standard household cleaners, and the anti-slip texture provides confident footing even when carrying laundry baskets or storage boxes. I’ve touched up a few high-wear spots over the past year, but overall maintenance is minimal. This approach works particularly well if you want to match existing color schemes or create a custom look that coordinates with your basement’s overall design.

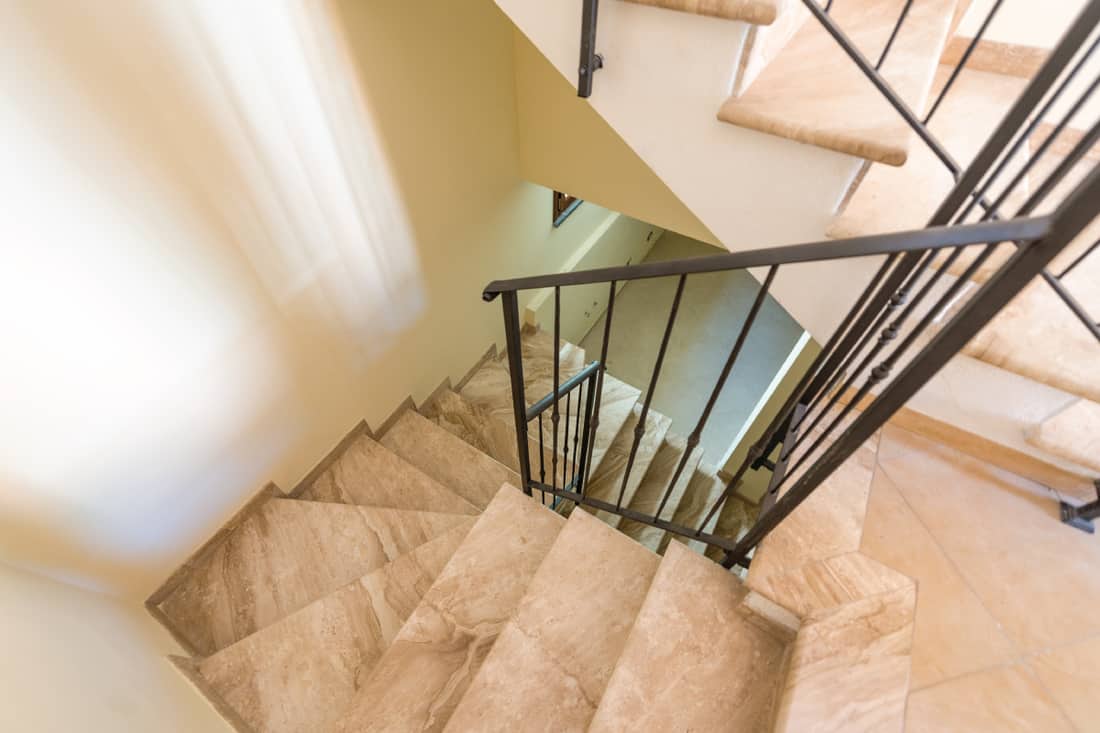
Ceramic Tile: Permanent Solution for Wet Areas
For the stairs leading to my basement bathroom and utility sink area, I chose ceramic tile because of frequent water exposure. The installation was more complex than other options, requiring proper waterproofing and precise cuts, but the long-term durability made it worthwhile. I selected textured porcelain tiles specifically designed for wet areas, with excellent slip resistance ratings even when wet.
The biggest challenge was creating proper step nosing with tile. I used specially designed stair nosing pieces that match the tile, creating a finished edge that’s both attractive and safe. The grout lines required careful sealing to prevent moisture penetration, and I use an annual grout sealer to maintain water resistance. I chose a dark grout color that doesn’t show dirt or stains, making maintenance much easier.
The ceramic stairs have been absolutely maintenance-free for three years now. I can clean them with any household cleaner, and they show no signs of wear despite heavy use. The textured surface provides excellent grip, and the water resistance means I never worry about spills or splashes from the nearby utility sink. While this was the most expensive option I tried, the permanent nature and zero maintenance requirements make it cost-effective long-term.
Wood Stain and Polyurethane: Restoring Original Beauty
Before exploring other options, I attempted to restore my original wooden stairs using stain and multiple coats of polyurethane with anti-slip additives. This approach works well if your existing stairs are in good structural condition and you prefer a traditional wood appearance. The process is time-consuming but can produce beautiful results that complement hardwood floors elsewhere in your home.
The key to success with this method is thorough surface preparation. I had to sand away decades of wear and previous finishes, then apply wood conditioner before staining. I used a rich walnut stain that matched my main floor hardwood, then applied three coats of polyurethane with fine sand mixed in for texture. Each coat required light sanding between applications, making this a multi-week project with proper drying time.
The finished stairs looked fantastic and felt much safer with the textured polyurethane surface. However, I discovered that high-traffic stairs require more maintenance than I anticipated. The polyurethane began showing wear after about eighteen months, particularly on the step edges. While touch-ups are possible, they’re time-consuming and difficult to blend seamlessly. This approach works best for stairs that receive moderate rather than heavy daily use.

What’s the most slip-resistant option for basement stairs with kids?
In my experience, rubber stair treads provide the best traction, even when wet. The textured surface works perfectly for active families. Luxury vinyl with deep texture patterns comes in second. I’ve tested both with wet feet and carrying laundry, rubber wins hands-down for pure safety, though vinyl looks more attractive.
How do I handle moisture issues with basement stair flooring?
Choose materials designed for below-grade installation. I’ve had success with vinyl, rubber, and properly sealed ceramic. Avoid natural materials like wood or natural fiber carpets unless your basement has excellent moisture control. Always address humidity issues before installing any flooring; proper ventilation is crucial.
What’s the most budget-friendly stair flooring solution that still looks good?
Painted plywood with anti-slip additives cost me under $50 for a full staircase. It looks surprisingly professional when done carefully and provides excellent safety. Removable carpet treads are another affordable option, around $8-12 per step, and easy to replace individually if damaged.
How difficult is DIY installation for different stair flooring options?
Rubber treads are easiest, just peel and stick with some additional adhesive. Vinyl planks require precise measuring and cutting, but aren’t too challenging. Carpet runners need careful measuring and stretching techniques. Ceramic tile is the most difficult, requiring waterproofing and precise cuts. Start with simpler options.
Which option requires the least long-term maintenance?
Ceramic tile wins for zero maintenance once properly installed, followed closely by rubber treads that just need occasional cleaning. Vinyl planks are very low-maintenance. Painted surfaces and polyurethane finishes need periodic touch-ups. Carpet requires regular cleaning and eventual replacement.
Can I mix different materials on the same staircase?
Absolutely. I used rubber treads on workshop stairs and vinyl on main basement stairs. Just ensure transitions look intentional and safety features remain consistent. Some people use different materials for treads versus risers. Keep the safety level consistent throughout; don’t mix high-grip and low-grip surfaces.
Laminate stairs ideas stairs, laminate stairs, house stairs

Revamp Your Staircase: 5 Best Flooring Options for Stairs

Basement stair ideas: 10 inspirational design solutions Homes
Basement Stairs: Best flooring choices for steps – The Flooring Girl

DIY Basement Stair Ideas To Make For Everyone – The Newlywed

Pin on For the Home

Related Posts: