When I first considered cork flooring for my home renovation, I wasn’t sure what to expect. After months of research and hands-on installation experience, I can confidently say that cork flooring transformed both my living space and my perspective on sustainable home improvement. This natural material offers incredible comfort underfoot while providing excellent insulation properties that have noticeably reduced my energy bills.
Understanding Cork Flooring Benefits
I discovered that cork flooring possesses remarkable antimicrobial properties that naturally resist mold, mildew, and bacteria. This feature particularly impressed me during installation in my kitchen and bathroom areas. The material’s cellular structure creates millions of tiny air pockets that provide exceptional cushioning, making long periods of standing far more comfortable than traditional hardwood or tile surfaces.
The acoustic benefits became apparent immediately after installation. My upstairs neighbors stopped complaining about footstep noise, and I noticed significantly reduced sound transmission between rooms. Cork’s natural sound-dampening qualities create a quieter, more peaceful living environment that I hadn’t anticipated when I first chose this material for my floors.
Cork’s thermal insulation properties surprised me most during my first winter with the new flooring. My heating bills decreased by approximately 15%, and the floors felt noticeably warmer against bare feet compared to the previous laminate flooring. This natural insulation helps maintain consistent room temperatures throughout seasonal changes.
Choosing the Right Cork Flooring Type
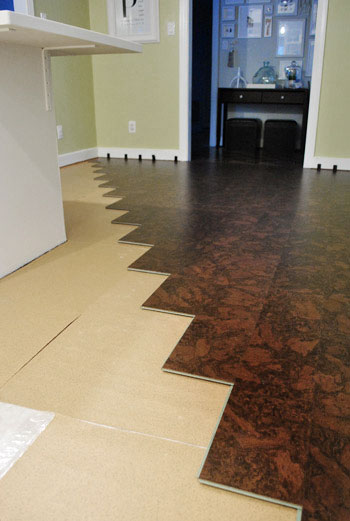
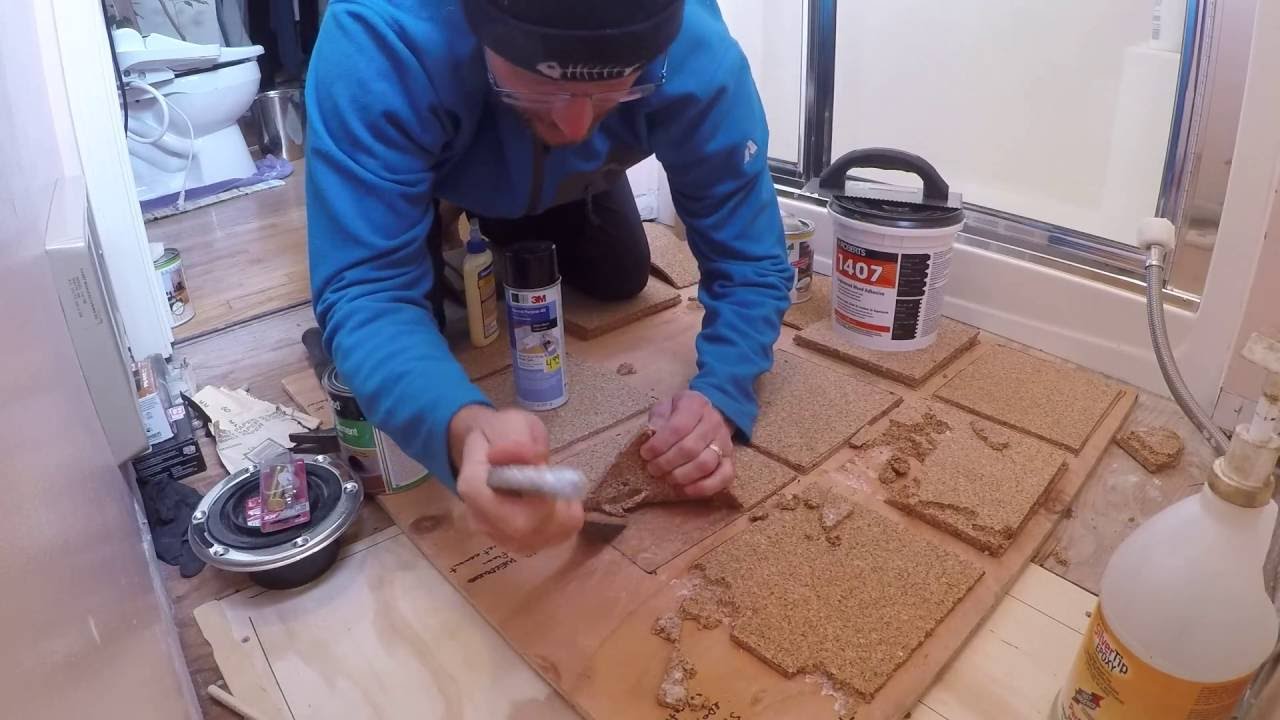
I spent considerable time comparing floating cork planks versus glue-down tiles before making my selection. Floating planks offered easier installation for beginners like myself, while glue-down options provided superior stability in high-moisture areas. After consulting with several flooring specialists, I chose floating planks for main living areas and reserved glue-down tiles for bathroom installation.
Thickness variations significantly impact both comfort and durability. I selected 12mm planks for high-traffic areas and 8mm options for bedrooms where foot traffic remains minimal. The thicker planks provided better sound insulation and felt more substantial underfoot, justifying the additional cost for frequently used spaces in my home.
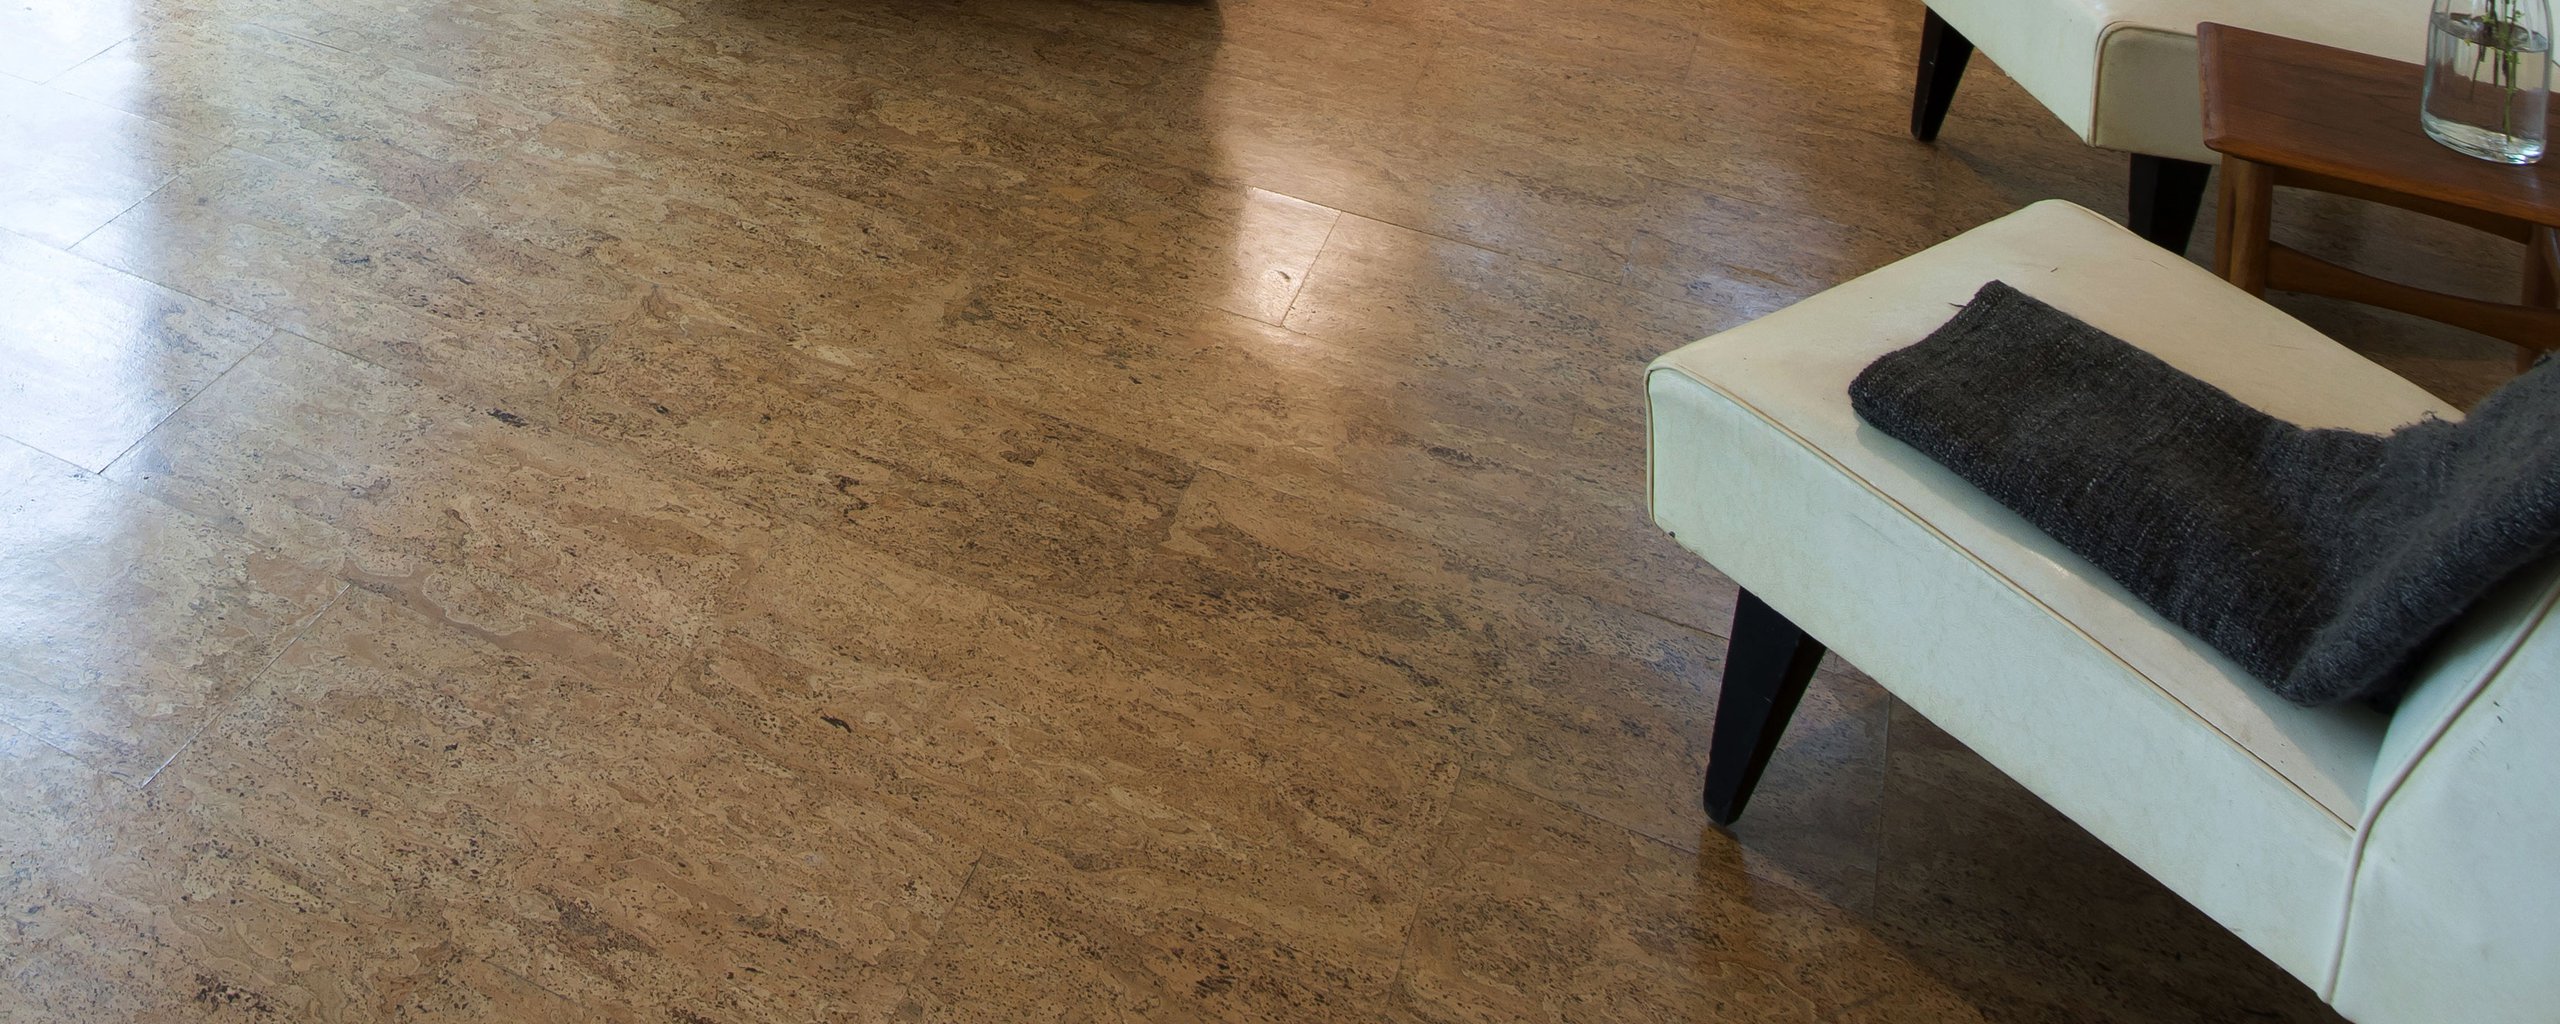
Finish options range from natural cork appearance to various stained colors and patterns. I preferred maintaining the natural cork look in most rooms but chose darker stained planks for my home office to create visual contrast. The finishing process affects both appearance and maintenance requirements, so I carefully considered long-term care implications.

Essential Tools and Materials Needed
My tool collection grew significantly during this project. Essential items included a miter saw for precise cuts, a pneumatic nailer for secure installation, and a moisture meter to verify subfloor conditions. I also invested in knee pads, safety glasses, and a quality measuring tape to ensure accurate measurements throughout the installation process.
Material calculations proved more complex than anticipated. Beyond the cork planks themselves, I needed underlayment for moisture protection, transition strips for doorways, and quarter-round molding for finishing touches. I purchased approximately 10% extra material to account for cutting waste and potential future repairs or replacements.
Specialized adhesives became necessary for glue-down installations in moisture-prone areas. I researched various adhesive types and selected moisture-resistant options specifically designed for cork flooring applications. Quality adhesives cost more initially but provide superior long-term performance and reduce the likelihood of future installation problems.

Step-by-Step Installation Process
Subfloor preparation consumed more time than the actual cork installation. I meticulously checked for squeaks, loose boards, and moisture issues before beginning. Leveling compound addressed minor imperfections, and I allowed adequate drying time before proceeding. Proper preparation prevents future problems and ensures professional-looking results that justify the effort invested.
I started installation in the longest, most visible wall and worked systematically across each room. Maintaining consistent expansion gaps around perimeters proved crucial for preventing buckling during seasonal humidity changes. I used spacers throughout the process and checked measurements frequently to ensure straight, parallel rows that create visually appealing patterns.
Cutting cork planks required patience and sharp blades to prevent chipping or splintering. I marked each cut carefully and used painter’s tape along cut lines to minimize damage. Complex cuts around obstacles like heating vents and doorframes demanded extra attention, but careful measuring and gradual trimming produced professional-quality results.
Common Installation Challenges and Solutions
Moisture-related issues presented my biggest installation challenge. I discovered minor subfloor moisture problems that required additional ventilation and moisture barrier installation before proceeding. Ignoring moisture concerns leads to cork expansion, warping, and potential mold growth that can ruin entire installations and create expensive repair situations.
Uneven subfloors created gaps and instability in several areas. I learned to identify problem spots early and address them with leveling compound or strategic shimming. Taking time to correct subfloor imperfections during preparation saves significant frustration and prevents future maintenance problems that compromise installation quality.
Temperature and humidity fluctuations during installation caused temporary expansion and contraction that initially concerned me. I learned to work within optimal environmental conditions and allow materials to acclimate properly before beginning each day’s work. Patience during this process prevents long-term problems and ensures stable, durable installations.
Maintenance and Long-Term Care Tips
Daily maintenance requires only simple sweeping or vacuuming to remove dirt and debris that might scratch the surface. I use microfiber mops with pH-neutral cleaners for weekly cleaning, avoiding harsh chemicals that can damage cork’s natural protective finish. This gentle approach maintains the flooring’s appearance while preserving its natural antimicrobial properties.
Periodic resealing protects cork from moisture and wear, extending its lifespan significantly. I apply polyurethane sealant every three to five years, depending on traffic levels and wear patterns. This preventive maintenance costs relatively little but provides substantial protection against damage that would require costly repairs or replacement.
I address spills immediately to prevent staining or moisture penetration. Cork’s natural resistance to moisture provides some protection, but prompt cleanup prevents permanent damage. I keep appropriate cleaning supplies readily available and maintain consistent cleaning routines that preserve my investment in this beautiful, sustainable flooring option.

How long does cork flooring typically last with proper maintenance?
My research and experience suggest that quality cork flooring can last 20-30 years with proper care. The key factors include regular cleaning, prompt spill cleanup, periodic resealing, and avoiding excessive moisture exposure. I’ve seen older cork installations that remain beautiful and functional after decades of use. The longevity depends heavily on traffic levels, maintenance consistency, and initial installation quality. Proper subfloor preparation and environmental control significantly extend cork flooring’s lifespan.
Can I install cork flooring over existing hardwood or tile?
I successfully installed cork over existing hardwood in several rooms after ensuring the surface was level, clean, and structurally sound. However, I removed the old tile because the grout lines created an uneven surface that would have compromised the installation. The existing floor must be firmly attached, level within 1/4 inch over 10 feet, and free from moisture issues. Proper underlayment becomes essential when installing over existing flooring materials.
What’s the cost difference between DIY installation and professional installation?
I saved approximately 60% on installation costs by doing the work myself, though the project took longer than professional installation would have required. Professional installation typically costs $3-8 per square foot, while DIY materials and tools cost me about $2-4 per square foot including tool purchases. The time investment was substantial, requiring several weekends for my 800-square-foot project. Factor in your skill level, available time, and tool costs when deciding.
How does cork flooring perform in high-moisture areas like bathrooms?
I installed special moisture-resistant cork tiles in my bathroom using appropriate adhesives and sealants. Cork naturally resists moisture better than hardwood, but proper installation techniques become crucial in wet areas. I used glue-down installation rather than floating planks, applied extra sealant coats, and ensured proper ventilation. The performance has been excellent over two years, with no signs of warping, mold, or other moisture-related problems.

What should I do if cork planks get damaged or stained?
Individual damaged planks can often be replaced without affecting surrounding flooring, especially with floating installations. I keep extra planks for future repairs and have successfully replaced two damaged pieces without professional help. For stains, gentle sanding followed by spot finishing usually restores the original appearance. Deep gouges or extensive damage might require professional repair, but cork’s natural resilience prevents most common household damage from becoming permanent problems.
Is cork flooring suitable for homes with pets and children?
Cork’s natural antimicrobial properties and soft surface make it excellent for families with children and pets. I have both cats and dogs, and the flooring shows minimal wear despite constant pet traffic. The cushioned surface reduces fatigue during extended play sessions and provides safer landings for active children. However, pet accidents require immediate cleanup to prevent odor absorption. I found that cork handles normal pet and child activities better than most traditional flooring materials.
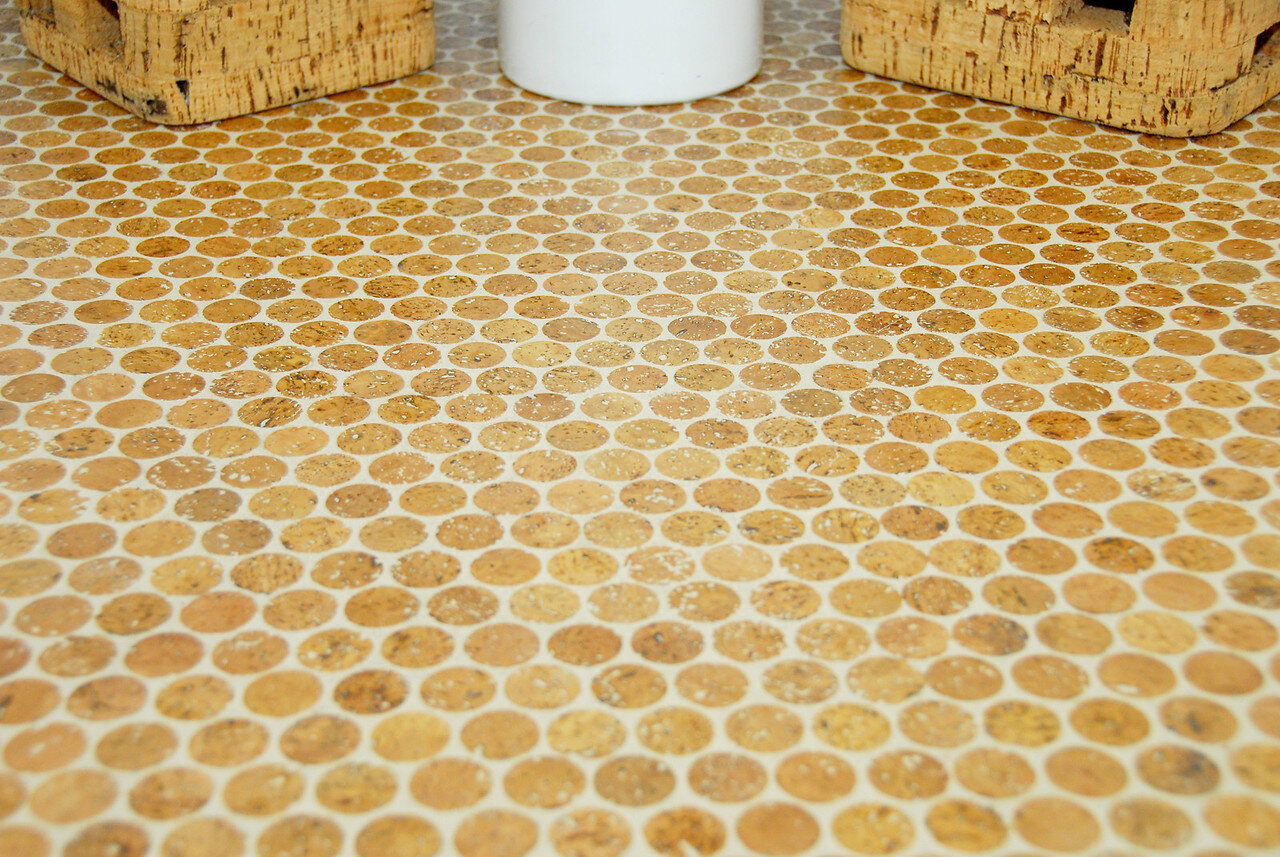
Wine cork floors! -or- How being drunken hoarders helped us

How To Replace Carpet With Lovely Cork Flooring Without Hiring A

Related Posts: