After two years of living with bamboo flooring, I noticed my floors had lost their original luster and started looking dull and tired. The once-vibrant grain patterns seemed muted, and the surface had developed a slightly sticky, grimy feel that no amount of regular mopping could fix. I spent weeks researching polishing techniques, experimenting with different products and methods before finally achieving the beautiful shine I remembered from installation day.
The process taught me so much about bamboo’s unique properties and how to care for this material long-term. Now I Polish my bamboo floors twice a year as part of my maintenance routine, and the results are consistently impressive. Let me share exactly what I learned and how I achieved stunning results.
Understanding Why Bamboo Floors Lose Their Shine
Before attempting to polish my floors, I needed to understand why they’d become dull in the first place. Over time, bamboo flooring loses its luster through several natural processes. Foot traffic gradually wears down the protective finish layer, exposing the bamboo underneath to air, moisture, and daily use.
Dust and microscopic dirt particles act as tiny abrasives, slowly scratching the surface with each footstep. These tiny scratches scatter light rather than reflecting it smoothly, creating the dull appearance I was experiencing.
Product buildup was another significant contributor to my floors’ dullness. I’d been using various cleaning products over the years, and residues from these cleaners accumulated on the surface, creating a filmy layer that trapped dirt and reduced shine.
Many household cleaners, even those marketed for hardwood floors, leave behind chemical residues that actually make floors look worse over time. This discovery explained why my floors seemed duller despite regular cleaning efforts.
Environmental factors also played a role in my floors’ deterioration. Fluctuating humidity levels caused the bamboo to expand and contract slightly, which over time can micro-crack the finish and allow moisture to penetrate.
Sunlight exposure through my living room windows had also contributed to some uneven fading. Understanding these causes helped me develop a comprehensive polishing approach that addressed the root problems rather than just applying a surface treatment.
Preparing Your Floors for Polishing
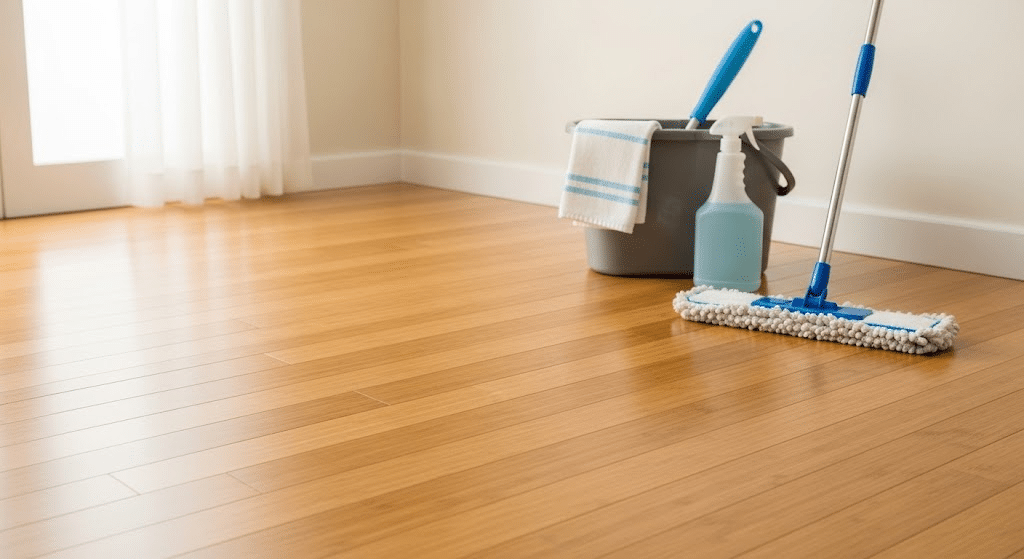
Proper preparation was the most critical step in my polishing process, and I cannot stress this enough. I started by completely clearing the room of all furniture, area rugs, and anything else sitting on the floor. This gave me full access to every inch of bamboo and prevented me from missing spots or creating uneven results. I moved everything to adjacent rooms and placed felt pads under furniture legs in those spaces to prevent scratches during the project.
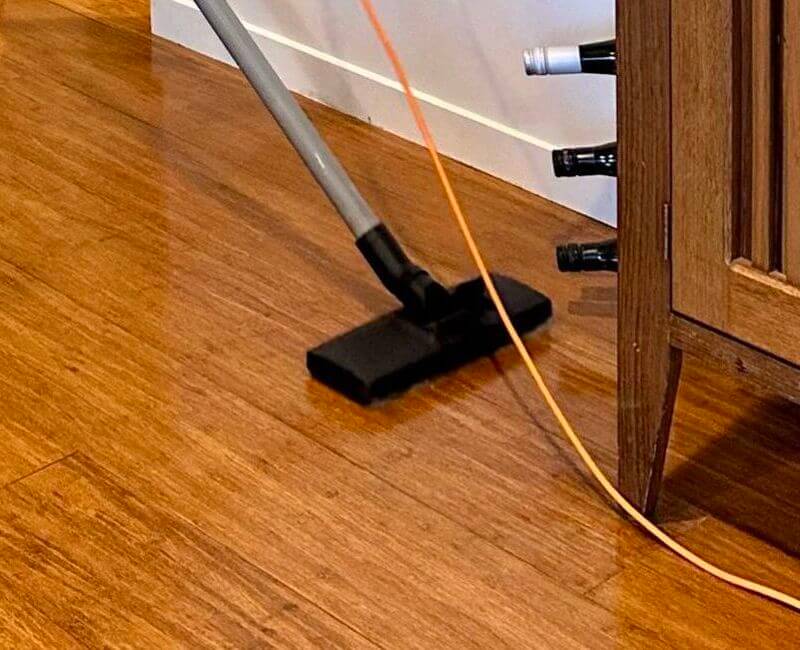
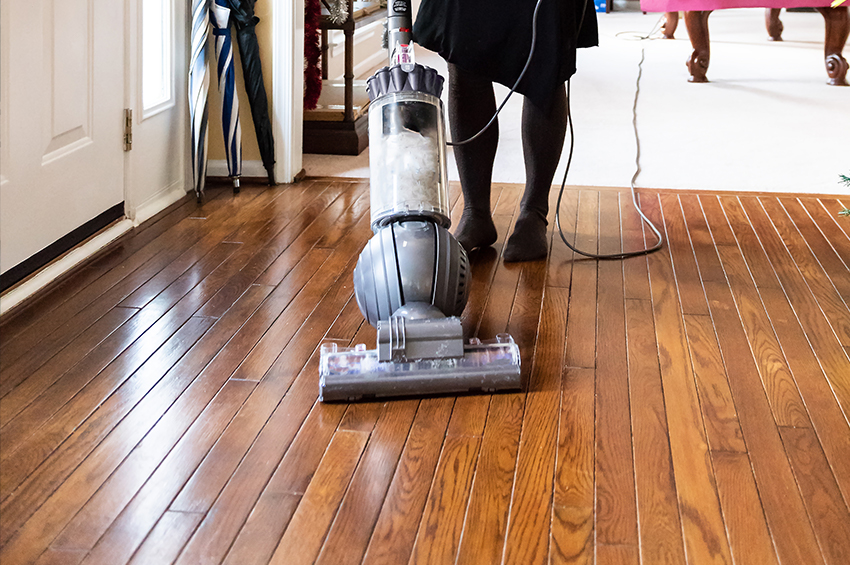
Deep cleaning came next, and I went far beyond my normal routine. I vacuumed thoroughly using a hardwood floor attachment, then followed up with a damp mop using warm water mixed with a tablespoon of white vinegar per gallon. I know vinegar seems contradictory since acids can damage bamboo, but this extremely dilute solution effectively removed years of product buildup without harming the floor. I dried each section immediately with clean towels to prevent any moisture from sitting on the surface.
After cleaning, I inspected the entire floor on my hands and knees, looking for scratches, gouges, sticky spots, or areas where the finish had worn through completely. I marked problem areas with small pieces of painter’s tape so I could give them extra attention during polishing. This thorough inspection revealed several spots I hadn’t noticed before, including an area near my kitchen doorway where foot traffic had worn the finish almost completely away.
Choosing the Right Polishing Products and Tools
Selecting the correct polishing products for bamboo specifically was essential because many floor polishes are formulated for hardwood and can damage bamboo’s unique properties. I researched extensively before choosing a water-based bamboo floor polish that provided UV protection and moisture resistance. Water-based products are safer for bamboo than solvent-based alternatives, which can dry out the material and weaken its structure over time. I also verified my chosen polish was compatible with my floor’s existing finish type.
My polishing toolkit included several items I hadn’t owned before this project. A manual floor polishing machine, sometimes called a buffer, made the process dramatically easier and more effective than hand application. I rented mine from a home improvement store for $50 for a weekend rental, which included basic supplies. I also purchased microfiber applicator pads, a mop with a removable pad, and lint-free cloths for final buffing. These tools ensured even application and professional-quality results.
I tested my chosen polish in a small, inconspicuous area first, allowing it to dry completely before evaluating the result. This test confirmed the product worked well with my bamboo’s color and sheen level without creating an overly glossy or yellowish appearance. Some polishes alter bamboo’s natural color slightly, which I wanted to avoid. The test also helped me calibrate how much product to apply and how long to let it dry before buffing.
The Step-by-Step Polishing Process
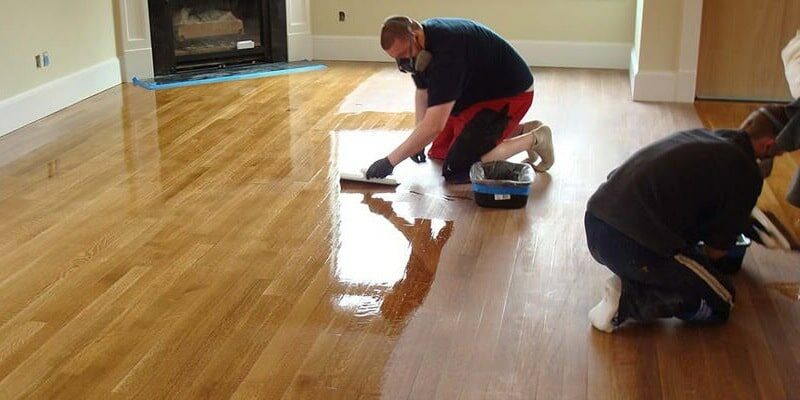
I applied my first coat of bamboo floor polish using the rental buffer machine set to its lowest speed. I poured a thin line of polish directly onto the floor and let the machine spread it evenly across the surface. Working in sections of about 100 square feet, I moved the buffer in long, straight strokes with the grain of the bamboo. The machine’s gentle circular motion worked the polish into the surface and any micro-scratches, filling them and creating a smooth, even base layer.
After the first coat dried completely, about two hours in my well-ventilated living room, I lightly buffed the surface using a dry microfiber pad attached to the buffer machine. This step removed any excess polish and began bringing out the shine. I noticed an immediate improvement, with the bamboo looking cleaner and slightly more reflective than before. However, I knew one coat wouldn’t achieve the full depth of shine I wanted, so I applied a second coat using the same technique.
The third and final coat required the most patience. I applied it even more thinly than the previous coats and spent extra time buffing with the microfiber pad. The shine built progressively with each layer, creating depth and richness that a single coat couldn’t achieve. After the final buffing, I walked slowly across the entire floor, examining the surface in different lighting conditions to ensure even coverage and consistent sheen. The transformation from dull to gleaming was genuinely dramatic.
Addressing Scratches and Worn Areas
Several areas of my floor needed special attention beyond standard polishing. The worn spot near my kitchen doorway required filling before polishing could restore its appearance. I used a bamboo floor repair kit that included color-matched filler and a small heating tool. Following the instructions carefully, I heated the filler, applied it to the worn area, smoothed it with the provided tool, and let it cool completely. After sanding the repair flush with fine sandpaper, I polished over it with the rest of the floor.
For lighter scratches throughout the floor, I discovered that applying polish directly to the scratched area and buffing vigorously worked surprisingly well. The polish fills minor scratches, creating a smooth surface that reflects light consistently. I focused extra attention on areas where scratches were most visible, applying a slightly thicker coat of polish and buffing longer. Many scratches became virtually invisible after this treatment, dramatically improving the floor’s overall appearance.
Deep gouges required a different approach. I carefully cleaned the gouge, then applied bamboo-specific wood filler in the matching color. After sanding smooth and feathering the edges to blend with surrounding flooring, I applied polish to the repaired area. The repair was visible up close but nearly imperceptible from normal standing distance. For future protection of these repaired areas, I placed felt pads under furniture and added a small runner in the high-traffic doorway.
Maintaining Your Polish and Preventing Future Dullness
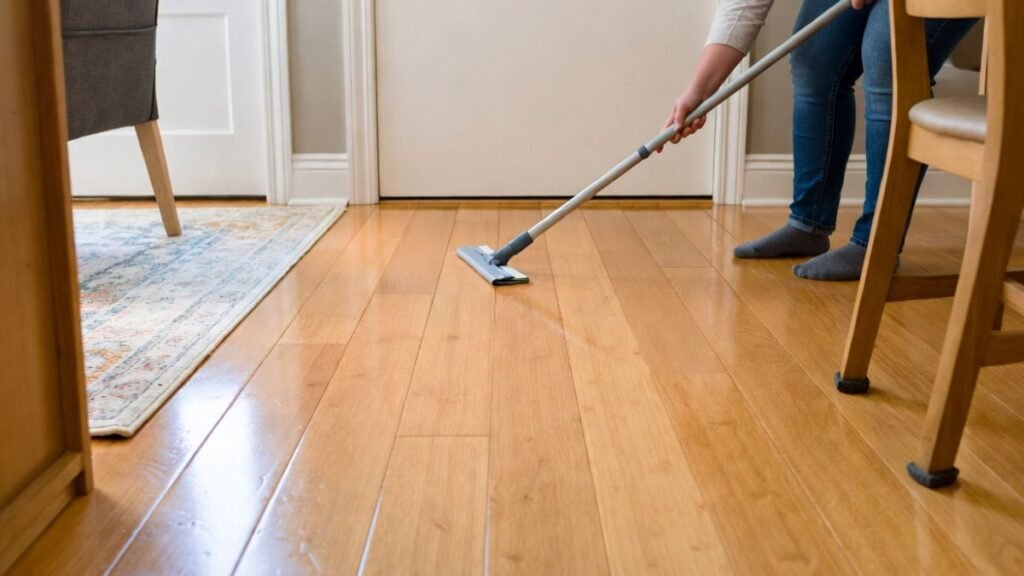
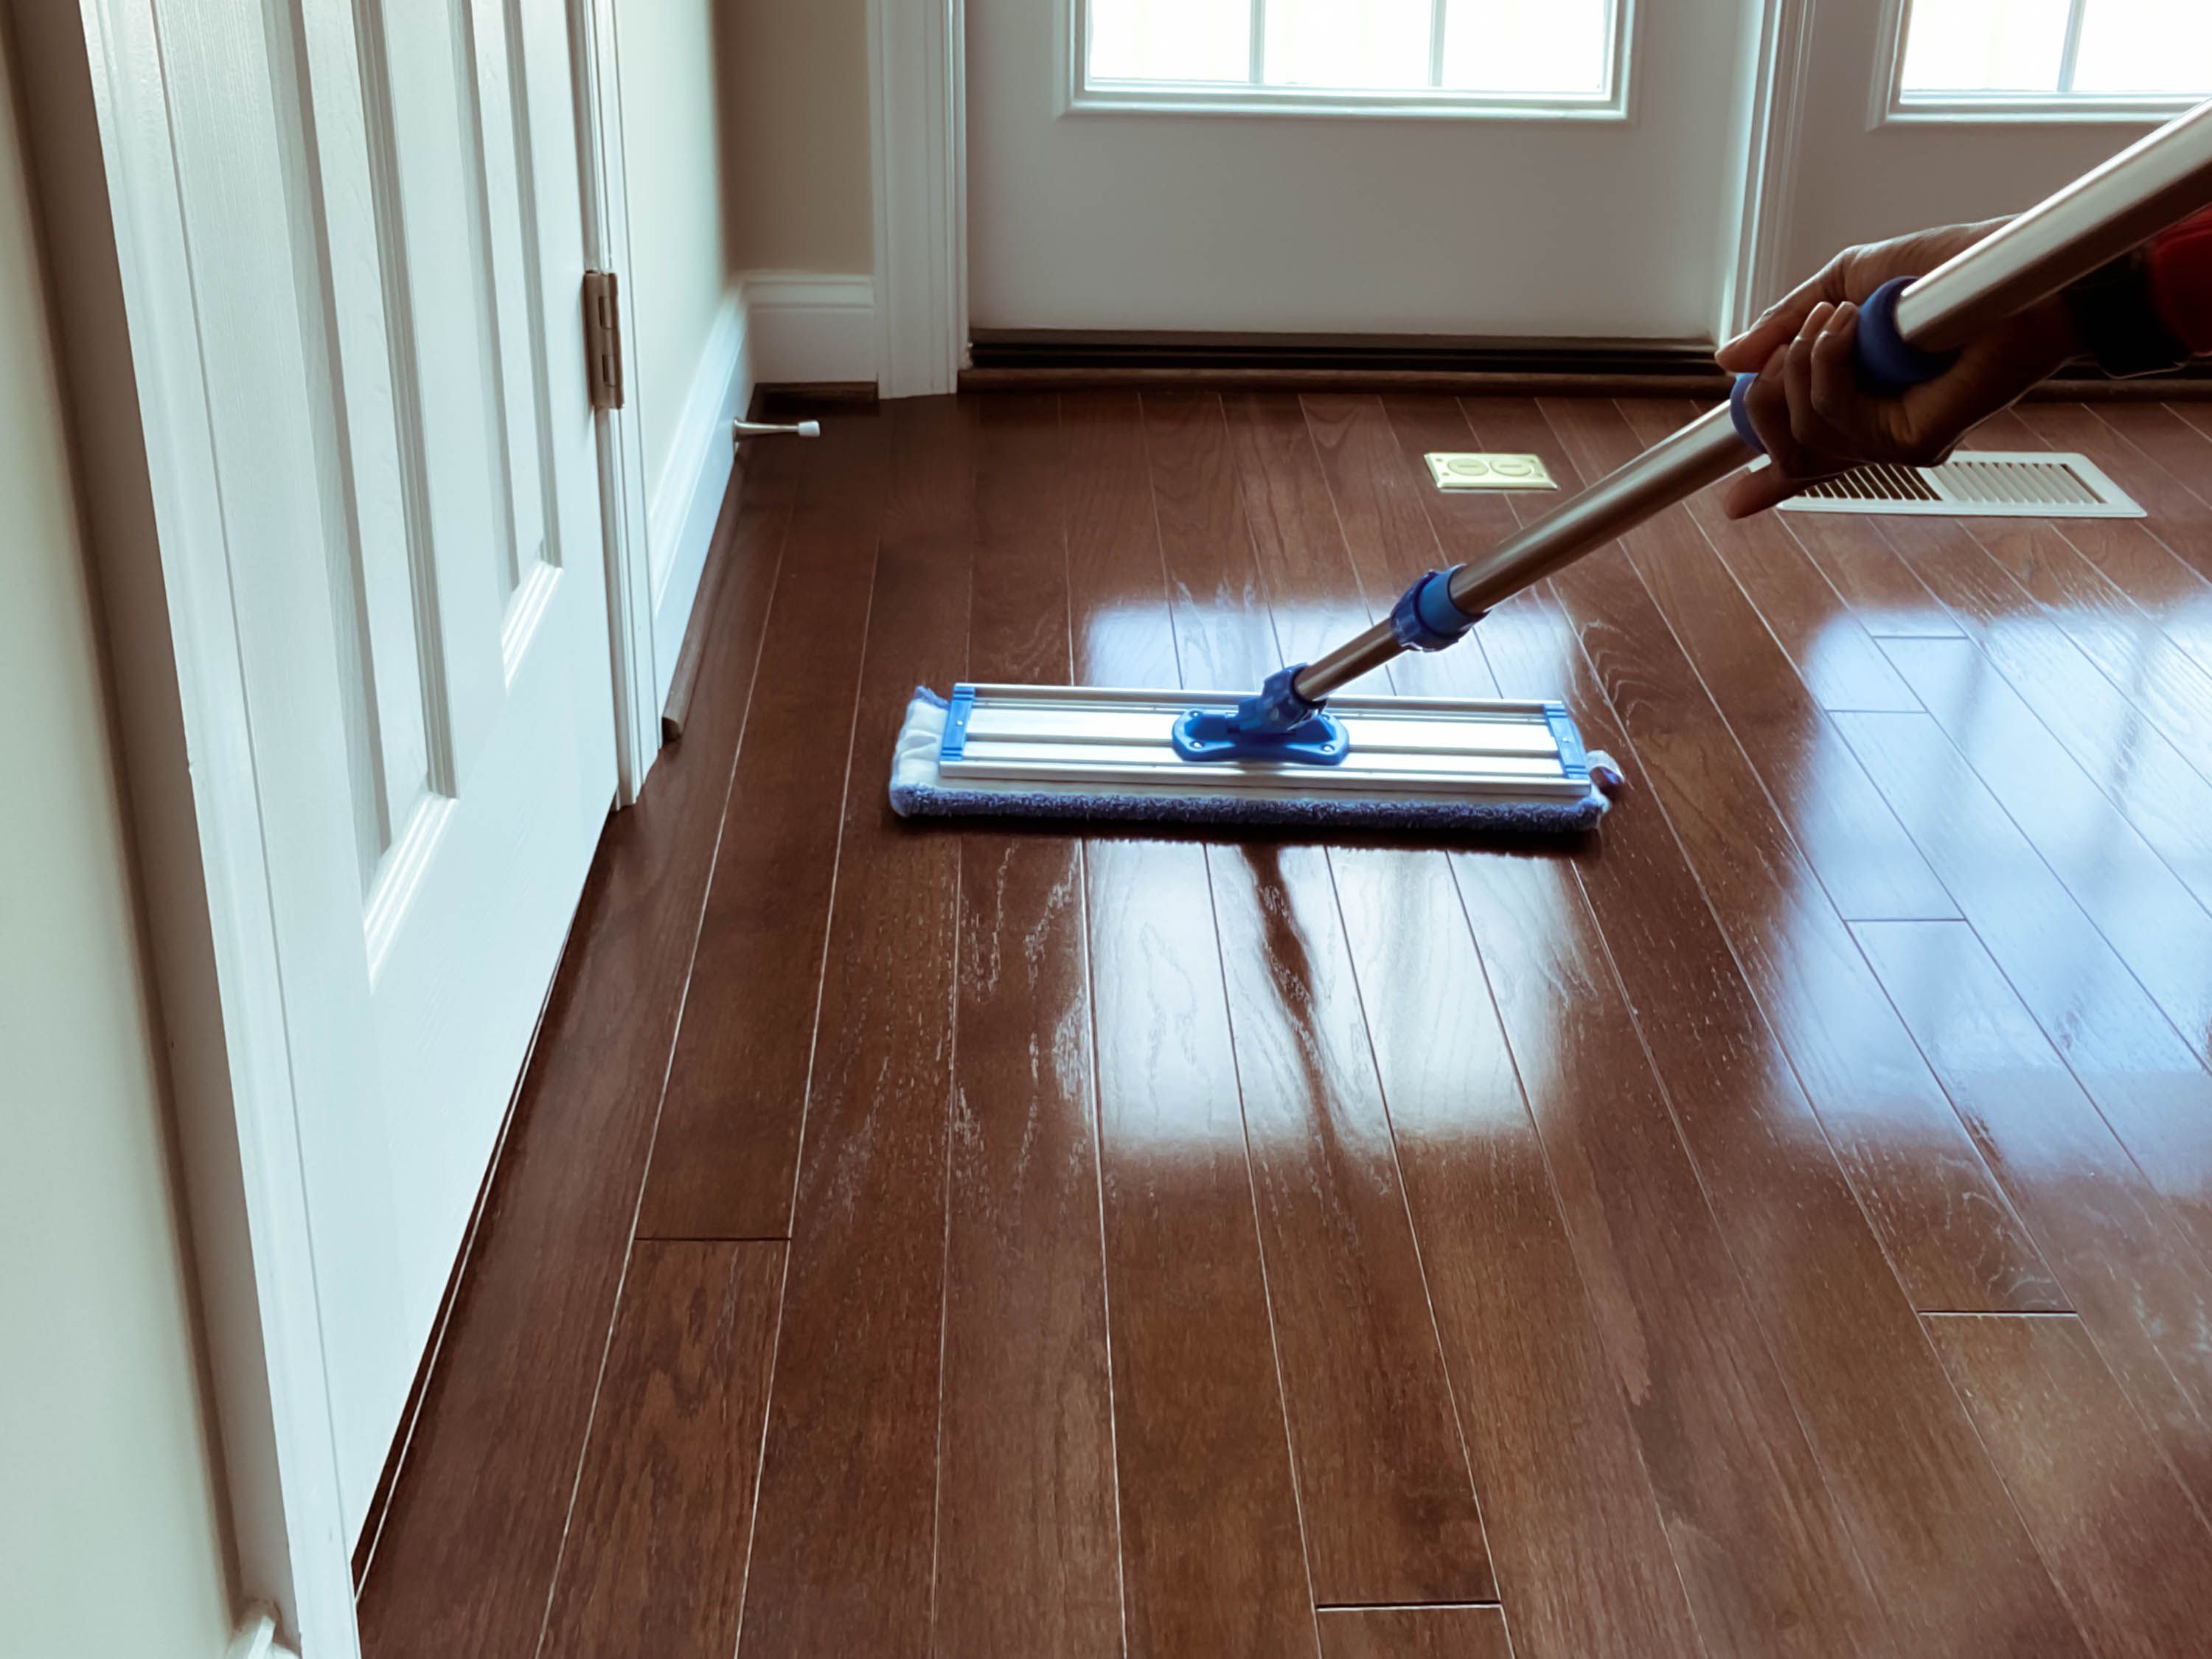
After investing significant time and effort in polishing my floors, I developed a maintenance routine to preserve the results as long as possible. I switched to a pH-neutral bamboo floor cleaner for all routine mopping, eliminating the product buildup that had contributed to my original dullness problem. I mop with this cleaner weekly, using a well-wrung mop that adds minimal moisture to the floor. This gentle cleaning maintains cleanliness without degrading the polish finish.
I placed high-quality door mats at every entrance to my home, both inside and outside. These mats catch dirt, sand, and debris before they reach my bamboo floors and act as tiny abrasives that scratch the surface. I also added felt pads to every piece of furniture and kept my family’s shoes off the bamboo floors as much as possible. These simple preventive measures dramatically reduce the rate at which polish wears down.
I now schedule a full polishing session every six months, which maintains my floors’ appearance between deep polishing sessions. These maintenance polishings are much simpler than my initial restoration because the floors only need one coat of polish and light buffing. I’ve found that this regular schedule prevents the dramatic dullness I experienced before and keeps my bamboo floors looking beautiful year-round. The time investment is minimal compared to the difference it makes.
Ways to Clean Bamboo Floors
How to Clean Bamboo Floors
How To Clean Bamboo Floors: Tips And Hints
Easy-to-Make Bamboo Floor Cleaner

How to Clean Bamboo Flooring

Easy Ways to Make Bamboo Floors Shine

How to Clean Bamboo Floors for a Natural Shine
Related Posts: