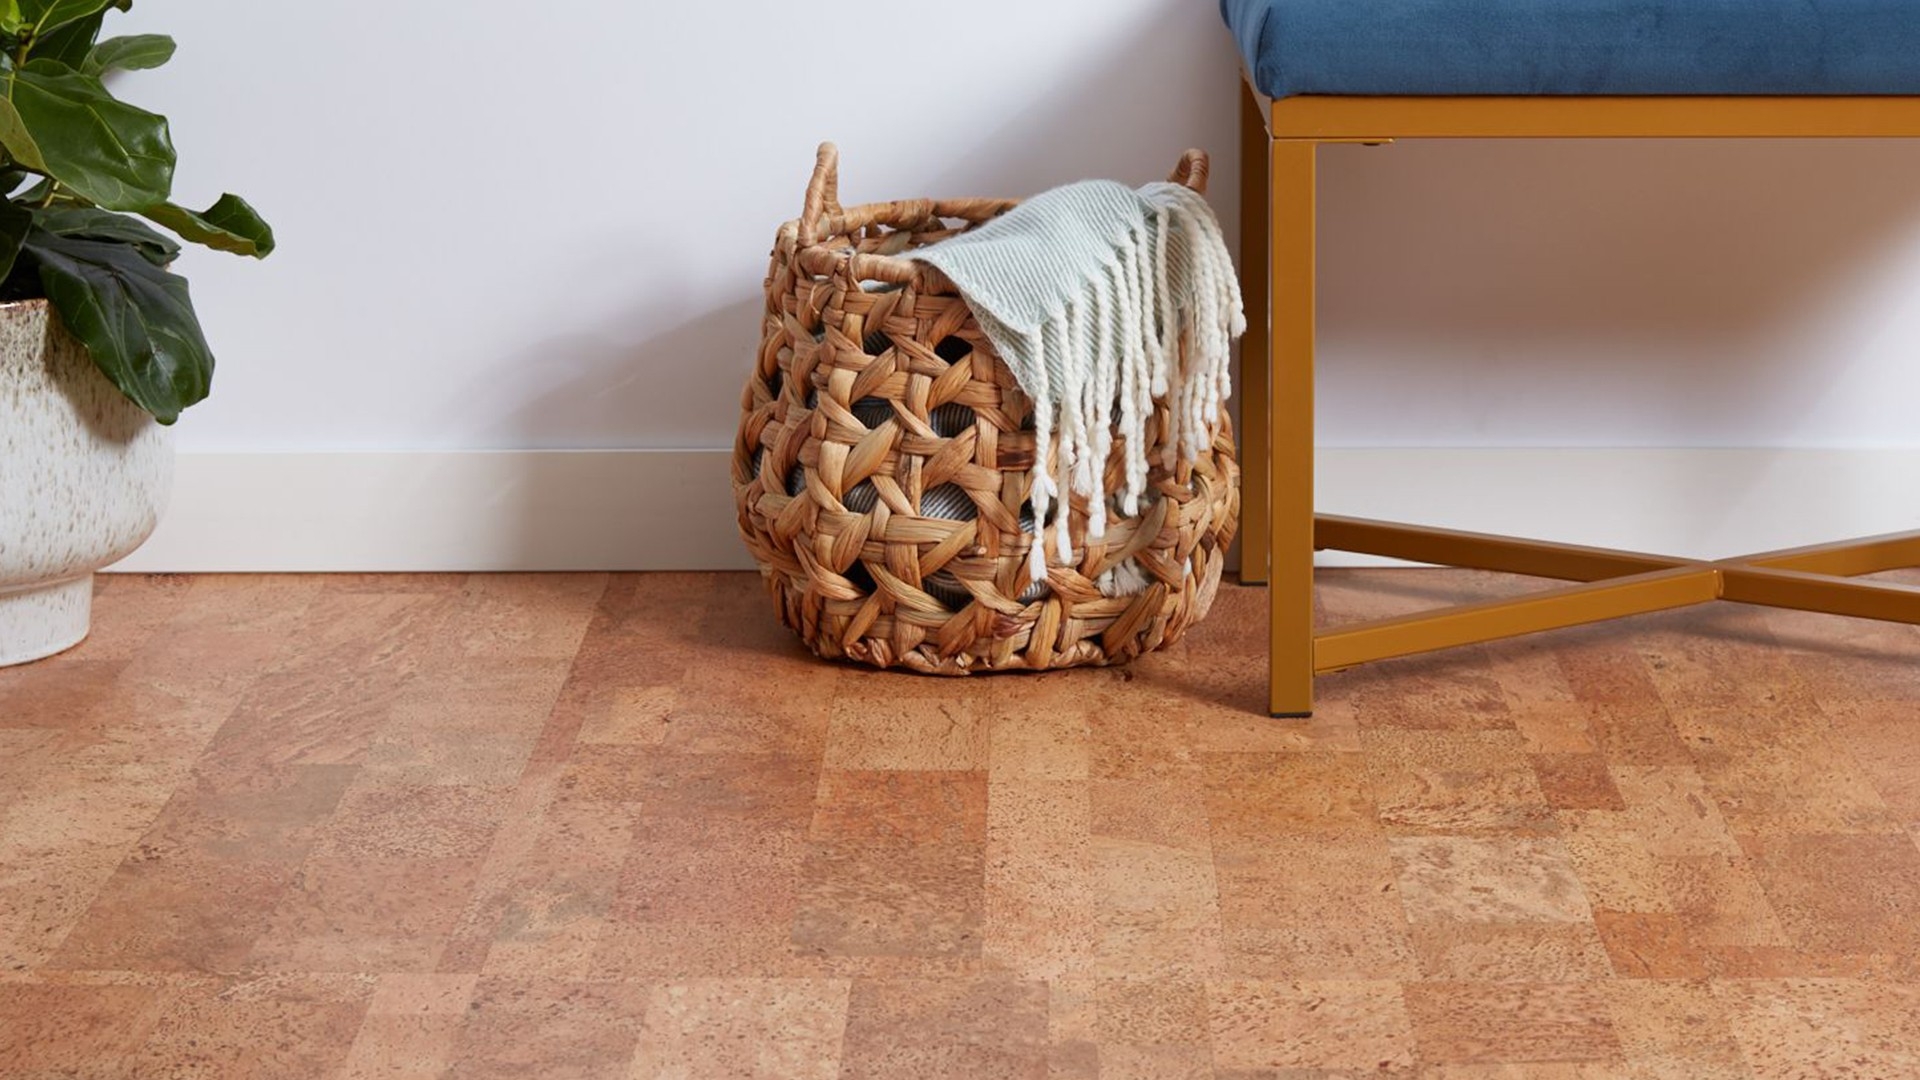
When I first installed cork flooring in my home office five years ago, I never imagined I’d become fascinated with customizing its appearance through staining. The natural warmth and comfort underfoot initially drew me to cork, but discovering its versatility for color transformation opened up entirely new design possibilities. Through multiple projects and plenty of trial and error, I’ve learned that cork accepts stain beautifully when approached with the right techniques and realistic expectations about the process.
Understanding Cork’s Unique Properties for Staining
Cork’s cellular structure creates both opportunities and challenges when staining. The honeycomb-like composition absorbs stain unevenly, creating natural variation that I’ve learned to embrace rather than fight. Unlike hardwood, cork doesn’t have consistent grain patterns, so stain penetration follows the random cell structure. This organic characteristic produces unique, organic patterns that make each installation truly one-of-a-kind, though controlling the final appearance requires different techniques than traditional wood staining.
Density variations across cork surfaces affect stain absorption significantly. I’ve noticed that some areas accept stain readily while others resist penetration completely. Pre-manufactured cork tiles often have factory finishes that must be removed before successful staining. Sanding lightly with fine-grit paper opens the surface for better stain acceptance. Testing absorption on inconspicuous areas helps predict how the entire floor will respond to different stain formulations and application methods.
Moisture content plays a crucial role in staining success with cork flooring. I always check humidity levels and allow newly installed cork to acclimate completely before attempting any staining projects. Cork’s natural ability to expand and contract with moisture changes can affect how stain bonds to the surface. Environmental conditions during application matter more with cork than with traditional hardwoods. Proper timing and conditions ensure optimal stain penetration and color development throughout the installation.
Selecting the Right Stain Products for Cork
Water-based stains work exceptionally well on cork surfaces in my experience. They penetrate the cellular structure effectively while allowing the natural texture to show through beautifully. I prefer brands specifically formulated for porous materials, as they provide better control over color intensity and penetration depth. Oil-based stains can work, but often sit on the surface rather than penetrate properly. The key is choosing products that complement cork’s unique absorption characteristics rather than fighting against them.
Gel stains offer excellent control for cork staining projects, especially when trying to achieve uniform color across variable surfaces. The thicker consistency allows more working time and reduces the likelihood of blotchy application. I’ve used gel stains successfully on cork tiles where I wanted more predictable color outcomes. However, they don’t penetrate as deeply, so durability may be compromised compared to penetrating stains. Testing different formulations helps determine the best approach for specific projects and desired outcomes.
Natural and eco-friendly stain options align perfectly with cork’s sustainable characteristics. I’ve experimented with plant-based stains that complement cork’s environmental benefits while providing beautiful color options. These products sometimes require multiple coats to achieve the desired intensity, but they maintain the natural feel that makes cork flooring appealing. Some natural stains interact uniquely with cork’s tannins, creating unexpected color variations that add character and depth to the finished surface.
Preparation Techniques for Optimal Results
Surface preparation determines staining success more than any other factor in cork projects. I start by thoroughly cleaning the cork with appropriate cleaners that remove any manufacturing residues or accumulated dirt. Existing finishes must be removed through light sanding with 120-grit sandpaper, working systematically across the entire surface. Vacuum thoroughly between sanding steps to remove all dust particles that could interfere with stain penetration and bonding to the cork surface.
Testing stain absorption rates across different areas reveals how the cork will respond to treatment. I apply small amounts of stain to various locations, timing how quickly absorption occurs, and noting color development. This testing phase prevents surprises during the full application and helps adjust techniques for optimal results. Some cork areas may need additional preparation or different stain concentrations to achieve a uniform appearance across the entire installation.
Environmental preparation includes controlling temperature, humidity, and ventilation during the staining process. I ensure adequate air circulation while avoiding drafts that could cause uneven drying. Room temperature should remain between 65-75 degrees for optimal stain performance. Protecting surrounding surfaces and removing all furniture creates a controlled workspace where accidents won’t cause permanent damage. Proper preparation makes the actual staining process smoother and more predictable with better final results.

Application Methods That Work
Brush application provides the most control when staining cork floors, allowing me to work the stain into the cellular structure effectively. I use natural bristle brushes that don’t leave streaks or marks on the textured surface. Working in small sections maintains wet edges and prevents overlap marks from becoming visible. The key is applying consistent pressure while following the natural patterns in the cork rather than trying to create artificial grain directions that don’t exist.
Rag application techniques work well for blending and creating subtle color variations across cork surfaces. I use lint-free cloths to apply thin, even coats while controlling stain penetration through pressure and timing. This method allows for artistic effects and custom color blending that spray application can’t achieve. Multiple light coats produce better results than single heavy applications, building color gradually while maintaining the natural cork texture underneath.
Spray application speeds up large projects but requires careful technique to avoid overspray and ensure even coverage. I use HVLP sprayers with appropriate tip sizes for the stain viscosity being applied. Maintaining consistent distance and overlap patterns prevents streaking and ensures uniform color development. Back-rolling immediately after spraying helps work the stain into the cork’s cellular structure for better penetration. This combination approach maximizes efficiency while maintaining quality results across large floor areas.

Achieving Different Color Effects and Finishes
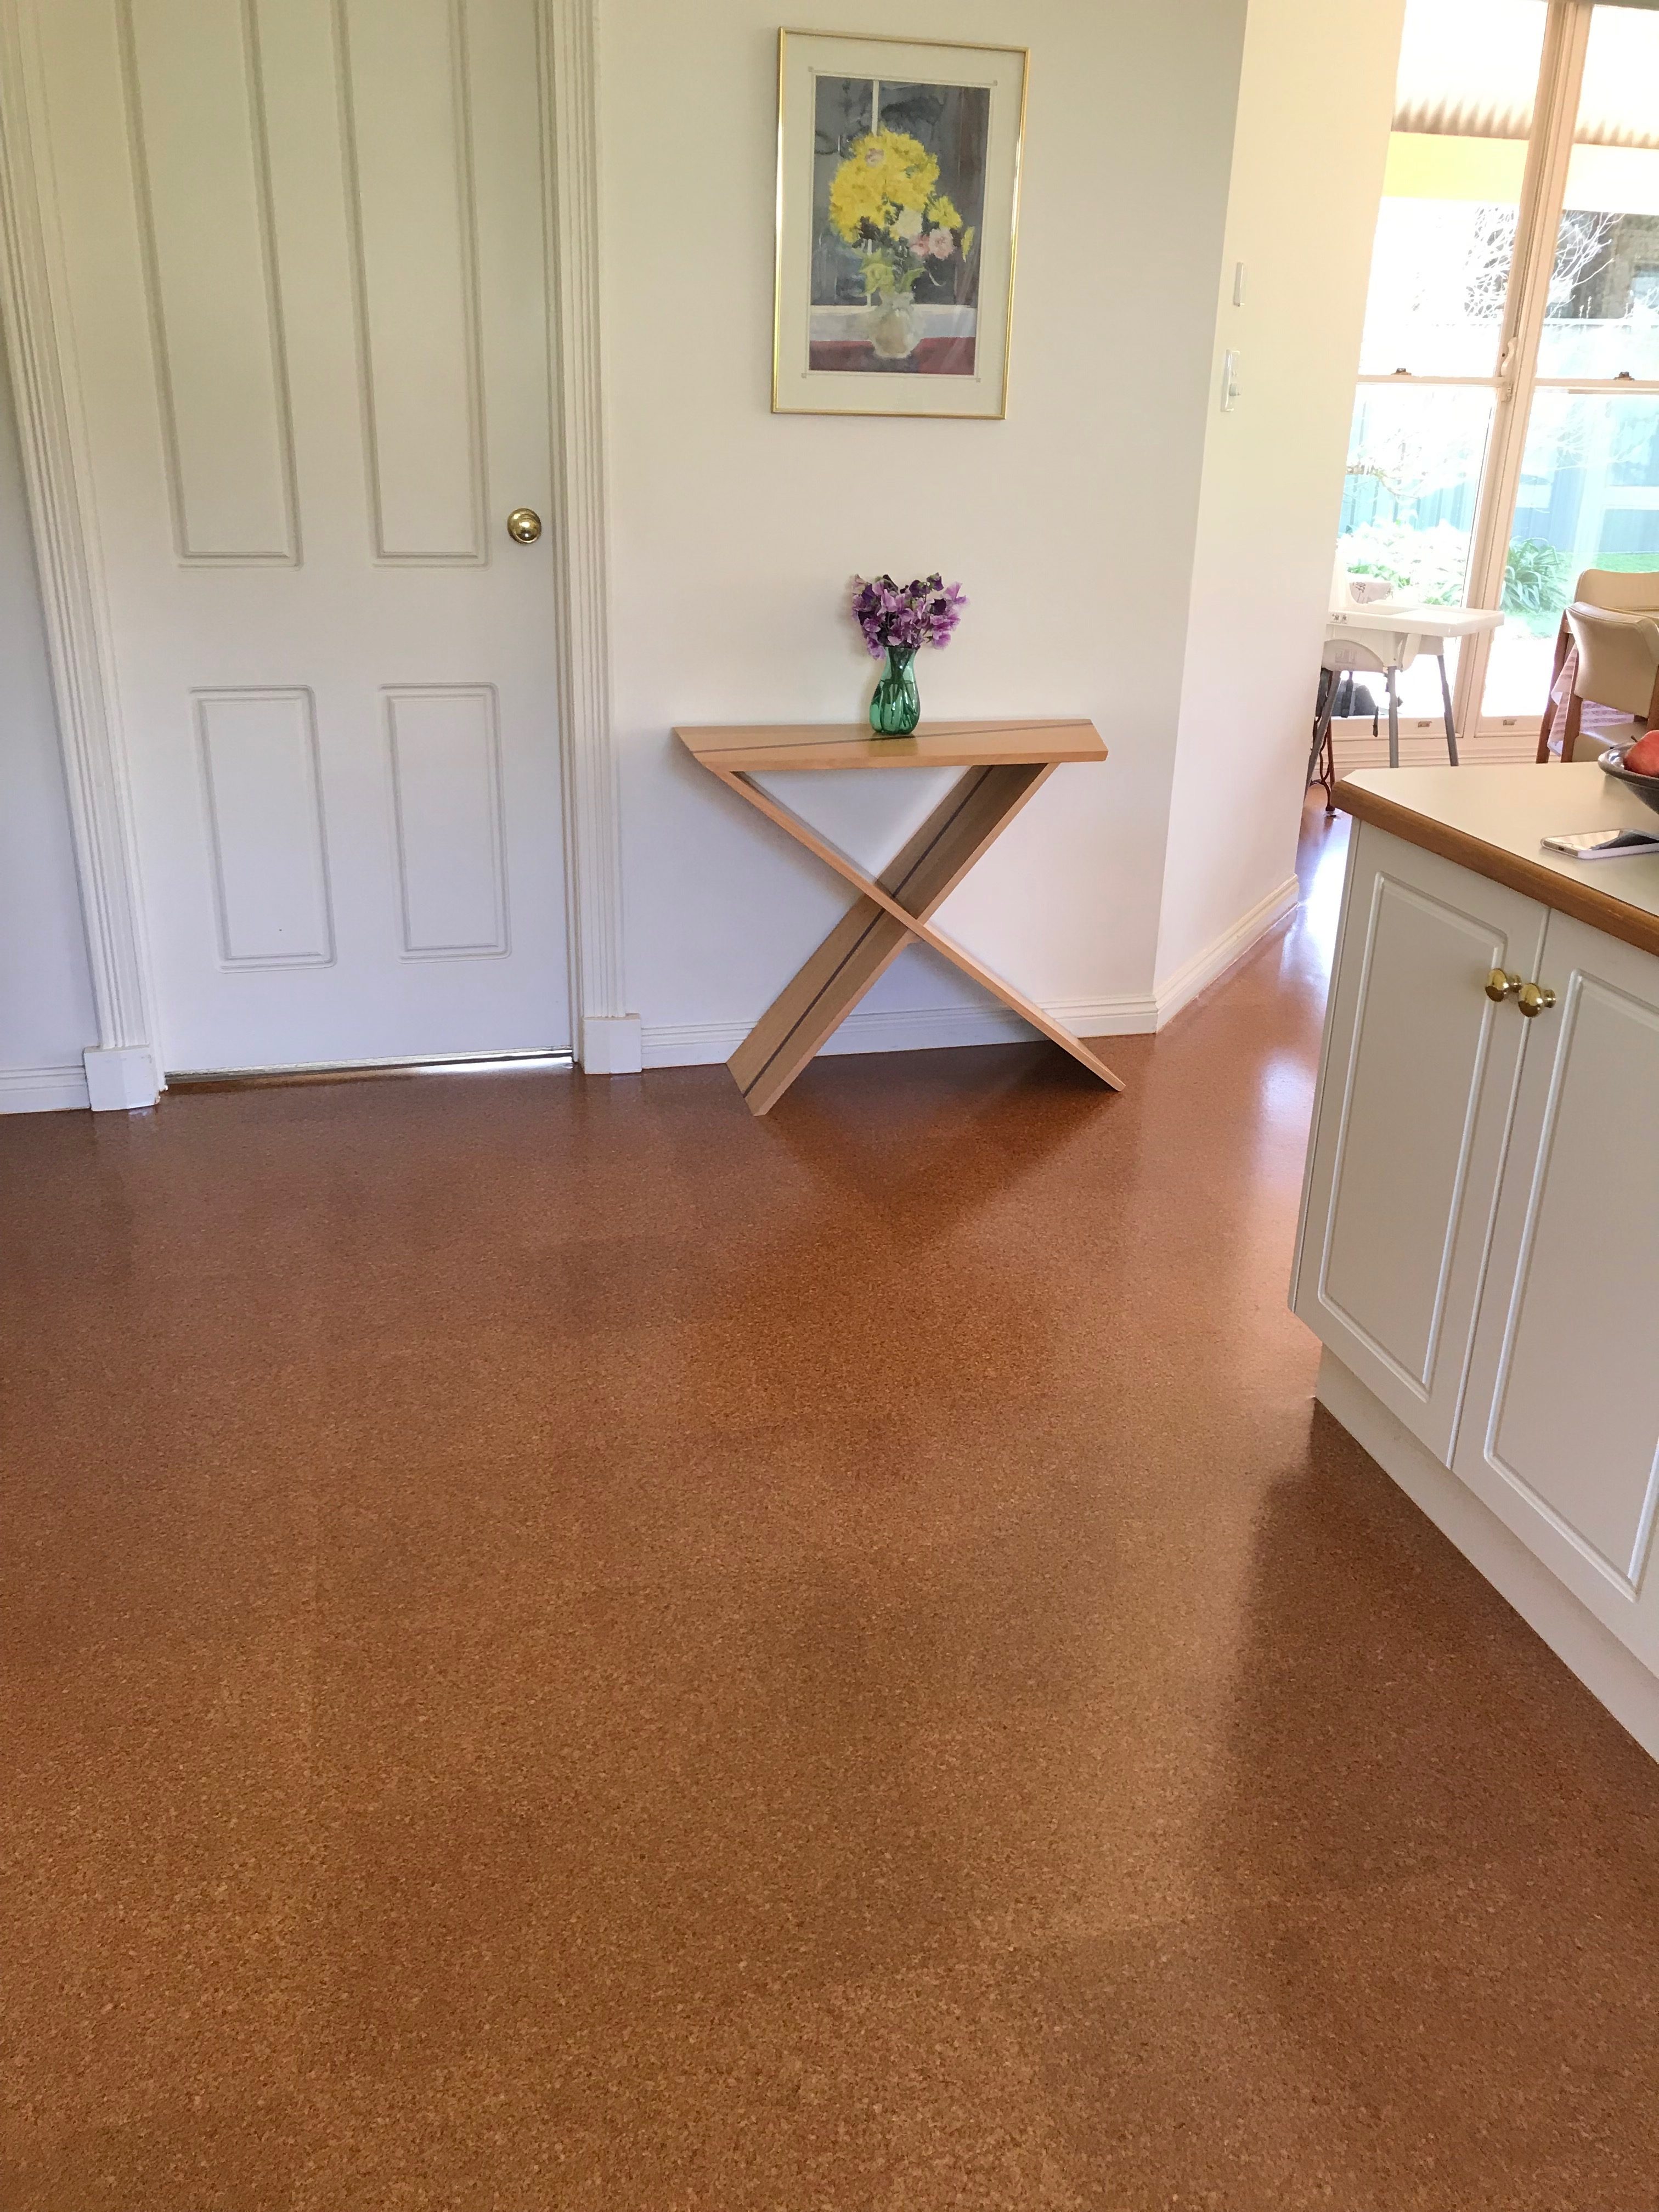
Light staining enhances cork’s natural beauty while maintaining its organic character. I often use honey or amber tones that complement cork’s inherent warmth without masking its unique texture. These lighter applications require careful attention to avoid blotchiness, but they preserve the material’s natural appeal while adding subtle color enhancement. Multiple thin coats build color gradually, allowing better control over final intensity and ensuring even coverage across varying surface densities.
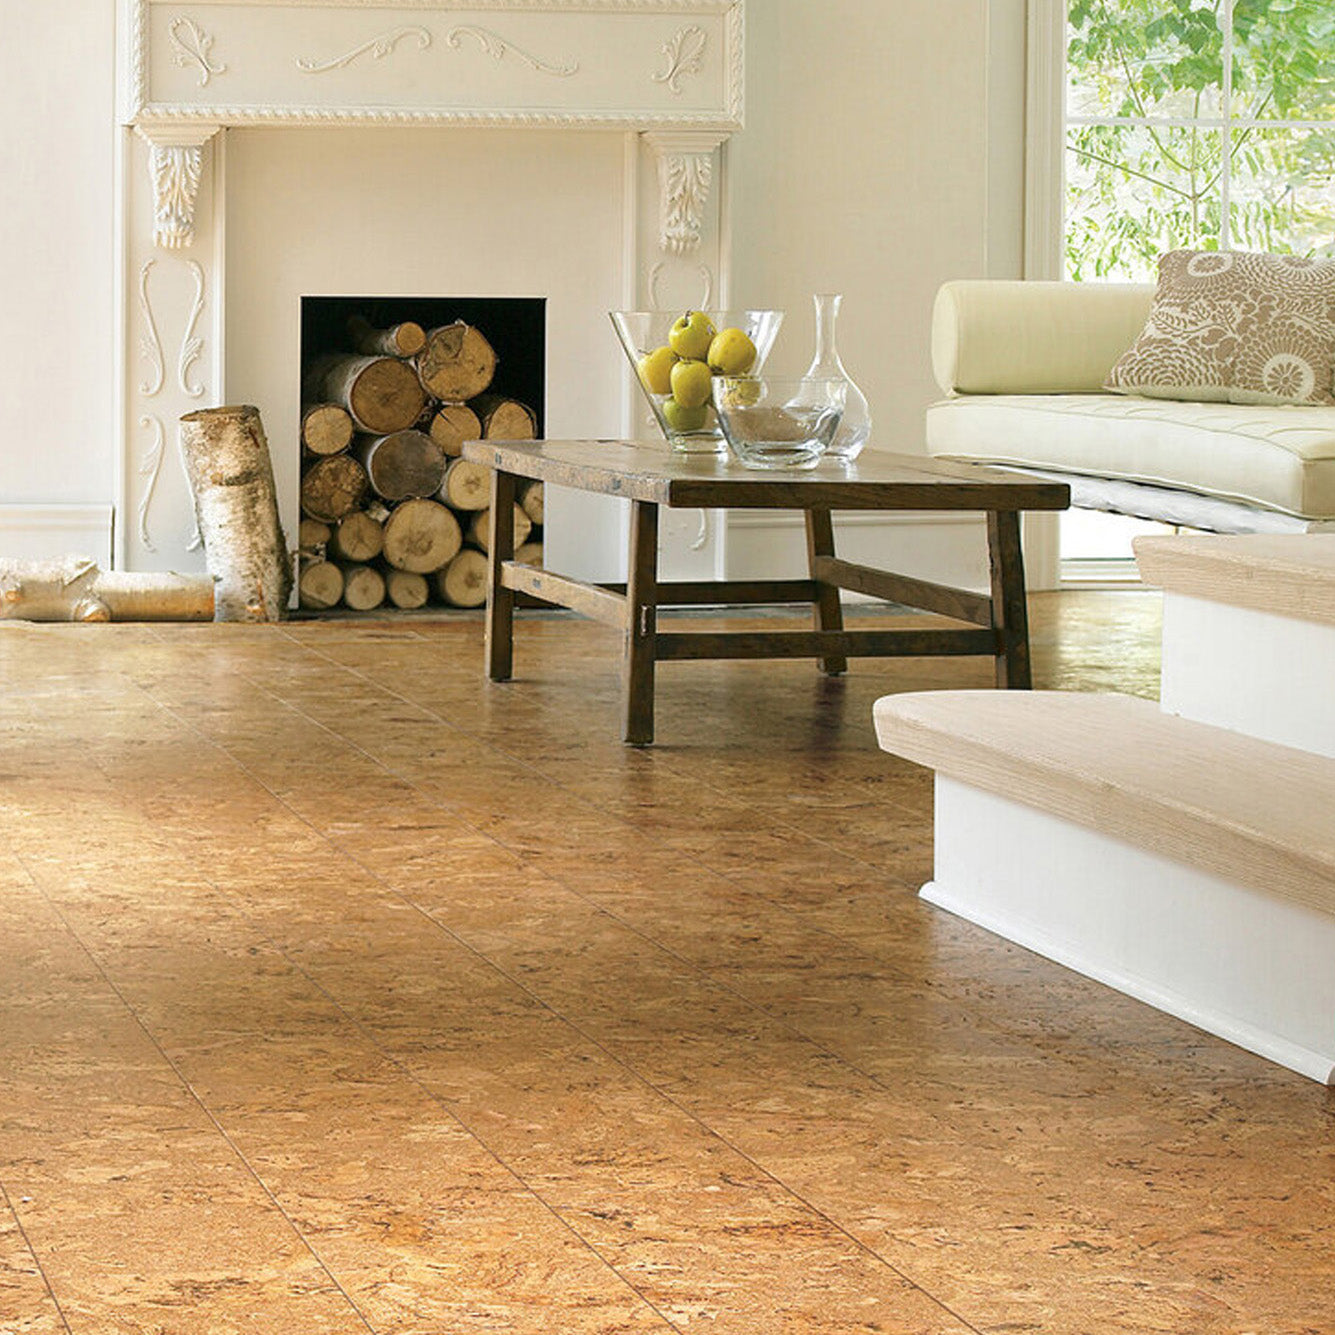
Dark staining creates dramatic transformations but requires more skill to execute successfully. I’ve achieved rich walnut and ebony effects on cork, though the process demands patience and multiple applications. The cellular structure can create interesting light and dark patterns that add character to the finished floor. However, very dark stains may obscure cork’s natural texture, so I recommend testing extensively before committing to dramatic color changes across entire rooms.
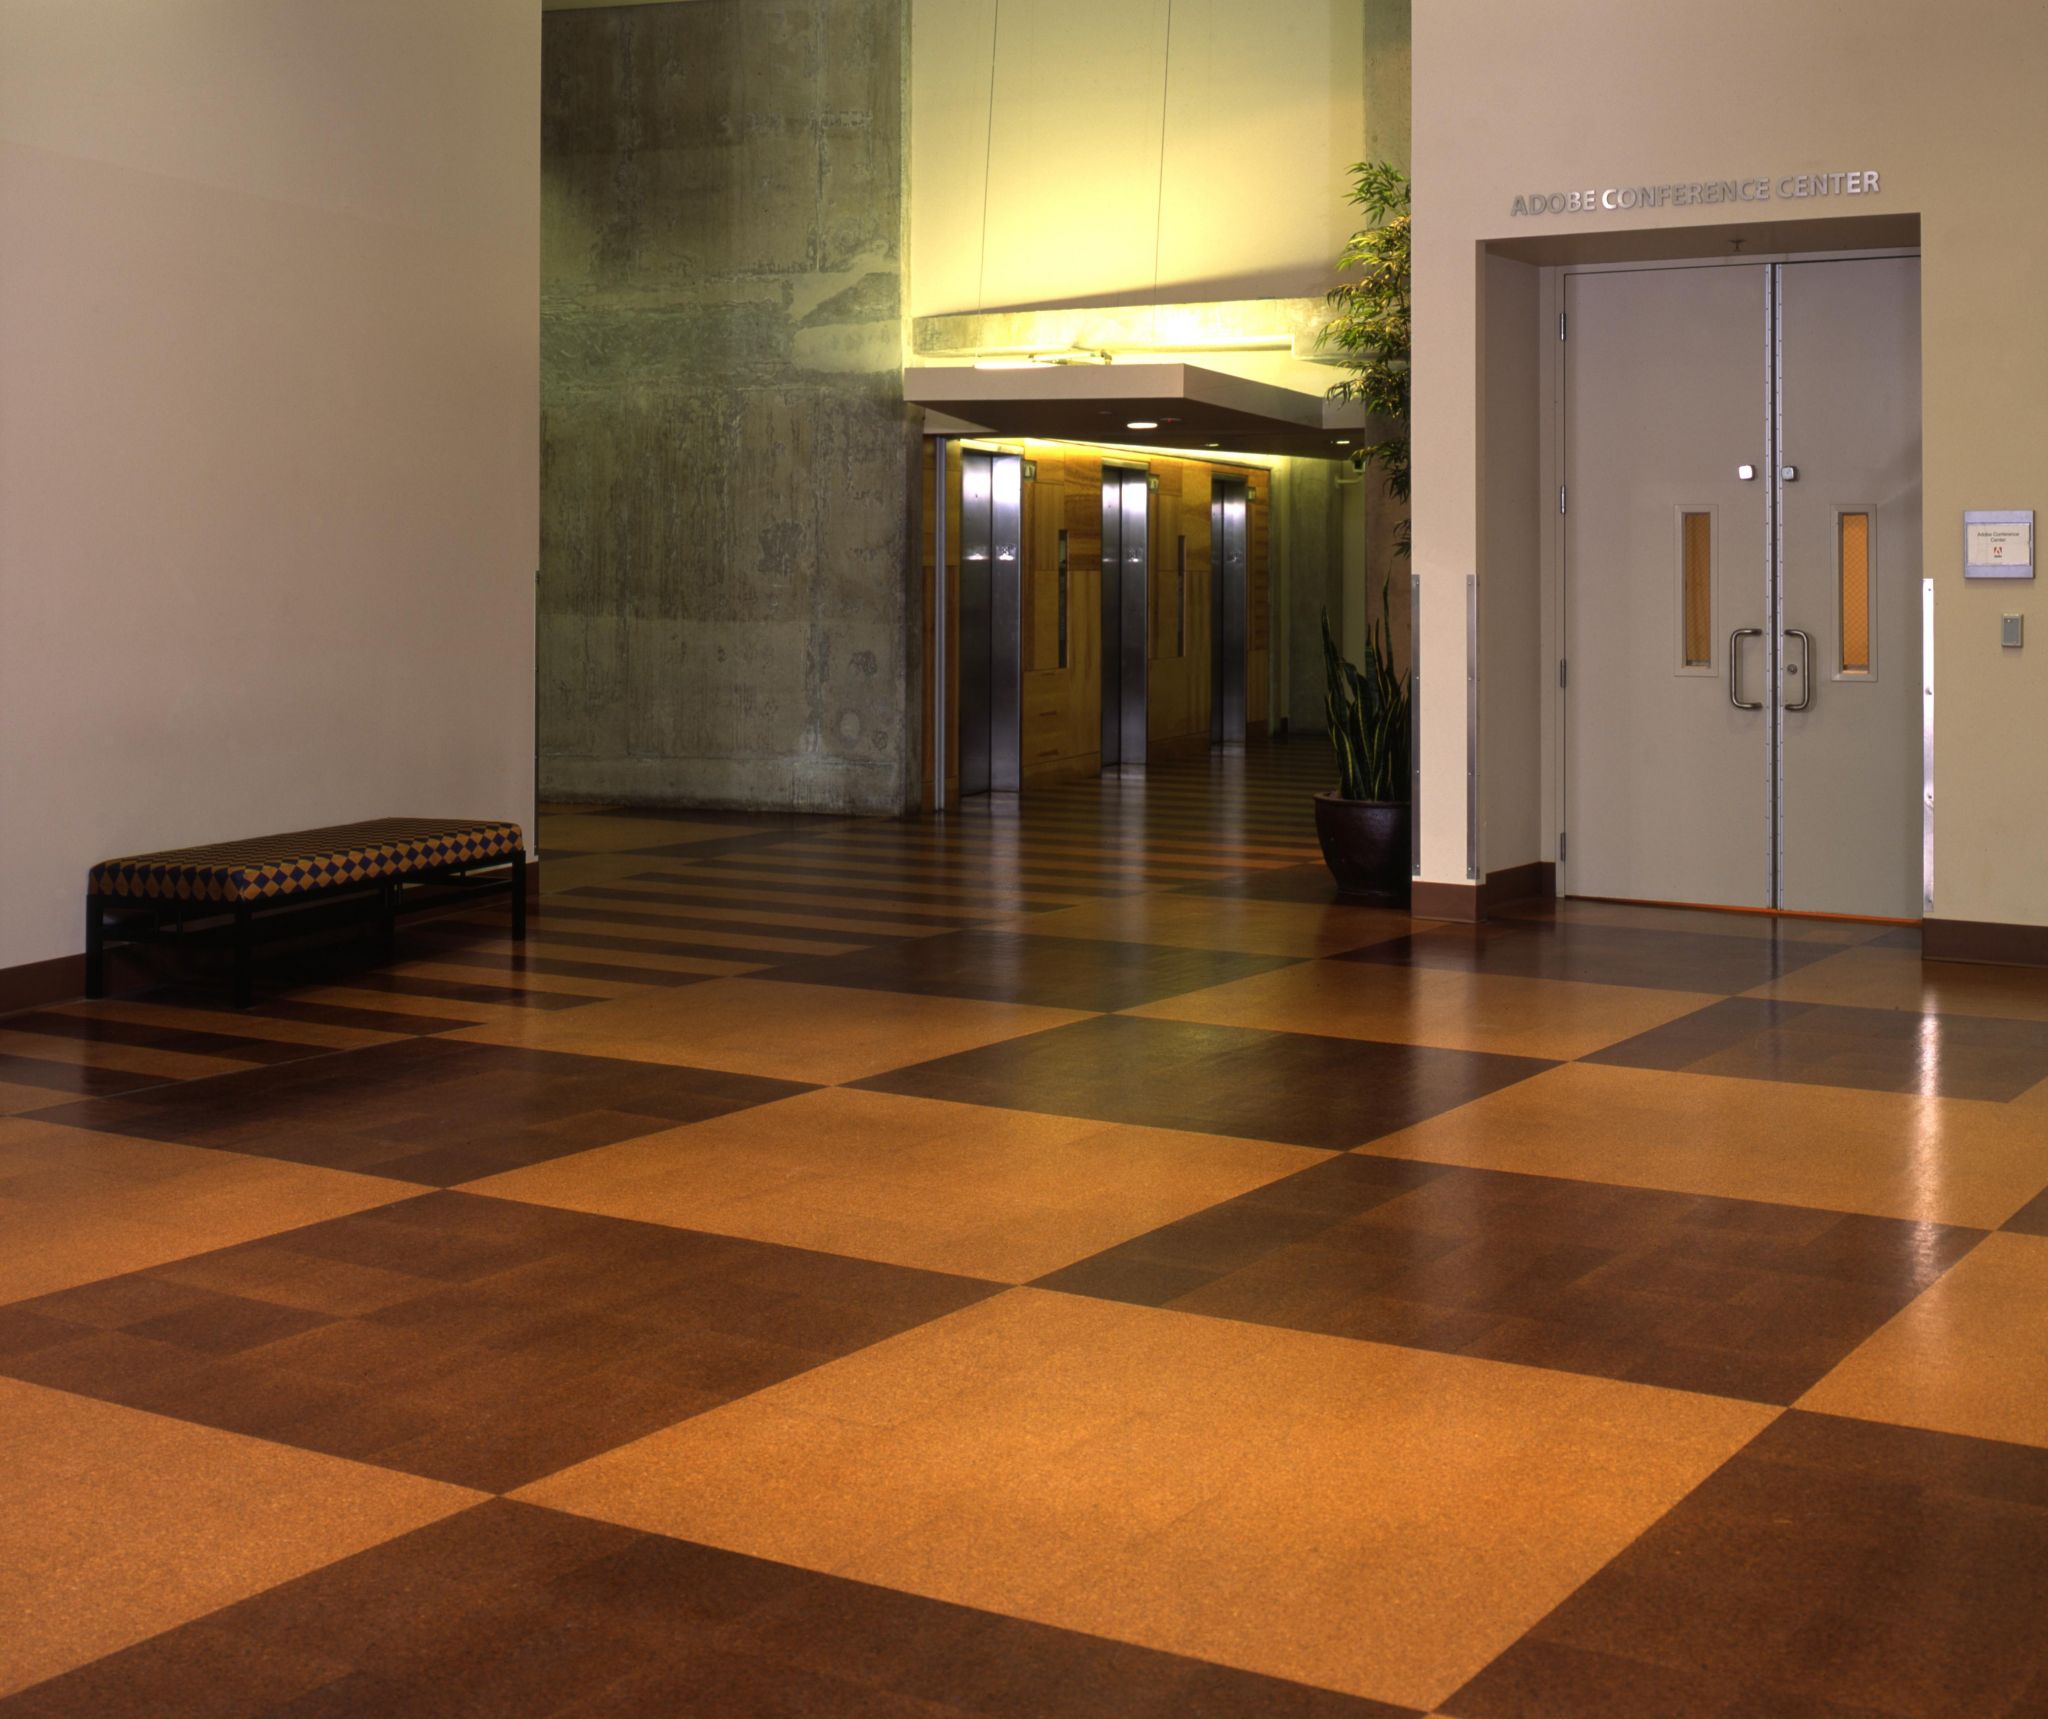
Artistic techniques including color washing, antiquing, and multi-tone effects take advantage of cork’s unique absorption characteristics. I’ve created custom looks by applying base colors followed by selective accent staining in different tones. The irregular surface accepts these treatments naturally, creating sophisticated effects that would be difficult to achieve on smooth hardwood surfaces. Experimentation with different techniques and color combinations produces truly unique flooring that reflects personal style preferences.

Protecting Your Stained Cork Investment
Sealing stained cork floors properly ensures long-term durability and color preservation. I prefer water-based polyurethane sealers that don’t yellow over time or alter the stain color significantly. Multiple thin coats provide better protection than single thick applications, allowing each layer to cure properly before adding the next. The sealer penetrates into the cork structure while creating a protective surface film that resists wear and moisture damage.
Maintenance requirements for stained cork differ from natural cork flooring. I recommend gentle cleaning methods that preserve both the stain and protective coating. pH-neutral cleaners prevent color fading while removing dirt and debris effectively. Avoid harsh chemicals or abrasive cleaning tools that could damage the stained surface. Regular inspection helps identify wear patterns early, allowing for spot touch-ups before major refinishing becomes necessary.
Long-term care includes periodic resealing and potential color refreshing in high-traffic areas. I monitor the protective coating condition and plan maintenance accordingly, typically resealing every 3-5 years depending on usage. Minor color fading can often be addressed with light stain touch-ups before resealing. Proper care maintains the beauty and performance of stained cork floors for decades, making them a worthwhile investment in both comfort and aesthetics.
Can I stain pre-finished cork floors or only unfinished ones?
Pre-finished cork floors can be stained, but existing factory finishes must be removed first through careful sanding. I use 120-grit sandpaper to eliminate the protective coating without damaging the cork underneath. This process requires patience and systematic approach to ensure complete finish removal. Testing in inconspicuous areas helps determine how much sanding is needed. Unfinished cork accepts stain more readily and provides more predictable results for DIY projects.
How long should I wait between stain application and sealing?
I typically wait 24-48 hours between stain application and sealing, depending on environmental conditions and stain type. Cork’s cellular structure requires adequate drying time for complete stain curing before protective coatings are applied. High humidity extends drying time significantly, while low humidity and good ventilation accelerate the process. Testing for complete dryness by touching inconspicuous areas helps determine readiness for sealing. Rushing this step can cause sealer adhesion problems and cloudy appearance.
What happens if I apply stain unevenly on cork flooring?
Uneven stain application on cork can often be corrected through additional stain coats or selective sanding and re-staining. The porous nature of cork allows for some blending of color variations if addressed quickly. I’ve successfully corrected blotchy applications by applying additional thin stain coats to lighter areas. Severe unevenness may require sanding back to bare cork and starting over. Prevention through proper preparation and technique saves time and materials compared to correction efforts.
Is it possible to lighten cork floors that were stained too dark?
Lightening over-stained cork requires aggressive sanding to remove stain that has penetrated the cellular structure. I’ve had limited success with chemical stain removers, but mechanical removal through sanding provides more predictable results. Complete restoration to natural cork color may not be possible if stain has penetrated deeply. Testing different removal methods in inconspicuous areas helps determine the best approach. Prevention through gradual color building and testing avoids the need for lightening procedures.
 .
.
How does stained cork perform in high-moisture areas like kitchens?
Properly sealed stained cork performs well in kitchens and other moderate-moisture areas, though I avoid installation in bathrooms or areas with standing water. The key is quality sealing that prevents moisture penetration into the stained cork surface. I use multiple sealer coats in kitchens and maintain them more frequently than low-moisture areas. Immediate cleanup of spills prevents moisture damage and stain discoloration. Regular maintenance preserves both appearance and structural integrity in challenging environments.
Can I change the color of my stained cork floors later?
Changing stained cork colors requires significant preparation including sanding to remove existing stain and protective coatings. Going darker is easier than lightening, as new stain can be applied over thoroughly prepared surfaces. Complete color changes often require professional refinishing for best results. I recommend living with the current color for at least a year before considering changes, as stained cork often grows more appealing with time. Planning carefully during initial staining prevents expensive color change projects later.
How to Stain Natural Cork

Resanding and Resurfacing by Cork Interiors

Sealing and Trimming Out Our Kitchenu0027s Cork Floors Young House Love
Related Posts: